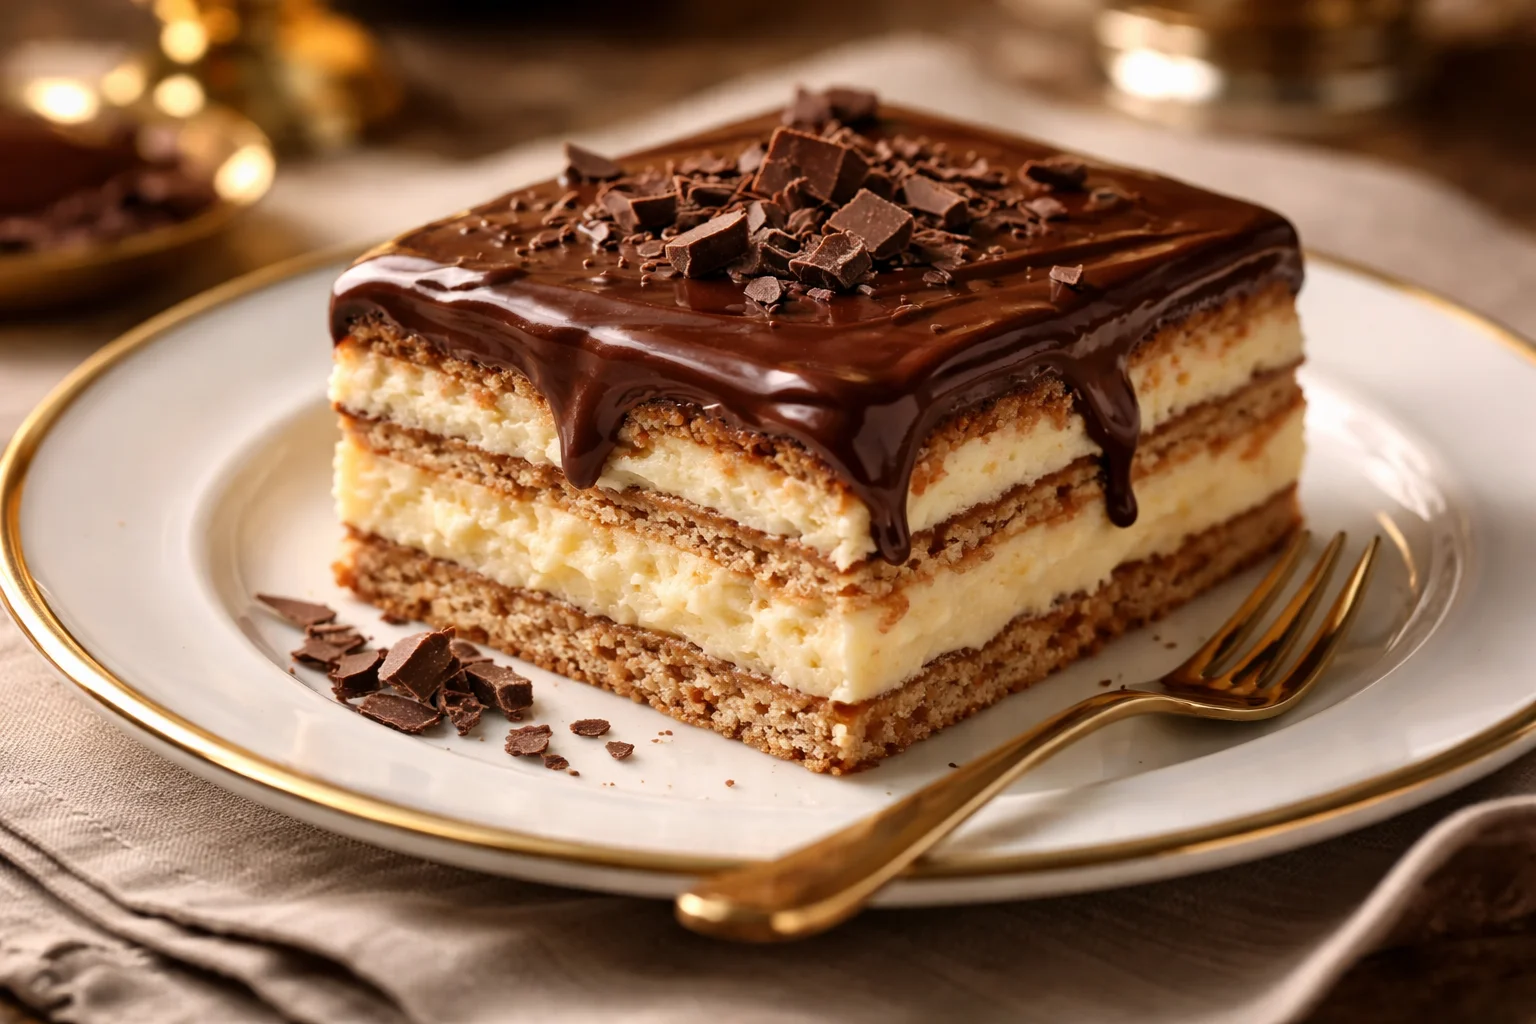
Chocolate Eclair Cake (No Bake Recipe)
So you want a dessert that looks fancy but requires almost zero effort? Same here. That’s exactly why Chocolate Eclair Cake exists—because sometimes we want bakery-level vibes without actually baking anything. No oven, no complicated steps, and definitely no culinary stress.
This is the kind of dessert you make when guests are coming over, and you want them to think, “Wow, they really tried.” Meanwhile, you’re just chilling because the fridge did most of the work. Honestly, it’s almost suspiciously easy.
If you love creamy layers, chocolatey goodness, and desserts that basically assemble themselves, you’re going to love this one.
Why This Recipe is Awesome
Let me count the reasons (because there are many):
- No baking required. Your oven gets the day off. Everyone wins.
- Ridiculously simple ingredients. Nothing fancy, nothing weird.
- Make-ahead friendly. Actually, it tastes better the next day. Lazy chefs rejoice.
- Creamy + chocolatey perfection. The graham crackers soften into cake-like layers. Magic? Maybe.
- Pretty much foolproof. If you can spread pudding and stack crackers, you’re qualified.
Also, FYI: this dessert looks way more impressive than the effort required. IMO, that’s the best kind of recipe.
More About Us: No-Bake Peanut Butter Fudge Recipe
Ingredients You’ll Need
Here’s what you’ll grab from the store (or your kitchen if you’re lucky):

- Graham crackers – the backbone of the cake (aka the lazy person’s pastry layers)
- Instant vanilla pudding mix – quick, easy, and delicious
- Cold milk – helps the pudding do its thing
- Whipped topping (like Cool Whip) – fluffy clouds of happiness
- Chocolate frosting – store-bought works perfectly here
- Optional: a splash of vanilla extract – because why not upgrade a little?
Pro tip: Let the frosting sit at room temperature for a few minutes so it spreads easily. Otherwise, you’ll wrestle with it—and the frosting might win.
Step-by-Step Instructions
- Make the pudding mixture.
Grab a mixing bowl and whisk together the instant vanilla pudding mix and cold milk. Mix until smooth and thick. Fold in the whipped topping gently until everything looks creamy and fluffy. - Start the first layer.
Take a baking dish (9×13 works great) and lay down a layer of graham crackers. Break a few if needed to fill the gaps. Think of it like edible Tetris. - Add the creamy filling.
Spread half of the pudding mixture over the graham crackers. Smooth it out evenly so every bite gets the good stuff. - Repeat the layers.
Add another layer of graham crackers on top, then spread the remaining pudding mixture over it. Finish with one final layer of graham crackers. - Top with chocolate frosting.
Spread the chocolate frosting over the top layer. Take your time here—this is the glamorous part of the dessert. - Chill (the cake, not you… well, both maybe).
Cover the dish and refrigerate for at least 6 hours, but overnight is even better. The graham crackers soften and turn into cake-like layers. - Slice and serve.
Cut into squares and watch people suddenly become very interested in dessert.
Important tip: The longer it chills, the better the texture gets. Patience pays off here.
Common Mistakes to Avoid
Even though this recipe is easy, a few things can still go wrong. Let’s avoid that drama.
- Not chilling it long enough.
I get it—you’re excited. But if you cut it too early, the layers won’t be soft yet. Give it time. - Using a warm pudding mixture.
Make sure the pudding thickens properly before layering. Otherwise, things might slide around like a dessert landslide. - Forgetting to soften the frosting.
Cold frosting straight from the fridge is stubborn. Let it warm up slightly so spreading is easy. - Skipping full Graham cracker coverage.
Gaps can lead to uneven layers. Fill them in like a puzzle master.
Alternatives & Substitutions
Want to tweak the recipe a bit? Totally allowed.
- Chocolate pudding instead of vanilla: Double chocolate energy. No complaints here.
- Homemade whipped cream: If you’re feeling fancy (or avoiding store-bought topping).
- Chocolate graham crackers: Extra chocolate flavor—always a good decision.
- Ganache topping instead of frosting: Melt chocolate with cream and pour it over the cake. Looks fancy, tastes amazing.
- Add sliced bananas or strawberries: Suddenly, it feels slightly healthier. Kind of.
Honestly, this recipe is pretty flexible. It’s hard to mess up unless you forget it in the fridge for three days… which, okay, still might taste good.
FAQ (Frequently Asked Questions)
Can I make Chocolate Eclair Cake ahead of time?
Yes—and you actually should. This dessert gets better overnight because the graham crackers soften perfectly.
Do I have to use instant pudding?
Yep, that’s the easiest option here. Cook-and-serve pudding adds unnecessary work, and we’re trying to keep life simple.
Can I freeze Chocolate Eclair Cake?
Technically, yes, but the texture changes a bit. It becomes more like an icebox dessert. Still tasty though.
Why are my layers sliding around?
Probably because the pudding mixture was too thin or the cake didn’t chill long enough. Give it time in the fridge.
Can I use homemade frosting?
Absolutely. If you’ve got a favorite chocolate frosting recipe, go for it. Just make sure it spreads easily.
How long does this cake last in the fridge?
About 3–4 days, covered well. But let’s be honest—it rarely survives that long.
Can I make a smaller version?
Of course. Just use a smaller dish and halve the ingredients. Same delicious results, less sharing required.
Final Thoughts
Chocolate Eclair Cake is proof that you don’t need complicated baking skills to make something seriously delicious. It’s creamy, chocolatey, and ridiculously easy to throw together. Honestly, recipes like this make you feel like a kitchen genius with minimal effort.
So go ahead—make it for a party, a family dessert night, or just because you deserve something sweet. No judgment here.
Now grab those graham crackers and start layering. Your future dessert-loving self will thank you. 🍫
Chocolate Eclair Cake (No Bake Recipe)
Ingredients
Method
- In a large bowl whisk together the instant vanilla pudding mix and cold milk until thick and smooth.
- Gently fold the whipped topping and vanilla extract into the pudding mixture until fully combined.
- Arrange a single layer of graham crackers on the bottom of a 9×13 inch dish.
- Spread half of the pudding mixture evenly over the graham crackers.
- Add another layer of graham crackers on top of the pudding mixture.
- Spread the remaining pudding mixture evenly over the second layer.
- Place a final layer of graham crackers on top.
- Slightly warm the chocolate frosting so it spreads easily, then spread it evenly over the top layer.
- Cover and refrigerate for at least 6 hours or overnight until the graham crackers soften into cake-like layers.
- Slice, serve chilled, and enjoy.