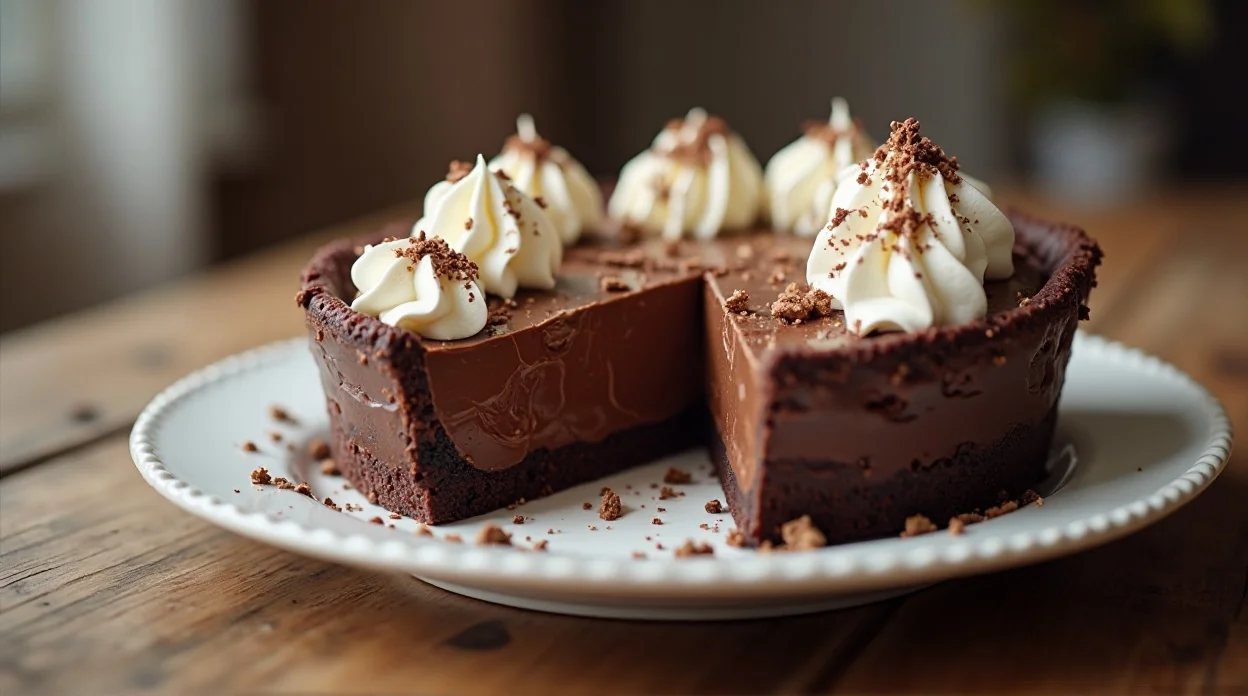
Chocolate Pudding Pie Recipe
So… you want chocolate. Like, really chocolatey, creamy, dreamy, and maybe a little dangerous.
Say hello to this Chocolate Pudding Pie Recipe—a dessert so indulgent it feels almost illegal, yet ridiculously easy to make. Perfect for when you want to impress someone… or just yourself (we don’t judge).
Smooth chocolate pudding filling, buttery crust, and a little whipped cream on top? Yes, please. This pie is the ultimate chocolate lover’s fantasy—without hours of baking drama.
Why This Recipe is Awesome
Here’s why this pie deserves a standing ovation:
- No-bake pudding perfection. Because life’s too short to stress over baking.
- Chocolate lovers rejoice. Deep, rich chocolate flavor in every bite.
- Versatile serving. Eat it straight from the pie plate or portion it into mini cups.
- Kid-approved. Adults-approved. Basically, everyone approved.
- Quick prep. From start to finish in under 30 minutes (plus chill time).
IMO, it’s basically a shortcut to happiness in chocolate form.
Ingredients You’ll Need
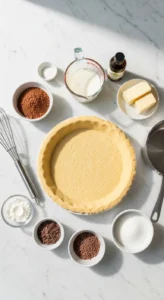
Simple ingredients, big results:
- 1 pre-made pie crust (graham cracker or chocolate) – Saves time, tastes amazing.
- 2 cups whole milk – For rich pudding.
- 1/2 cup sugar – Sweetness balance.
- 1/3 cup unsweetened cocoa powder – For deep chocolate flavor.
- 1/4 cup cornstarch – Thickens the pudding perfectly.
- 1/4 teaspoon salt – Balances the sweetness.
- 2 teaspoons vanilla extract – Because vanilla makes everything better.
- 2 tablespoons butter – Adds creaminess and shine.
- Whipped cream (for topping) – Optional, but highly recommended.
- Chocolate shavings – Optional garnish for extra oomph.
Pro tip: Using high-quality cocoa powder makes a huge difference.
Step-by-Step Instructions
1. Prepare the Pie Crust
- If using a pre-made crust, place it on a serving plate. Optional: bake lightly for 5 minutes if you want a firmer base.
2. Mix Dry Ingredients
- In a saucepan, whisk together sugar, cocoa powder, cornstarch, and salt.
3. Add Milk Gradually
- Slowly pour in milk while whisking to avoid lumps.
4. Cook the Pudding
- Place over medium heat and stir constantly until it thickens (about 5–7 minutes).
5. Add Butter and Vanilla
- Remove from heat, stir in butter and vanilla extract until smooth and glossy.
6. Pour into Pie Crust
- Pour the hot pudding into your prepared pie crust. Smooth the top with a spatula.
7. Chill
- Refrigerate for at least 2–3 hours, or until fully set.
8. Top and Serve
- Add whipped cream and chocolate shavings just before serving. Enjoy every rich, creamy bite!
Common Mistakes to Avoid
- Not whisking while cooking – Cornstarch will clump and ruin your pudding.
- Adding milk too fast – Lumps alert! Pour gradually.
- Skipping chill time – Pudding needs time to set or you’ll have a soupy mess.
- Using low-quality cocoa – It’ll taste flat and bitter. Don’t do it.
Alternatives & Substitutions
- Pie crust: Make your own or use a nut-based crust for a keto-friendly version.
- Milk: Almond, oat, or soy milk works if you want dairy-free.
- Sweeteners: Substitute sugar with monk fruit or erythritol for low-carb.
- Chocolate: Add chocolate chips to the pudding for extra richness.
- Flavor twist: Add espresso powder or a hint of cinnamon for a unique flavor.
You can also try this lovely Recipe: Strawberry Pudding Recipe
FAQ (Frequently Asked Questions)
Can I use a homemade pie crust?
Absolutely! Graham cracker, chocolate, or even cookie-based crusts work beautifully.
Can I make this pie ahead of time?
Yes! Make it a day ahead and refrigerate. Flavors meld beautifully.
Can I make this dairy-free?
Swap milk and butter with plant-based alternatives. Coconut milk works well.
Can I double the recipe?
Sure! Just make sure your pan is large enough and chill time may increase slightly.
Why did my pudding get lumpy?
Most likely didn’t whisk while adding milk or heated too quickly. Slow and steady wins the pudding race.
Can I top it with fruits?
Yes! Strawberries, raspberries, or even bananas pair wonderfully with chocolate.
How long does it keep?
Store in the fridge for 3–4 days, covered. Best eaten within that time.
Final Thoughts
This Chocolate Pudding Pie is rich, creamy, and the ultimate chocolate indulgence. It’s perfect for impressing guests, spoiling yourself, or just having a moment of pure chocolate bliss. Go ahead, slice a piece, take a bite, and enjoy the creamy, chocolatey goodness. Life’s short—eat dessert first! 🍫🥧✨
Chocolate Pudding Pie Recipe
Ingredients
Method
- Pre-bake the pie crust according to package or recipe instructions and let cool.
- In a saucepan, whisk together sugar, cocoa powder, cornstarch, and salt.
- Gradually add milk while stirring until smooth.
- Cook over medium heat, stirring constantly, until mixture thickens.
- Beat egg yolks in a separate bowl, then slowly add a small amount of hot chocolate mixture to temper.
- Return egg mixture to saucepan and cook 1–2 minutes more.
- Remove from heat and stir in vanilla extract.
- Pour chocolate pudding into cooled pie crust.
- Chill in the refrigerator for at least 2 hours.
- Top with whipped cream before serving.
Notes
- Use high-quality cocoa for the best chocolate flavor.
- Chill thoroughly to allow the pudding to set properly.
- Optional: sprinkle shaved chocolate or chocolate chips on top for garnish.
DID YOU MAKE THIS EASY RECIPE?
If you have, then share it with us by sending a photo. We’re excited to see what you’ve made 🙂