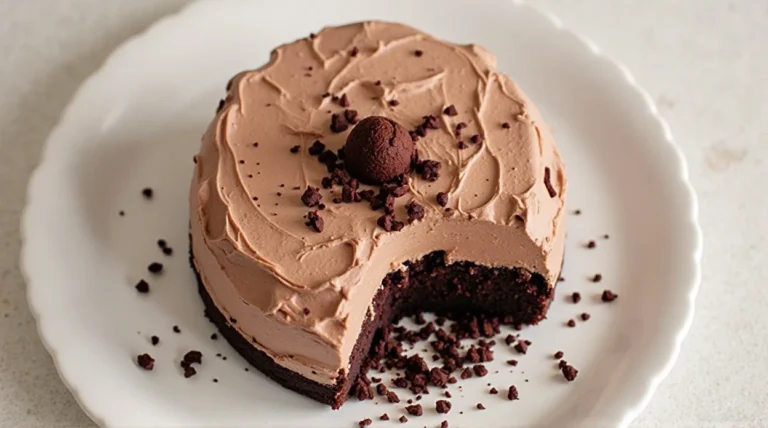
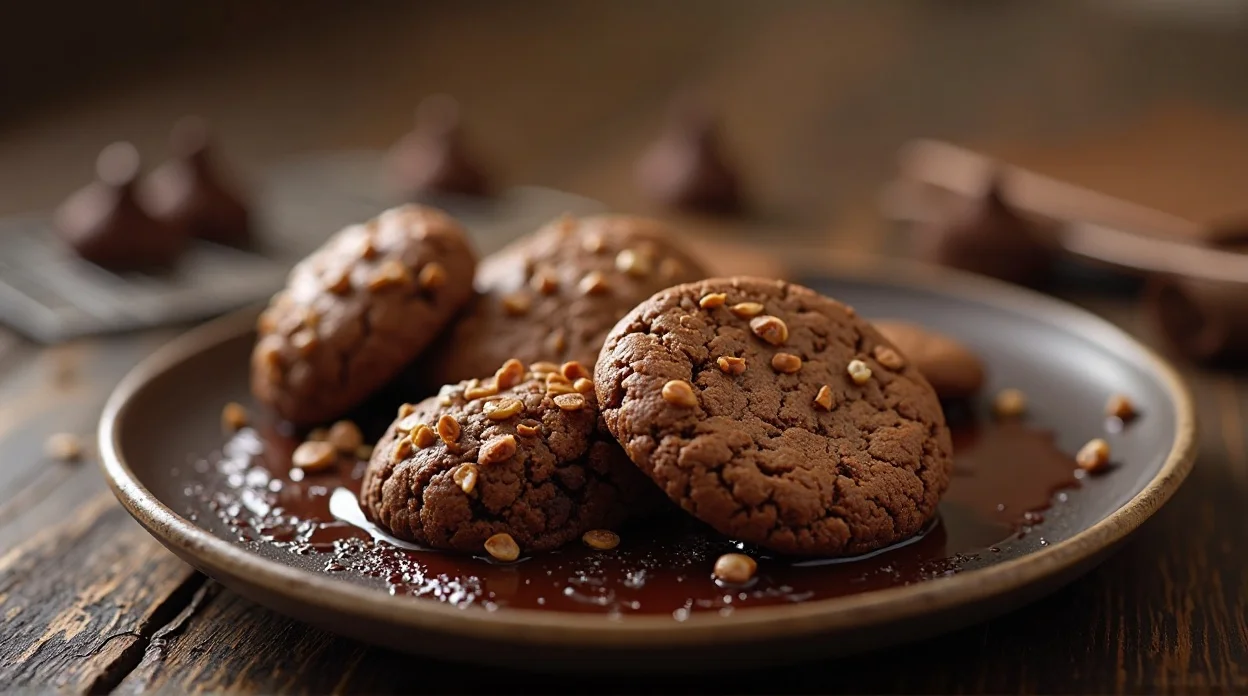
Hershey Kiss Cookies Recipe
So… you’re standing in the kitchen, craving cookies, but also not in the mood for some complicated baking marathon, right? Same here. That’s exactly where this Hershey Kiss Cookies Recipe comes in—simple, cozy, and dangerously snackable. One batch and suddenly everyone in your house becomes your “taste tester.” Funny how that works. 🙂
Let’s make some magic.
Why This Recipe is Awesome
First of all, it’s ridiculously easy. Like, if you can stir things in a bowl and remember to turn on the oven, you’re already winning.
Here’s why people keep coming back to this recipe:
- The cookies are soft inside with slightly crisp edges (aka the perfect cookie personality).
- That chocolate kiss on top melts just enough to look fancy without you trying too hard.
- It’s a great last-minute dessert when guests show up unexpectedly.
- Minimal ingredients, maximum bragging rights.
- Honestly? It’s pretty much idiot-proof baking. Even on my laziest baking days, it works.
Also, they look cute. And yes, cute cookies somehow taste better. Science? Maybe.
Don’t forget these lovely Deserts: Chewy & Gooey Sourdough Chocolate Chip Cookies Recipe
Ingredients You’ll Need
Alright, let’s gather the essentials before we start pretending we’re on a baking show.

- 1 cup unsalted butter, softened (not melted—don’t get wild)
- 1 cup granulated sugar
- 1 cup brown sugar
- 2 large eggs
- 2 teaspoons vanilla extract
- 2 ¾ cups all-purpose flour
- 1 teaspoon baking soda
- ½ teaspoon salt
- 1 bag chocolate kiss candies (unwrapped, obviously)
- Extra sugar for rolling (optional but highly recommended)
Pro tip: Room-temperature butter makes mixing way easier. Cold butter = arm workout you didn’t ask for.
Step-by-Step Instructions
Follow these steps, and you’ll have bakery-worthy cookies without the bakery prices.
- Preheat the oven to 350°F (175°C).
Yes, this step matters. Always preheat the oven so the cookies bake evenly and don’t come out weirdly flat or sad-looking. - Cream the butter and sugars together.
Grab a bowl and beat the butter, granulated sugar, and brown sugar until the mixture looks fluffy and lighter in color. This usually takes about 2–3 minutes. - Add the eggs and vanilla.
Mix in the eggs one at a time, then add vanilla extract. Stir until everything looks smooth and well combined. - Combine the dry ingredients.
In another bowl, mix flour, baking soda, and salt. Then, gradually add this to your wet mixture. Stir until you get a soft cookie dough. - Shape the cookie dough balls.
Roll small portions of dough into balls (about 1 tablespoon each). If you want extra sweetness, roll them lightly in sugar. Totally optional, but IMO it’s worth it. - Bake the cookies.
Place dough balls on a lined baking sheet and bake for about 8–10 minutes. The edges should look set, but the centers will still look soft. - Add the chocolate kiss.
Right after removing cookies from the oven, press one chocolate kiss into the center of each cookie. The cookie might crack slightly—that’s normal and actually looks great. - Let them cool.
Allow cookies to cool for about 5 minutes on the tray, then move them to a rack. Or eat one immediately. I won’t judge.
Common Mistakes to Avoid
Look, baking is forgiving… until it suddenly isn’t. Here are a few things people mess up:
Not preheating the oven.
Thinking you can skip this step is a classic rookie move.
Using melted butter instead of softened butter.
That turns cookies flat and greasy. Nobody wants pancake cookies.
Overbaking the cookies.
If they look slightly soft in the center, that’s good. They firm up later.
Pressing the chocolate too early.
If you add it before baking, it’ll melt into chaos. Add it right after baking.
Making huge dough balls.
Unless you’re baking cookie boulders, keep them small for even baking.
Alternatives & Substitutions
Maybe you’re missing an ingredient or just feeling experimental. Totally fine.
- Use peanut butter dough instead of regular cookie dough for a classic combo.
- Swap chocolate kisses with mini peanut butter cups if you want a richer flavor.
- Try dark chocolate kisses for a less sweet version.
- No brown sugar? You can use all white sugar, but FYI, the cookies may be slightly less chewy.
- Gluten-free flour blends also work pretty well here.
Personally, I love adding a tiny pinch of sea salt on top after baking. It sounds fancy, but it’s just delicious.
FAQ (Frequently Asked Questions)
Can I freeze the cookie dough?
Absolutely. Roll the dough into balls and freeze them. When ready, bake straight from frozen—just add about 1–2 extra minutes.
Do I really need to unwrap all the chocolate kisses first?
Yes. Trust me, you do not want to unwrap chocolate while cookies are cooling and everyone is staring at you waiting for them.
Can I make these cookies smaller?
Yep! Mini cookies work great. Just reduce the baking time slightly so they don’t overcook.
Why did my cookies spread too much?
Usually, it’s because the butter was too soft or melted. Chill the dough for 20 minutes next time, and you’ll be golden.
Can I use margarine instead of butter?
Technically, yes… but butter gives better flavor. Like, noticeably better.
How do I keep cookies soft for longer?
Store them in an airtight container and add a slice of bread inside. Sounds weird, works like magic.
Can I make these ahead of time for a party?
Definitely. Bake them a day before and store properly. Honestly, they might taste even better the next day.
Final Thoughts
And there you have it—the Hershey Kiss Cookies Recipe that’s simple, fun, and guaranteed to make people think you worked way harder than you actually did. Not a bad deal, right?
The best part? You can customize these cookies however you like and still end up with something delicious. Just don’t skip the chocolate on top—that’s basically the whole personality of the cookie.
Now go bake a batch, share them with someone… or keep them all to yourself. I won’t tell. 🍪
Hershey Kiss Cookies Recipe
Ingredients
Method
- Preheat oven to 350°F (175°C) and line a baking sheet with parchment paper.
- Cream butter granulated sugar and brown sugar together until light and fluffy.
- Add eggs one at a time then mix in vanilla extract.
- In another bowl combine flour baking soda and salt then gradually mix into the dough.
- Roll dough into small balls about 1 tablespoon each and optionally roll in sugar.
- Place on baking sheet leaving space between cookies.
- Bake for 8–10 minutes until edges are set and centers slightly soft.
- Remove from oven and gently press a chocolate kiss into the center of each cookie.
- Let cookies cool for a few minutes before transferring to a cooling rack.