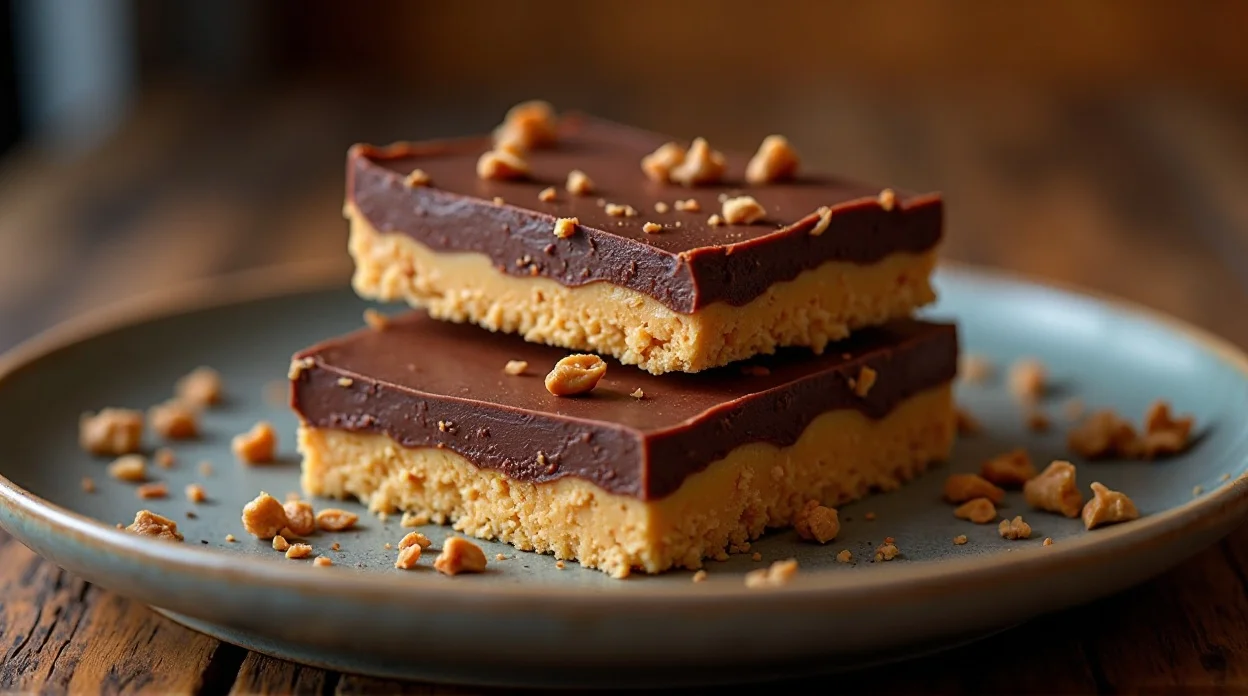
No-Bake Peanut Butter Chocolate Bars Recipe
So you’re craving something sweet, chocolatey, and slightly dangerous (for your self-control)… but you also don’t feel like baking. Totally fair. Turning on the oven sometimes feels like a whole life commitment.
Good news: these No-Bake Peanut Butter Chocolate Bars exist for exactly that mood. You mix, press, melt, chill—and boom—dessert hero status unlocked. No fancy skills required. Honestly, if you can stir and resist eating the mixture straight from the bowl (which is the real challenge), you’ve got this.
FYI: the combo of peanut butter + chocolate is basically dessert royalty. And these bars prove it.
Why This Recipe is Awesome
Let’s be honest—some recipes claim to be easy, then suddenly ask you to temper chocolate like you’re on a cooking show. Not this one.
Here’s why these bars are kind of amazing:
- No oven needed. Your kitchen stays cool, and your effort stays minimal.
- Super quick to make. Most of the “work” is waiting for the bars to chill.
- Beginner-friendly. Honestly, it’s almost impossible to mess up.
- Perfect texture. Creamy peanut butter base with a smooth chocolate top? Yes, please.
- Crowd favorite. Bring these to a party and watch them disappear suspiciously fast.
Also, they taste like a homemade version of a peanut butter cup—but in bar form. And bigger. Which, IMO, is clearly better.
More About Us: Easy Oatmeal Raisin Cookies
Ingredients You’ll Need
Nothing complicated here. Just simple ingredients doing delicious things together.

- 1 cup creamy peanut butter – The star of the show. Go for smooth unless you love chaos (aka crunchy).
- 1/2 cup unsalted butter, melted – Makes everything rich and magical.
- 2 cups powdered sugar – Sweetness + structure for the bars.
- 1 1/2 cups graham cracker crumbs – Adds that perfect soft, slightly crumbly texture.
- 1 1/2 cups chocolate chips – For that glorious chocolate layer.
- 1 tablespoon peanut butter (for the topping) – Helps the chocolate spread like a dream.
Pro tip: Use good-quality chocolate chips if you can. Better chocolate = better bars. Simple math.
Step-by-Step Instructions
- Mix the base ingredients.
Grab a large bowl and add the melted butter and peanut butter. Stir them together until smooth and creamy. Now add the powdered sugar and graham cracker crumbs. Mix everything well until a thick dough forms. - Press the mixture into a pan.
Line an 8×8-inch pan with parchment paper (trust me, future you will thank you). Press the peanut butter mixture evenly into the pan. Use a spatula or the back of a spoon to smooth it out. - Melt the chocolate topping.
Place the chocolate chips and 1 tablespoon of peanut butter in a microwave-safe bowl. Microwave in 20–30 second bursts, stirring each time. Stop when the mixture becomes smooth and glossy. - Spread the chocolate layer.
Pour the melted chocolate over the peanut butter base. Spread it evenly so every bite gets some chocolate goodness. Don’t rush this part—even layers make prettier bars. - Chill and set.
Place the pan in the refrigerator for about 1–2 hours. The bars need time to firm up so they cut nicely. - Slice and enjoy.
Lift the bars out using the parchment paper and cut into squares or rectangles. Try not to eat half the tray immediately… but no judgment if you do.
Common Mistakes to Avoid
Even easy recipes have a few traps. Let’s dodge them together.
- Using natural peanut butter without mixing it properly.
If it’s oily and separated, your bars might turn weirdly soft. Stir it well first. - Not lining the pan.
Sure, you could skip parchment paper… if you enjoy wrestling dessert out of a pan like it’s a sport. - Overheating the chocolate.
Burned chocolate is sad chocolate. Heat it slowly and stir often. - Cutting the bars too early.
I get it—you’re excited. But if you slice them before they set, you’ll get peanut butter chaos instead of clean bars. - Packing the base too loosely.
Press it down firmly. A compact base = bars that hold together perfectly.
Alternatives & Substitutions
Want to tweak the No-Bake Peanut Butter Chocolate Bars? Totally doable.
- Crunchy peanut butter: Adds texture and personality.
- Digestive biscuits instead of graham crackers: Works great and tastes just as good.
- Dark chocolate chips: Perfect if you prefer less sweetness.
- Dairy-free butter: Great option if you want a dairy-free version.
- Add-ins: Mini chocolate chips, chopped peanuts, or even a drizzle of caramel.
Personally, I sometimes sprinkle a little sea salt on top before chilling. Sweet + salty = dangerously addictive.
FAQ (Frequently Asked Questions)
Can I freeze these bars?
Yes, absolutely. In fact, they freeze really well. Store them in an airtight container, and they’ll last up to 2 months. Just thaw slightly before eating… unless you enjoy very cold desserts (which is valid).
Do I have to use Graham cracker crumbs?
Not really. Crushed digestive biscuits, vanilla wafers, or even crushed cookies can work. The goal is texture, not strict rules.
Can I make them less sweet?
Yep. Use dark chocolate or reduce the powdered sugar slightly. Just don’t remove too much, or the bars might not hold together.
Why are my bars too soft?
Usually, this happens if the peanut butter was too oily or the bars didn’t chill long enough. More fridge time usually fixes the problem.
Can I make these in a bigger pan?
You can, but the bars will be thinner. If you want thick, bakery-style bars, stick with the 8×8 pan.
Can I add protein powder?
Technically, yes, but add only a small amount. Too much will change the texture, and suddenly your dessert turns into gym food.
Final Thoughts
These No-Bake Peanut Butter Chocolate Bars are one of those recipes you make once… and suddenly people start requesting them all the time. They’re simple, fast, and ridiculously good.
Plus, they’re perfect for lazy baking days, quick desserts, or when you just want something sweet without a big production. Minimal effort, maximum reward. That’s the kind of recipe we all need more of.
So go ahead—make a batch, cut a piece (or three), and enjoy the moment.
Now go impress someone—or yourself—with your new dessert skills. You’ve earned it. 🍫🥜
Easy Oatmeal Raisin Cookies Recipe
Ingredients
Method
- Preheat oven to 350°F (175°C) and line a baking sheet with parchment paper.
- Mix oats, flour, baking soda, cinnamon, and salt in a bowl.
- In another bowl beat butter, brown sugar, and granulated sugar until creamy.
- Add egg and vanilla extract and mix until smooth.
- Combine dry ingredients with wet ingredients and mix well.
- Fold in raisins evenly through the dough.
- Scoop tablespoon-sized portions of dough onto the baking sheet.
- Bake for 10–12 minutes until edges turn golden.
- Cool on a rack before serving.
Notes
Do not overbake, or cookies will become dry.
Chill the dough for 20 minutes if you want thicker cookies.
You can add chopped walnuts for extra crunch. DID YOU MAKE THIS EASY RECIPE? If you have, then share it with us by sending a photo. We’re excited to see what you’ve made:-):