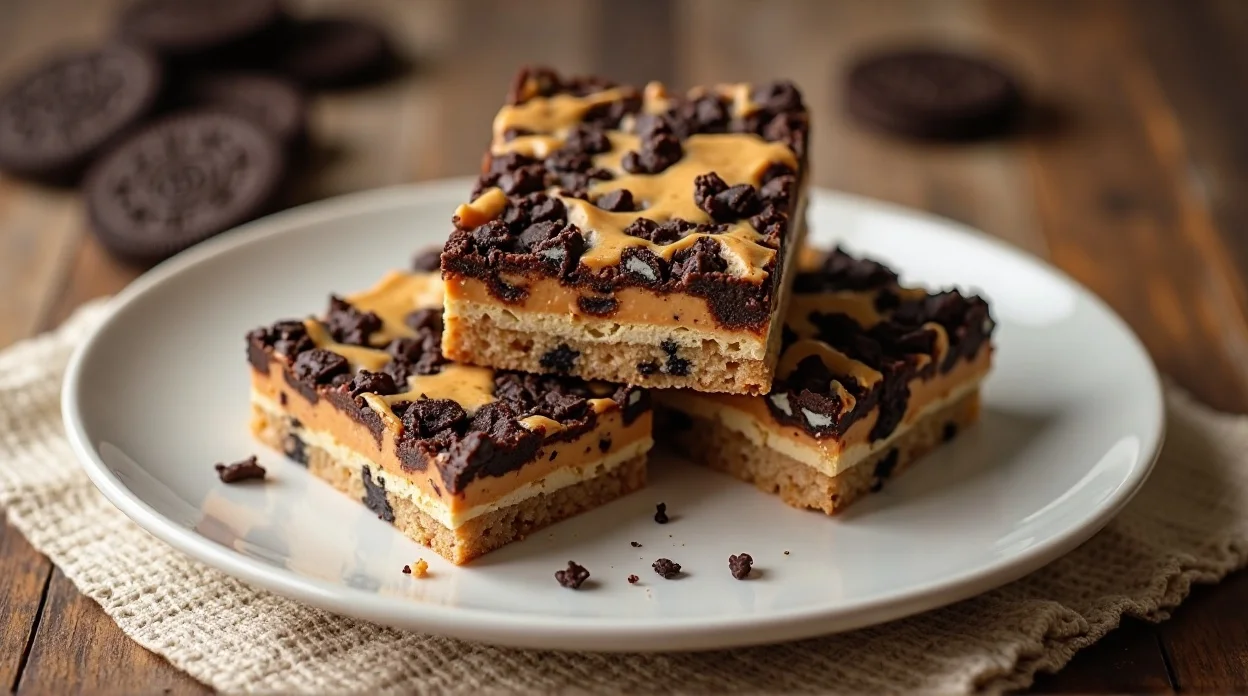
No Bake Peanut Butter Oreo Bars Recipe
So you’re craving something ridiculously delicious but also… not in the mood to turn on the oven? Same. These No-Bake Peanut Butter Oreo Bars are basically what happens when laziness meets genius. Minimal effort, maximum yum. Honestly, if desserts had a “too easy to be this good” category, this would win gold. 🥇
Why This Recipe is Awesome
Let me count the ways (don’t worry, I’ll keep it short because I know your attention span is already thinking about chocolate):
- No baking required. Yes, ZERO oven drama.
- Only a handful of ingredients. Nothing fancy, nothing confusing.
- Takes like 15 minutes to prep. The hardest part? Waiting for it to chill.
- Peanut butter + Oreos = happiness. Science probably proves this somewhere.
- Idiot-proof. Seriously, if you can stir and press, you’ve got this.
- Pro tip: These bars are perfect for last-minute guests… or late-night snack attacks (we don’t judge here).
Ingredients You’ll Need
- 24 Oreo cookies (crushed) – go ahead, smash them like you mean it
- 1/4 cup melted butter – because butter makes everything better
- 1 cup creamy peanut butter – smooth, dreamy, and irresistible
- 1/2 cup powdered sugar – adds that sweet magic
- 1 1/2 cups chocolate chips – the more, the merrier IMO
- 1 tbsp peanut butter (for topping) – optional but highly recommended
Step-by-Step Instructions
- Crush the Oreos
Toss your Oreos into a ziplock bag and crush them with a rolling pin. Or use a food processor if you’re feeling fancy. You want fine crumbs with a few chunky bits—texture matters! - Mix the Base
In a bowl, combine crushed Oreos and melted butter. Stir until everything looks evenly coated. It should resemble slightly sticky chocolate sand. - Press Into Pan
Line a baking dish with parchment paper (trust me, future you will thank you). Press the Oreo mixture firmly into the bottom. Pack it tight—no loose crumbs allowed! - Make Peanut Butter Layer
In another bowl, mix peanut butter and powdered sugar until smooth. It’ll get thick, but that’s exactly what you want. - Spread It On
Spread the peanut butter mixture evenly over the Oreo base. Use a spatula or the back of a spoon. Try not to eat half of it before it makes it to the pan (no promises, though). - Melt the Chocolate
Microwave chocolate chips in 30-second intervals, stirring each time until smooth. Don’t rush this step unless you enjoy burnt chocolate sadness. - Top It Off
Pour melted chocolate over the peanut butter layer and spread evenly. Drizzle extra peanut butter on top for that “wow, I’m a dessert artist” effect. - Chill Out
Refrigerate for at least 2 hours (yes, patience is required here). Once set, cut into bars and try not to eat all of them in one sitting.
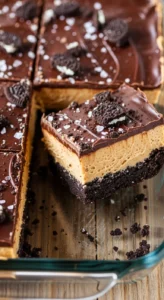
More About Us: Keto Peanut Butter Cheesecake Bites
Common Mistakes to Avoid
- Not pressing the base firmly enough
Loose base = crumbly disaster. Press it like you mean business. - Overheating the chocolate
Burnt chocolate smells like regret. Heat slowly, stir often. - Skipping parchment paper
Unless you enjoy chiseling bars out of your pan… don’t skip it. - Using runny peanut butter
Too oily = messy layers. Stick to thick, creamy peanut butter. - Cutting too early
I get it, you’re excited. But cutting before it sets = gooey chaos.
Alternatives & Substitutions
- No Oreos? Use any chocolate sandwich cookies. Even generic ones work—no snobbery here.
- Want it healthier? Swap regular Oreos for a low-sugar version (but let’s be honest, this is a treat).
- Peanut allergy? Try almond butter or sunflower seed butter. Still delicious.
- Dark chocolate lover? Go for dark chocolate chips instead of milk. Fancy AND tasty.
- Add crunch? Toss in chopped nuts or crushed pretzels for a salty twist.
FYI: You can totally customize these bars—this recipe is more of a “guideline” than a rulebook.
FAQ (Frequently Asked Questions)
Can I use crunchy peanut butter instead of creamy?
Absolutely! It adds texture and a little surprise crunch. Go wild.
Do I really need to refrigerate them?
Yes. Unless you enjoy eating dessert soup… then sure, skip it 😅
How long do these bars last?
About 4–5 days in the fridge. But realistically? They’ll disappear in 24 hours.
Can I freeze them?
Yep! Freeze for up to 2 months. Just thaw slightly before eating (or don’t—frozen is kinda amazing too).
Can I make these vegan?
Totally. Use vegan butter, dairy-free chocolate, and vegan sandwich cookies.
What size pan should I use?
An 8×8-inch pan works best. Thicker bars = better bites, just saying.
Can I reduce the sugar?
You can try, but remember: this is dessert, not a salad. Adjust at your own risk.
Final Thoughts
And there you have it—No Bake Peanut Butter Oreo Bars that are dangerously easy and ridiculously good. Whether you’re making these for a party, your family, or just yourself (no shame), they’re guaranteed to impress.
No-Bake Peanut Butter Oreo Bars Recipe
Ingredients
Method
- Crush Oreos into fine crumbs using a food processor or rolling pin
- Mix crushed Oreos with melted butter until fully combined
- Press mixture firmly into a lined 8×8-inch pan to form the base
- In a bowl, mix peanut butter and powdered sugar until smooth
- Spread peanut butter mixture evenly over the Oreo base
- Melt chocolate chips in microwave in intervals, stirring until smooth
- Pour melted chocolate over peanut butter layer and spread evenly
- Drizzle extra peanut butter on top if desired
- Refrigerate for at least 2 hours until set
- Cut into bars and serve
Notes
Do not overheat chocolate while melting
Use parchment paper for easy removal
Chill completely before slicing for clean bars
Store in refrigerator for best texture DID YOU MAKE THIS EASY RECIPE? If you have, then share it with us by sending a photo. We’re excited to see what you’ve made:-):