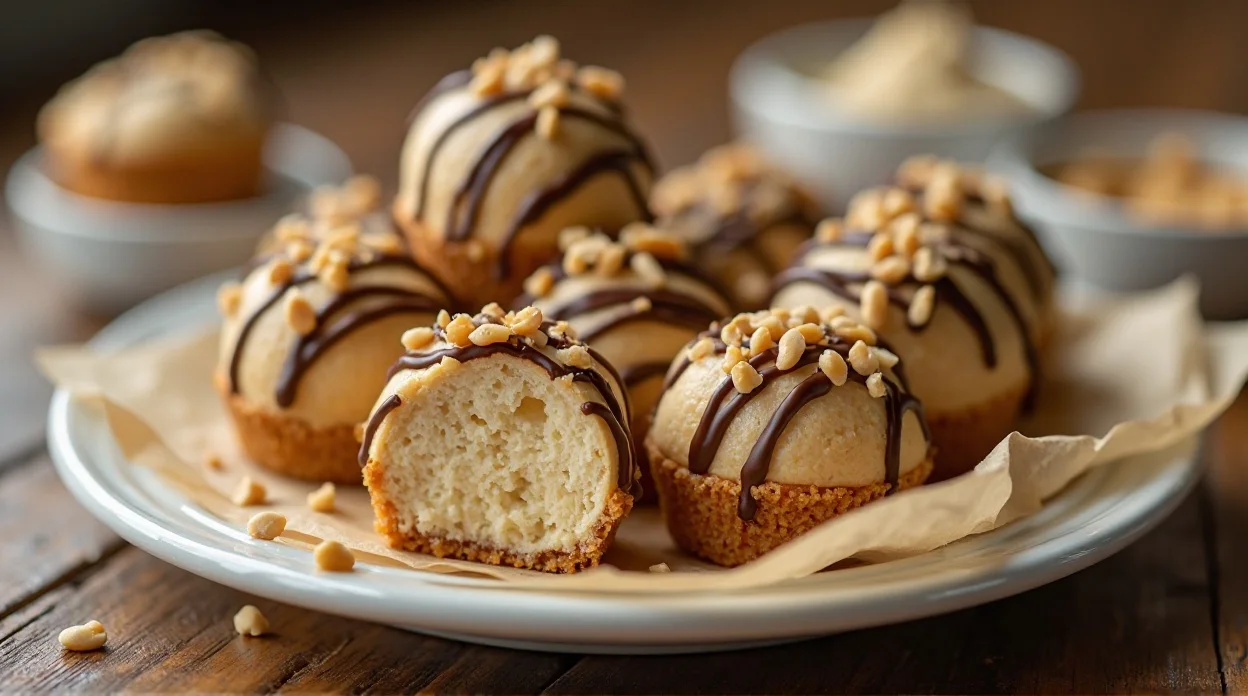
Keto Peanut Butter Cheesecake Bites
So you’re craving cheesecake… but also trying to stay loyal to your keto goals?
Yeah, that struggle is real. One minute you’re disciplined, the next minute you’re emotionally attached to a slice of cheesecake. But what if I told you that you could have creamy, rich, peanut-buttery cheesecake bites without wrecking your diet? Sounds illegal, right?
These Keto Peanut Butter Cheesecake Bites are everything you want—smooth, sweet, slightly tangy, and ridiculously satisfying. And the best part? No baking drama, no complicated steps, and definitely no guilt.
Basically, they’re your new secret weapon for surviving dessert cravings like a pro.
Why This Recipe is Awesome
Let’s not be modest—these little bites are a big deal.
- No-bake magic. Because turning on the oven is overrated sometimes.
- Keto-friendly. Low-carb, high-fat, and totally satisfying.
- Perfect portion control. Small bites = less regret (in theory).
- Creamy dream texture. Think cheesecake… but easier and faster.
- Peanut butter + cheesecake combo. Honestly, say less.
And here’s the real kicker: they taste like something you’d cheat your diet for… except you don’t have to.
🍫 The Ultimate No-Bake Dessert Ebook 🍓
30 mouthwatering no-bake recipes you can whip up in minutes — creamy cheesecakes, fruity parfaits, chocolatey bars, and more!
- ⚡Quick & easy — no oven required
- 📖30 recipes + bonus treat
- 🍓Chocolate, fruit, nutty & refreshing flavors
- ✨Beautifully designed, instant download
IMO, that’s what we call a win.
Ingredients You’ll Need
Simple ingredients, maximum flavor. Let’s go.
- 1 cup cream cheese (softened) – The creamy base of everything good.
- ½ cup peanut butter – Smooth, rich, and absolutely essential.
- ¼ cup powdered keto sweetener – Keeps things sweet without the carbs.
- 2 tablespoons butter (melted) – Adds richness and helps texture.
- 1 teaspoon vanilla extract – Flavor booster.
- Pinch of salt – Balances sweetness perfectly.
Optional toppings (because we like options):
- Sugar-free chocolate drizzle
- Crushed peanuts
- Cocoa powder dusting
Pro tip: Always use softened cream cheese. Cold cream cheese = lumpy sadness.
Step-by-Step Instructions
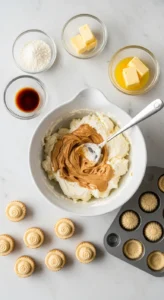
1. Mix the Creamy Base
- In a bowl, combine cream cheese and peanut butter.
- Use a hand mixer or whisk until smooth and creamy. You’re aiming for silky, not chunky.
2. Add Sweetener and Flavor
- Mix in the powdered keto sweetener, melted butter, vanilla extract, and salt.
- Taste the mixture (chef privilege again) and adjust the sweetness if needed.
3. Chill the Mixture
- Place the mixture in the fridge for 20–30 minutes.
- This helps it firm up, making it easier to shape later.
4. Shape into Bites
- Scoop small portions and roll them into bite-sized balls.
- You can also press them into silicone molds if you want that “Pinterest-perfect” look.
5. Add Toppings
- Roll the bites in crushed peanuts or drizzle with melted sugar-free chocolate.
- Or keep them plain—they’re already amazing.
6. Final Chill
- Place the bites in the fridge or freezer for 30 minutes until firm.
7. Serve and Enjoy
- Grab one, take a bite, and try not to eat five more immediately. (No promises.)
Common Mistakes to Avoid
Let’s keep your cheesecake bites from becoming cheesecake disasters.
- Using cold cream cheese
You’ll end up with lumps. And lumps are not part of the plan. - Skipping the chilling step
Soft mixture = impossible to shape. Chill first, thank yourself later. - Over-sweetening
Keto sweeteners can get overpowering. Start small and adjust. - Making them too big
These are rich. Keep them bite-sized unless you’re feeling bold. - Not mixing properly
Smooth texture is everything. Take your time here.
Alternatives & Substitutions
Want to customize? You know I support that.
- Swap peanut butter
Use almond butter or cashew butter for a different flavor profile. - Dairy-free option
Use dairy-free cream cheese alternatives (results may vary slightly). - Chocolate version
Add 1–2 tablespoons unsweetened cocoa powder to the mix. - Add crunch
Mix in chopped nuts or keto chocolate chips. - Flavor twist
Try adding cinnamon, espresso powder, or even a hint of coconut.
FYI, a chocolate coating takes these to next-level dessert status.
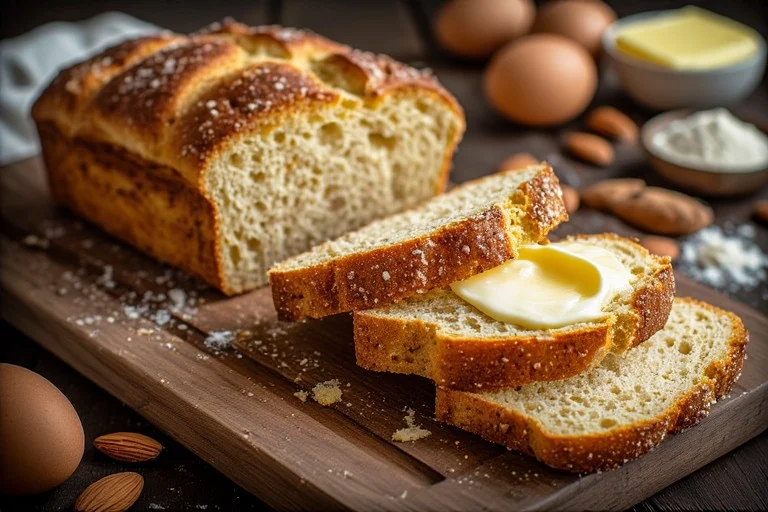
You can also try this lovely Recipe: Honey Oat Bread Recipe
FAQ (Frequently Asked Questions)
Can I freeze these cheesecake bites?
Yes! They freeze beautifully and taste amazing slightly chilled.
How long do they last?
Store in the fridge for up to 5 days or freeze for longer storage.
Are these really keto-friendly?
Absolutely—just use a proper keto sweetener and check your peanut butter label.
Can I use natural peanut butter?
Yes, but stir it well first. Separation can mess with texture.
Why are my bites too soft?
They probably need more chilling time. Pop them in the freezer for a bit.
Can I make them sweeter?
Of course! Add more sweetener gradually and taste as you go.
Can I turn this into a cheesecake instead?
Technically, yes… but then you lose the “bite-sized convenience.” And that’s kind of the point.
Final Thoughts
These Keto Peanut Butter Cheesecake Bites are the ultimate combination of easy, delicious, and diet-friendly. They’re creamy, rich, perfectly sweet, and just indulgent enough to keep your cravings under control without sending you into a carb spiral. Plus, they’re so simple to make that you’ll probably end up whipping up a batch every time your sweet tooth shows up uninvited.
So go ahead—make a batch, stash them in your fridge, and enjoy whenever life demands dessert (which is often, let’s be honest).
Now go impress someone—or just treat yourself like the dessert legend you are. You’ve earned it. 🥜🍰✨
Keto Peanut Butter Cheesecake Bites Recipe
Ingredients
Method
- In a bowl, beat cream cheese until smooth and creamy.
- Add peanut butter, sweetener, and vanilla extract; mix well.
- Pour in heavy cream and whip until fluffy.
- Scoop mixture into small portions and shape into bite-sized balls.
- Place on a lined tray and refrigerate for 1–2 hours until firm.
- Optional: dip in melted dark chocolate and chill again before serving.
Notes
- Use smooth peanut butter for best texture.
- Keep refrigerated to maintain firmness.
- Adjust sweetness based on preference.
DID YOU MAKE THIS EASY RECIPE?
If you have, then share it with us by sending a photo. We’re excited to see what you’ve made 🙂