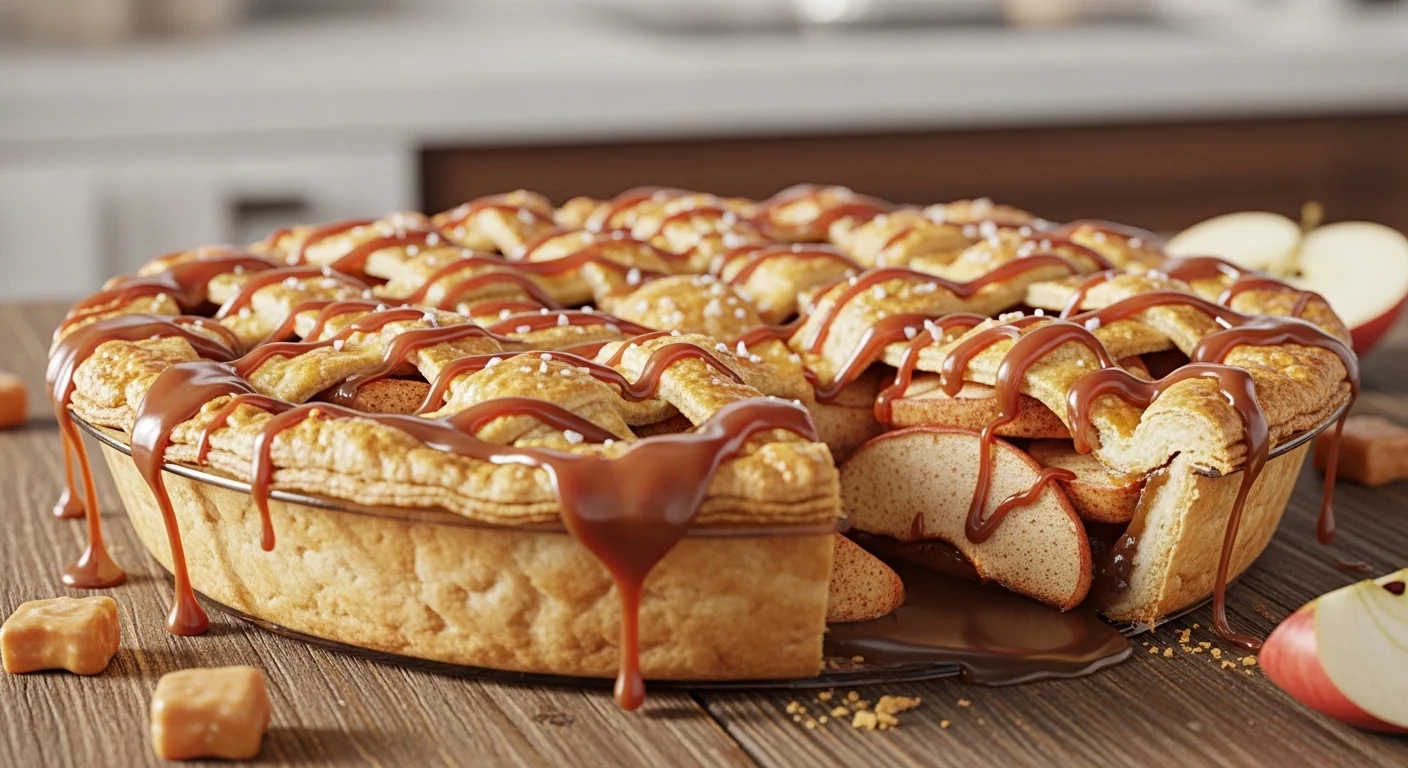
Salted Caramel Apple Pie Recipe
So you’re craving something sweet, gooey, and basically like a hug on a plate… but also don’t want to spend your entire day in the kitchen? Same. That’s exactly why this Salted Caramel Apple Pie Recipe exists. Think crisp, buttery crust. Tender, cinnamon-kissed apples. And that dreamy salted caramel drizzle that makes you question all other desserts you’ve ever had. Honestly, it’s like pie-level therapy for your taste buds.
Whether it’s a cosy Sunday, a dinner party flex, or just a “treat myself” kind of day, this pie has your back. Plus, baking it will make your whole kitchen smell like heaven. Win-win, right?
Why This Recipe is Awesome
- Flawless combo: Apples, cinnamon, and salted caramel? It’s basically magic.
- Beginner-friendly: Even if you’ve never rolled dough in your life, you can do this.
- Crowd-pleaser: Pie disappears faster than snacks at a movie night.
- Flexible ingredients: No exotic stuff required. All pantry-friendly goodness.
- Mood booster: One bite and your Monday blues—or Tuesday blues, or whatever day it is—melt away.
Honestly, this pie is foolproof. I made it on a hectic weeknight and still had people asking for seconds. True story.
Ingredients You’ll Need
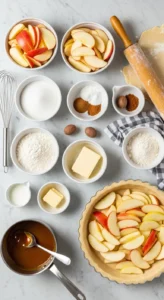
For the pie crust:
- 2 ½ cups all-purpose flour – the base layer of happiness.
- 1 tsp salt – just a pinch to balance the sweetness.
- 1 cup unsalted butter, cold & cubed – the more buttery, the better.
- 6–8 tbsp ice water – patience is key.
For the filling:
- 6–7 medium apples (Granny Smith or Honeycrisp) – tart and tender.
- ½ cup granulated sugar – sweet but not obnoxious.
- ¼ cup brown sugar – adds depth, like life advice in sugar form.
- 1 tsp cinnamon – essential pie vibes.
- ¼ tsp nutmeg – optional, but fancy.
- 2 tbsp all-purpose flour – helps thicken all that juicy goodness.
- 1 tsp vanilla extract – a little magic goes a long way.
For the salted caramel:1 cup granulated sugar – yes, more sugar, no regrets.
- 6 tbsp unsalted butter – melts into buttery perfection.
- ½ cup heavy cream – silky, dreamy creaminess.
- 1 tsp sea salt – the hero of the caramel.
Pro tip: Peel your apples for a smoother texture and slice them evenly so each bite has a perfect balance.
Step-by-Step Instructions
1. Prep the crust
Mix flour and salt in a large bowl. Cut in cold butter until it’s pea-sized crumbs. Slowly add ice water until the dough comes together. Divide into two discs, wrap, and chill for at least 30 minutes.
2. Make the filling
Peel, core, and slice your apples. Toss with sugars, cinnamon, nutmeg, flour, and vanilla extract. Set aside while you roll out your crust.
3. Roll the bottom crust
On a lightly floured surface, roll out one disc of dough into a 12-inch circle. Transfer to a 9-inch pie pan and trim the edges slightly.
4. Assemble the pie
Pour the apple filling into the crust. Roll out the second disc for the top. Go classic with a full top or fancy with a lattice. Crimp edges and cut small vents if using a full top crust.
5. Bake the pie
Preheat oven to 425°F (220°C). Bake for 20 minutes, then reduce to 375°F (190°C) and bake 35–40 minutes until the crust is golden and filling is bubbly.
6. Make the salted caramel
In a saucepan, melt sugar over medium heat until amber. Add butter and whisk until smooth. Slowly add cream, whisking constantly. Stir in sea salt and let cool slightly.
7. Serve
Drizzle salted caramel over warm slices of pie. Optional: a scoop of vanilla ice cream makes it next-level indulgent.
Common Mistakes to Avoid
- Not chilling the dough: Warm dough = sad, crumbly crust.
- Skipping the vents: Pie explosions are real. Trust me.
- Overfilling: Apples expand, and overflow happens.
- Overbaking the caramel: Burnt caramel = bitter heartbreak.
- Slicing apples unevenly: Nobody wants half mush, half raw slices.
Alternatives & Substitutions
- Pie crust shortcut: Use store-bought if you’re lazy like me sometimes. Still delicious.
- Different apples: Fuji or Gala work, but balance sweet/tart for the best flavour.
- Dairy-free caramel: Use coconut cream and vegan butter. Tastes surprisingly legit.
- Spices: Add a pinch of ginger or cloves for fall vibes.
- Sweetener swap: Maple syrup or honey can replace some sugar in the filling.
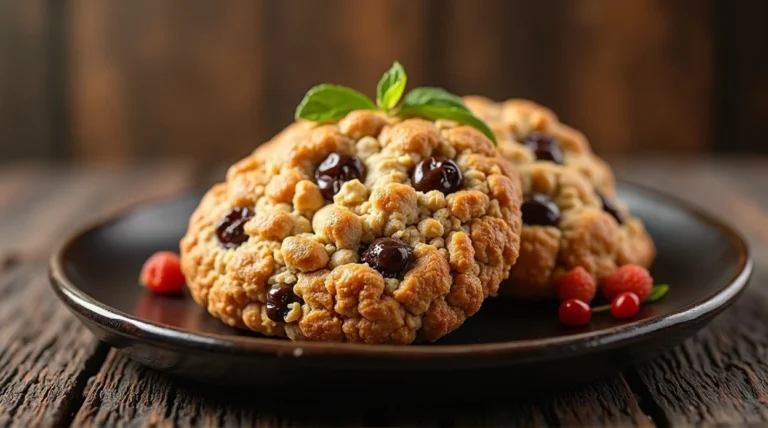
You can also try this lovely Recipe: Dark Chocolate Cherry Muffins Recipe
FAQ (Frequently Asked Questions)
Can I use frozen apples?
Yes, but make sure to thaw and drain excess water. Otherwise, soggy pie city.
Can I make the pie ahead of time?
Absolutely. Make a day ahead and store in the fridge. Warm it slightly before serving for the best results.
Can I skip the salted caramel?
You can, but why would you do that? That’s like a hug without a smile.
Can I freeze this pie?
Yep. Wrap tightly and freeze up to 2 months. Bake from frozen at 375°F (190°C) until warm.
Do I have to peel the apples?
Peeling gives a smooth texture, but it’s your pie, your rules.
Can I use a store-bought crust?
Totally. Sometimes convenience wins. Still amazing.
Can I double the caramel?
Yes, and then you’ll officially have a dessert that solves all problems.
Final Thoughts
There you have it: a Salted Caramel Apple Pie that’s sweet, salty, gooey, and basically hug-worthy. Perfect for cozy mornings, dinner parties, or just impressing yourself (because yes, you deserve it).Remember, it doesn’t have to be perfect—just delicious. Now go bake, drizzle that caramel like a pro, and enjoy every gooey bite. Your kitchen, your rules, your happiness. 🍏🍮
Salted Caramel Apple Pie Recipe
Ingredients
Method
- Preheat oven to 425°F (220°C).
- Roll out pie crust and line a 9-inch pie pan.
- In a large bowl, toss apples with sugars, cinnamon, nutmeg, and lemon juice.
- Pour apple mixture into the pie crust and dot with butter.
- Cover with top crust, seal edges, and cut slits for steam.
- Bake for 45–50 mins until crust is golden and filling is bubbly.
- Drizzle caramel sauce over baked pie and sprinkle with sea salt.
- Let cool for at least 30 mins before serving.
Notes
- Use a mix of tart and sweet apples for best flavor.
- Keep an eye on the crust edges; cover with foil if browning too quickly.
- Serve warm with vanilla ice cream for extra indulgence.
DID YOU MAKE THIS EASY RECIPE?
If you have, then share it with us by sending a photo. We’re excited to see what you’ve made 🙂