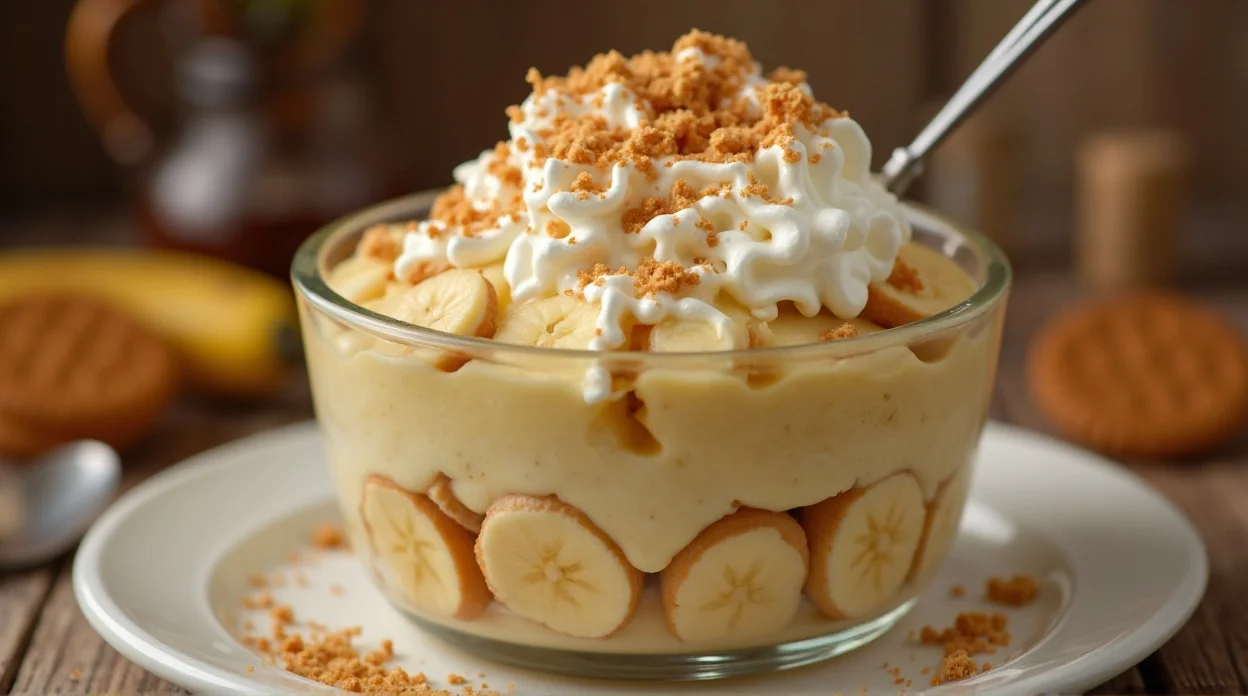
Old Fashioned Banana Pudding Recipe
So you’re craving something sweet, creamy, and dangerously easy to devour… but you also don’t want to turn your kitchen into a disaster zone? Yeah, I get you.
Enter: Old Fashioned Banana Pudding Recipe —aka the dessert that disappears faster than your motivation on a Monday morning. It’s creamy, nostalgic, layered with love (and bananas), and somehow tastes like a warm hug from grandma… even if you made it in pajamas.
Why This Recipe is Awesome
Let’s be honest—this dessert is basically undefeated:
- No complicated steps: If you can layer stuff, congrats—you’re qualified.
- Comfort food at its finest: Creamy, sweet, and just a little indulgent.
- Perfect for sharing: Or not. No judgment here.
- Classic flavor: Vanilla + banana = timeless combo.
- Beginner-friendly: It’s almost impossible to mess up. Almost.
Honestly, it’s one of those desserts where people will ask, “Did you really make this?” and you just smile like a pro.
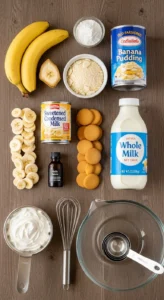
Ingredients You’ll Need
Here’s your grocery list (don’t worry, nothing fancy):
🍫 The Ultimate No-Bake Dessert Ebook 🍓
30 mouthwatering no-bake recipes you can whip up in minutes — creamy cheesecakes, fruity parfaits, chocolatey bars, and more!
- ⚡Quick & easy — no oven required
- 📖30 recipes + bonus treat
- 🍓Chocolate, fruit, nutty & refreshing flavors
- ✨Beautifully designed, instant download
- 4 ripe bananas – sweet, soft, and slightly spotty (perfection)
- 2 cups milk – whole milk = creamier vibes
- 1 box vanilla pudding mix – the shortcut hero
- 1 can sweetened condensed milk – yes, it’s as rich as it sounds
- 1 tsp vanilla extract – tiny ingredient, big personality
- 1 pack vanilla wafers – the crunchy layer that softens beautifully
- 2 cups whipped cream – fluffy clouds of happiness
Pro Tip: Use ripe bananas—not green, not mushy. Goldilocks level only.
Step-by-Step Instructions
1. Make the Pudding Base
- In a bowl, whisk together milk and pudding mix until smooth. Let it sit for a few minutes to thicken.
- Add the sweetened condensed milk and vanilla extract. Stir until creamy and irresistible.
2. Slice the Bananas
- Peel and slice your bananas into even rounds.
- Try not to eat half of them while slicing. (No promises, though.)
3. Start Layering
- Grab a dish (glass looks fancy, FYI).
Layer like this:
- Vanilla wafers
- Banana slices
- Pudding mixture
- Repeat until you run out of ingredients or patience—whichever comes first.
4. Add the Whipped Cream
- Spread whipped cream generously on top.
- Don’t be shy—this is not the time for restraint.
5. Chill Time
- Refrigerate for at least 4 hours (overnight is even better).
- This lets everything soften and blend into dessert magic.
6. Serve & Enjoy
- Scoop it out, admire your masterpiece for 2 seconds, then dig in.
Common Mistakes to Avoid
- Using unripe bananas: Crunchy bananas? Absolutely not.
- Skipping chill time: You want flavors to meld, not fight.
- Overmixing pudding: Keep it smooth, not weirdly runny.
- Too many wafers: Balance is key—you’re making pudding, not a cookie tower.
- Eating it immediately: Patience = better flavor.
Alternatives & Substitutions
- Homemade pudding: Go full traditional if you’ve got time. Respect.
- Cool Whip instead of whipped cream: Works just fine.
- Different cookies: Graham crackers or digestive biscuits can step in.
- Dairy-free version: Use plant-based milk and whipped topping.
- Add caramel drizzle: Because why not make it extra?
IMO: The classic version still hits the hardest. Don’t overcomplicate it.
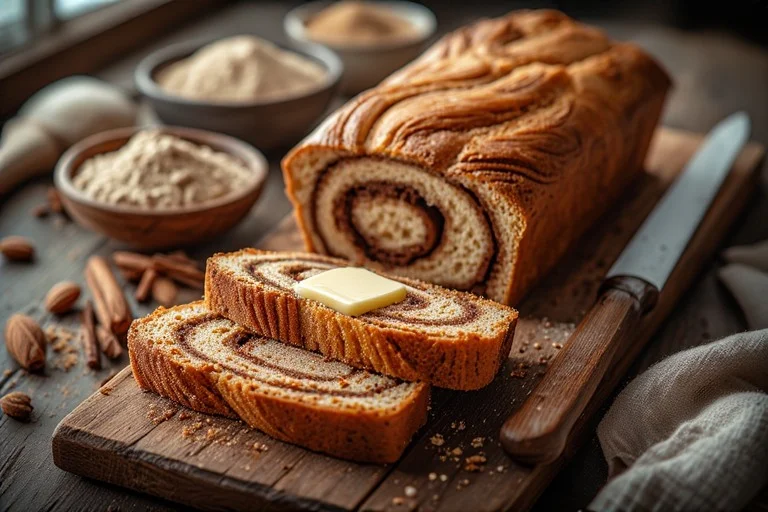
You can also try this lovely Recipe: Gluten Free Seeded Bread Recipe
FAQ (Frequently Asked Questions)
Can I make this ahead of time?
Absolutely! In fact, it tastes better the next day. Planning ahead = smart move.
How do I keep bananas from turning brown?
A little lemon juice helps, but honestly, layering and chilling quickly does the trick.
Can I freeze banana pudding?
You can, but the texture might change. It’s best enjoyed fresh and chilled.
Can I use homemade whipped cream?
Of course! It’ll taste even better—just whip cream with a bit of sugar and vanilla.
What’s the best dish to use?
Glass dishes look amazing and show off those pretty layers. But hey, any bowl works.
Can I reduce the sweetness?
You can skip condensed milk or use less, but remember—this is dessert, not salad.
How long does it last?
About 2–3 days in the fridge. After that, it’s… questionable.
Final Thoughts
This Old Fashioned Banana Pudding Recipe is one of those desserts that never goes out of style. It’s simple, comforting, and guaranteed to impress—whether you’re making it for guests or just treating yourself after a long day. So grab those bananas, layer like a pro, and let the fridge do its thing.
Now go ahead—make it, chill it, and try not to eat the whole dish in one sitting. (No promises, though.) 😄
Old Fashioned Banana Pudding Recipe
Ingredients
Method
- In a saucepan, heat milk over medium heat until warm.
- Whisk egg yolks, sugar, flour, and salt in a bowl until smooth.
- Slowly pour warm milk into the egg mixture while whisking constantly.
- Return mixture to saucepan and cook, stirring constantly, until thickened.
- Remove from heat and stir in vanilla extract.
- Whip heavy cream until soft peaks form, then fold into the pudding mixture if desired for extra creaminess.
- In a serving dish, layer vanilla wafers, banana slices, and pudding; repeat layers.
- Chill for at least 2 hours before serving.
Notes
- Use ripe bananas for maximum sweetness and flavor.
- Allow pudding to chill to set properly.
- Optional: top with whipped cream or extra vanilla wafers for garnish.
DID YOU MAKE THIS EASY RECIPE?
If you have, then share it with us by sending a photo. We’re excited to see what you’ve made 🙂