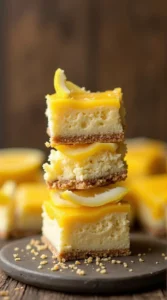
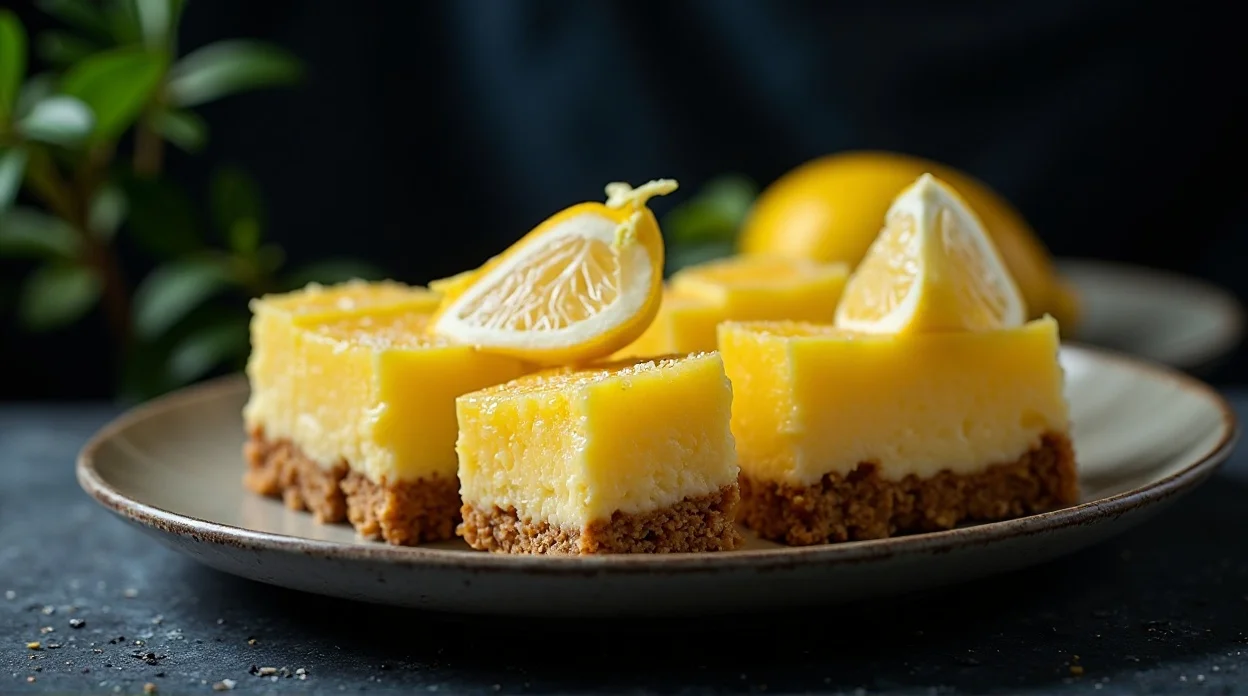
No Bake Lemon Cheesecake Bars Recipe
So you want dessert… but turning on the oven feels like a personal attack? Yeah, same. 😅
These No-Bake Lemon Cheesecake Bars are here to save your lazy yet fancy dessert dreams. They’re creamy, tangy, slightly sweet, and honestly? They taste like sunshine decided to become dessert. No baking, no stress, no regrets.
Why This Recipe is Awesome
Let me hype this up properly:
- No oven = no sweating in the kitchen. Bless.
- Super easy—like, “I made this half-asleep” easy.
- That lemony zing? Chef’s kiss.
- Perfect for parties… or eating alone in your room. No judgment.
- Make-ahead friendly (aka future you will be grateful).
Also, it’s pretty much foolproof. If you mess this up… we might need to talk. 😄
Ingredients You’ll Need
Here’s your simple shopping list—nothing fancy, promise:
- 200g digestive biscuits (or graham crackers) – your crunchy base
- 100g melted butter – because butter makes life better
- 400g cream cheese – the creamy superstar
- 1 cup heavy cream – for that rich, dreamy texture
- 3/4 cup powdered sugar – sweetness level: just right
- 1/3 cup fresh lemon juice – the zing we live for
- 1 tbsp lemon zest – extra lemony punch
- 1 tsp vanilla extract – subtle but important
- Optional: lemon slices or zest for garnish – because we love pretty food
Pro tip: Use fresh lemon juice. The bottled stuff? Meh… it works, but fresh is WAY better.
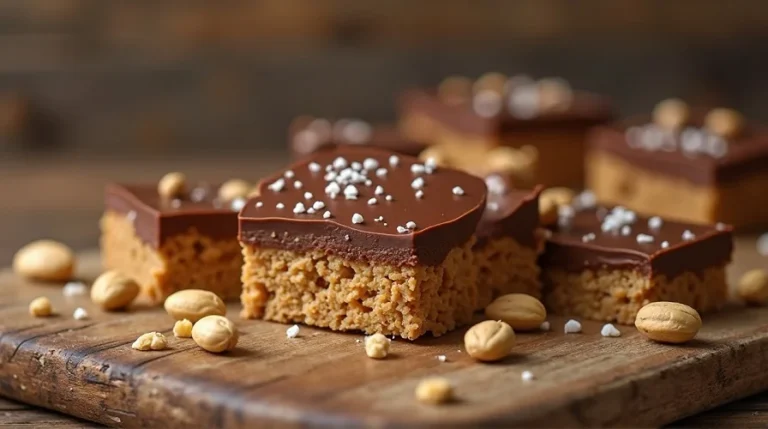
More About us: Peanut Butter Oreo Fudge Recipe
🍫 The Ultimate No-Bake Dessert Ebook 🍓
30 mouthwatering no-bake recipes you can whip up in minutes — creamy cheesecakes, fruity parfaits, chocolatey bars, and more!
- ⚡Quick & easy — no oven required
- 📖30 recipes + bonus treat
- 🍓Chocolate, fruit, nutty & refreshing flavors
- ✨Beautifully designed, instant download
Step-by-Step Instructions
1. Make the Base
Crush your biscuits into fine crumbs. You can use a food processor or just go old-school and smash them in a zip bag. Stress relief + cooking? Win-win.
Mix crumbs with melted butter until they look like wet sand. Press it firmly into a lined baking dish. Chill in the fridge for 15–20 minutes.
2. Prepare the Filling
In a bowl, beat cream cheese until smooth. No lumps allowed—this is cheesecake, not cottage cheese.
Add powdered sugar and mix well. Then pour in lemon juice, zest, and vanilla extract. Mix until creamy and dreamy.
3. Whip the Cream
In another bowl, whip the heavy cream until soft peaks form. Not butter. Please don’t accidentally make butter. 😅
Gently fold the whipped cream into the cheesecake mixture. Be gentle—this is not a wrestling match.
4. Assemble
Pour the filling over your chilled crust. Smooth the top like you’re icing a cake (or pretending to be on a baking show).
5. Chill Time
Refrigerate for at least 4–6 hours. Overnight is even better if you can wait that long (respect if you can’t).
6. Slice & Serve
Once set, cut into bars and garnish with lemon slices or zest.
Take a bite and try not to smile. I dare you.
Common Mistakes to Avoid
Let’s save you from heartbreak:
- Skipping the chilling time – Patience is key. This isn’t instant noodles.
- Overmixing the whipped cream – Congrats, you made butter.
- Not softening cream cheese – Lumps = bad vibes.
- Using too much lemon juice – We want tangy, not “sour shock.”
- Loose crust – Press it firmly, or it’ll fall apart like your Monday motivation.
Alternatives & Substitutions
Because life happens:
- No digestive biscuits? Use graham crackers or even Oreos (remove filling unless you want it extra sweet).
- No heavy cream? You can use whipped topping, but IMO, real cream tastes better.
- Want it healthier? Swap sugar with honey or a sugar substitute.
- Not a lemon fan? Try lime or even orange for a twist.
- Feeling fancy? Add a berry topping. Suddenly, you’re running a dessert café. 😉
FAQ (Frequently Asked Questions)
Can I freeze these cheesecake bars?
Yep! Freeze them for up to a month. Just thaw before serving… unless you enjoy rock-solid cheesecake (no judgment).
Can I use bottled lemon juice?
Technically, yes… but fresh lemon juice tastes way better. Like, noticeably better.
How long do they last in the fridge?
About 4–5 days. If they last that long without being eaten, you deserve an award.
Can I make this without cream cheese?
Not really… that’s kinda the whole cheesecake thing. But you can try mascarpone for a slightly different vibe.
Why didn’t my cheesecake set?
Either it didn’t chill long enough, or your ratios were off. Measure carefully and chill properly.
Can I make it vegan?
Yes! Use vegan cream cheese, coconut cream, and plant-based butter. It’ll still taste amazing.
Final Thoughts
And there you have it—your new go-to dessert when you want something impressive without actually trying too hard. 😎
These No-Bake Lemon Cheesecake Bars are creamy, refreshing, and dangerously easy to eat. Make them once, and suddenly everyone thinks you’re a dessert genius.
Now go ahead—make a batch and treat yourself (or flex a little on your friends). You’ve earned it! 🍋
No Bake Lemon Cheesecake Bars Recipe
Ingredients
Method
- Crush digestive biscuits into fine crumbs
- Mix crumbs with melted butter until combined
- Press mixture firmly into a lined pan to form the base
- Refrigerate the base for 15–20 minutes
- Beat cream cheese until smooth and lump-free
- Add powdered sugar and mix well
- Stir in lemon juice, lemon zest, and vanilla extract
- Whip heavy cream until soft peaks form
- Fold whipped cream gently into the cream cheese mixture
- Pour filling over the chilled crust and smooth the top
- Refrigerate for at least 4–6 hours or until set
- Slice into bars and serve chilled
Notes
Do not skip the chilling time for proper setting
Soften cream cheese before mixing to avoid lumps
Press crust firmly to prevent crumbling
Store leftovers in the refrigerator for up to 5 days DID YOU MAKE THIS EASY RECIPE? If you have, then share it with us by sending a photo. We’re excited to see what you’ve made:-):