

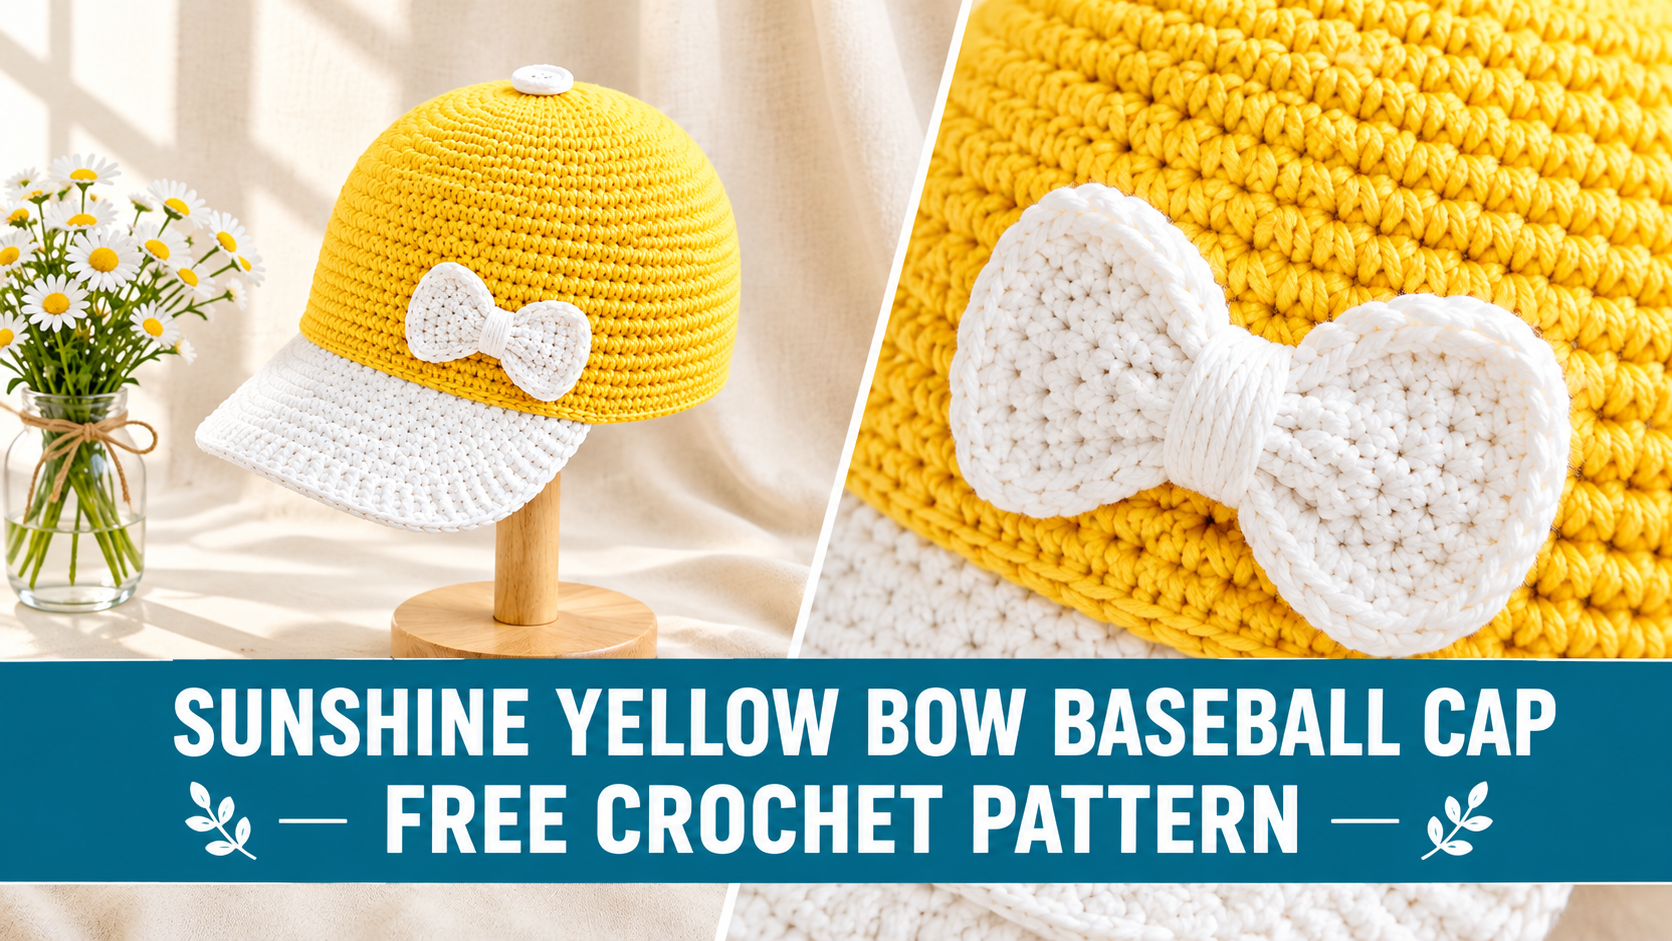
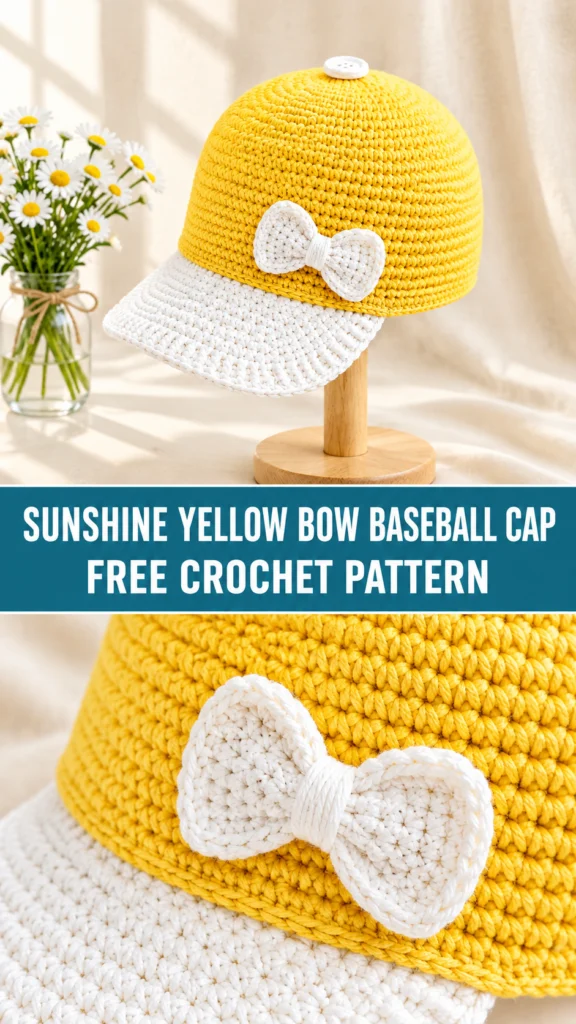
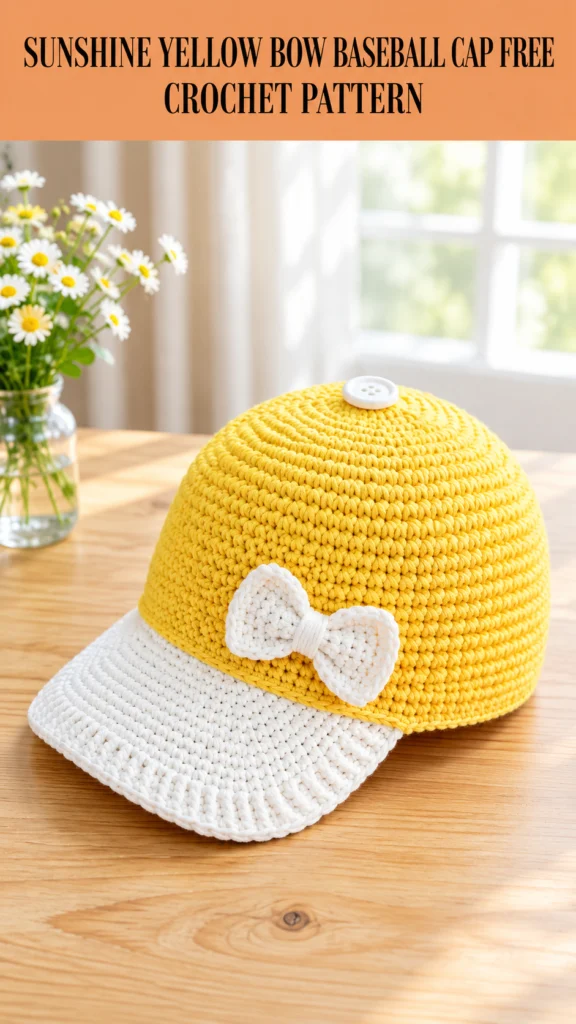
I call this little hat “Sunshine” for a reason — one glance at that bright yellow dome and sweet white bow and the whole room feels warmer. The design started as a quick sketch for my niece’s spring photos years ago, then sat in a notebook until I finally brought it to life. Now it’s a structured toddler baseball cap with a soft yellow crown, crisp white brim, and a tiny crocheted bow that makes people ask where you bought it. Ready to make one that looks store-bought but feels completely handmade?
About This Crochet Baseball Cap Pattern
This toddler baseball cap works from the top down in continuous rounds, so you skip the join-and-chain dance at the end of every round. The crown builds a smooth dome with simple single-crochet increases, then drops straight down for the sides. You make the brim as a separate flat piece and sew it on, which keeps the shape clean and structured.
Finished measurements:
Head circumference: 18.5 inches (fits roughly 12 months to 3 years)
Crown height: about 5.5 inches
Brim projection: around 2.25 inches
Brim width at the widest point: about 6 inches
Skill level sits at intermediate. You need to feel comfortable working in continuous rounds, counting stitches carefully, and sewing pieces together. If you’ve only made flat squares or basic beanies so far, this project stretches those skills in the best way.
Time-wise, plan for 6 to 9 hours total. The crown takes 2–3 hours, the brim another 1–1.5 hours, the bow 30–45 minutes, and assembly the rest. FYI, it’s one of those projects that looks way more complicated than it actually is once you get going.
Materials Needed
Yarn:
Color A (Yellow): about 120 yards of worsted-weight cotton or cotton-blend
Color B (White): about 60 yards of the same weight
Lion Brand 24/7 Cotton gives fantastic stitch definition. Paintbox Yarns Simply DK works if you like a slightly tighter fabric. Drops Safran also creates nice structure. Stick with cotton or cotton blends — they breathe, hold their shape, and stay gentle on little heads. Skip anything fuzzy; you want clean stitches for that crisp baseball-cap look.
Hook: US size G-6 / 4.0 mm
Notions:
- 1 locking stitch marker
- Yarn needle
- One ⅝-inch white 4-hole button
- Sewing needle and white thread
- Optional: thin cardboard, plastic canvas, or stiff interfacing for the brim (about 2.5 × 5.5 inches)
- Scissors and rust-proof pins
Gauge
Aim for 18 single crochets by 22 rounds in 4 inches, worked in continuous rounds with the G-6 hook.
Chain 20, work flat single crochet for 24 rows, block lightly, and measure an interior 4-inch square. Too small? Go up a hook size. Too big? Drop down. Don’t skip this step — the hat needs a specific circumference, and off-gauge turns into a too-tight or floppy disaster.
Abbreviations and Stitch Definitions
Here’s the short list so nothing surprises you later:
- ch — chain
- sc — single crochet
- inc — increase (2 sc in the same stitch)
- sl st — slip stitch
- st(s) — stitch(es)
- rnd — round
- MR — magic ring
- sc2tog — single crochet two together (decrease)
- RS / WS — right side / wrong side
Special Stitches
Magic Ring: Make a loop, insert the hook, work the stitches into the center, then pull the tail tight for a closed center with no hole.
sc2tog: Insert into the next stitch and pull up a loop, insert into the following stitch and pull up another loop, yarn over and pull through all three. One stitch gone.
Pattern Notes Before You Begin
Work the crown in continuous rounds — no slip-stitch joins. Pop a stitch marker in the first stitch of every round and move it up so you never lose your place.
Don’t turn unless the pattern specifically tells you to. The right side faces you the entire time on the crown. The brim works flat in rows, then gets sewn on. Stitch counts sit in parentheses at the end of each round or row. When you change colors, finish the last yarn-over of the old color with the new one. And that turning chain? It never counts as a stitch.
Building the Crown, Brim, and Bow
Start at the top with a magic ring and six single crochets. Increase evenly over the next thirteen rounds until you hit 84 stitches and a flat circle about 7.5 inches across. If it cups, loosen up or go up a half-hook size. If it ruffles, tighten or drop a half size.
Once the circle is done, work twelve even rounds of single crochet for the sides. The crown should measure roughly 5 to 5.25 inches deep with an 18.5-inch opening. Add a couple extra even rounds if you want a deeper hat.
Join the white yarn for two rounds of single crochet to create the crisp band at the bottom. Fasten off and set the crown aside.
The brim starts with a foundation chain of 28 and grows with increases on alternate rows until the top edge hits 39 stitches. Work a neat single-crochet border around the three outer edges so everything looks polished. The long 39-stitch edge attaches to the crown; the curved foundation edge becomes the visor tip.
For the bow, crochet a small rectangle and a tiny wrap strip. Fold the rectangle, whipstitch the long edge, pinch the center, and wrap the strip tightly around the middle. Secure the ends and you’ll have a perfect little bow ready to stitch on.
Assembly and Finishing
Optional but recommended: slip a piece of thin cardboard or plastic canvas inside the brim for that classic flat shape. Fold the brim so the stiffener stays hidden, then whipstitch or mattress-stitch the top edge of the brim to the front 39 stitches of the crown. Keep the tension even so the brim sits flat and doesn’t pucker.
Position the bow right where the yellow meets the white band at the front center. Stitch it securely through the back of the wrap. Sew the white button over the magic-ring center at the very top with doubled thread, making plenty of passes so it stays put. Weave in every last end on the inside and trim the tails short.
A light steam or gentle block helps the crown settle into a smooth dome and the brim hold its curve. Let it dry completely before trying it on your favorite little head.
Care Instructions
Hand wash cold or machine wash on gentle in a mesh bag. Lay flat to dry. Skip the dryer and bleach so the shape and color stay bright. Store it on a flat surface or stuffed lightly so the brim doesn’t crease.
You Might Also Like
- Sky Blue Bobble Stitch Baby Coverall Free Crochet Pattern
- Autumn Spice Chameleon Amigurumi Free Crochet Pattern
- Snow White Dragon Amigurumi Plush Free Crochet Pattern
- Ocean Wave Baby Romper Free Crochet Pattern
- Monochrome Cream Bell Sleeve Crochet Dress Free Pattern
FAQ
Will this fit a newborn or older child?
The pattern is written for roughly 12 months to 3 years at 18.5 inches. For a smaller head, stop the increases a couple of rounds earlier and work fewer even rounds. For a bigger head, keep increasing or add more side rounds. Always measure as you go.
Do I really need the brim stiffener?
No, but it makes a huge difference if you want that crisp, store-bought baseball-cap look. Without it the brim stays soft and flops a little — still cute, just different.
Can I use acrylic yarn instead of cotton?
You can, but cotton or cotton-blend holds structure better and breathes more. Acrylic tends to stretch and lose the sharp shape over time, especially with little hands pulling on it.
How do I keep the continuous rounds from spiraling unevenly?
That stitch marker is your best friend. Move it up every single round and count your stitches every few rounds. A consistent tension also helps the spiral stay neat.
Is the bow hard to make?
Not at all. It’s just a small rectangle and a tiny strip. Pinch, wrap, stitch — done in under an hour. The hardest part is deciding not to make a dozen more in different colors.
You Did It!
That sunshine-yellow crown, crisp white brim, and tiny bow come together into one of the cutest toddler caps you’ll ever stitch. It looks polished enough for photos yet soft enough for everyday wear. Drop a comment with your color choices if you make one — I love seeing the variations. Now grab that bright yellow yarn and get started. Your little ray of sunshine is waiting.


Leave a Reply
You must be logged in to post a comment.