

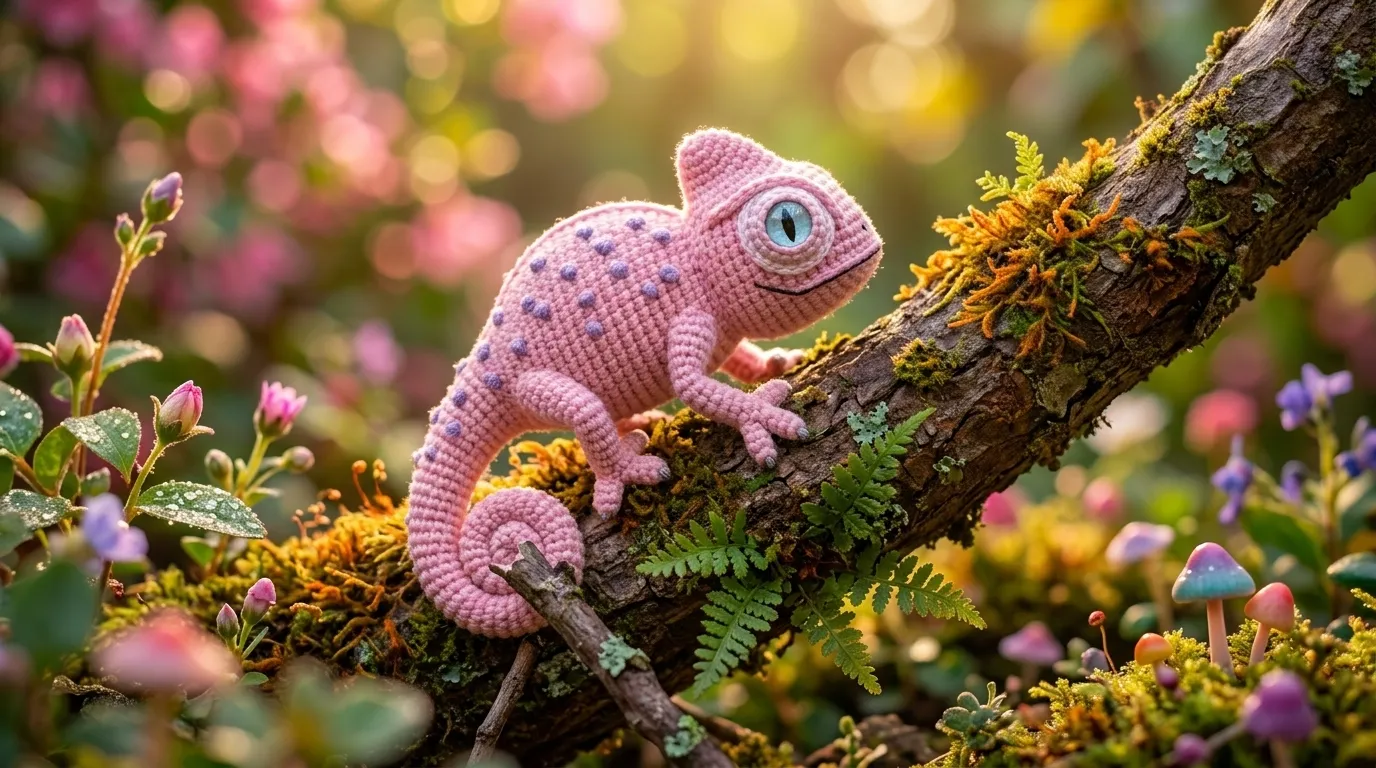
This little cotton candy pink chameleon might be the sweetest reptile you’ll ever crochet. With its curled tail, sleepy turret eyes, and soft blush tones, it looks like it wandered straight out of a candy shop. The best part? You can make one for free using basic amigurumi stitches. Grab your hook and your favorite pink yarn—let’s make something adorable.
Why You’ll Fall in Love With This Chameleon
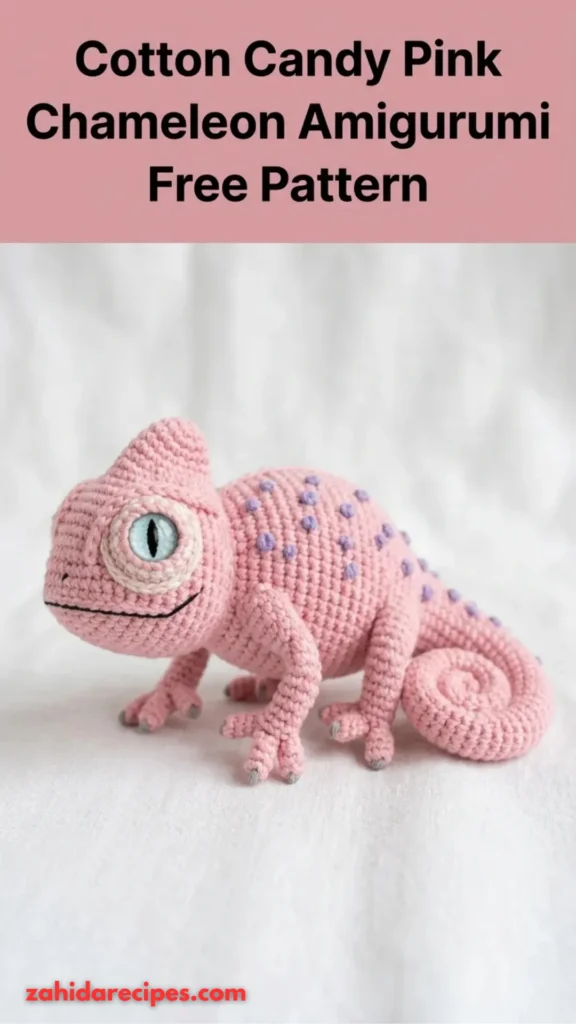
Most amigurumi chameleons lean hard into jungle greens and earthy browns. Not this one. The cotton candy pink version feels fresh, modern, and just a little bit unexpected.
The design captures everything charming about real chameleons without being overly complicated. You get the signature curled tail, the little head crest, and those big expressive eyes that make people pick it up and go “aww.” <strong>Beginners who already know how to work in continuous rounds can absolutely handle this pattern.</strong>
The tail naturally spirals when you stuff it lightly, so you don’t need any wire or fancy techniques to get that iconic shape. Simple increases and decreases handle the eye sockets, and you can add the little color spots at the very end for total control.
IMO, pink beats green any day for this project. It stands out on a shelf, looks adorable in a nursery, and makes a way more personal gift than another standard plushie.
What You’ll Need to Get Started
Before you dive in, gather these supplies. Nothing here is hard to find, and you probably already own half of it.
<strong>Materials list:</strong>
- Worsted weight yarn in cotton candy pink (about 150 yards for the main color)
- Small amount of a contrasting color for spots—soft mint or teal works beautifully
- A lighter shade for the eye ridges (about 10 yards)
- Tiny bit of dark yarn for the mouth
- 3.5 mm crochet hook (US E/4)
- 18 mm safety eyes with vertical pupils
- Polyester fiberfill stuffing
- Tapestry needle, stitch marker, pins, and scissors
If you want crisp stitch definition, go with a cotton-acrylic blend. Pure acrylic works too—just skip anything fuzzy that’ll hide your hard work. The goal is tight, even stitches that keep the stuffing from peeking through.
Stitch Abbreviations You’ll Actually Use
No need to memorize a giant list. Here’s everything this pattern calls for:
- <strong>MR</strong> = magic ring
- <strong>ch</strong> = chain
- <strong>sc</strong> = single crochet
- <strong>inc</strong> = increase (2 sc in the same stitch)
- <strong>dec</strong> = invisible decrease (front loops only of next 2 stitches)
- <strong>sl st</strong> = slip stitch
- <strong>FLO</strong> = front loop only
- <strong>BLO</strong> = back loop only
Everything works in continuous spirals. Move your stitch marker up every round so you don’t lose your place.
Making the Body and Head
The body starts at the snout and works backward, which sounds weird but makes total sense as you go. You’ll shape the classic chameleon silhouette with strategic increases and decreases.
Begin with a magic ring and build the snout through steady increases. Keep widening through the eye area until the head reaches its fullest point. Then decrease slightly, stuff the head firmly, and widen again for the upper body.
The middle section stays pretty even—this is the long part of the body. Keep stuffing as you work so the shape stays smooth. Toward the end, taper down to a small opening for the tail attachment.
<strong>Pro tip:</strong> Stuff firmly but don’t stretch the stitches. You want the body firm enough to hold its shape but soft enough to feel huggable.
Here’s the body once the head takes shape and you’ve added the first bit of stuffing.
Crocheting the Curled Tail
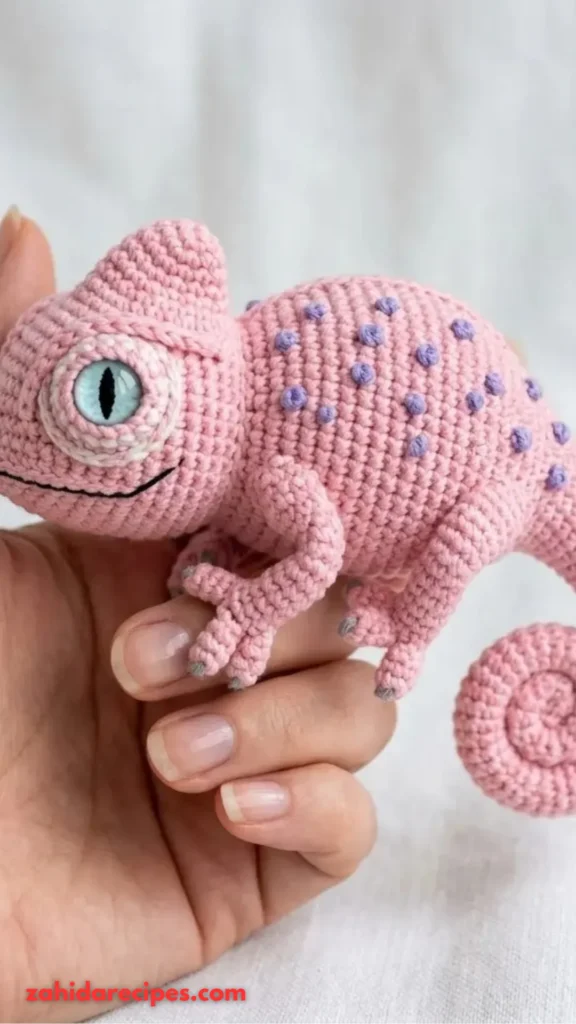
This is the piece that makes everyone say “chameleon” instantly.
Start with a magic ring and work a short even section. Then decrease gradually while keeping the tube long and thin. The magic happens when you stuff it—<strong>stuff only the base lightly and leave the tip completely empty.</strong>
That’s it. The natural spiral appears on its own when you position it during assembly. No wire, no fighting with shape, no frustration.
Pin the tail in place and let it curl however it wants. Every chameleon ends up with a slightly different tail swirl, which makes yours one of a kind.
Four Little Legs (Make 4)
All four legs are identical, so once you nail the first one, the rest fly by.
Begin with a magic ring, increase for a rounded foot, then decrease and work a longer even tube for the leg. Stuff the foot lightly and leave the upper portion mostly empty so the legs can lie flat.
Before you sew anything permanently, pin all four legs to the body and check the sitting balance. Adjust the angles until your chameleon looks stable. There’s nothing worse than finishing assembly and realizing your plushie face-plants every time you set it down.
Adding the Head Crest and Eye Ridges
The head crest gives your chameleon that unmistakable silhouette. Chain a foundation and work short rows of decreases to form a triangle. The finished crest curves slightly when you sew it on.
Pin it just behind the eyes and angle it upward toward the back of the head. Take your time positioning this—it changes the whole expression of the face.
For the eye ridges, chain two long strands (about 35 chains each). Coil each one around a safety eye to create a raised turret ridge. Start at the inner corner and spiral outward, then tack the chain down with tiny matching stitches.
<strong>These ridges are what transform ordinary safety eyes into proper chameleon turrets.</strong> They’re worth the extra few minutes.
Assembly and Finishing Touches
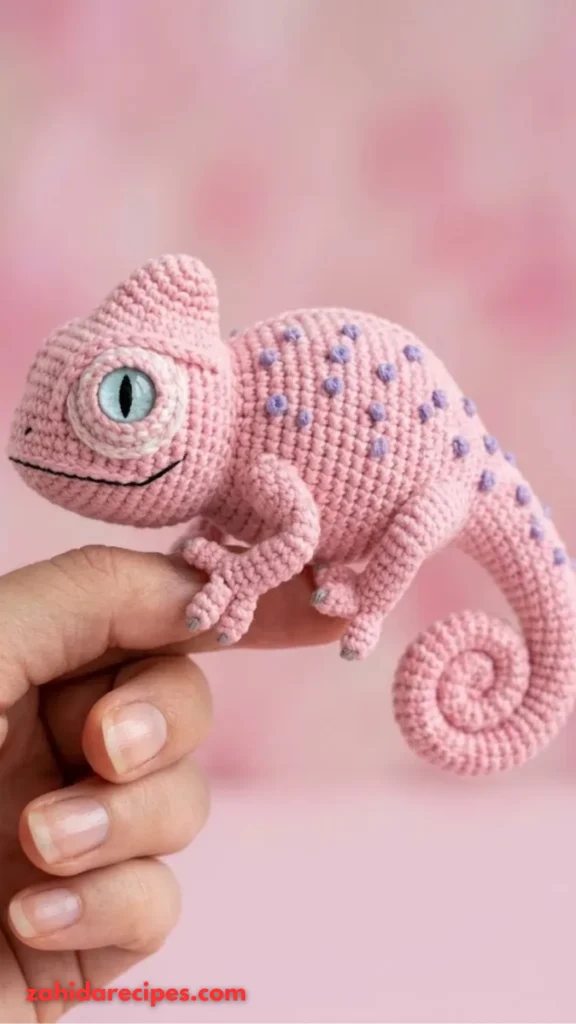
Now comes the satisfying part—putting it all together.
Pin every piece in place first. Legs, tail, crest, eye ridges. Once you’re happy with the arrangement, sew everything down using the long tails you left. Work slowly and check symmetry as you go.
Add the safety eyes into the sockets you shaped earlier. Make sure the washers snap on tight—these aren’t coming out once they’re locked in.
Use a tiny bit of dark yarn to embroider the mouth. A simple curved line does the job. Keep it subtle; you want people to focus on those big eyes.
Finally, add the color spots. You can stitch them on with a simple surface technique or use small pieces of felt. IMO, scattered spots look more natural than perfectly placed ones. Let them fall wherever feels right.
Care Tips for Your Finished Chameleon
Your cotton candy chameleon is now ready for snuggles, shelf display, or gift-wrapping.
<strong>Spot clean with mild soap and cold water when needed.</strong> Avoid tossing it in the washing machine—the stuffing can clump and the safety eyes might loosen.
If you used acrylic yarn, a gentle hand wash works fine. Cotton blends can handle a little more scrubbing, but always be gentle around the embroidered mouth.
Keep it away from direct sunlight for long periods. Even the best yarns fade over time, and you want that pink to stay vibrant.
You Might Also Like:
- Dusty Blue Sailboat Baby Dress Free Crochet Pattern
- Coral Peach Summer Crochet Dress Free Pattern
- Peachy Keen Summer Toddler Dress Free Crochet Pattern
Wrapping Up
This cotton candy pink chameleon proves that amigurumi doesn’t have to follow the rules. Real chameleons might be green, but your crochet version can be whatever color makes you smile.
The pattern uses basic stitches and straightforward shaping. If you’ve made a few amigurumi projects before, you’ll breeze through this one. And if you’re newer to crochet, the worst-case scenario is you end up with a slightly wonky but still adorable little reptile.
So grab that pink yarn and get started. Your candy-colored chameleon is waiting to come to life.





Leave a Reply
You must be logged in to post a comment.