

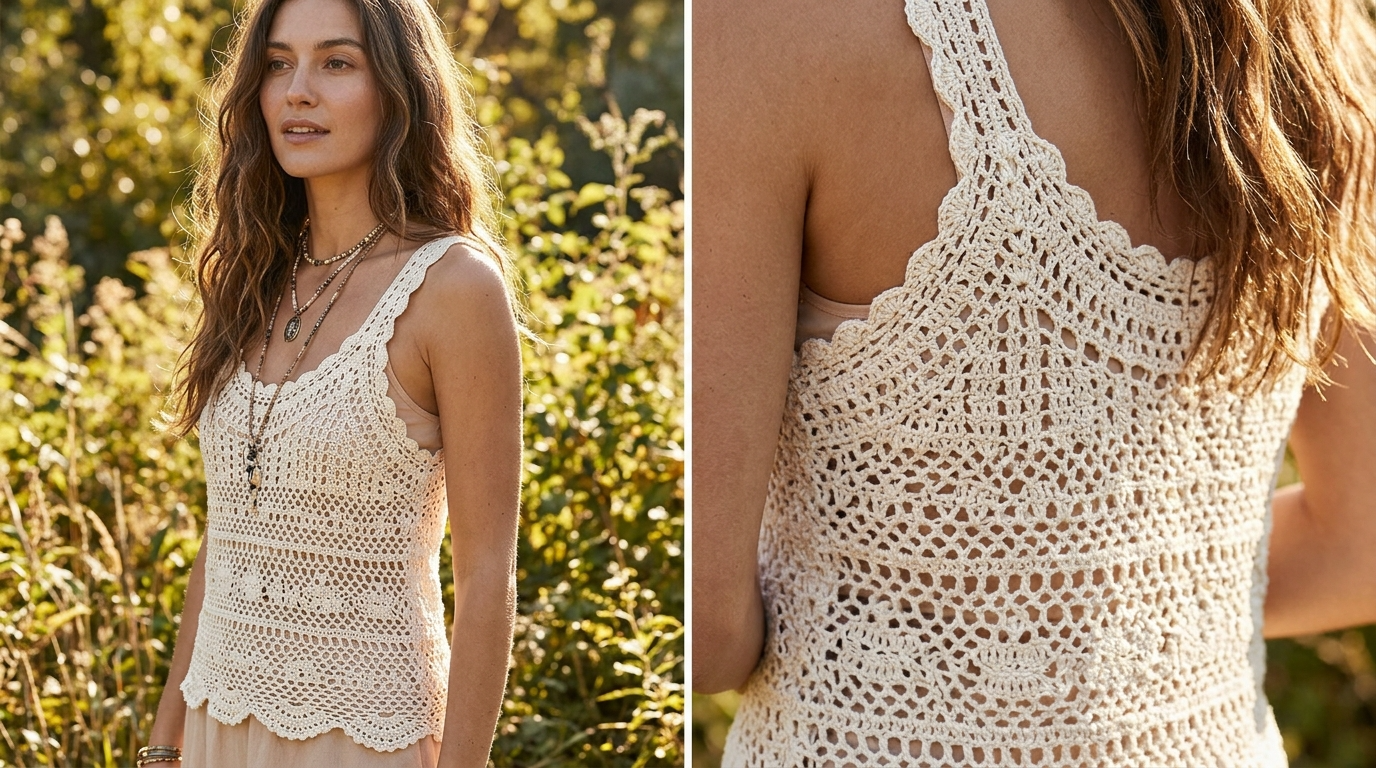
Some crochet projects are beautiful because of their colors, while others stand out because of the delicate details hidden in their stitches. For me, this Ivory Bohemian Lace Tank is all about those little details. I wanted to create a lightweight summer top that felt feminine, relaxed, and comfortable without looking overly complicated.
I imagined a soft ivory garment with an airy lace texture, a flattering neckline, and just enough bohemian character to make it interesting. The kind of top you could wear with denim shorts on a warm afternoon, layer over a simple camisole, or pair with a flowing skirt for a relaxed summer outfit.
The design uses repeating lace sections, simple shaping, and a decorative scalloped border. Although the finished top looks intricate, the stitch pattern becomes quite manageable once you understand the repeat.
This Ivory Bohemian Lace Tank Crochet Pattern is designed to give you a wearable handmade piece with beautiful drape and timeless summer style.
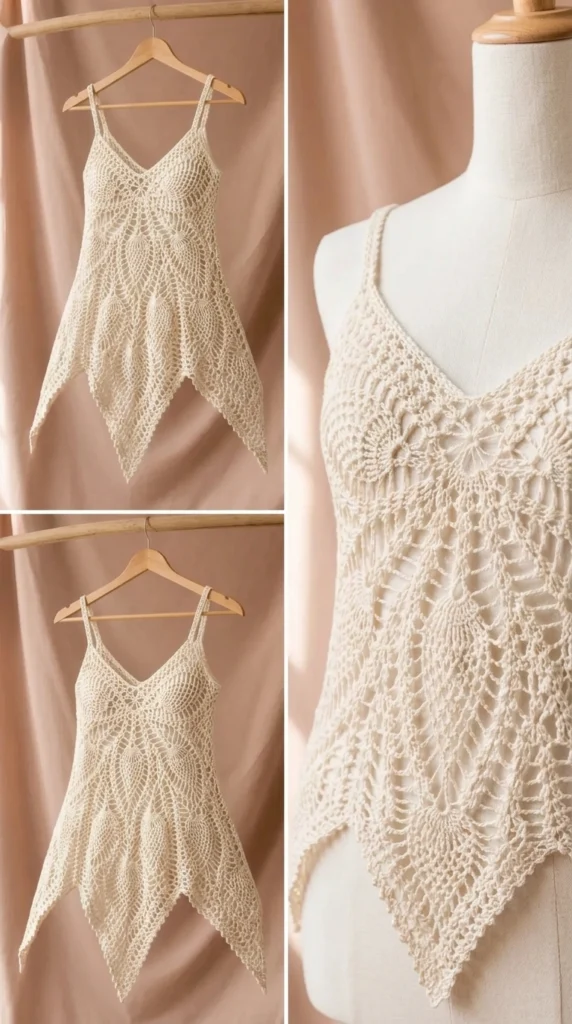
About This Ivory Bohemian Lace Tank Pattern
This tank top is made from two separate panels: a front panel and a back panel. Both panels are worked from the bottom upward, using a repeating combination of double crochet stitches, chain spaces, and open lace clusters.
After completing the panels, you will seam the shoulders and sides, leaving openings for the neckline and armholes. The neckline and armholes receive simple crochet edging, while the bottom features a decorative scalloped border.
The overall appearance is relaxed and slightly fitted, with an attractive openwork texture.
Skill Level: Intermediate
You should feel comfortable with chain stitches, single crochet, double crochet, working into chain spaces, and basic garment assembly.
Finished Measurements
| Size | Bust | Length |
| XS | 32 in | 20 in |
| S | 34 in | 21 in |
| M | 38 in | 22 in |
| L | 42 in | 23 in |
| XL | 46 in | 24 in |
| 2XL | 50 in | 25 in |
The top is designed with approximately 2 inches of positive ease. Choose a size based on your actual bust measurement and preferred fit.
Materials You’ll Need
Yarn
Choose a soft cotton or cotton-blend yarn to achieve a comfortable fabric with beautiful drape.
- Yarn A – Ivory: Approximately 650–750 yards for XS–S.
- Yarn A – Ivory: Approximately 750–900 yards for M–L.
- Yarn A – Ivory: Approximately 900–1,100 yards for XL–2XL.
- Yarn Weight: Category 2, fine or sport-weight yarn.
- Fiber: Cotton, cotton-bamboo blend, or lightweight cotton blend.
Allow approximately 15% extra yarn if your gauge tends to be loose or you prefer a longer top.
Crochet Hooks
- 3.5 mm crochet hook for the main fabric.
- 3.0 mm crochet hook for neckline, armholes, and decorative edging.
Additional Supplies
- Tapestry needle.
- Stitch markers.
- Measuring tape.
- Scissors.
- Blocking mats.
- Rust-resistant blocking pins.
Abbreviations and Terminology
This pattern uses US crochet terminology.
| Abbreviation | Meaning |
| ch | Chain |
| st | Stitch |
| sts | Stitches |
| sl st | Slip stitch |
| sc | Single crochet |
| dc | Double crochet |
| sk | Skip |
| sp | Space |
| ch-sp | Chain space |
| rep | Repeat |
| RS | Right side |
| WS | Wrong side |
| FO | Fasten off |
Stitch Explanations
Chain (ch): Yarn over and pull through the loop on your hook.
Slip Stitch (sl st): Insert your hook into the indicated stitch, yarn over, and pull through both the stitch and the loop on your hook.
Single Crochet (sc): Insert your hook into the stitch, yarn over and pull up a loop. Yarn over again and pull through both loops.
Double Crochet (dc): Yarn over, insert your hook, pull up a loop, yarn over and pull through two loops, then yarn over and pull through the remaining two loops.
Lace Cluster: Work 3 double crochet stitches into the same chain space.
Scallop: Work 5 double crochet stitches into the same indicated stitch or space.
Turning Chain: Chain 3 at the beginning of a row. It does not count as a stitch unless specifically stated.
Gauge
Gauge is important because the top needs enough drape without becoming too loose or oversized.
Using the 3.5 mm hook, work the following swatch:
- Chain 30.
- Work the lace pattern for approximately 12 rows.
- Block the swatch gently before measuring.
Target Gauge:
- 18 double crochet stitches = 4 inches.
- 9 rows = approximately 4 inches in the main pattern fabric.
The lace pattern naturally creates open spaces, so measure across the solid stitch sections rather than stretching the holes.
If your swatch is wider than 4 inches, try a smaller hook. If it is narrower, move up one hook size.
Main Pattern Instructions
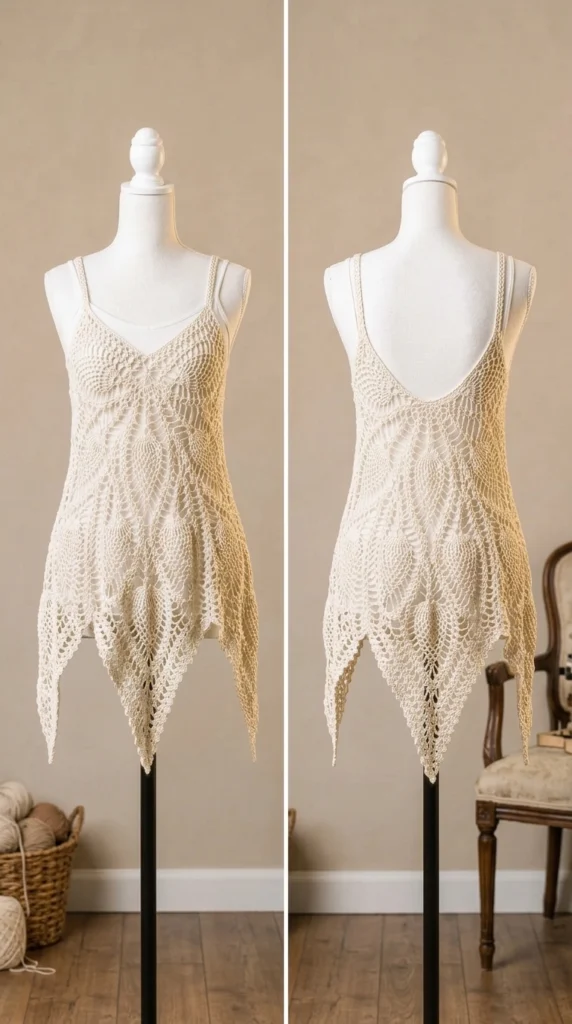
The tank is worked in two matching panels.
For a balanced appearance, keep your stitch tension consistent and count your stitches at the end of each row.
Size Starting Chain
Choose your size from the following table.
| Size | Foundation Chain |
| XS | 74 |
| S | 80 |
| M | 86 |
| L | 92 |
| XL | 98 |
| 2XL | 104 |
These foundation counts are designed for the stated gauge and lace repeat. Each chain count is divisible by 6, with 2 additional chains.
Back Panel
Using ivory yarn and the 3.5 mm hook:
Foundation Row: Ch the number required for your size. Dc in the fourth chain from the hook and in each remaining chain. Turn.
Count: 71 (77, 83, 89, 95, 101) dc.
Row 1: Ch 3. Sk 2 sts, work 3 dc in the next st, ch 2, sk 2 sts, sc in the next st. Repeat from * across until 3 sts remain. Ch 2, sk 2 sts, dc in the final st. Turn.
Row 2: Ch 3. Work 2 dc in the first ch-2 space. Ch 2, sc in the center dc of the next cluster, ch 2, work 3 dc in the next ch-2 space. Repeat across. End with 1 dc in the final stitch. Turn.
Row 3: Ch 1. Sc in the first stitch. Ch 3, sc in the next ch-2 space. Ch 3, sc in the next ch-2 space. Repeat across, ending with a sc in the final stitch. Turn.
Row 4: Ch 3. Work 3 dc in the first ch-3 space. Ch 2, sc in the next ch-3 space, ch 2, work 3 dc in the next ch-3 space. Repeat across. End with dc in the final stitch. Turn.
Row 5: Ch 3. Dc in each dc and work 2 dc into every ch-2 space across. Turn.
Rows 1–5 establish the main lace pattern.
Continue the Back Panel
Repeat Rows 1–5 until the back panel measures approximately:
- XS: 19 inches.
- S: 20 inches.
- M: 21 inches.
- L: 22 inches.
- XL: 23 inches.
- 2XL: 24 inches.
Finish after completing a Row 5 repeat.
Fasten off and weave in the yarn end.
Front Panel
Work the front panel exactly like the back panel until it measures approximately 2 inches shorter than the back panel.
This creates room for the neckline shaping.
Front Neckline Shaping
Locate the center of the panel and place stitch markers to divide the remaining stitches into two equal shoulder sections.
Work the following shaping on one shoulder:
Neckline Row 1: Work in pattern until you reach the center neckline marker. Turn without working the remaining stitches.
Neckline Row 2: Ch 3 and continue the lace pattern across the shoulder stitches.
Continue working even until the front panel reaches the same total length as the back panel.
Fasten off.
Attach yarn at the opposite shoulder and repeat the shaping.
Keep both shoulders symmetrical.
Special Techniques and Decorative Details
Understanding the Open Lace Pattern
The main lace pattern alternates between solid double crochet sections and open chain spaces.
The solid clusters create a delicate raised texture, while the chain spaces allow air to pass through the garment.
For a more polished appearance, avoid pulling your chain stitches too tightly. The open spaces should remain relaxed and consistent.
Decorative Scalloped Hem
The scalloped hem adds a distinctly feminine bohemian finish.
Using the 3.0 mm hook, attach ivory yarn to one bottom corner.
Hem Round 1: Ch 1. Work sc evenly across the bottom edge, placing approximately 1 sc into each stitch and 2 sc around every turning-chain edge where needed. Sl st to join.
Hem Round 2: Ch 1. Sc in the first 2 sts, sk 2 sts, work 5 dc in the next st, sk 2 sts, sc in the next st. Repeat around the bottom edge.
Sl st to join and fasten off.
Adjust the spacing slightly at the corners so the border lies flat.
Neckline Edging
Attach yarn around the neckline using the smaller hook.
Round 1: Ch 1 and work sc evenly around the neckline. Place 2 sc in areas where the fabric curves sharply. Sl st to join.
Round 2: Ch 1. Sc in each stitch around. Sl st to join.
Fasten off.
This creates a neat neckline that complements the airy lace without making it too heavy.
Armhole Edging
Attach yarn at the bottom of one armhole.
Round 1: Ch 1. Work sc evenly around the armhole opening, keeping the stitches evenly spaced.
Round 2: Ch 1. Sc in every stitch around. Sl st to join.
Fasten off and repeat for the second armhole.
Assembly and Finishing
Once both panels are complete, gently block them before joining. This makes it easier to align the lace sections.
Step 1: Join the Shoulders
Place the front and back panels together with right sides facing inward.
Align the shoulder edges carefully.
Using a tapestry needle and matching ivory yarn, sew the shoulder seams with a mattress stitch.
Leave approximately 8–9 inches open at the center for the neckline, adjusting according to your preferred neckline width.
Step 2: Join the Side Seams
Starting at the bottom edge, sew both side seams upward.
Leave approximately 7–8 inches open at the top for the armholes.
You can adjust the armhole depth by leaving more or less space unseamed.
Keep the seams flexible so the lace fabric can move naturally.
Step 3: Check the Fit
Turn the tank right side out and try it on over a camisole.
Check the following:
- The bust area should feel comfortable.
- The neckline should sit naturally without pulling.
- The armholes should allow comfortable movement.
- The hem should fall evenly around your body.
If necessary, adjust the side seams before securing the yarn ends.
Step 4: Complete the Edging
Work the neckline, armhole, and scalloped hem edging as described above.
Weave in all remaining yarn ends carefully, hiding them along the backs of solid stitch sections.
Blocking and Care
Blocking makes a significant difference to this lace tank.
The openwork stitches relax during blocking, helping the garment achieve a more even shape and beautiful drape.
Wet Blocking
- Fill a basin with cool or lukewarm water.
- Add a small amount of gentle wool-free detergent suitable for cotton.
- Submerge the tank and allow it to soak for approximately 10–15 minutes.
- Remove the garment carefully without twisting.
- Press out excess water using a clean towel.
- Lay the tank flat on blocking mats.
- Gently shape the neckline, armholes, and side edges.
- Pin the scalloped hem evenly.
- Allow the garment to dry completely.
Avoid stretching the lace too aggressively because excessive stretching can distort the stitch pattern.
Care Instructions
- Hand wash gently in cool water.
- Avoid bleach and harsh detergents.
- Do not wring or twist the garment.
- Dry flat on a clean towel.
- Avoid hanging the tank while wet.
- Store folded rather than on a hanger.
Fit and Troubleshooting Tips
My Lace Fabric Looks Too Tight
Your hook may be too small, or your chain stitches may be too tight.
Try moving up one hook size and make another gauge swatch.
The Hem Is Curling
Check whether your foundation row is tighter than the rest of the garment.
A gentle blocking session can help. If the edge still curls, add a few evenly spaced single crochet stitches before working the scalloped border.
My Top Looks Too Loose
If the lace holes are larger than expected, use a smaller hook or reduce the amount of positive ease when selecting your size.
The Armholes Feel Uncomfortable
Adjust the side seams before finishing the edging. A slightly deeper armhole can make the top more comfortable, especially when worn over a camisole.
The Neckline Looks Uneven
Use stitch markers to identify the center and shoulder sections before beginning the shaping. Count the stitches on both sides to ensure symmetry.
The Front and Back Panels Are Different Lengths
Block both panels to the same measurements before sewing the shoulders and sides. Small differences in tension can become more noticeable after assembly.
Final Thoughts
I love how this Ivory Bohemian Lace Tank brings together delicate lacework, soft ivory color, and an easygoing summer silhouette. It has that handmade charm that makes crochet clothing feel special, while remaining practical enough to wear throughout the warmer months.
The repeating lace pattern gives you an opportunity to settle into a relaxing crochet rhythm, and the scalloped hem adds a lovely finishing detail without overwhelming the design.
If you make this Ivory Bohemian Lace Tank Crochet Pattern, I would love to see how yours turns out. Try it with your favorite summer outfit, experiment with a slightly longer length, or choose another soft neutral shade to make it your own.
Happy crocheting! 💛



Leave a Reply
You must be logged in to post a comment.