

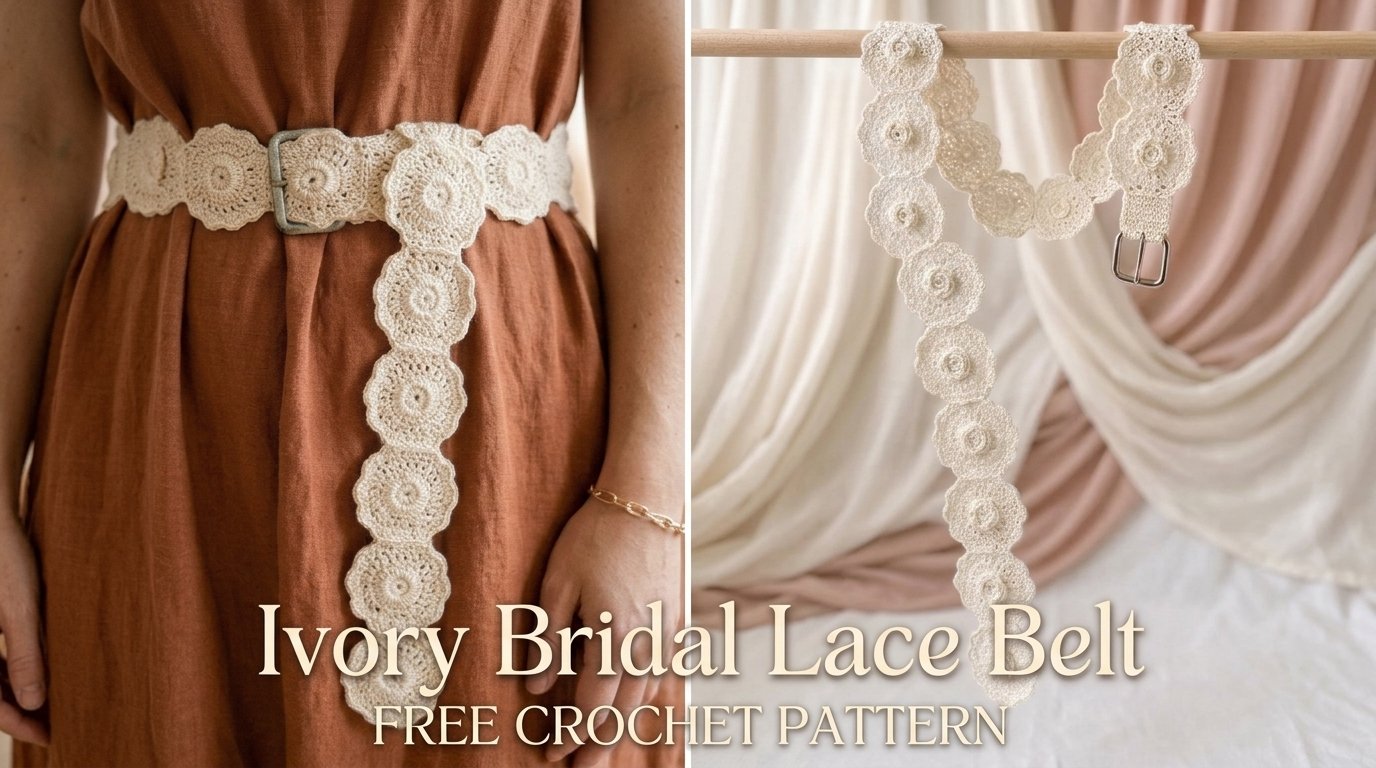
I still remember the afternoon I stood in my workroom holding a scrap of antique lace that once belonged to my grandmother. The light caught the openwork and something in me shifted. I wanted that same quiet elegance—something soft enough for a wedding day, structured enough to define a waist, and light enough that it would never feel heavy against silk or chiffon. That is how the Ivory Bridal Lace Belt began.
I sketched, frogged, and reworked the motifs until the fans opened just right and the edges stayed crisp after blocking. The finished belt has a gentle architecture: a central lace panel that stretches and recovers, delicate side motifs that skim the hips, and long ties that can be knotted or left trailing. It is romantic without being fussy, and it photographs beautifully under both soft window light and evening candles.
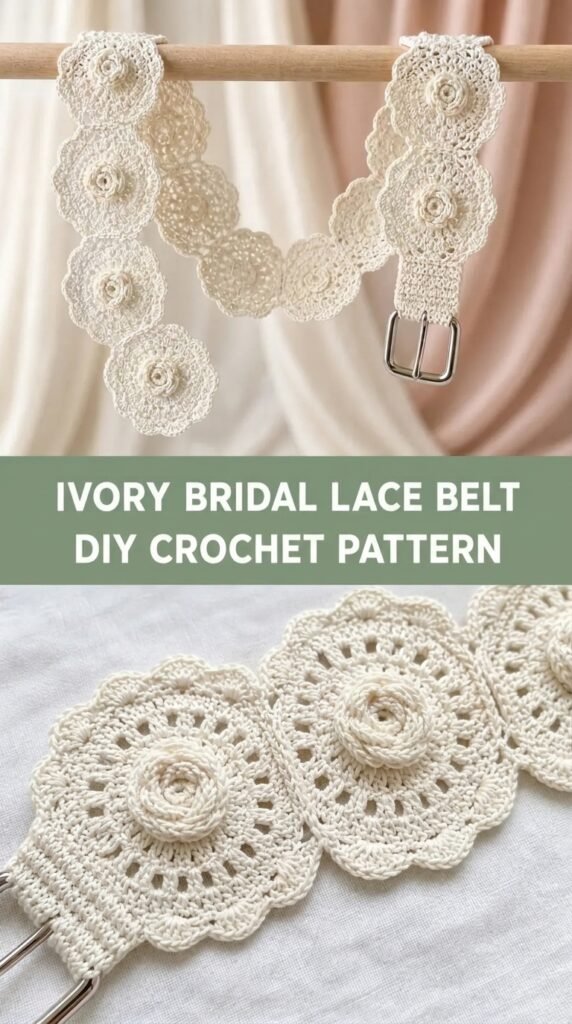
This is the free Ivory Bridal Lace Belt crochet pattern—my gift to anyone who wants a handmade touch on their wedding day or simply loves the look of heirloom lace worn in a modern way.
About This Pattern
This belt is worked in a single long strip of interlocking lace motifs. The main body is a repeating openwork panel that creates a gentle stretch, finished with a refined picot edge on both long sides. Short decorative ends lead into long, slender ties that can be wrapped once or twice and tied at the back or side.
Skill level is intermediate. You should be comfortable with chain spaces, double crochet clusters, and reading a short repeat. The pattern is written in US terms with full row-by-row instructions for the first motif and clear repeat language after that.
Finished size after blocking (adjustable):
- Main lace panel: approximately 3.5 inches wide × 28–32 inches long (to sit at the natural waist)
- Each tie: approximately 28–30 inches long
- Overall length including ties: roughly 84–92 inches
The belt is designed to sit comfortably at the waist of sizes XS–XL with room to adjust via the ties. Because the lace has natural give, a slightly longer or shorter panel can be made by adding or subtracting motif repeats.
Materials You’ll Need
Yarn
- Color A (Ivory): approximately 280–320 yards / 256–293 meters of lace-weight or light fingering yarn. A soft merino-silk or cotton-bamboo blend works especially well for drape and sheen.
Allow 15 % extra for gauge variation and swatching.
Hooks
- 2.75 mm (C) for the main lace fabric
- 2.25 mm (B) for the picot edge and ties if you prefer a slightly firmer finish
Notions
- Tapestry needle
- Stitch markers (at least 4)
- Blocking mats and rust-proof pins
- Optional: small pearl or crystal beads for the ends of the ties
Abbreviations and Terminology
All terms are US crochet.
- ch – chain
- sc – single crochet (insert hook, yarn over, pull up loop, yarn over, pull through both loops)
- dc – double crochet (yarn over, insert hook, yarn over, pull up loop, yarn over, pull through two loops, yarn over, pull through remaining two)
- hdc – half double crochet
- tr – treble crochet
- sl st – slip stitch
- sp – space
- st(s) – stitch(es)
- yo – yarn over
- sk – skip
- rep – repeat
Special stitches
- Fan: (dc, ch 1, dc, ch 1, dc) in the same stitch or space
- Picot: ch 3, sl st in the first chain of the ch-3
- Cluster: (yo, insert hook, yo, pull up loop, yo, pull through two loops) three times in the same place, yo, pull through all four loops on hook
Turning chains do not count as a stitch unless a step explicitly says they do.
Gauge
Work a swatch of the main lace repeat.
After blocking, 4 motif repeats (measured across the widest point of the fans) should measure approximately 4 inches / 10 cm wide and 2.25 inches / 5.7 cm tall.
If your swatch is too wide, drop half a millimeter in hook size. If it is too narrow or stiff, go up half a millimeter. The fabric should feel soft and slightly open, not dense.
Main Pattern Instructions
Foundation and First Motif
With 2.75 mm hook and Color A, ch 28.
Row 1 (RS): Sc in 2nd ch from hook and in each ch across. Turn. (27 sc)
Row 2: Ch 3 (does not count as st), dc in first sc, *ch 2, sk 2 sc, Fan in next sc, ch 2, sk 2 sc, dc in next sc; rep from * across, ending with dc in last sc. Turn. (5 Fans, 6 dc)
Row 3: Ch 1, sc in first dc, *2 sc in next ch-2 sp, sc in next dc, sc in next ch-1 sp, sc in next dc, sc in next ch-1 sp, sc in next dc, 2 sc in next ch-2 sp, sc in next dc; rep from * across. Turn. (37 sc)
Row 4: Ch 3, dc in first sc, *ch 2, sk 3 sc, Fan in next sc, ch 2, sk 3 sc, dc in next sc; rep from * across. Turn.
Row 5: Ch 1, sc in first dc, *2 sc in next ch-2 sp, sc in each of next 5 sts of Fan, 2 sc in next ch-2 sp, sc in next dc; rep from * across. Turn.
Repeat Rows 4 and 5 for the pattern, working until the main panel measures approximately 28–32 inches (or desired waist measurement) ending after a Row 5. Mark the center of the panel with a stitch marker for later reference.
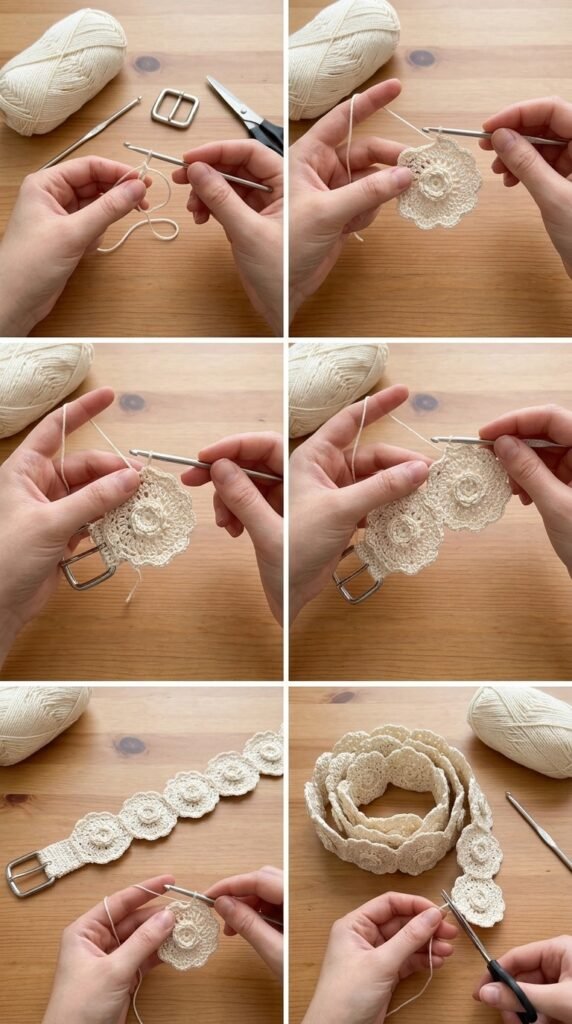
Shaping the Ends of the Panel
Once the main body is the desired length, begin decreasing to create a gentle point that leads into the ties.
Decrease Row A: Ch 3, dc in first sc, *ch 1, sk 2 sc, Fan in next sc, ch 1, sk 2 sc, dc in next sc; rep from * across, but on the last two Fans work only (dc, ch 1, dc) instead of a full Fan. Turn.
Decrease Row B: Ch 1, sc in first dc and across, placing only one sc in each reduced Fan. Turn.
Repeat Decrease Rows A and B once more, then work one final row of sc across the remaining stitches. Fasten off, leaving a 6-inch tail.
Repeat the decrease sequence on the opposite end of the panel so both ends taper symmetrically.
Long Ties
With 2.25 mm hook (or continue with 2.75 mm for softer ties), join yarn at the tip of one tapered end.
Tie Foundation: Ch 120 (or desired length—approximately 28–30 inches works well for most).
Row 1: Sc in 2nd ch from hook and in each ch across. Turn.
Row 2: Ch 1, sc in each sc across. Turn.
Row 3: Ch 1, sc in each sc across. Fasten off.
Make an identical second tie on the opposite end of the belt.
Picot Edge
With 2.25 mm hook and RS facing, join yarn at one corner of the long edge of the main panel.
Edge Round: Ch 1, sc evenly along the long side (aim for roughly 3 sc for every two rows of the lace), working a Picot every 6th or 7th sc. When you reach the tapered end, continue sc around the end and onto the first few stitches of the tie for a smooth transition. Repeat on the second long edge. Fasten off.
Special Techniques
Even Sc Placement Along Side Edges
When working the picot edge, place three single crochets across the side of every two lace rows. This keeps the edge from pulling or waving. Use a stitch marker every 4–5 inches so you can check that both long edges have the same number of stitches.
Optional Beaded Ends
If you want a soft shimmer, thread 3–5 small pearl or crystal beads onto the yarn before making the final 2 inches of each tie. Slide a bead into place every 4–5 stitches on the last row of the tie and secure with a tight sc.
Assembly and Finishing
There is no seaming required. Weave in all ends carefully on the wrong side, splitting the plies of the yarn so the ends disappear into the lace. Gently steam or wet-block the entire belt, pinning the Fans open and the picots into neat points. Allow to dry completely before wearing.
Blocking and Care
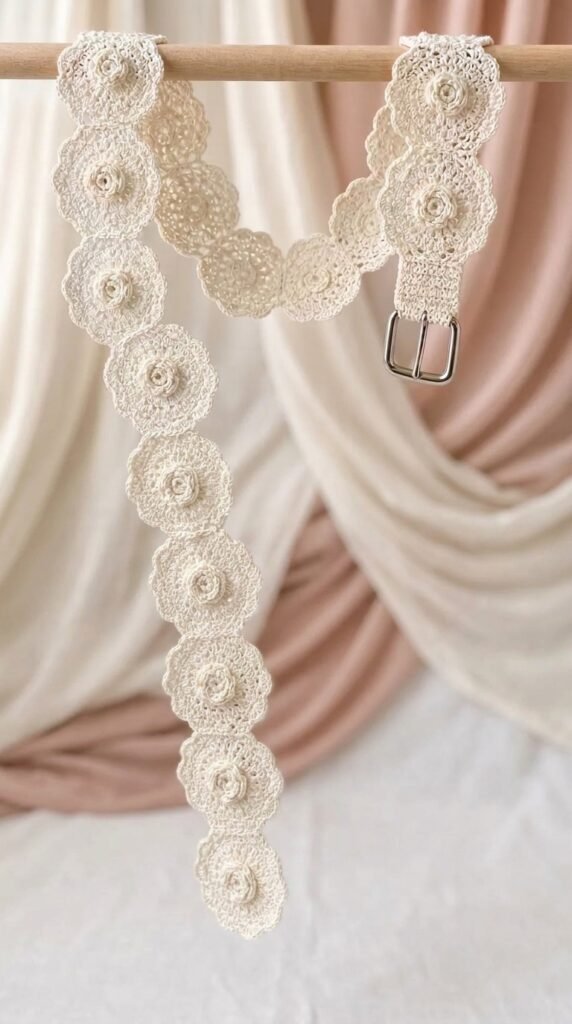
Wet-block for the best result. Soak the finished belt in lukewarm water with a drop of wool wash for 15 minutes. Roll in a towel to remove excess water, then pin to the finished measurements on blocking mats. Open every Fan fully and stretch the picots into sharp little points. Leave until bone dry (usually 12–24 hours).
Care: Hand wash in cool water, roll in a towel, and dry flat. Never hang a wet lace belt—the weight of the water will stretch the motifs permanently. Store rolled or loosely folded with acid-free tissue.
Fit and Troubleshooting Tips
- If the belt feels too narrow at the waist, add one extra motif repeat on each side of the center before decreasing.
- If the Fans cup or look tight, go up half a millimeter in hook size for the main panel only.
- If the picot edge waves, you are placing too many single crochets along the side. Reduce to 5 sc every 4 rows and re-block.
- For a fuller look, work the ties with the larger hook so they drape more softly.
- The lace has natural recovery; try the belt on before the final blocking and note any length adjustments needed.
Final Thoughts
There is something quietly powerful about wearing a piece of lace you made with your own hands on a day that already carries so much meaning. Whether this Ivory Bridal Lace Belt becomes part of a wedding ensemble, a gift for someone you love, or simply a beautiful object to keep in your wardrobe, I hope it brings you the same soft satisfaction it brought me while designing it.
I would love to see your version. Share a photo in the comments or tag me if you post online—I always smile when these little lace belts find their people.
Thank you for stitching along with me.
FAQ’s
Can I make this belt in a different color?
Yes. Soft ivory, champagne, or pale blush are traditional for bridal wear, but the pattern works beautifully in any light color. Darker shades will show the openwork less dramatically.
Is this pattern suitable for a beginner?
It is written for intermediate crocheters. If you are comfortable with chain spaces, reading repeats, and blocking lace, you will be fine. Absolute beginners may find the Fans and count checks challenging at first.
How do I adjust the length for a larger or smaller waist?
Add or subtract full motif repeats in the main panel before beginning the decreases. Each motif repeat is approximately 2 inches wide after blocking. The ties give additional flexibility.
Can I use a different yarn weight?
Lace-weight or light fingering gives the most authentic bridal look. Sport weight will create a thicker, less delicate belt and will require more yardage and a larger hook. Always swatch.
Do I need to block the belt?
Yes. Blocking opens the Fans, sets the picots, and gives the lace its final elegant drape. Skipping blocking will leave the fabric looking denser and less refined.
How long does the project take?
Most intermediate crocheters finish the belt in 8–12 hours of focused stitching, plus blocking time.


Leave a Reply
You must be logged in to post a comment.