

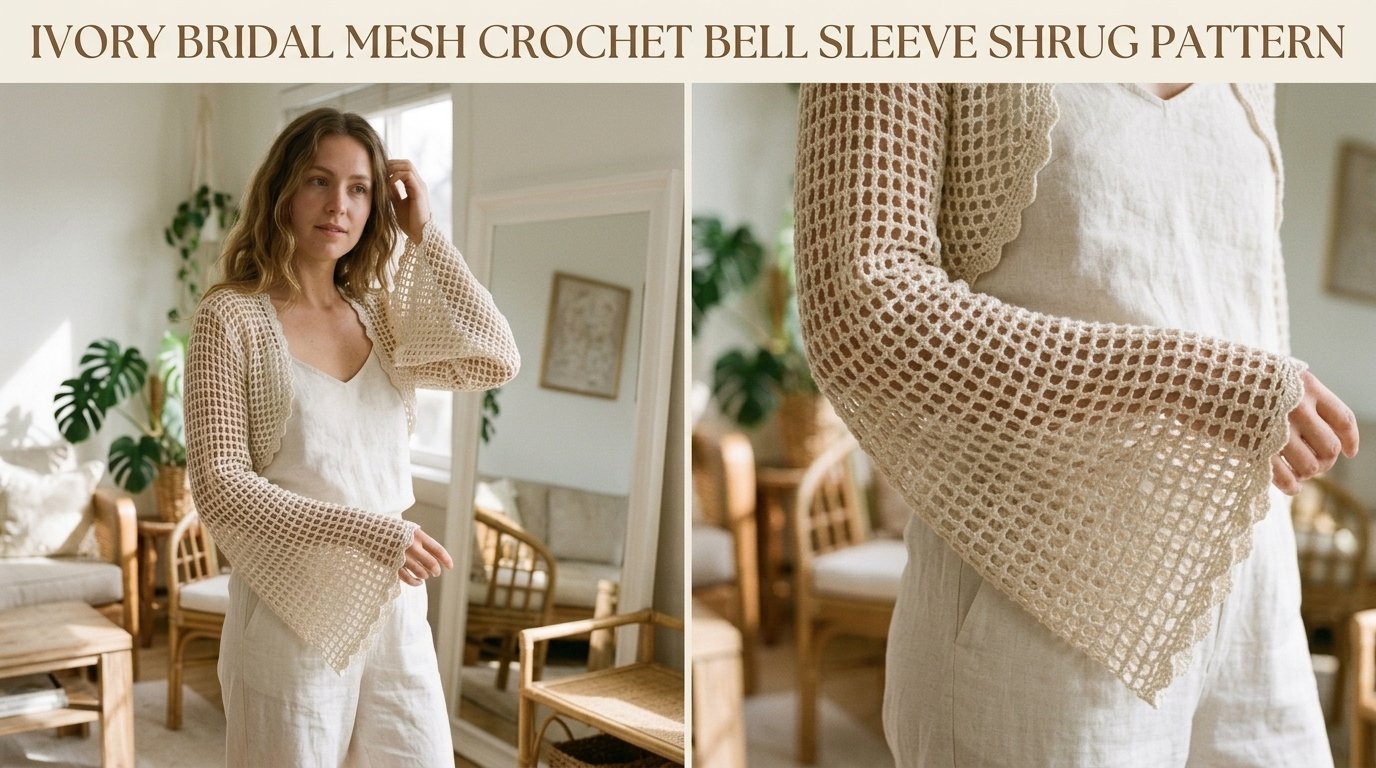
Ready to crochet a showstopper that looks way fancier than the effort it takes? This ivory bridal mesh crochet bell sleeve shrug delivers that ethereal, romantic vibe without demanding weeks of your life. Think airy lace, dramatic flares, and a cropped silhouette that frames everything underneath like it was meant to be there. Let’s dive in and make something that turns heads.
Why You’ll Love This Crochet Bell Sleeve Shrug Pattern
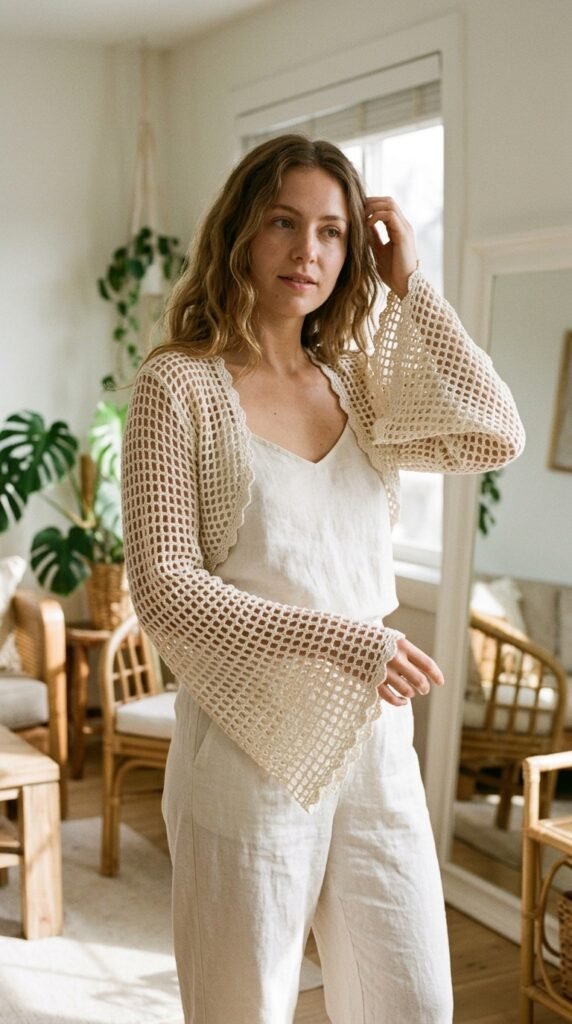
This piece checks every box for a quick win that still feels special. The open mesh works up crazy fast once you lock into the rhythm, and the finished look screams “I spent forever on this” when you actually didn’t.
Those bell sleeves give serious vintage drama without any fussy shaping tricks. The whole thing stays light and breathable, perfect for layering over a dress without turning into a sweat box. And because mesh eats up less yarn than solid fabric, your wallet barely notices.
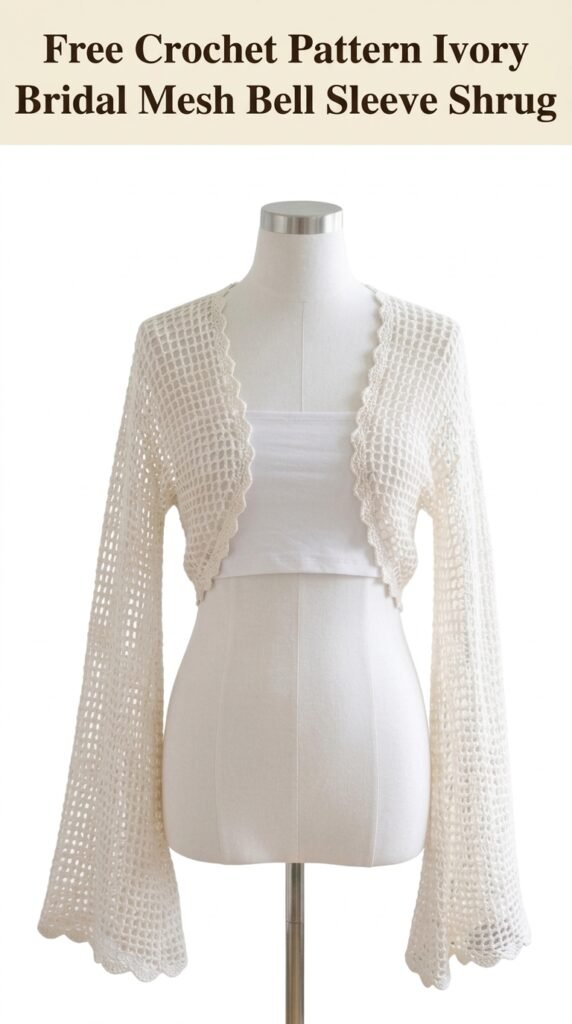
I keep coming back to this design for bridal parties, cool summer evenings, or just because it makes a plain tank top look intentional. Ever finished a project and immediately wanted to start another in a different color? Yeah, this one’s that addictive.
Materials You’ll Need
Keep it simple. You don’t need a mountain of supplies for this one.
- Yarn: About 450–550 yards of fingering-weight yarn. Cotton-bamboo blends drape like a dream. Silk blends push it into full bridal territory. Stick with ivory, cream, or soft off-white for that classic look.
- Hook: 3.25 mm (US D/3). Go up a size if you crochet tight—mesh hates tension drama.
- Notions: Tapestry needle, a handful of stitch markers, measuring tape, and scissors.
Gauge sits around 20 stitches and 10 rows in the mesh pattern over 4 inches. Swatch it. Seriously. Fit depends on it.
Skill Level
Intermediate beginner. If you can chain, double crochet, and keep track of spaces, you’re golden. The mesh is a two-row repeat that quickly becomes muscle memory. Sleeves switch to working in the round, but nothing wild happens there.
Stitches you’ll use: chain, double crochet, single crochet, slip stitch, plus basic seaming and a simple shell border. No fancy cables or colorwork. Just pure lace rhythm.
Abbreviations and Definitions
Quick refresh so nobody gets lost mid-row.
- ch – chain
- dc – double crochet
- sc – single crochet
- sl st – slip stitch
- ch-sp – chain space (the open gap you work into)
Chain space is your best friend here. Most of the pattern lives in those little windows, not the stitches themselves.

Understanding the Mesh Pattern
Filet-style mesh keeps everything open and airy. Here’s the basic idea worked flat:
Start with a foundation chain in multiples that give you the right width. Row 1: dc in the appropriate chain, then *ch 1, skip one, dc in next* across. Row 2: ch 4 (counts as dc + ch 1), turn, then *dc in next dc, ch 1* all the way across.
Repeat that second row forever. Each “box” is just a dc, a chain, and the space below it. Once the pattern clicks, you can half-watch a show and still keep perfect count. Magic.
Shrug Construction Overview
Three rectangles for the body, two tubes for the sleeves, then a scalloped edge to finish everything off. Back panel sits widest. Two narrower front panels get seamed at the shoulders and sides, leaving armholes open. Sleeves get worked separately and stitched in. Border goes on last.
That’s the whole roadmap. No weird increases on the body, no shaping curves. Just clean rectangles and a gentle flare on the sleeves.
Step by Step Crochet Pattern
Time to make the magic happen. Grab your yarn and let’s build this thing piece by piece.
Back Panel
Chain a foundation that gives you roughly 16 inches of width in the mesh. Work the mesh pattern for about 12 inches of height. Keep the stitch count consistent—every row should land on the same number of doubles and chain spaces. Fasten off when you hit the length you want.
Lay it flat and smile. That’s the backbone of your shrug.
Front Panels
Make two identical narrower panels. Chain about half the back width, work the same mesh height as the back. These will hang open in front, so keep the edges neat. Fasten off both when they match the back’s length.
Pro tip: work them one after the other so your tension stays identical. Nobody wants mismatched fronts.
Seaming the Body
Lay the back panel right-side up. Position the front panels along each side, tops aligned. Seam about 3 inches at each shoulder, leaving a generous neck opening in the center. Then seam the sides from the bottom up, stopping short to create armholes roughly 7 inches deep.
Try it on right now. The open front and arm openings should already look like a shrug. Adjust the seam lengths if needed before you commit.
Bell Sleeves
Work two identical tubes in the round. Start with a chain that fits the armhole comfortably, join without twisting, and work the mesh pattern in rounds. After a few even rounds, start gentle increases—add a couple of extra doubles every few rounds so the sleeve flares toward the cuff.
Aim for about 15 inches from top to bottom with a nice open bell at the wrist. Leave a long tail for sewing. The gradual flare is what sells the whole romantic vibe.
Attaching the Sleeves
Turn the body inside out. Pin each sleeve top around an armhole, matching underarms. Whipstitch carefully, easing any extra fabric so it sits smoothly. Flip right-side out and check the fit. The bells should hang freely without pulling the body.
This step feels like the moment it becomes a real garment. Enjoy it.
Scalloped Edging
Join yarn at a bottom front corner. Work a simple shell border all the way around the outer edge—fronts, neckline, and hem: *sc, skip one, 5 dc in next, skip one* and repeat. Do the same around each sleeve cuff.
The scallops give everything a finished, polished edge that elevates the mesh from “pretty lace” to “bridal-ready.”
Finishing Your Shrug
Weave in every single end. Lace shows them, so be thorough. Then block. Wet-block this piece—soak, gently squeeze, pin the mesh open on mats, shape those bells evenly, and let it dry completely.
Blocking is non-negotiable. The difference between “nice project” and “how did you make that?” is usually just a good block.
<meta render_generated_image with prompt is Hyper-detailed 8K resolution overhead view of the finished ivory bridal mesh crochet bell sleeve shrug laid flat on a white surface after blocking, open front, dramatic flared sleeves, delicate scalloped edges, soft diffused lighting, realistic lace texture and yarn details, professional fashion flat-lay photography style>
Sizing Adjustments
Need it smaller? Drop 8–10 stitches from each foundation chain and maybe knock a couple rows off the height. Going larger? Add the same amount of stitches and extra rows for length. Longer sleeves? Keep working even rounds after the last increase. Want less flare? Skip one or two of the increase rounds.
The beauty of rectangles and simple increases is how easy they are to tweak. Measure as you go and trust your instincts.
Styling Your Ivory Bridal Mesh Shrug
This shrug plays nice with almost everything. Drape it over a wedding gown or bridesmaid dress for soft coverage during photos. Pair it with a simple slip dress and boots for festival energy. Throw it over a tank and jeans when you want a little romance without trying too hard.
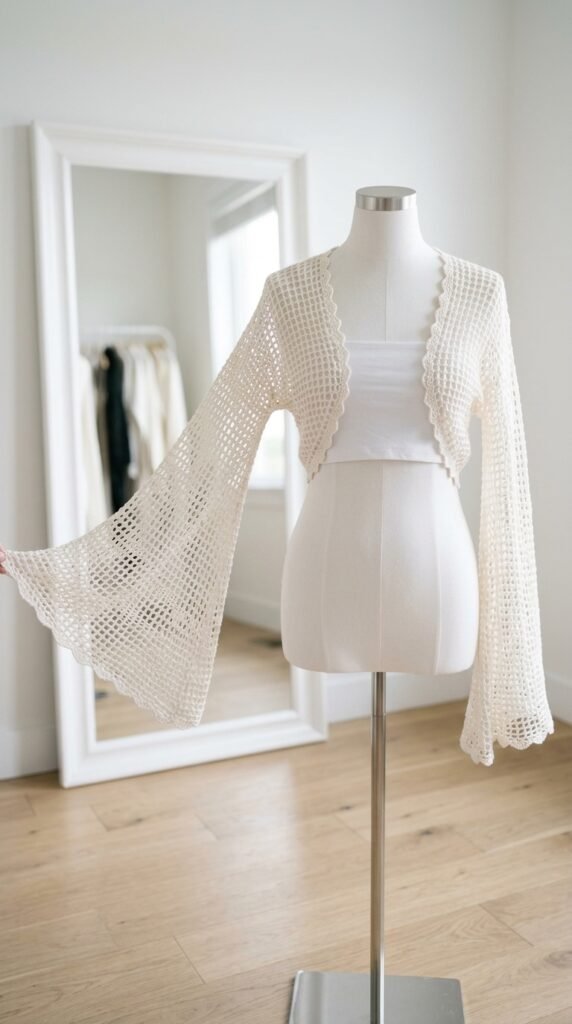
The open front means it never fights whatever you wear underneath—it just frames it. Garden parties, outdoor dinners, family photos… it shows up and looks intentional every time.
Tips for Success
Keep tension even. Mesh is honest and will broadcast every tight or loose moment. Count stitches every few rows on the body panels—easier to fix early than frog later. Stick stitch markers on the sleeve rounds so you always know where you started. And for the love of lace, do not skip blocking.
Also, FYI: work in good light. Those little chain spaces can hide if the lighting is dim.
Make It Your Own
Ivory is classic, but this pattern thrives in dusty rose, soft sage, or even deep charcoal for evening drama. Hold a strand of metallic thread with your main yarn for subtle sparkle if the occasion calls for it. Change the scallop size or add a second border round if you want more weight on the edges.
IMO, the best version is the one that matches the wearer’s personality. Make it yours.
You Might Also Like
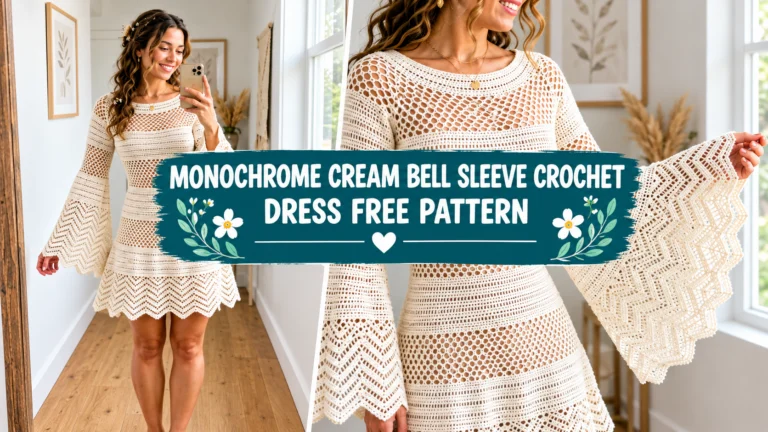
- Monochrome Cream Bell Sleeve Crochet Dress Free Pattern
- Butter Yellow Lace Mesh Crochet Shrug Free Pattern
- Camel Neutral Everyday Lace Maxi Skirt Free Crochet Pattern
- Caramel Autumn Bow Crochet Vest Free Crochet Pattern
FAQ’s
How long does this shrug usually take to finish?
Most people knock it out over a weekend if they already know the mesh rhythm. First-timers might need an extra evening for the sleeves and seaming. Once the pattern clicks, it flies.
Can I use a different yarn weight?
You can, but the drape and openness will change. Fingering keeps it light and bridal. DK will make it denser and warmer. Adjust hook size and expect different yardage.
Is the mesh stretchy enough for different body types?
Yes. The open construction has natural give. Start with the recommended measurements and try the body on before adding sleeves. Adjust seams as needed.
Do I have to block it?
Technically no. Practically? Yes. Unblocked mesh looks tighter and less polished. Blocking opens the lace and sets the bell shape. Worth every minute.
Can I make the sleeves longer or shorter?
Absolutely. Add or subtract even rounds after the increases. Keep the flare proportion if you go longer so it still looks intentional.
Final Thoughts
There you have it—an ivory bridal mesh crochet bell sleeve shrug that looks like a heirloom and works up like a weekend project. Grab your hook, pick a soft ivory yarn, and start those first chains. You’re going to love wearing this one almost as much as you love making it.



Leave a Reply
You must be logged in to post a comment.