

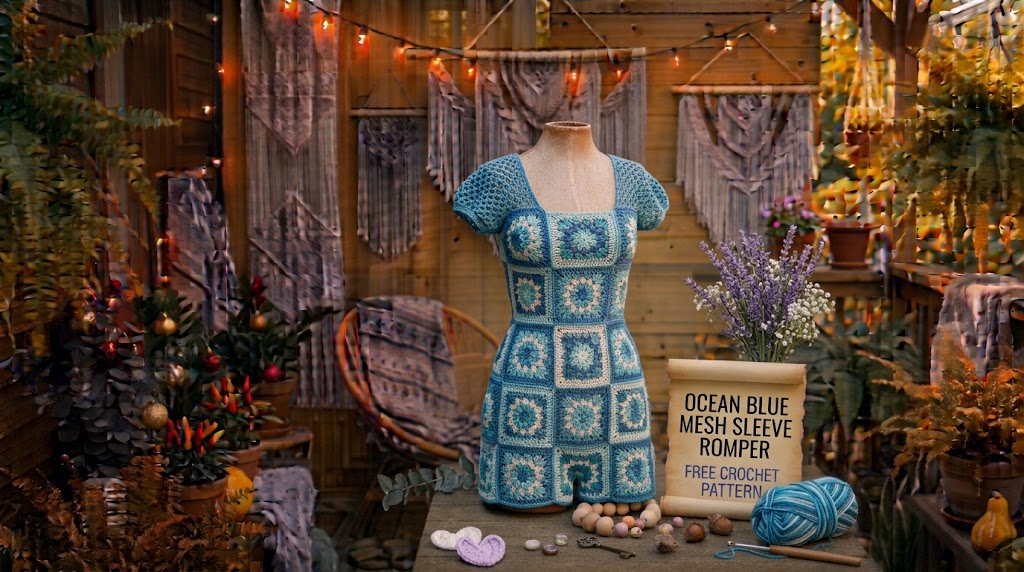
There is something special about ocean blue yarn. It reminds me of clear summer mornings, gentle waves, and the beautiful shades of water that change with the sunlight. I wanted to create a crochet outfit that captured that feeling while remaining comfortable, feminine, and easy to style.
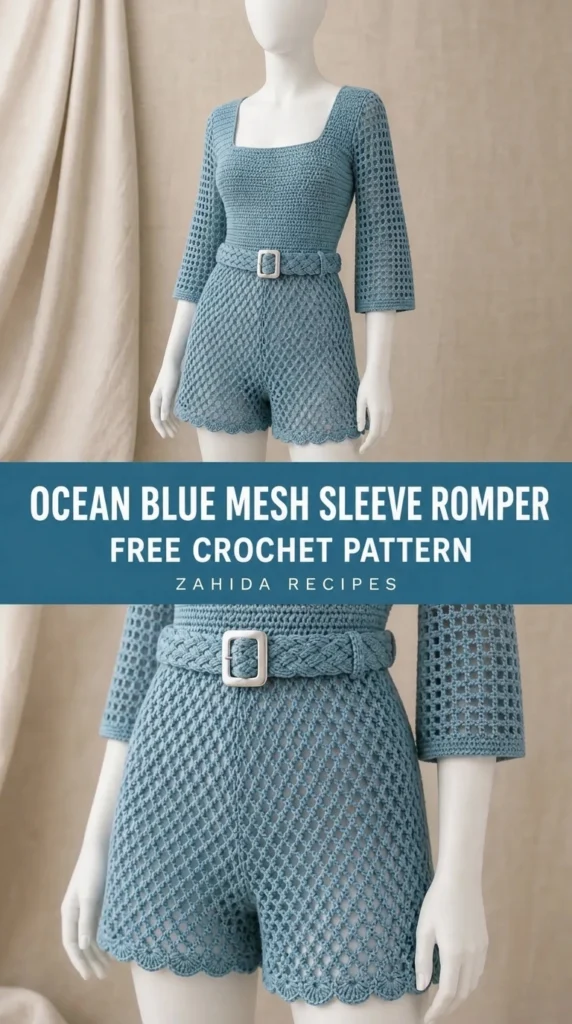
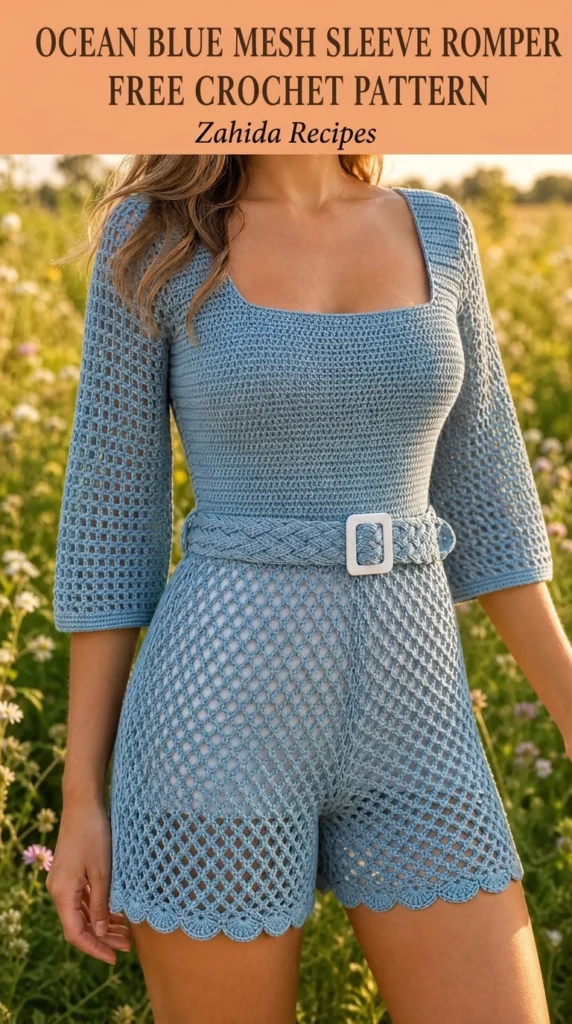
For this design, I chose a fitted romper silhouette with lightweight mesh sleeves. The solid body provides comfortable coverage, while the open mesh creates a breezy texture that makes the garment feel light and summery.
I also wanted the romper to have a flattering waistline and comfortable leg openings rather than looking oversized or shapeless. The result is the Ocean Blue Mesh Sleeve Romper, a handmade garment that combines simple shaping with delicate crochet texture.
About This Pattern
The Ocean Blue Mesh Sleeve Romper is worked in separate front and back body sections, with two sleeves crocheted independently.
The body uses half double crochet stitches for a smooth, flexible fabric. The sleeves feature an open mesh pattern made with chain spaces and double crochet stitches.
Skill Level: Intermediate
You should be comfortable with basic crochet stitches, increasing, decreasing, working flat panels, and joining garment pieces.
Construction: Separate front and back panels, two sleeves, side seams, shoulder seams, and crotch finishing.
Finished Measurements:
| Size | Bust | Waist | Hip |
| S | 86 cm | 72 cm | 94 cm |
| M | 94 cm | 80 cm | 102 cm |
| L | 102 cm | 88 cm | 110 cm |
| XL | 110 cm | 96 cm | 118 cm |
The romper is designed with approximately 2–4 cm of positive ease around the bust.
Materials You’ll Need
- Yarn: Approximately 1,000–1,200 meters of ocean blue DK-weight cotton or cotton-blend yarn.
- Main Color (A): Ocean blue, approximately 900–1,050 meters.
- Hook: 4 mm crochet hook for the body.
- Sleeve Hook: 4.5 mm crochet hook for a softer mesh drape.
- Tapestry needle.
- Stitch markers.
- Measuring tape.
- Scissors.
- Optional matching sewing thread and a small zipper.
- Optional lightweight elastic for the waist.
Allow 15% extra yarn if your gauge is looser than the pattern gauge.
Abbreviations and Terminology
All instructions use US crochet terminology.
- ch: Chain stitch. Yarn over and pull through the loop.
- sl st: Slip stitch. Insert hook, yarn over, and pull through both loops.
- sc: Single crochet. Insert hook, yarn over and pull up a loop, yarn over and pull through both loops.
- hdc: Half double crochet. Yarn over, insert hook, pull up a loop, yarn over and pull through all three loops.
- dc: Double crochet. Yarn over, insert hook, pull up a loop, yarn over through two loops twice.
- sk: Skip the indicated stitch.
- st/sts: Stitch/stitches.
- rep: Repeat.
- RS: Right side.
- WS: Wrong side.
- inc: Increase by working two stitches into one stitch.
- dec: Decrease by working two stitches together.
Turning chains do not count as stitches unless a step explicitly says they do.
Gauge
For the body, work a practice swatch using a 4 mm hook.
Gauge: 16 hdc stitches and 12 rows = 10 × 10 cm.
For the mesh sleeves, use a 4.5 mm hook.
Mesh Gauge: 12 mesh pattern repeats and 10 rows = approximately 10 × 10 cm.
If your swatch is too small, try a larger hook. If it is too large, use a smaller hook.
Wash and dry your swatch before measuring because cotton yarn can change slightly after washing.
Ocean Blue Mesh Sleeve Romper Crochet Pattern
Part 1: Front Body Panel
The front panel begins at the waist and works upward toward the neckline.
Choose your size and use the corresponding starting chain:
| Size | Starting Chain |
| S | 59 |
| M | 65 |
| L | 71 |
| XL | 77 |
Foundation: Ch 59 (65, 71, 77).
Row 1: Hdc in the second chain from the hook and across. Turn.
Row 2: Ch 1, hdc in every stitch across. Turn.
Row 3–18: Repeat Row 2.
You should have a rectangular waist section.
Hip Shaping
To create a comfortable fit around the hips, increase gradually.
Row 19: Ch 1, 2 hdc in first stitch, hdc across until last stitch, 2 hdc in last stitch. Turn.
Row 20: Ch 1, hdc across. Turn.
Row 21: Repeat Row 19.
Row 22–26: Repeat Row 20.
Count: You now have 63 (69, 75, 81) stitches.
For a more fitted waist, avoid adding extra increases. For a looser fit, add one additional increase row evenly spaced.
Leg Opening Preparation
The romper uses a two-leg construction. Divide the lower body into two equal sections after completing the main body length.
Join yarn at the center crotch area and work one leg at a time.
Leg Section Row 1: Ch 1, hdc across the selected half of the body stitches. Turn.
Rows 2–8: Ch 1, hdc across. Turn.
Fasten off.
Repeat for the second leg, making sure both legs have the same number of rows.
Part 2: Back Body Panel
Work the back panel using the same starting chain and hip shaping as the front.
Continue until the panel measures approximately 48–52 cm from the waist edge, depending on your chosen size and torso preference.
The back panel should match the front panel in width.
For additional back coverage, work two extra rows before shaping the upper section.
Upper Body Shaping
Work the upper section in hdc.
At the beginning of the shaping section, mark the center stitch.
For the front neckline, divide the stitches into two shoulder sections and a central neckline section.
For size M, a practical division is:
- Left shoulder: 19 stitches.
- Center neckline: 27 stitches.
- Right shoulder: 19 stitches.
Adjust proportionally for other sizes.
Work each shoulder section separately.
Shoulder Rows 1–6: Ch 1, hdc across the shoulder stitches. Turn.
Fasten off after completing the shoulder.
Repeat for the opposite shoulder.
For the back neckline, leave a slightly smaller opening than the front to provide additional coverage.
Part 3: Mesh Sleeve Construction
The mesh sleeves are the main decorative feature of this romper.
The open stitch pattern creates a soft, airy fabric that contrasts beautifully with the solid body.
Make two identical sleeves.
Foundation Chain: Ch 49 (53, 57, 61).
Row 1: Dc in the sixth chain from the hook, ch 1, sk 1, dc in next ch. Repeat ch 1, sk 1, dc in next ch across. Turn.
Row 2: Ch 4 (counts as dc and ch 1), dc in the next dc, ch 1, dc in the next dc. Repeat across.
Row 3: Ch 4, dc in each dc with ch 1 between stitches. Turn.
Repeat Rows 2 and 3 until the sleeve measures approximately 35–40 cm.
Sleeve Shaping
To create a gentle sleeve flare, increase one mesh space at each edge every fourth row.
To increase a mesh space, work an additional ch 1 and dc combination near the edge.
Continue until the sleeve reaches approximately 42–46 cm in width when laid flat, depending on size.
Finish with one row of sc around the sleeve opening.
Fasten off.
Repeat for the second sleeve.
Part 4: Decorative Ocean Blue Waist Detail
The waist detail adds definition without making the romper uncomfortable.
Join yarn at the side seam of the waist.
Round 1: Ch 1, sc evenly around the waist opening. Join with sl st.
Round 2: Ch 2, hdc in every stitch around. Join.
Round 3: Ch 1, sc around. Join and fasten off.
For a slightly more structured waist, thread a narrow elastic through the inside of the waist edging.
Avoid pulling the elastic too tightly.
Part 5: Crotch and Leg Finishing
Place the front and back panels together with the right sides facing inward.
Match the leg openings and crotch edges carefully.
Join the crotch seam using a tapestry needle and mattress stitch.
Check that both leg openings sit evenly.
For each leg opening, work:
Round 1: Join yarn at the inner leg seam, ch 1, sc evenly around the opening. Join.
Round 2: Ch 1, sc in each stitch around. Join.
Fasten off.
Repeat on the second leg.
The finished edges should lie flat without pulling against the thighs.
Part 6: Assembly of the Romper
Lay the front and back body panels flat.
Match the shoulder edges and sew them together using mattress stitch.
Next, attach the sleeves.
Find the center point of each sleeve and match it with the shoulder seam. Pin the sleeve evenly around the armhole before sewing.
Join the side seams from the underarm to the waist and continue down the sides of the body.
Check the garment’s fit before weaving in all remaining ends.
Make sure the mesh sleeves are not twisted.
Part 7: Neckline Edging
Join ocean blue yarn at the back neckline.
Round 1: Ch 1, sc evenly around the neckline. Join with sl st.
Round 2: Ch 1, sc in each stitch around. Join.
Fasten off and weave in the ends.
The neckline should remain comfortable without stretching away from the body.
Special Techniques and Design Details
Creating a Neat Mesh Pattern
The mesh sleeve pattern depends on consistent chain spaces.
Keep your chain tension relaxed. Tight chains can cause the sleeve to curl inward.
When working the next row, insert your hook into the double crochet stitches rather than randomly working into the chain spaces.
Optional Waist Tie
For a decorative waist tie:
- Ch 140 using ocean blue yarn.
- Work sl st into each chain.
- Fasten off.
- Thread through the waist edging.
- Tie into a soft bow at the front or back.
This is optional and should not replace secure waist construction.
Blocking and Care
Blocking helps the mesh sleeves open evenly and improves the overall shape.
For cotton yarn, gently soak the garment in cool water with a small amount of mild detergent.
Rinse carefully and press excess water out using a clean towel.
Lay the romper flat on a blocking mat.
Shape the body panels and gently open the mesh sleeves without stretching them excessively.
Allow the garment to dry completely.
Care Tips
- Hand wash in cool water.
- Avoid twisting or wringing.
- Dry flat.
- Never hang the romper while wet.
- Store folded rather than hanging for long periods.
- Avoid high-temperature ironing.
Fit and Troubleshooting Tips
My mesh sleeves look uneven.
Check that every mesh repeat contains the same number of chain spaces. Use stitch markers to identify the sleeve edges.
The body feels too tight.
Check your gauge first. If the fabric is smaller than expected, use a larger hook or add stitches to the foundation chain.
The waist looks loose.
Add a narrow elastic inside the waist edging or use the optional crochet tie.
The leg openings curl.
Work another round of single crochet with relaxed tension. Avoid making the stitches too tight.
The sleeves feel too wide.
Remove one or two mesh increase sections and try the sleeve on again.
The neckline stretches.
Add a second round of single crochet using a slightly smaller hook.
Final Thoughts
I love how the Ocean Blue Mesh Sleeve Romper combines a comfortable solid crochet body with delicate openwork sleeves. The ocean-inspired color gives it a fresh summer appearance, while the mesh texture adds a handmade detail that makes the design stand out.
Take your time with the shaping and check the fit as you assemble the panels. Small adjustments can make a big difference in how comfortably your romper sits.
I hope you enjoy making this Ocean Blue Mesh Sleeve Romper Free Crochet Pattern. If you create your own version, share your finished project, your favorite color choices, or your modifications. I’d love to see how your handmade romper turns out!
Happy crocheting!


Leave a Reply
You must be logged in to post a comment.