


I still remember the exact shade of the water that morning. We had driven down to the coast just after sunrise, and the sea was that deep, clear blue that only appears when the sky is cloudless and the sand is still cool. I sat on the dunes with a cup of coffee and thought, “I want to wear that color.” Not just a top or a scarf—something that moves with the breeze, feels almost weightless, and lets the air through on a hot afternoon.
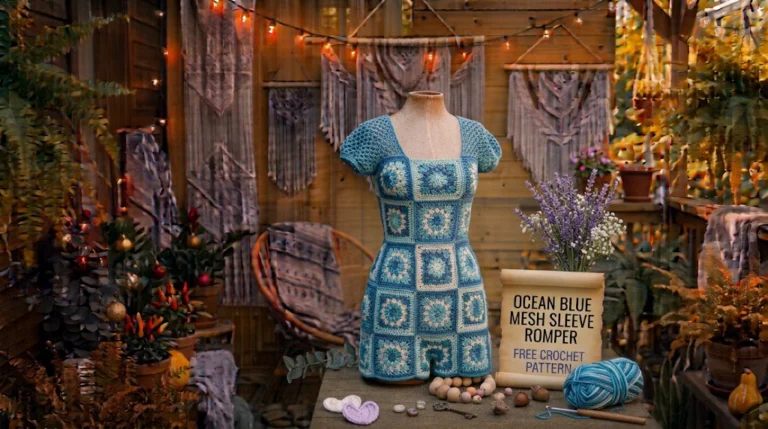
That thought became the Ocean Blue Beach Dress. It is a simple, breezy A-line dress worked from the top down in an open lace mesh that looks intricate but settles into an easy rhythm after the first few rounds. The neckline is clean, the straps are comfortable, and the skirt flares just enough to catch the wind without clinging. It is the kind of dress you throw on over a swimsuit or wear with bare feet and a wide-brimmed hat.

About This Pattern
This is an intermediate pattern. You should already know how to work in the round, read basic lace instructions, and keep an even tension. The dress is seamless and top-down: you begin at the neckline, shape the bodice with gentle increases, separate for the armholes, then continue the skirt in an open mesh that grows through regular increases.
Finished measurements after blocking:
- Bust: 34 (38, 42, 46, 50) inches / 86 (97, 107, 117, 127) cm
- Length from shoulder to hem: 34 (35, 36, 37, 38) inches / 86 (89, 91, 94, 97) cm
- Skirt circumference at hem: 48 (52, 56, 60, 64) inches / 122 (132, 142, 152, 163) cm
The fabric has excellent drape and breathability. It is designed with 2–4 inches of positive ease at the bust so it skims rather than clings.
Materials You’ll Need
Yarn
Sport- or light-DK-weight cotton or cotton-bamboo blend (approximately 120–140 m / 131–153 yd per 50 g)
- Color A (main body – ocean blue): 900 (1000, 1100, 1200, 1300) m / 985 (1095, 1205, 1310, 1420) yd
- Color B (optional neckline and hem accent – soft aqua or white): 80 (90, 100, 110, 120) m / 87 (98, 109, 120, 131) yd
Allow 15% extra for gauge variation and the open lace.
Hooks
- 3.75 mm (F/5) for the main body and lace
- 3.5 mm (E/4) for the neckline and firmer edge rounds
Notions
- Stitch markers (at least 6)
- Tapestry needle
- Blocking mats and pins
- Optional: thin leather or cotton cord for a simple waist tie
Abbreviations and Terminology (US Terms)
- ch – chain
- sc – single crochet (insert hook, yarn over, pull up a loop, yarn over, pull through both loops)
- hdc – half double crochet (yarn over, insert hook, yarn over, pull up a loop, yarn over, pull through all three loops)
- dc – double crochet (yarn over, insert hook, yarn over, pull up a loop, yarn over, pull through two, yarn over, pull through two)
- tr – treble crochet (yarn over twice, insert hook, yarn over, pull up a loop, [yarn over, pull through two] three times)
- sl st – slip stitch
- sp – space
- sk – skip
- rep – repeat
- st(s) – stitch(es)
- yo – yarn over
Turning chains do not count as a stitch unless a step explicitly says they do. The open mesh relies on consistent chain spaces—keep them even so the fabric drapes smoothly.
Gauge
Work a 4 × 4 inch / 10 × 10 cm swatch in the main lace mesh (Rounds 1–4 of the skirt instructions) with the 3.75 mm hook.
Target: 20 stitches and 11 rows = 4 inches / 10 cm after wet blocking.
If your swatch is smaller, go up a hook size. If larger, go down. Lace opens considerably when blocked, so always measure after blocking.
Main Pattern Instructions
Neckline Foundation
With Color A and 3.5 mm hook, ch 88 (96, 104, 112, 120). Join with sl st to first ch, being careful not to twist. Place marker for beginning of round.
Round 1: Ch 1, sc in each ch around. Join with sl st to first sc. 88 (96, 104, 112, 120) sc.
Round 2: Ch 3 (counts as dc), dc in next 2 sts, *ch 1, sk 1, dc in next 3 sts; rep from * around, ending with ch 1, sk 1. Join.
Switch to 3.75 mm hook.
Bodice
Bodice Round 1: Ch 3, dc in each dc and 2 dc in each ch-1 sp around. Join.
Continue working even in dc, placing increases at four evenly spaced points every other round until the bodice measures 7 (7.5, 8, 8.5, 9) inches / 18 (19, 20.5, 21.5, 23) cm from the neckline and the stitch count is sufficient to separate for the armholes.
Separate for Armholes
Work across the front stitches, place the next set of stitches on a holder for the first armhole, chain 6 (8, 10, 12, 14) for the underarm, work across the back, place the remaining armhole stitches on a holder, chain the same underarm number, and join. You now have the body ready for the skirt.
Skirt – Open Lace Mesh
Skirt Round 1: Ch 3, dc in each st and each underarm chain around. Join.
Lace Mesh Pattern (repeat these 4 rounds for the entire skirt):
Round 1: Ch 1, sc in same st, *ch 3, sk 2, sc in next st; rep from * around. Join.
Round 2: Sl st into first ch-3 sp, ch 3, 2 dc in same sp, *ch 1, 3 dc in next ch-3 sp; rep from * around. Join.
Round 3: Ch 1, sc in first ch-1 sp, *ch 3, sc in next ch-1 sp; rep from * around. Join.
Round 4: Same as Round 2.
Increase 8 stitches evenly every 4th round (by working 4 dc instead of 3 dc in selected spaces) until the skirt reaches the desired length. End with a Round 2 or 4. Fasten off Color A.
Optional Accent Edges
With Color B and 3.5 mm hook, join at the neckline. Work one round of sc, then one round of *sc, ch 2, sk 1; rep from * around for a delicate picot edge. Fasten off.
Repeat the same picot edge at the hem if desired.
Special Techniques
Even Mesh Tension
The open lace looks best when the chain spaces are kept consistent. If your mesh starts to look uneven, pause and gently stretch the fabric as you work to even out the spaces.
Underarm Chains
The underarm chains create a smooth transition. When you work the first skirt round, place a marker in the center of each underarm chain section so increases stay balanced.
Assembly and Finishing
There is almost no seaming. Weave in all ends securely on the wrong side, following the path of the stitches so they disappear into the open fabric. If you are adding a waist tie, thread the cord through a round of mesh at the natural waist and knot the ends.
Blocking and Care
Soak the dress in cool water with a mild detergent for 15–20 minutes. Gently squeeze out excess water. Lay flat on blocking mats, pin the neckline, shape the armholes, and open the lace fully so the mesh sits evenly. Allow to dry completely.
Hand wash only, reshape, and dry flat. Never hang the wet dress; the open lace will stretch permanently.
Fit and Troubleshooting Tips
- If the neckline feels tight, go up a hook size for the foundation rounds only.
- If the mesh gaps too much, you are working the chain spaces too loosely—tighten them slightly.
- For a shorter beach cover-up length, simply stop the skirt increases earlier.
- If the armholes gap, pick up one extra stitch on each side when starting the underarm chains.
Final Thoughts
When you slip this dress on and feel the breeze move through the open lace, I hope it brings back that same quiet happiness I felt sitting on the dunes with the ocean stretched out in front of me. It is meant to be easy, a little sun-faded over time, and worn without fuss.
I would love to see the versions you make—different blues, longer hems, or a simple white version for evening. Share a photo in the comments or tag your project so we can enjoy every wave of lace. Happy stitching, and may your summer days always feel this light.




Leave a Reply
You must be logged in to post a comment.