


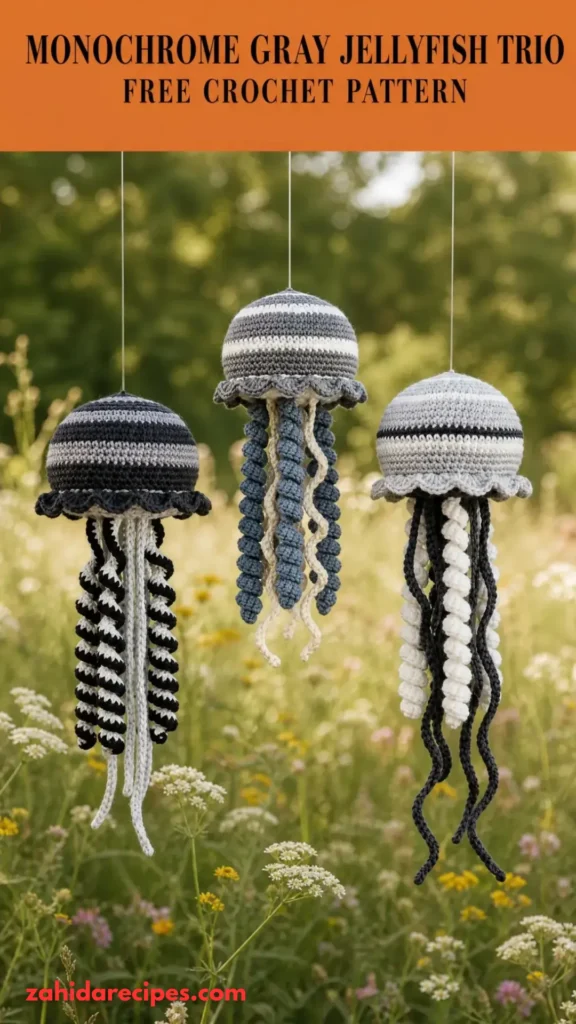
The result is this Monochrome Gray Jellyfish Trio Free Crochet Pattern, featuring three adorable jellyfish in small, medium, and large sizes. Each one has a rounded bell, soft curled tentacles, and a sweet embroidered face. They look lovely displayed together, but they’re also cute enough to enjoy individually.
If you love amigurumi and enjoy making small decorative projects, this little jellyfish family is a fun addition to your crochet collection.
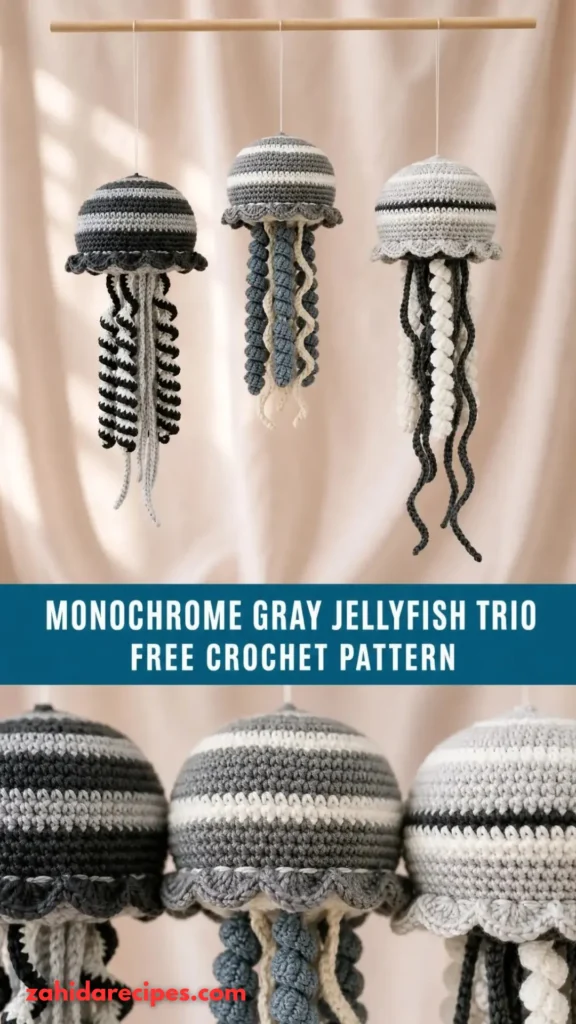
About This Monochrome Gray Jellyfish Crochet Pattern
This pattern creates three stuffed jellyfish using basic amigurumi techniques. Each jellyfish is worked from the top of the bell downward in continuous rounds.
The tentacles are crocheted separately and attached underneath the bell. A decorative scalloped edge adds a soft, wavy finish around the bottom.
The three sizes are:
| Jellyfish | Finished Height | Bell Width |
|---|---|---|
| Small | 8 cm / 3.25 in | 5 cm / 2 in |
| Medium | 11 cm / 4.25 in | 7 cm / 2.75 in |
| Large | 14 cm / 5.5 in | 9 cm / 3.5 in |
Skill Level: Advanced beginner to intermediate.
You’ll need to understand single crochet, increases, decreases, working in continuous rounds, and basic sewing.
The pattern uses three shades of gray to create visual interest without making the finished jellyfish look overly complicated.
Materials You’ll Need
Yarn
Use soft DK-weight cotton or cotton-acrylic blend yarn.
- Color A – Light Gray: Approximately 45 yards for the large jellyfish.
- Color B – Medium Gray: Approximately 35 yards for the medium jellyfish.
- Color C – Charcoal Gray: Approximately 25 yards for the small jellyfish.
- White: Small amount for eye highlights, optional.
Allow approximately 15% extra yarn for gauge variation.
Crochet Hooks
- 2.5 mm hook for the jellyfish bodies.
- 2.75 mm hook for the tentacles if you prefer slightly softer curls.
Other Supplies
- Polyester fiberfill stuffing.
- 6 mm safety eyes, or black embroidery thread.
- Tapestry needle.
- Stitch markers.
- Scissors.
- Pins for positioning tentacles.
- Black embroidery thread for facial details.
Safety note: If making these jellyfish for babies or young children, embroider the eyes instead of using safety eyes. Avoid loose beads and small detachable decorations.
Abbreviations and Terminology
This pattern uses US crochet terminology.
| Abbreviation | Meaning |
|---|---|
| MR | Magic ring |
| ch | Chain |
| sc | Single crochet |
| inc | Increase: 2 sc in one stitch |
| dec | Invisible decrease |
| sl st | Slip stitch |
| hdc | Half double crochet |
| dc | Double crochet |
| BLO | Back loop only |
| FLO | Front loop only |
| st | Stitch |
| sts | Stitches |
| rnd | Round |
| FO | Fasten off |
Basic Stitch Explanations
- Single crochet (sc): Insert hook into the stitch, yarn over, pull up a loop, yarn over again, and pull through both loops.
- Increase (inc): Work two single crochet stitches into the same stitch.
- Invisible decrease (dec): Insert hook through the front loop of each of the next two stitches, yarn over, pull through both front loops, yarn over, and pull through both loops.
- Slip stitch (sl st): Insert hook, yarn over, and pull through both the stitch and the loop on your hook.
- Half double crochet (hdc): Yarn over, insert hook, pull up a loop, yarn over, and pull through all three loops.
- Double crochet (dc): Yarn over, insert hook, pull up a loop, yarn over and pull through two loops twice.
Work in continuous rounds unless instructed otherwise. Do not join rounds with a slip stitch.
Turning chains do not count as stitches unless a step explicitly says they do.
Gauge
Gauge is not critical for this decorative project, but tight stitches are essential.
Your target gauge should be approximately:
24 sc x 26 rounds = 10 cm (4 inches).
Make a small single crochet swatch using your 2.5 mm hook.
If you can see stuffing through the stitches, move down a hook size. If your fabric feels too stiff and difficult to crochet, try a slightly larger hook.
Keep your tension consistent throughout all three jellyfish.
Main Pattern Instructions
The three jellyfish share the same basic construction. The difference is the number of increase rounds and the overall length of the bell.
We’ll begin with the large jellyfish, then use the same method with fewer rounds for the medium and small versions.
Part 1: Large Jellyfish Bell
Use Color A (Light Gray).
Round 1: Make a magic ring and work 6 sc into the ring. (6 sts)
Round 2: Inc in every stitch around. (12 sts)
Round 3: Repeat (1 sc, inc) around. (18 sts)
Round 4: Repeat (2 sc, inc) around. (24 sts)
Round 5: Repeat (3 sc, inc) around. (30 sts)
Round 6: Repeat (4 sc, inc) around. (36 sts)
Round 7: Repeat (5 sc, inc) around. (42 sts)
Round 8: Repeat (6 sc, inc) around. (48 sts)
You should now have a flat circular shape.
Round 9: Sc around in every stitch. (48 sts)
Round 10: Sc around. (48 sts)
Round 11: Sc around. (48 sts)
Round 12: Sc around. (48 sts)
Round 13: Sc around. (48 sts)
Round 14: Sc around. (48 sts)
Round 15: Sc around. (48 sts)
The fabric should begin curving downward, creating the rounded jellyfish bell.
Round 16: Repeat (6 sc, dec) around. (42 sts)
Round 17: Sc around. (42 sts)
Round 18: Repeat (5 sc, dec) around. (36 sts)
Round 19: Sc around. (36 sts)
Round 20: Repeat (4 sc, dec) around. (30 sts)
Pause and begin stuffing the bell with polyester fiberfill.
Round 21: Repeat (3 sc, dec) around. (24 sts)
Round 22: Repeat (2 sc, dec) around. (18 sts)
Add a little more stuffing, making sure the bell remains rounded rather than flattened.
Round 23: Repeat (1 sc, dec) around. (12 sts)
Round 24: Dec around. (6 sts)
FO, leaving a long tail. Use your tapestry needle to close the remaining stitches.
Part 2: Medium Jellyfish Bell
Use Color B (Medium Gray).
Follow the same construction method as the large jellyfish, but stop increasing at 36 stitches.
Round 1: MR, 6 sc. (6 sts)
Round 2: Inc around. (12 sts)
Round 3: Repeat (1 sc, inc) around. (18 sts)
Round 4: Repeat (2 sc, inc) around. (24 sts)
Round 5: Repeat (3 sc, inc) around. (30 sts)
Round 6: Repeat (4 sc, inc) around. (36 sts)
Rounds 7–12: Sc around. (36 sts)
Round 13: Repeat (4 sc, dec) around. (30 sts)
Round 14: Sc around. (30 sts)
Round 15: Repeat (3 sc, dec) around. (24 sts)
Stuff the bell.
Round 16: Repeat (2 sc, dec) around. (18 sts)
Round 17: Repeat (1 sc, dec) around. (12 sts)
Round 18: Dec around. (6 sts)
FO and close the opening.
Part 3: Small Jellyfish Bell
Use Color C (Charcoal Gray).
Round 1: MR, 6 sc. (6 sts)
Round 2: Inc around. (12 sts)
Round 3: Repeat (1 sc, inc) around. (18 sts)
Round 4: Repeat (2 sc, inc) around. (24 sts)
Round 5: Repeat (3 sc, inc) around. (30 sts)
Rounds 6–10: Sc around. (30 sts)
Round 11: Repeat (3 sc, dec) around. (24 sts)
Begin stuffing.
Round 12: Repeat (2 sc, dec) around. (18 sts)
Round 13: Repeat (1 sc, dec) around. (12 sts)
Round 14: Dec around. (6 sts)
FO and close the opening.
Special Techniques and Additional Elements
Creating the Curly Jellyfish Tentacles
The tentacles are what make these little jellyfish special.
Their spiral shape creates a playful underwater appearance, and using different lengths makes each jellyfish look slightly different.
Make the following tentacles for each jellyfish:
| Size | Short Tentacles | Long Tentacles |
|---|---|---|
| Small | 4 (8 cm) | 4 (11 cm) |
| Medium | 4 (10 cm) | 4 (14 cm) |
| Large | 4 (12 cm) | 4 (17 cm) |
Use the matching gray yarn for each jellyfish.
Step 1: Chain 21 for a short tentacle or chain 31 for a long tentacle.
Step 2: Starting in the second chain from the hook, work 2 sc into every chain.
Step 3: Continue working 2 sc into each chain until the end.
Step 4: FO, leaving a long sewing tail.
The double single crochet stitches naturally curl the chain into a spiral.
Making the Scalloped Bell Edge
A soft scalloped edge gives the jellyfish a decorative underwater look.
Attach the matching yarn to the front loop of an available stitch around the open lower edge of the bell, or work into the unused front loops of a designated decorative round before closing the bell.
For a simple finishing edge, use the following repeat:
Round 1: Attach yarn and work sl st in next stitch, ch 3, 2 dc in same stitch, sl st in next stitch. Repeat around, adjusting the final repeat to fit the stitch count.
FO and weave in the ends.
For a more delicate appearance, use a slightly lighter gray than the bell.
Adding the Jellyfish Face
The face is a small detail, but it gives each jellyfish plenty of personality.
- Position two 6 mm safety eyes approximately 5–6 stitches apart.
- Place them on the front of the bell, about two rounds above the lower edge.
- Add a small curved smile using black embroidery thread.
- Add tiny white embroidery highlights if desired.
For embroidered faces, use a few small satin stitches for the eyes and a curved backstitch for the smile.
Assembly and Finishing
Now comes the fun part: bringing your jellyfish trio together.
Step 1: Arrange the Tentacles
Turn each bell upside down.
Position four short tentacles around the center and four longer tentacles between them. Alternate the lengths to create a balanced appearance.
The tentacles should hang freely without overlapping too heavily.
Step 2: Attach the Tentacles
Use the tapestry needle and the long yarn tails.
Sew each tentacle securely to the underside of the bell. Take several stitches through the top of each spiral and the body fabric.
Avoid placing all the tentacles in one tight cluster. Spread them evenly around the underside.
Step 3: Check the Shape
Turn the jellyfish upright and gently arrange the curls.
If a tentacle looks too tight, stretch it carefully with your fingers. If it is too loose, adjust the attachment point.
Step 4: Finish the Trio
Repeat the process for all three sizes.
Arrange the jellyfish from largest to smallest. The three different gray shades create a lovely monochrome display.
Blocking and Care
These jellyfish do not require heavy blocking.
However, a little finishing work makes a noticeable difference.
- Gently shape the bell with your fingers.
- Separate the tentacle curls so they hang naturally.
- Remove any visible yarn ends.
- If necessary, lightly steam-block the decorative edging from a safe distance, following the yarn manufacturer’s care instructions.
For cotton or acrylic blends, avoid pressing a hot iron directly against the stitches.
Care Instructions
- Hand wash gently in cool water.
- Use mild detergent.
- Avoid twisting or squeezing the jellyfish.
- Press gently with a clean towel to remove excess water.
- Reshape and dry completely on a flat surface.
- Never hang the jellyfish while wet, as the stuffing can shift and stretch the tentacles.
Fit and Troubleshooting Tips
Why Is My Jellyfish Bell Curling Too Much?
If the flat circular foundation curls before you reach the body section, your stitch count may be too low or your tension too tight.
Check that each increase round ends with the correct number of stitches.
Why Can I See the Stuffing?
This usually happens when your hook is too large or your tension is too loose.
Try a 2.25 mm hook and keep your stitches even.
Why Are My Tentacles Not Curling?
Make sure you’re working two single crochet stitches into every chain.
If your curls look too loose, try a smaller hook or slightly tighter tension.
Why Does My Jellyfish Look Flat?
You may not have added enough stuffing, or the decreases may have been worked too quickly.
Add stuffing gradually and shape the bell as you close it.
Can I Change the Jellyfish Colors?
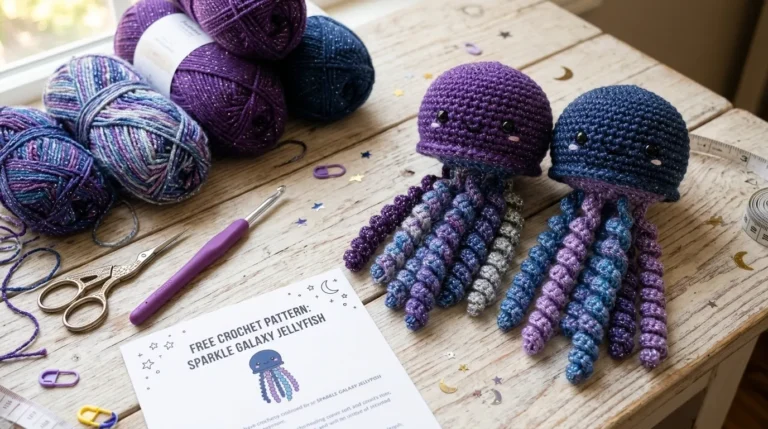
Absolutely! Although this design uses gray shades, you can make the trio in dusty blue, lavender, cream, sage green, or soft pink.
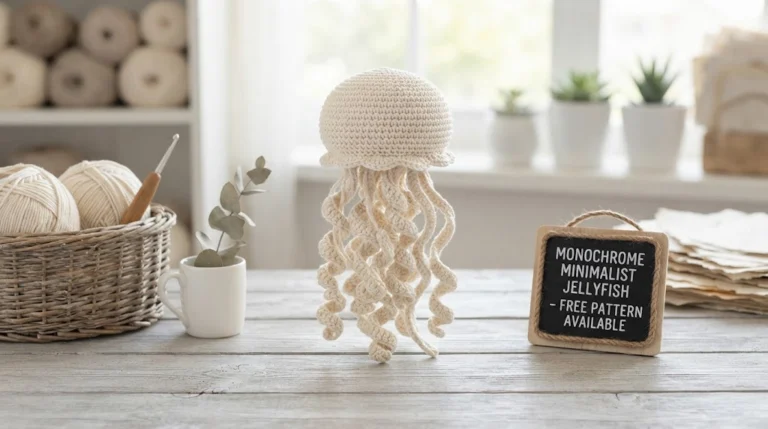
You can even use one color for all three jellyfish for a minimalist collection.
Final Thoughts
I love how this Monochrome Gray Jellyfish Trio Free Crochet Pattern combines simple amigurumi techniques with a little bit of personality.
The rounded bells, curly tentacles, and tiny embroidered smiles make each jellyfish feel special. Even better, the three different sizes give you a complete little ocean-inspired family rather than just one finished project.
These jellyfish are lovely for decorating a craft room, displaying on a shelf, or giving as handmade gifts. You can also experiment with different shades, facial expressions, and tentacle lengths to make every jellyfish unique.
Don’t worry if your first jellyfish looks a little different from mine. Handmade crochet has its own charm, and those tiny differences are part of what makes every creation special.
I hope you enjoy making this adorable gray jellyfish trio. Happy crocheting!



Leave a Reply
You must be logged in to post a comment.