Monochrome Minimalist Jellyfish Free Crochet Pattern
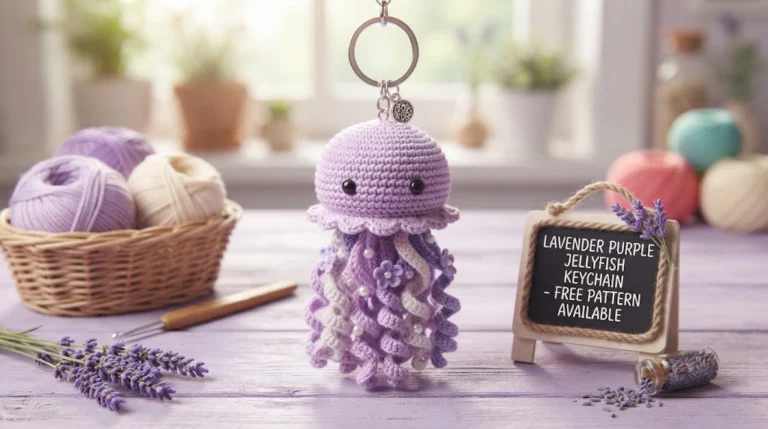
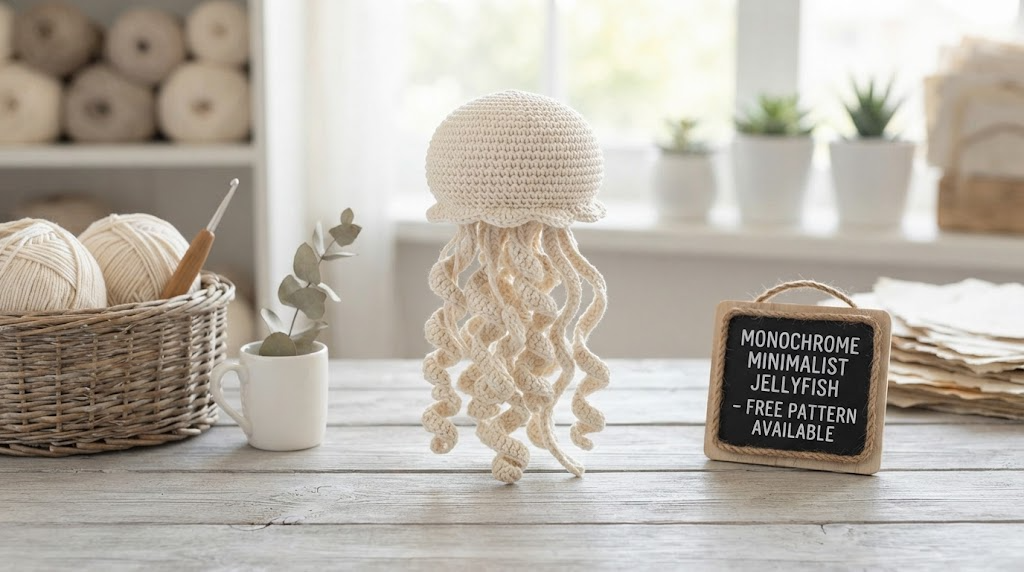
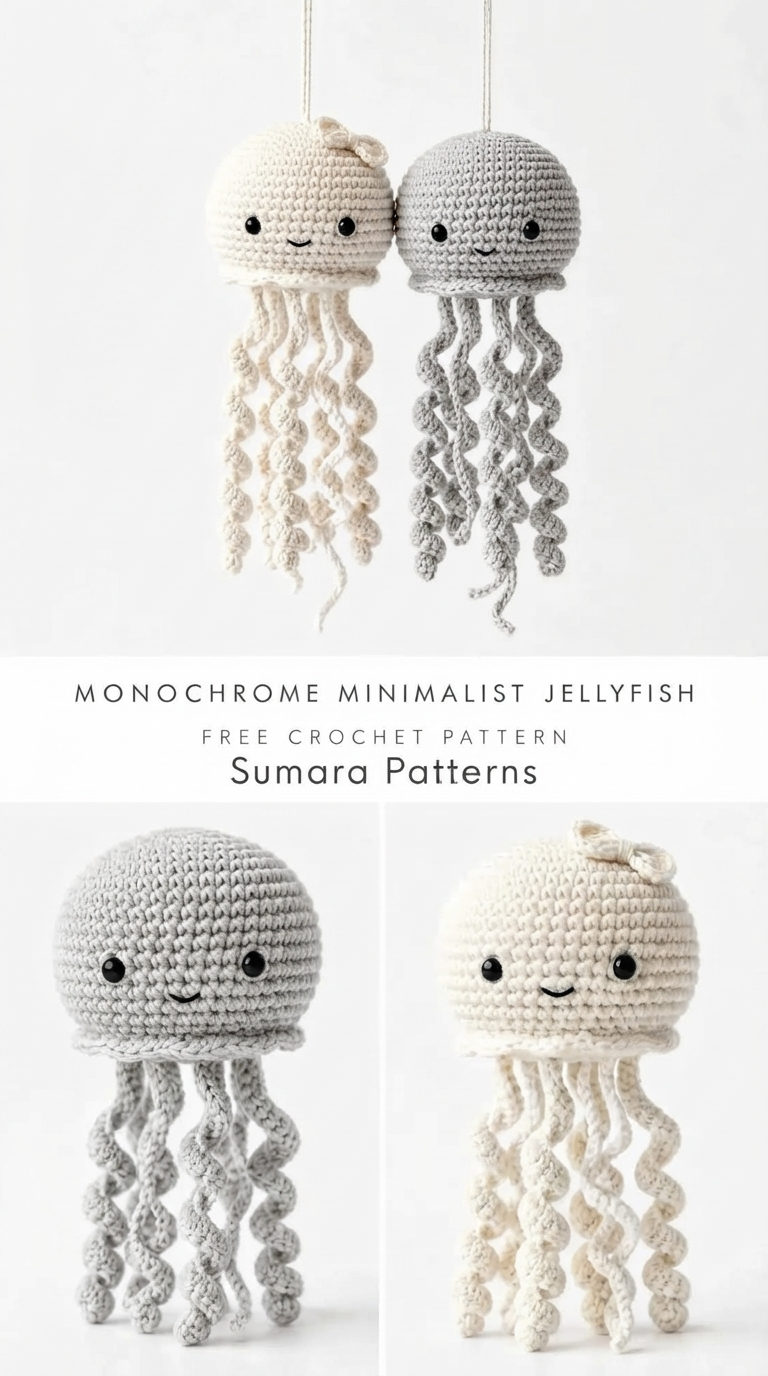
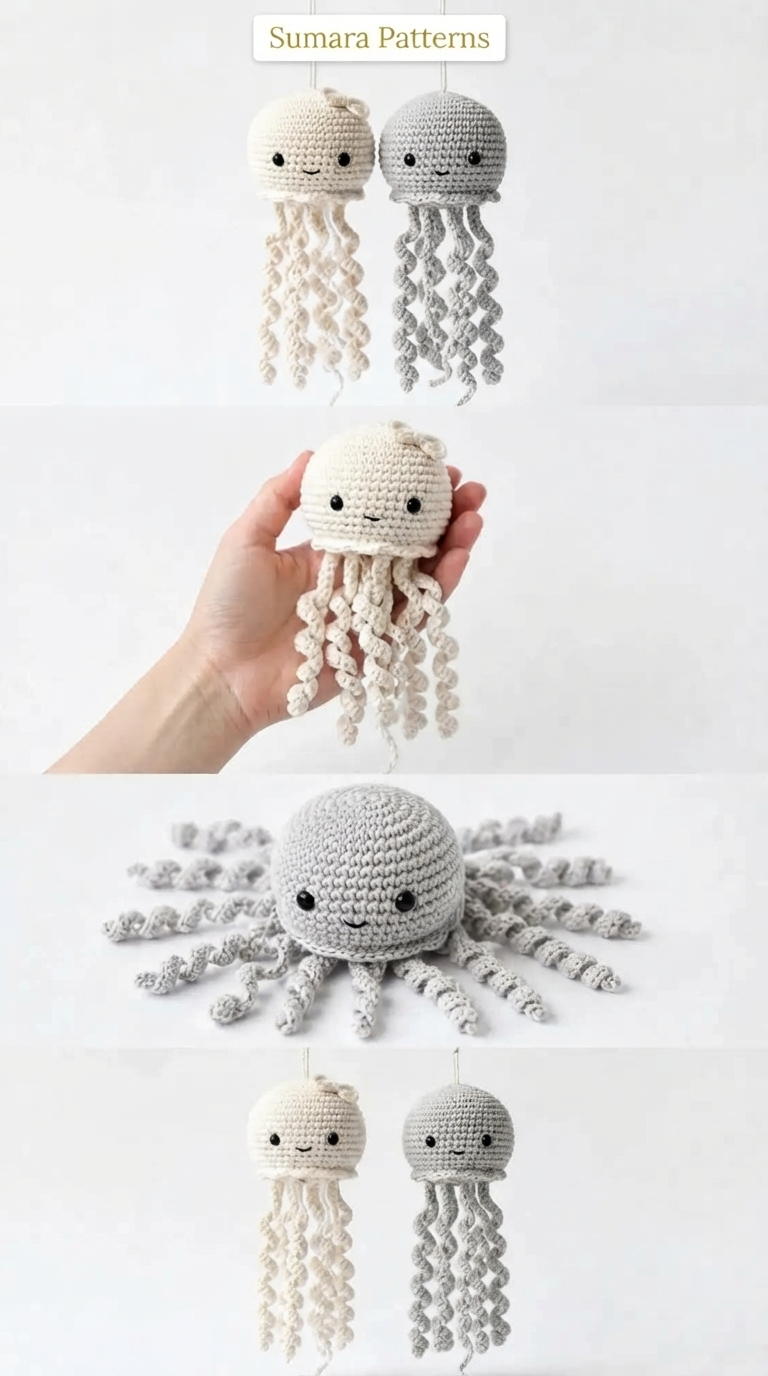
Want a cute hanging jellyfish that looks fancy but works up fast? This monochrome minimalist version is pure charm. Soft neutrals, curly tentacles that spiral all by themselves, and a sweet little face. Perfect for a nursery mobile, a quiet corner of your craft room, or a handmade gift that feels special without the stress.
Grab your hook. We are making something delightful today.
Why This Little Jellyfish Wins Every Time
Most amigurumi just sit there looking adorable. This one actually moves. Hang it up and those spiral tentacles sway with the slightest breeze. Magic, right?
The construction stays simple. You crochet a rounded bell in continuous rounds, add a soft ruffle, attach eight curly tentacles, and finish with a tiny crown and embroidered smile. Nothing advanced here. If you have finished one amigurumi before, you can handle this.
The tentacles steal the show. Work three single crochet stitches into every chain of a foundation chain and the yarn coils itself. No blocking. No wire. Just stitch math doing the heavy lifting. IMO, that is the best kind of crochet trick.
Cotton yarn makes everything look crisp. Off-white cream and soft gray give that calm, Scandinavian vibe that fits modern spaces perfectly. One jellyfish takes about four to six hours. Weekend project energy at its finest.
Finished Size and What You Can Expect
Your finished jellyfish will measure roughly:
Bell diameter: 3.5 inches (9 cm)
Total length including tentacles: 10 to 11 inches (25 to 28 cm)
Individual tentacle length after coiling: 6 to 7 inches (15 to 18 cm)
These numbers assume you match the gauge and stuff the bell firmly. Tension varies from person to person, so yours might differ a little. That is completely normal with amigurumi.
Materials You Need
Keep the supply list short and sweet.
Yarn: Size 3 light DK weight or heavy sport weight cotton or cotton-blend. About 100 to 120 yards (91 to 110 meters) per jellyfish in one color. Cotton holds stitch definition best and shows off those spiral tentacles clearly.
Good options include soft neutrals like champagne white, misty grey, ecru, or light silver. Pick whatever calm shade makes you happy.
Hook: US size D-3 (3.25 mm). Working tighter than the yarn label suggests is the goal here. Dense fabric keeps stuffing from peeking through.
Other supplies:
- Polyester fiberfill stuffing
- Two 9 mm or 10 mm black safety eyes
- Black embroidery floss or thin black yarn for the smile
- Embroidery needle or tapestry needle
- Stitch marker
- Scissors
- Hanging cord: 18 to 24 inches (46 to 61 cm) of natural cotton twine or matching yarn
That is everything. No fancy extras required.
Gauge and Why It Matters
14 single crochet stitches and 16 rounds equal 4 inches (10 cm) in continuous rounds with the recommended hook and yarn.
Gauge decides two things. First, the final size of your bell. Second, whether stuffing stays hidden. If your stitches look open and gappy, drop down one hook size. If the fabric feels stiff and wonky, go up one size. Easy fix.
Abbreviations and Stitches You Will Use
Quick reference so nothing slows you down.
ch = chain
sl st = slip stitch
sc = single crochet
inc = increase (2 sc in the same stitch)
sc2tog = single crochet two together (decrease)
MR = magic ring
BLO = back loop only
FLO = front loop only
st/sts = stitch/stitches
rnd = round
rep = repeat
pm = place marker
sm = slip marker
Special Techniques Worth Knowing
Magic Ring: Make a loop, insert your hook, pull up a loop, chain 1, work the stitches into the ring, then pull the tail tight to close the hole. Classic amigurumi start.
Spiral Tentacle Chain: Chain the stated length. Starting in the second chain from the hook, work 3 sc into every single chain. The extra stitches force the strip to coil. Do not fight the curl. It is the whole point.
Underskirt Ruffle: Work 2 sc into every stitch around the bottom edge. Instant gentle frill.
Pattern Instructions
Time to crochet. The bell uses continuous rounds. Place a stitch marker in the first stitch of each round and move it up as you go.
The Bell
Round 1: MR, work 6 sc into ring. Pull ring closed. (6 sc)
Round 2: Inc in every stitch around. (12 sc)
Round 3: (Sc 1, inc) repeat around. (18 sc)
Round 4: (Sc 2, inc) repeat around. (24 sc)
Round 5: (Sc 3, inc) repeat around. (30 sc)
Round 6: (Sc 4, inc) repeat around. (36 sc)
Round 7: (Sc 5, inc) repeat around. (42 sc)
Round 8: (Sc 6, inc) repeat around. (48 sc)
Rounds 9 and 10: Sc in every stitch around. (48 sc each round)
Important: This is the widest point. Insert the safety eyes now on Round 9 or 10. Place them 4 to 5 stitches apart, centered on the front. Safety eyes go in before you close and stuff.
Round 11: (Sc 6, sc2tog) repeat around. (42 sc)
Round 12: Sc in every stitch around. (42 sc)
Round 13: (Sc 5, sc2tog) repeat around. (36 sc)
Round 14: Sc in every stitch around. (36 sc)
Round 15: (Sc 4, sc2tog) repeat around. (30 sc)
Checkpoint: Your bell should measure about 2.5 to 3 inches (6.5 to 7.5 cm) tall from the magic ring. The opening is clearly narrowing.
Round 16: (Sc 3, sc2tog) repeat around. (24 sc)
Begin stuffing now. Add fiberfill firmly. Keep adding as you finish the remaining rounds.
Round 17: (Sc 2, sc2tog) repeat around. (18 sc)
Round 18: (Sc 1, sc2tog) repeat around. (12 sc)
Round 19: Sc2tog around. (6 sc)
Fasten off, leaving a 6-inch (15 cm) tail. Thread the tail onto a tapestry needle and weave through the front loop of each remaining stitch. Pull to cinch closed. Knot securely and bury the tail inside.
The Underskirt Ruffle
Turn the bell upside down so the bottom opening faces up. Work into the stitches of Round 10 (the last even round before decreasing). That round has 48 stitches.
Join yarn at any stitch of Round 10 with a slip stitch.
Ruffle Round 1: Work 2 sc into every stitch around. (96 sc)
Ruffle Round 2: Sc in every stitch around. (96 sc)
Sl st into the next stitch. Fasten off and weave in the end neatly.
Checkpoint: The ruffle should form a small, gentle frill that stands away from the bell. Not tight against the body.
The Crown Embellishment
This tiny detail sits right on top of the bell.
Make a magic ring. Work 6 sc into the ring. Sl st to close into a ring. Do not fasten off.
(Ch 3, sl st into the next stitch) repeat 6 times to form 6 small loops around the ring.
Fasten off, leaving a 6-inch tail.
Use the tail to stitch the embellishment securely to the top of the bell, centered over the magic ring closure. The loops fan out like a little flower or decorative knot.
The Tentacles
Each jellyfish needs 8 identical tentacles. Here is the magic formula for each one:
Ch 41.
Starting in the second chain from the hook, work 3 sc into each chain across to the end.
Fasten off, leaving a 6-inch (15 cm) tail for attachment.
The tentacle will coil into a spiral right away. Perfect. Do not straighten it.
Make 8 tentacles total.
Checkpoint: Each finished tentacle should coil to about 6 to 7 inches (15 to 18 cm). If the coils feel too loose, work the three single crochets with a bit more tension next time.
Attaching the Tentacles
Hold the bell upside down. Attach all 8 tentacles evenly around the bottom edge, just inside or beneath the ruffle.
With 48 stitches around and 8 tentacles, place one every 6 stitches.
For each tentacle, thread the tail onto your tapestry needle. Insert the needle from outside the bell edge inward, looping through 2 to 3 stitches of the base. Tie a double knot inside the bell and bury the tail.
Once all 8 are attached, let them hang freely and nudge them until they drape evenly.
The Hanging Cord
Cut 18 to 24 inches (46 to 61 cm) of natural cotton twine or matching yarn.
Thread the cord onto a tapestry needle. Pass it through the top of the bell at the magic ring area so both ends come out the top. Remove the needle. Tie the ends together in an overhand knot about 6 to 8 inches above the bell.
Or fold the cord in half, thread the loop through the top, pull the tails through the loop for a lark’s head knot, then knot the tails at your preferred height.
Embroidering the Smile
Thread a tapestry needle with black embroidery floss or thin black yarn. Bring the needle up from inside the bell just below and between the safety eyes.
Work 2 to 3 small straight stitches in a shallow upward-curved arc for a gentle smile. Keep the curve soft. Re-enter the needle and knot the floss securely inside. Trim any excess.
Done. Your jellyfish has a face and a personality.
Want a Different Size?
Smaller jellyfish: Switch to fingering weight yarn (size 2) and a US B-1 (2.25 mm) hook. Work the bell through Round 6 (36 sc maximum), then decrease. Shorten tentacles to Ch 31. Bell ends up about 2.5 inches (6.5 cm) across.
Larger jellyfish: After Round 8, add two more increase rounds to reach 54 sc, then 60 sc. Work two even rounds before decreasing. Lengthen tentacles to Ch 51. Use worsted weight yarn with a US F-5 (3.75 mm) hook.
Fuller tentacles: Make 10 or 12 instead of 8. Space the attachment points evenly around the circumference.
Mix and match. These jellyfish look great in groups of different sizes.
Care Tips and Safety Note
Hand wash gently in cool water with mild soap. Do not wring. Press between towels to remove water. Hang from the cord to dry so the tentacles keep their coil. Skip the dryer.
Safety eyes are fastened securely, but this item is not intended for children under 3 because of small parts. FYI, better safe than sorry.
Related Articles:
- Lavender Purple Jellyfish Keychain Free Crochet Pattern
- Sage Garden Granny Square Tote Free Crochet Pattern
- Pastel Rainbow Jellyfish Amigurumi Free Crochet Pattern
Final Thoughts
This project sits right in the sweet spot. It looks impressive, yet the steps stay friendly. The spiral tentacles do most of the visual work for you. Take a little extra care when you attach them and the finished look will shine.
Make one in cream. Make another in gray. Hang a whole school if the mood strikes. They bring quiet movement and a soft modern touch wherever they land.
Happy crocheting. I hope your jellyfish turns out as charming as you imagined.