

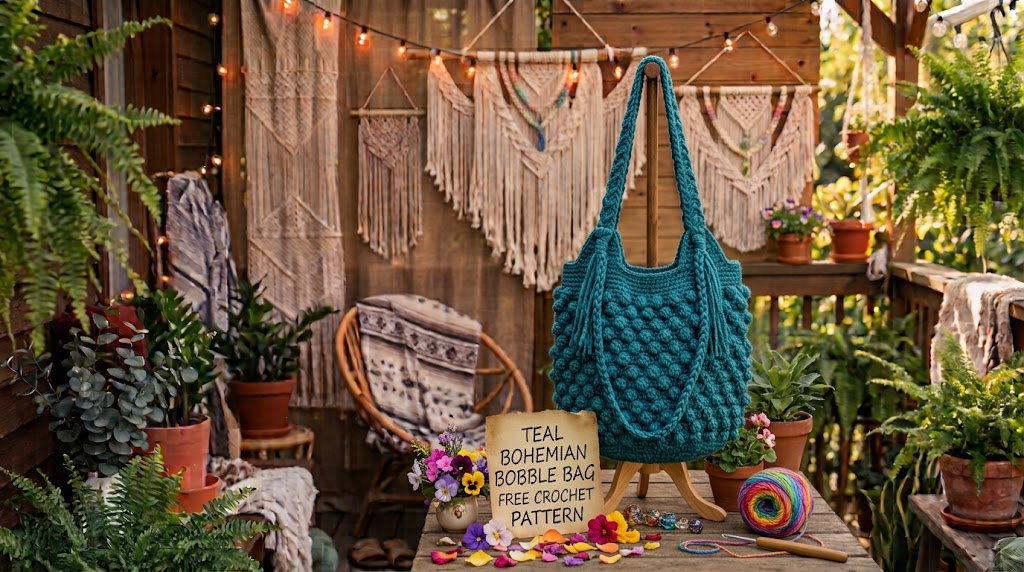
Want a free crochet bag pattern that looks expensive but only needs basic stitches? This teal bohemian bobble bag gives you raised texture, a neat beige trim, and a vintage-style clasp without any advanced techniques. If single crochet and double crochet already feel comfortable, you can finish this mini handbag in one weekend.
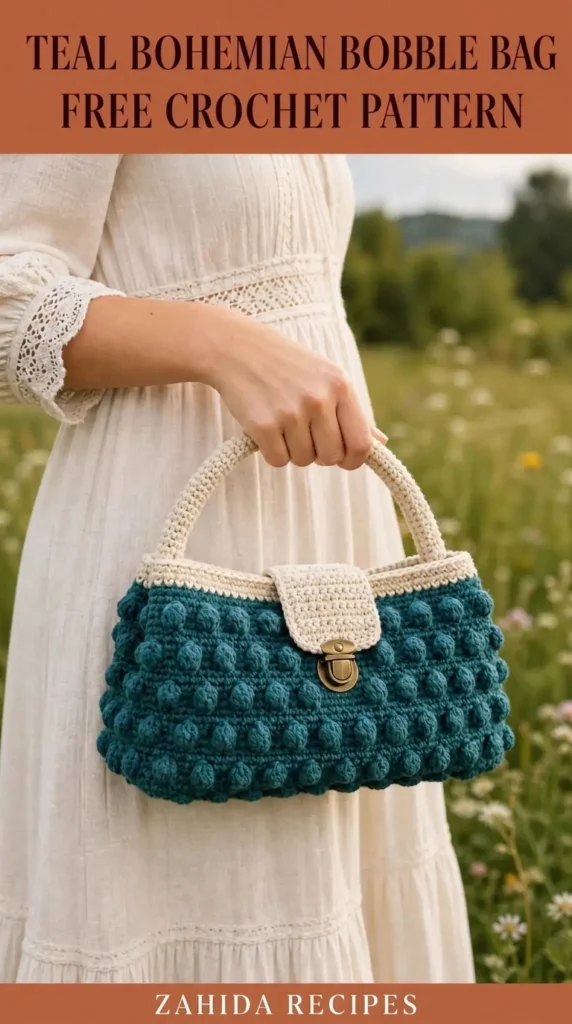
The finished size sits around 11 inches wide, 6.75 inches tall, and 3.5 inches deep, with a short 4.25-inch handle drop that rests nicely on your arm. The bobbles create that soft, dimensional surface you see on boutique bags, yet the construction stays straightforward: a flat base, continuous rounds, and a simple top band.
Why This Bobble Bag Works for Most Crocheters
Many free bag patterns either look flat or demand complicated stitches. This one sits in the sweet spot. You only need to learn one special stitch—the 5-dc bobble—and the rest is single crochet, half double crochet, and a bit of seaming.
The staggered bobble placement keeps the texture interesting without counting complex repeats. Cotton yarn holds the shape so the bag stands up on its own, and the beige trim frames the teal body cleanly. Add a small antique-brass clasp and the whole piece looks finished rather than homemade.
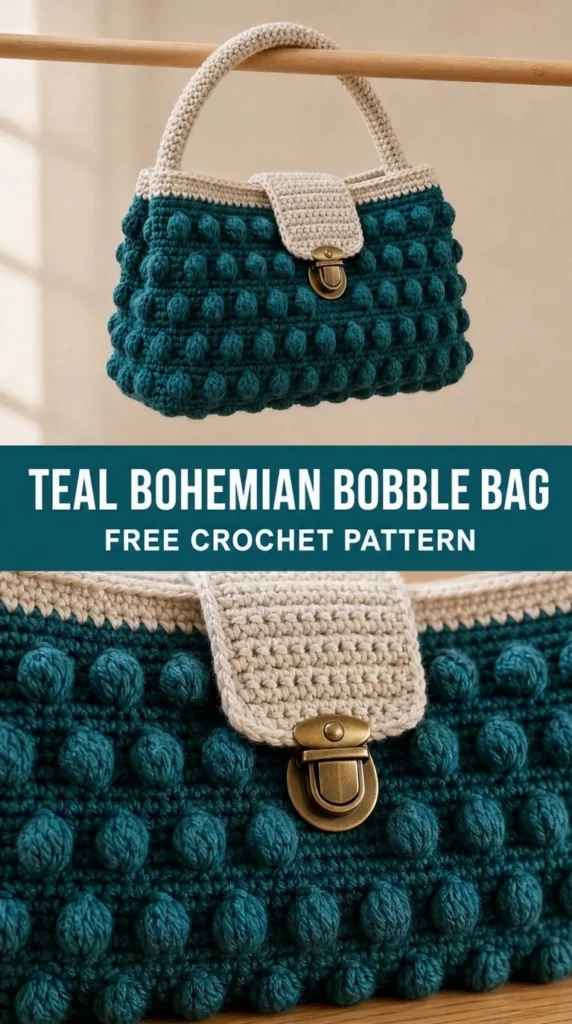
Materials That Actually Work for This Project
Main color (teal): roughly 240 yards of worsted-weight cotton
Contrast color (beige): roughly 95 yards of the same weight
Hook: US E/4 (3.5 mm) or whatever size matches gauge
Hardware: one small bag clasp or turn lock
Extras: tapestry needle, stitch markers, sewing needle, optional lining fabric
Smooth cotton is the better choice here. Soft acrylic tends to collapse and hide the bobbles. Three reliable options:
- Paintbox Yarns Cotton Aran – firm and available in many teal shades
- Lion Brand 24/7 Cotton – crisp stitch definition
- Knit Picks Dishie – budget-friendly and shows texture well
Gauge and Size Checkpoints
Bobble section: 18 stitches and 10 rounds = 4 inches (lightly blocked)
Base: 18 single crochet and 18 rows = 4 inches
After the body reaches Round 13 you should measure about 6 inches tall before adding the beige band. Final blocked size lands near 11 × 6.75 × 3.5 inches.
Special Stitches You’ll Use
The only new move is the 5-dc bobble:
Yarn over, insert hook, yarn over and pull up a loop, yarn over and pull through two loops. Repeat that incomplete double crochet four more times in the same stitch (six loops on the hook). Yarn over and pull through all six. Push the bobble firmly to the right side right away.
You’ll also use a surface slip stitch for a clean top edge and an invisible join for tidy finishes.
Building the Base and Body
Start with a simple rectangle in teal.
Chain 49. Single crochet in the second chain and across (48 stitches). Work 14 more rows of single crochet. Mark the four corners.
Pick up stitches around the entire rectangle: 48 along each long side and 15 along each short side (126 stitches total). From here you work in continuous rounds.
Alternate two bobble placements:
- One round places a bobble every six stitches
- The next offsets the bobbles by three single crochets
Between each bobble round you work a plain single-crochet round. Continue this sequence through Round 13. The staggered bobbles create the soft, irregular surface that gives the bag its bohemian feel.
Adding the Contrast Band, Handle, and Clasp
Switch to beige.
Work one round of single crochet, one round of half double crochet, and another round of single crochet. Finish with a surface slip stitch around the top edge for a neat corded look.
For the handle, chain 52 and work four rows of half double crochet. Fold the strip lengthwise, seam it into a padded tube, and sew the ends inside the top band over the side seams. The finished drop measures about 4.25 inches.
The front tab is a small rectangle of single crochet (chain 15, ten rows). Edge it, sew it to the inside back of the band so it folds over the front, and attach the clasp. Reinforce the fabric behind the hardware with a scrap of felt or fabric so the clasp stays secure over time.
Finishing Touches and Care
Weave ends thoroughly on the wrong side. Lightly steam or wet-block without crushing the bobbles. Stuff the bag with towels while it dries so the base stays square.
An optional fabric lining (two side panels and a base strip) gives a professional interior and extra structure. Hand wash only if the hardware allows, then reshape and dry flat.
Quick Troubleshooting Table
| Problem | Simple Fix |
|---|---|
| Bobbles sink inward | Push each one to the right side immediately |
| Top edge flares | Use a smaller hook on the beige band |
| Base curls | Block the rectangle before picking up rounds |
| Handle stretches | Sew the ends deeper and reinforce with extra stitches |
Add pairs of rounds (one bobble + one plain) to make the bag taller. Increase the base chain by multiples of six if you want more width. Lengthen the handle by adding chains for a shoulder version, or make two shorter straps.
Left-handed crocheters follow the same counts; the texture simply travels the other direction.
FAQ’s
Is the teal bohemian bobble bag free crochet pattern beginner-friendly?
Yes, as long as you already know single crochet and double crochet. The bobble is the only new stitch, and it becomes automatic after a few rounds.
Related Articles:
- Sage and Cream Granny Square Baby Overalls Free Pattern
- Navy Blue Classic Cuff Socks Free Crochet Pattern
- Icy Blue Winter Frost Slipper Boots Free Crochet Pattern
How much time does this bag usually take?
Most people finish in 8–10 hours, including the handle and clasp.
Can I substitute acrylic yarn?
You can, but the bag will feel softer and may need a firm lining to keep its shape and show the bobbles clearly.
What is the finished size?
About 11 inches wide, 6.75 inches high, and 3.5 inches deep with a 4.25-inch handle drop.
Do I have to use an antique-brass clasp?
No. Any small bag clasp or turn lock works. Choose a finish that matches your yarn colors.
Can I sell the finished bags?
Check the original pattern terms on the site. Many free patterns allow finished items to be sold with credit given to the designer.


Leave a Reply
You must be logged in to post a comment.