

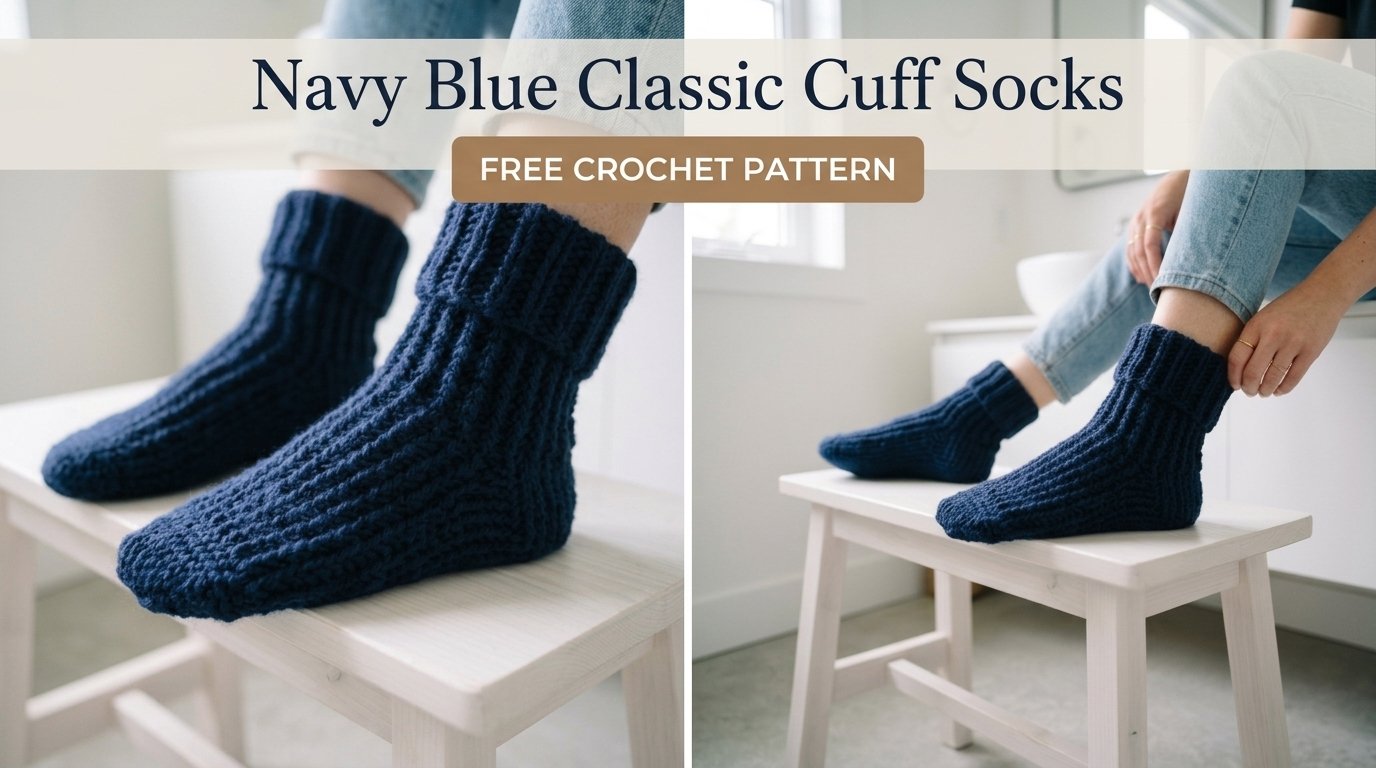
Hooked on the idea of cozy, no-slip navy socks that actually stay put? These classic cuff beauties deliver dense fabric, stretchy ribbing, and a heel that hugs without fuss. Grab your worsted yarn and let’s turn out a pair that feels like a warm hug for your feet. You’ll finish faster than you expect and wonder why you waited so long.
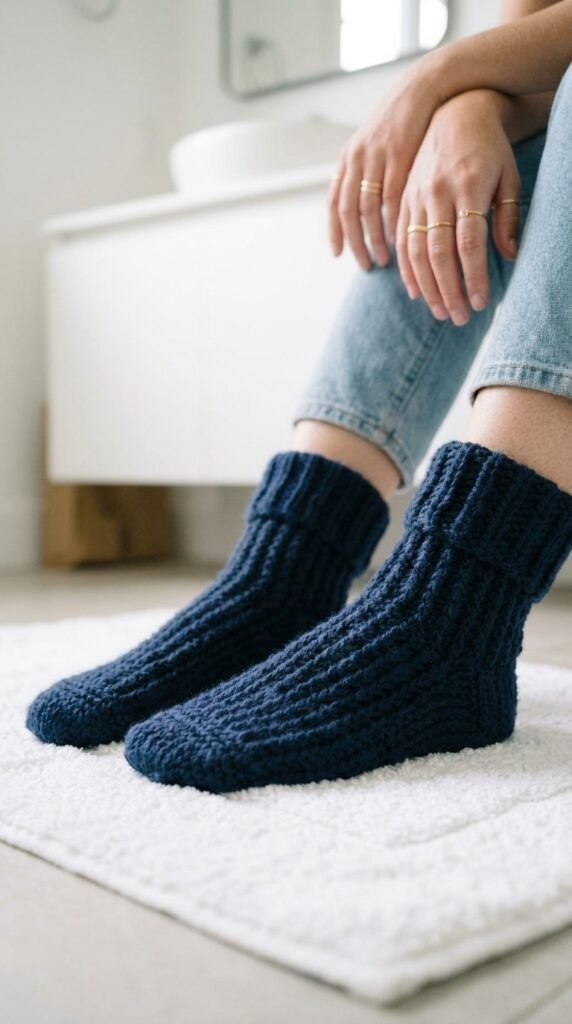
Why You’ll Love This Crochet Sock Pattern
Crochet socks scare a lot of folks. Heel turns, toe decreases, fit anxiety—yeah, I’ve been there. This one flips the script. Familiar stitches do the heavy lifting while the construction stays straightforward once you settle into the rhythm.
The body builds with single crochet and half double crochet in continuous rounds for that solid, hard-wearing fabric. The cuff uses simple back-loop ribbing that stretches like a dream. Start at the top and work down. Short-row heels sound fancy until you try them—then they just make sense.
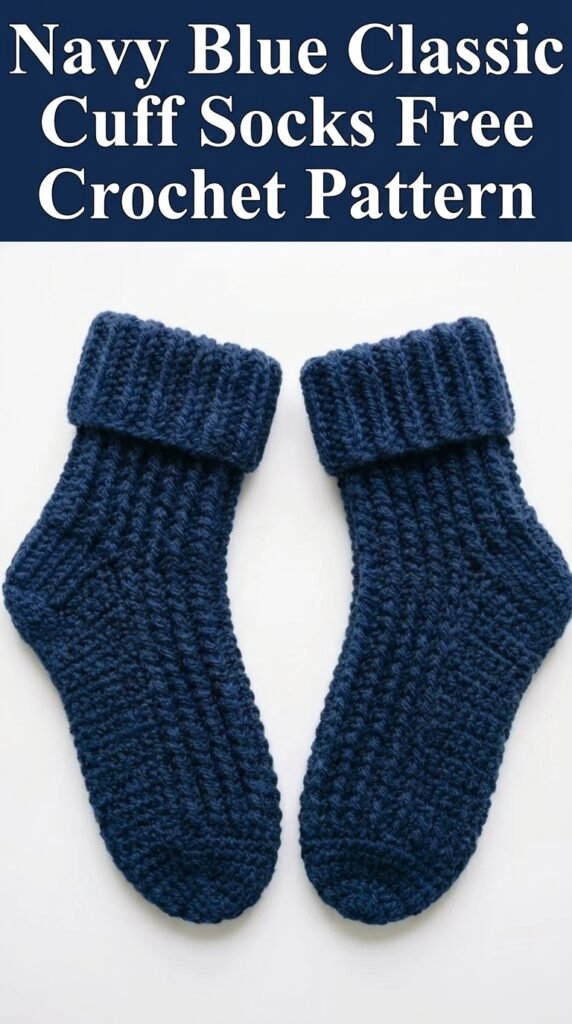
Honestly, these might convert even the most sock-skeptical crocheter. Practical meets pretty in the best way.
Skill Level
Call this intermediate. You need comfort with rounds, increases, decreases, and reading sequential instructions. Finished a beanie or market bag? You’re already qualified.
Still, I broke the trickier bits into clear steps. Confident beginners ready for a stretch should jump in. The pattern holds your hand without talking down to you.
Finished Measurements
Sized for women’s US 7–9, roughly a 9-inch foot length.
- Foot length: 9 inches (easy to tweak)
- Cuff height: 3.5 inches
- Foot circumference: 8 inches unstretched
That ribbed cuff gives generous stretch, so ankles of all shapes stay happy.
Materials Needed
Yarn: Worsted weight (category 4), about 200 yards per sock—400 total for the pair. A wool blend in deep navy keeps things warm and tough. Nylon content in the mix boosts heel and toe durability.
Hooks: 5.0 mm (H/8) for the main body. Optional 4.5 mm for a snugger cuff.
Notions: Locking stitch marker, tapestry needle, scissors. That’s it.
Gauge
16 stitches and 18 rows equal 4 inches in single crochet worked continuously.
Check it. Socks forgive less than sweaters. Adjust hook size until you match. Tight fabric lasts longer and feels better underfoot.
Abbreviations and Stitch Definitions
Quick refresher so nothing trips you up mid-round.
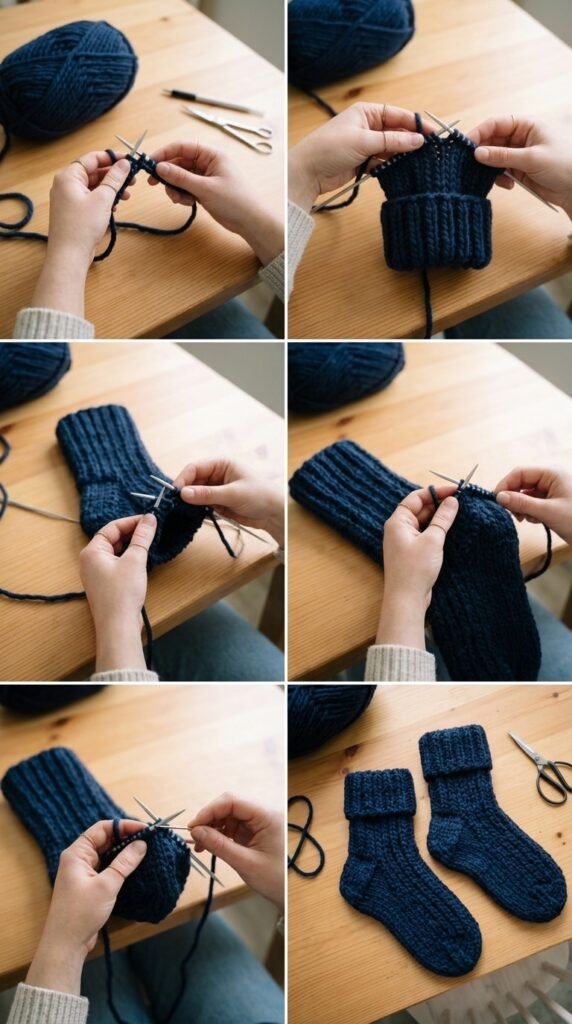
- Ch – Chain: yarn over, pull through loop.
- Sl st – Slip stitch: insert, yarn over, pull through everything.
- Sc – Single crochet: insert, yarn over, pull up, yarn over, pull through both.
- Hdc – Half double crochet: yarn over, insert, yarn over, pull up, yarn over, pull through all three.
- Sc2tog – Single crochet two together: decrease that turns two stitches into one.
- BLO – Back loop only: work into the far loop for that ribbed texture.
- FLO – Front loop only: the near loop.
You’ve got this.
Pattern Notes Before You Begin
Keep these in your back pocket:
- Cuff works flat in rows, then joins into a tube.
- Foot runs in continuous spiral rounds—no joining unless told. Marker is your best friend.
- Move that marker up every single round. Seriously.
- Aim for dense but not death-grip tension. Socks take a beating.
- Work both socks at once if you can. Second-sock syndrome is real and annoying.
Ready? Let’s build.
Crochet Sock Pattern Instructions
Here’s the full walkthrough. Take it section by section and try the sock on as you go.
Ribbed Cuff
Worked flat, then seamed. Smaller hook if you want extra snugness.
Foundation: Ch 11.
Row 1: Sc in second chain from hook and each chain across. Turn. (10 sts)
Row 2: Ch 1 (doesn’t count as a stitch), sc BLO across. Turn. (10 sts)
Rows 3–32: Repeat Row 2.
You now have a ribbed strip about 3.5 inches by 8 inches. Fold short ends together and seam with slip stitch or whip stitch. Ribbing runs horizontally around the ankle.
Transition: Switch to 5.0 mm hook. Join with sl st along one long edge. Ch 1, work 32 sc evenly around. Join. Place marker in first stitch. Spiral rounds start now.
Leg
Rounds 1–8: Sc in every stitch around. No joining. Move marker each round. (32 sts)
You should have roughly 2 inches of leg below the cuff join.
Heel Setup
Work the heel flat over half the stitches. The other half waits patiently.
Heel Flap Row 1: Sc in next 16 stitches. Turn. Leave the rest unworked. (16 sts)
Row 2: Ch 1, sl st in first stitch, sc across to last stitch, sl st in last. Turn. (16 sts total)
Rows 3–14: Repeat Row 2. Those edge slip stitches create a clean selvage for later pickup.
Heel Turn
Short rows create the cup. Magic happens here.
Row 1: Ch 1, sc in first 10 sts, sc2tog, sc in next. Turn. (12 sts worked)
Row 2: Ch 1, skip first, sc in next 5, sc2tog, sc in next. Turn. (7 sts)
Row 3: Ch 1, skip first, sc in next 3, sc2tog, sc in next. Turn. (5 sts)
Row 4: Ch 1, skip first, sc in next 3, sc2tog. Do not turn. (5 center stitches remain)
Gusset
Pick up along the flap sides and rejoin the circle.
Setup: Sc 8 evenly up one side of the flap, sc across the 16 instep stitches, sc 8 down the other side, sc the 5 heel center stitches. Marker. Total 37 stitches.
Decrease rounds alternate with plain ones:
Round 1: Sc 4, sc2tog, sc 16 instep, sc2tog, sc to end. (35)
Round 2: Sc around. (35)
Round 3: Sc 3, sc2tog, sc 16, sc2tog, sc to end. (33)
Round 4: Sc around.
Round 5: Sc 2, sc2tog, sc 16, sc2tog, sc to end. (31)
Keep going until you hit 32 stitches again.
Foot
Rounds 1–20: Sc around. (32 sts)
Try it on. Stop when the fabric reaches the base of your big toe. Add or subtract rounds for your exact length. Custom fit is the whole point.
Toe Shaping
Round 1: *Sc 6, sc2tog* around. (28)
Round 2: Sc around.
Round 3: *Sc 5, sc2tog* around. (24)
Round 4: Sc around.
Round 5: *Sc 4, sc2tog* around. (20)
Round 6: *Sc 3, sc2tog* around. (16)
Round 7: *Sc 2, sc2tog* around. (12)
Round 8: *Sc 1, sc2tog* around. (8)
Fasten off with a 6-inch tail.
Finishing
Thread the tail onto your tapestry needle. Run it through the front loops of the last 8 stitches. Pull tight to close. Secure on the inside. Weave every other end, especially the cuff seam. Light blocking optional—wet and lay flat if you want.
Tips for Success
Yarn choice is half the battle. Wool-nylon blends outlast pure cotton or acrylic and keep their shape. Warmth is a bonus.Try the sock on constantly. Crochet stretches less than knitting, so mid-project checks save heartache.Perfection is overrated. First sock might look slightly different from the second. Only you will notice, and even then only if you stare.Hard floors? Add non-slip dots with fabric or puffy paint on the soles. Instant safety upgrade.
Customization Ideas
Make them yours without reinventing the wheel.
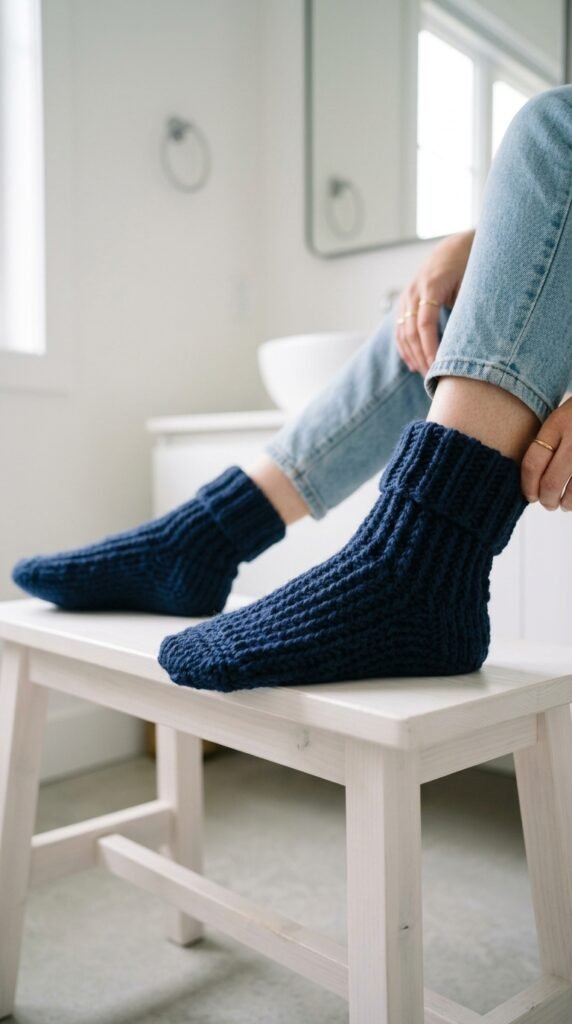
- Longer cuff: Add 10–20 extra rows for a slouchy mid-calf vibe.
- Stripes: Swap colors every few foot rounds for cheerful bands.
- Size tweaks: Smaller feet—drop two chains and fewer foot rounds. Larger—add two chains and extend the foot.
- Contrast accents: Different color for heel and toe looks intentional and highlights high-wear zones.
Play around. The base pattern can handle it.
You Might Also Like
- Powder Blue Cloud Soft Socks Free Crochet Pattern
- Icy Blue Winter Frost Slipper Boots Free Crochet Pattern
- Sage Green Boho Button Slipper Boots Free Crochet Pattern
- Monochrome Cream White Crochet Platform Wedge Sandals Pattern
- Buttercream Yellow Sunshine Crochet Boots Free Pattern
FAQ’s
Can a confident beginner handle this pattern?
Yes, if you’ve already worked in the round and done basic decreases. The short-row heel is the only new trick, and the step-by-step instructions walk you through it. Take your time on the first sock and you’ll be fine.
What yarn works best for these socks?
Worsted weight wool blend with some nylon. Pure acrylic pills faster underfoot. Cotton feels cooler but less cushy. Navy shows off the stitch definition beautifully, but any solid or lightly variegated color works.
How do I adjust for different foot sizes?
Change the starting chain by multiples of two and adjust the number of foot rounds after the gusset. Try the sock on frequently. Foot circumference stays fairly flexible thanks to the dense fabric and stretchy cuff.
Why continuous rounds instead of joined rounds?
No visible seam line running down the leg or foot. The fabric looks smoother and feels better against the skin. Just keep that stitch marker moving so you never lose your place.
Do these socks need blocking?
Light blocking helps even out the fabric if your tension varied, but it’s optional. Many people wear them straight off the hook after weaving ends. Wet blocking and laying flat works if you want a more polished look.
Can I make these machine washable?
Depends on the yarn. Superwash wool blends handle gentle cycles better. Always follow the ball band. Air drying is safest for longevity no matter what fiber you choose.
Final Thoughts
There you have it—a solid, wearable pair of navy classic cuff socks that actually stay on and look sharp doing it. The construction rewards patience with a finished product you’ll reach for all season. Grab that yarn, settle in, and enjoy the process. Your feet will thank you, and so will anyone who spots them peeking out from under your jeans.



Leave a Reply
You must be logged in to post a comment.