

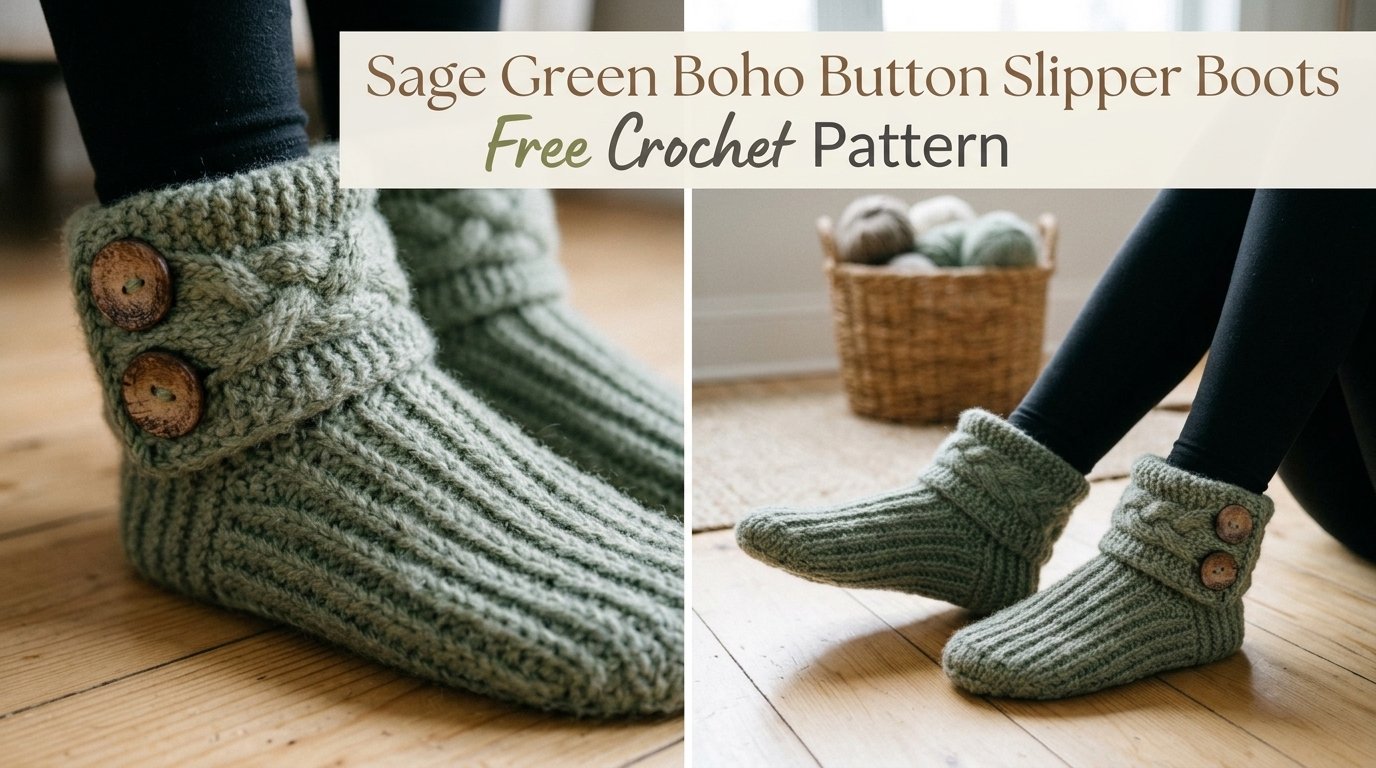
Grab your sage green yarn and settle in. These boho button slipper boots deliver chunky cable cuffs, a comfy ribbed foot, and one oversized wooden button that makes the whole pair feel like a cozy hug for your feet. You work the sole, build the sides, shape the toe, then crochet a separate cable cuff and button it closed. If you know single crochet and double crochet, you already own the basics.
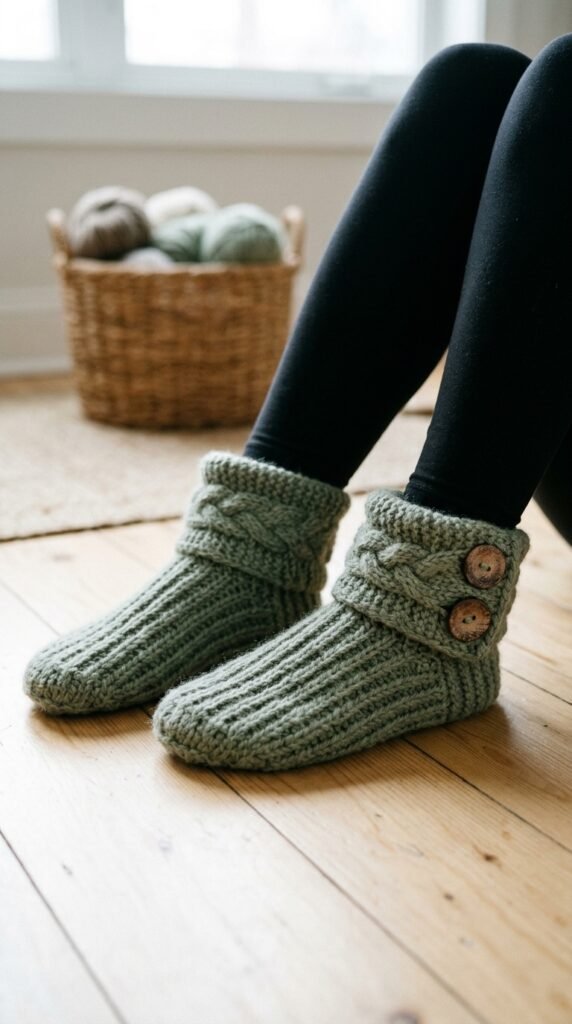
Why You Will Love This Slipper Boot Pattern
The construction breaks into clear sections so nothing feels overwhelming. You start flat on the sole, then work in continuous rounds up the foot. The cable cuff happens separately and attaches later. That keeps the project moving instead of trapping you in one giant confusing piece.
The ribbed texture on the foot comes from working in the back loop only. It stretches just enough to stay put when you walk around the house. No more heels that flop off every third step.
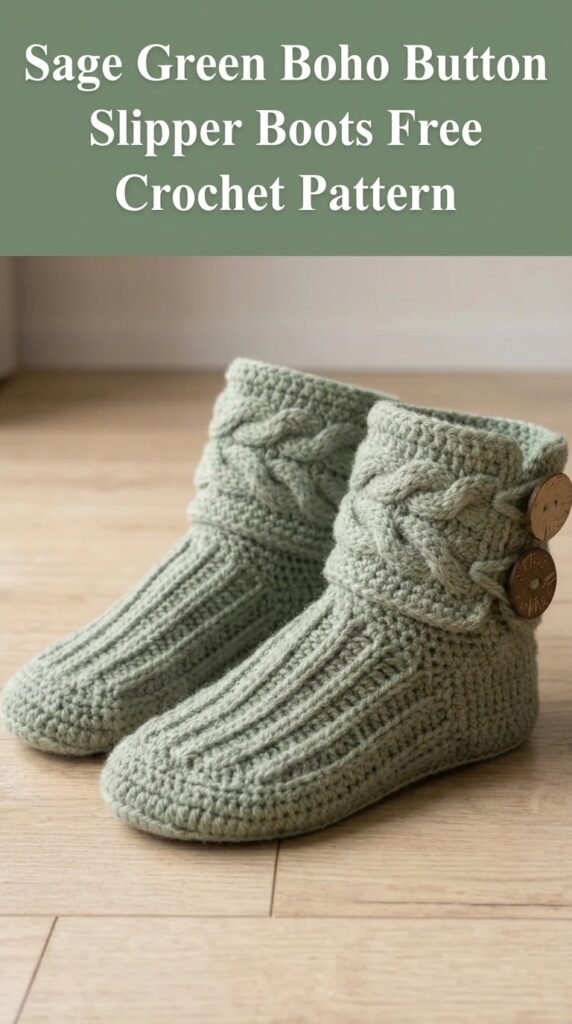
The cable cuff looks fancy, but it relies on front post double crochet stitches. Once the rhythm clicks, the braided look grows almost on its own. One big wooden button finishes the boho vibe without any complicated closures.
Ready to turn yarn into actual wearable slippers?
Skill Level
Intermediate beginner to intermediate. You need solid basic stitches and a willingness to learn front post and back post doubles. The cable cross takes a little focus the first time, but the instructions walk you through it. If you have made a hat or a simple sweater before, you can handle these.
Finished Measurements
This pattern creates a women’s medium that fits roughly US sizes 7–8. The sole lands about 9.5 inches long. Finished height from sole to the top of the cuff sits around 5 inches.
Need a different size? Add or subtract rows in the sole section. Each extra row gives you roughly half an inch of length. Easy math.
Materials Needed
Yarn: About 200 yards of worsted weight (category 4) in sage green or whatever color calls to you. Choose something with clear stitch definition—100% acrylic or a wool blend works great. Fuzzy yarns hide the cable texture, so skip those.
Hook: 5.5 mm (US I/9) for the main body. Optional 6 mm (US J/10) for the cuff if you want a slightly looser, softer cable.
Notions:
- Yarn needle for seaming and weaving ends
- At least four stitch markers
- Two large wooden buttons, roughly 1.25 inches across
- Scissors
That is the whole shopping list. Nothing exotic.
Gauge
14 single crochet stitches and 16 rows equal 4 inches with the 5.5 mm hook. Check it before you start the sole. Off-gauge slippers either swallow your feet or refuse to stay on. Adjust the hook size up or down until the numbers match.
Abbreviations and Stitch Definitions
Here is every stitch you will meet:
- ch – chain
- sl st – slip stitch
- sc – single crochet
- hdc – half double crochet
- dc – double crochet
- BLO – back loop only (creates the ribbing)
- fpdc – front post double crochet (raised cable stitches)
- bpdc – back post double crochet (recessed contrast stitches)
- dec or sc2tog – single crochet two stitches together
Keep this list nearby. No one memorizes every abbreviation on the first read-through.
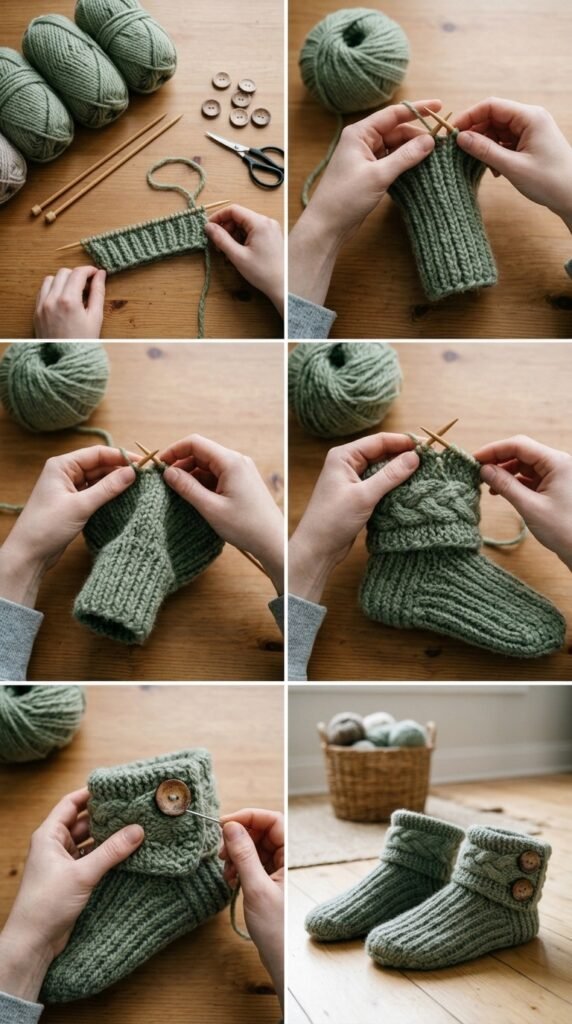
Pattern Notes Before You Begin
Work the foot section in continuous rounds. Mark the beginning of each round so you never lose your place. Do not turn at the end of those rounds.
The cable cuff works flat in rows. Turn at the end of every row.
Slip stitches do not count as stitches unless the pattern specifically says so.
Read the whole pattern once before you chain anything. It saves time and yarn.
Slipper Boot Pattern Instructions
Sole (Make 2)
The sole works flat in rows to form a long oval.
Chain 21. Single crochet across for 20 stitches. Increase at both ends on the next row, work even for a few rows, then decrease back down. Finish with 20 stitches again. Do not fasten off—you will immediately work around the entire sole to start the sides.
This oval becomes the foundation everything else builds on. Take your time and count carefully.
Sides and Foot Section
Work single crochet around the entire sole edge, placing three stitches in each corner so the sides stand up evenly. Join and place a marker.
Then switch to back-loop-only single crochet in continuous rounds. This creates the stretchy ribbed texture that hugs the foot. Keep going for several rounds until the sides reach the right height before the toe shaping begins.
The ribbing does double duty: it looks polished and it actually keeps the slipper on your foot.
Toe Shaping
Decrease across the front of the toe while leaving the heel stitches alone. Work a series of sc2tog clusters in the center of the round. The stitch count drops steadily until the toe closes neatly. Fasten off and weave the end.
You now have a complete foot shape ready for the cuff.
Cable Cuff (Make 2)
Switch to the larger hook if you want a softer drape. Chain 12 and work a foundation row of double crochet.
Alternate a setup row of front-post and back-post doubles with a cable-cross row. On the cross row you skip two raised stitches, work the next two, then go back and work the skipped ones in front. That simple reorder creates the braided cable look.
Repeat until the cuff measures about 11–12 inches, or long enough to wrap your ankle with a little overlap. Finish with a buttonhole row that creates two chain spaces for the buttons.
The cable looks impressive but stays meditative once you settle into the pattern.
Assembly
Position the cuff around the ankle opening with the cable side facing out. Sew the non-buttonhole end securely to the inside of the boot at the center back heel using a whip stitch.
Wrap the cuff around, check the overlap, and sew the two large wooden buttons where they will show through the buttonholes. Weave in every end. Repeat for the second boot.
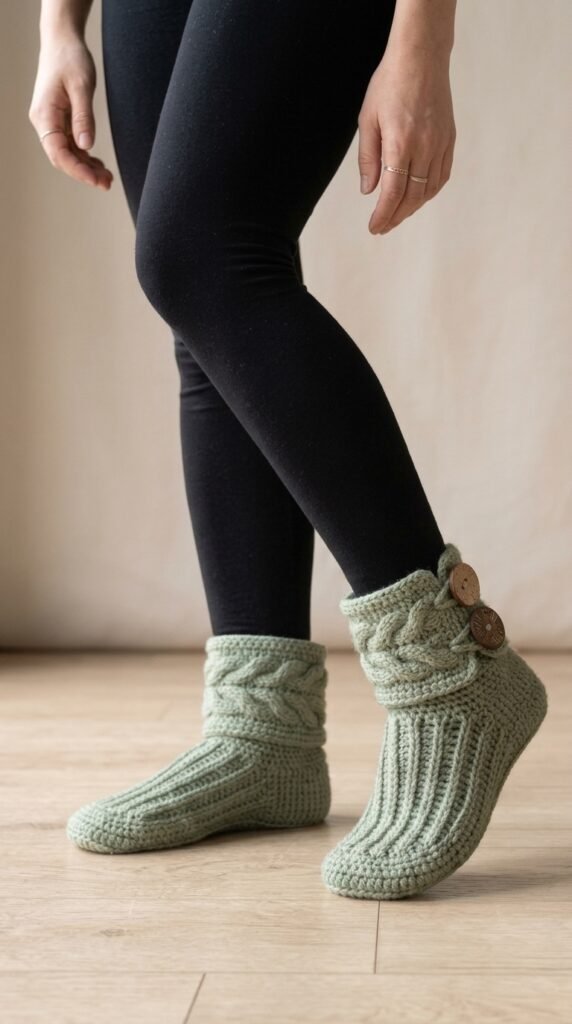
That is it. You just made actual slipper boots.
Customization Ideas
Add non-slip grip by dabbing fabric paint or puffy paint on the sole. Swap the wooden buttons for toggles, vintage finds, or even leather ties. Shorten the cuff for more of a classic slipper look. Work the foot in one color and the cuff in a contrasting shade for instant color-blocking drama.
These are easy swaps that still keep the spirit of the original design.
Care Instructions
Hand wash in cool water with mild detergent. Lay flat to dry. Skip the dryer—heat can shrink the fabric and flatten those pretty cables. Reshape while the slippers are still damp if needed.
Treat them kindly and they will keep your feet warm for seasons.
You Might Also Like
- Cream and Tan Two-Tone Crochet Boots Free Pattern
- Cream and Gold Shimmer Crochet Sneakers Free Pattern
- Terracotta Sunset Crochet Gladiator Sandals Free Pattern
- Buttercream Yellow Sunshine Crochet Boots Free Pattern
- Blush Peach Openwork Crochet High Tops Free Pattern
FAQ’s
Can I make these in a different size?
Yes. Adjust the sole length by adding or subtracting rows before you start the sides. Each row changes the length by about half an inch. The rest of the pattern scales with the sole.
Do I really need front post stitches for the cuff?
The raised cable effect depends on them. They are not hard once you try a few. Practice on a small swatch first if the idea feels new.
What if my gauge is tighter than the pattern?
Go up a hook size. Too-tight fabric makes the slippers stiff and hard to get on. A slightly looser gauge still looks good and feels better on the foot.
Can I use bulky yarn instead?
You can, but you will need to recalculate the sole and stitch counts. The pattern is written for worsted weight. Stick with category 4 for the easiest results.
How do I keep the buttons from falling off?
Sew them on with yarn doubled or with strong matching thread. Go through the holes several times and knot securely on the inside. They should survive regular wear.
Final Thoughts
These sage green boho button slipper boots prove that cozy and stylish can live in the same pair of house shoes. The ribbed foot keeps them practical, the cable cuff delivers the visual payoff, and the big wooden button seals the deal. Grab your yarn, follow the sections one at a time, and enjoy the process. Your feet—and anyone who sees the finished boots—will thank you.


Leave a Reply
You must be logged in to post a comment.