

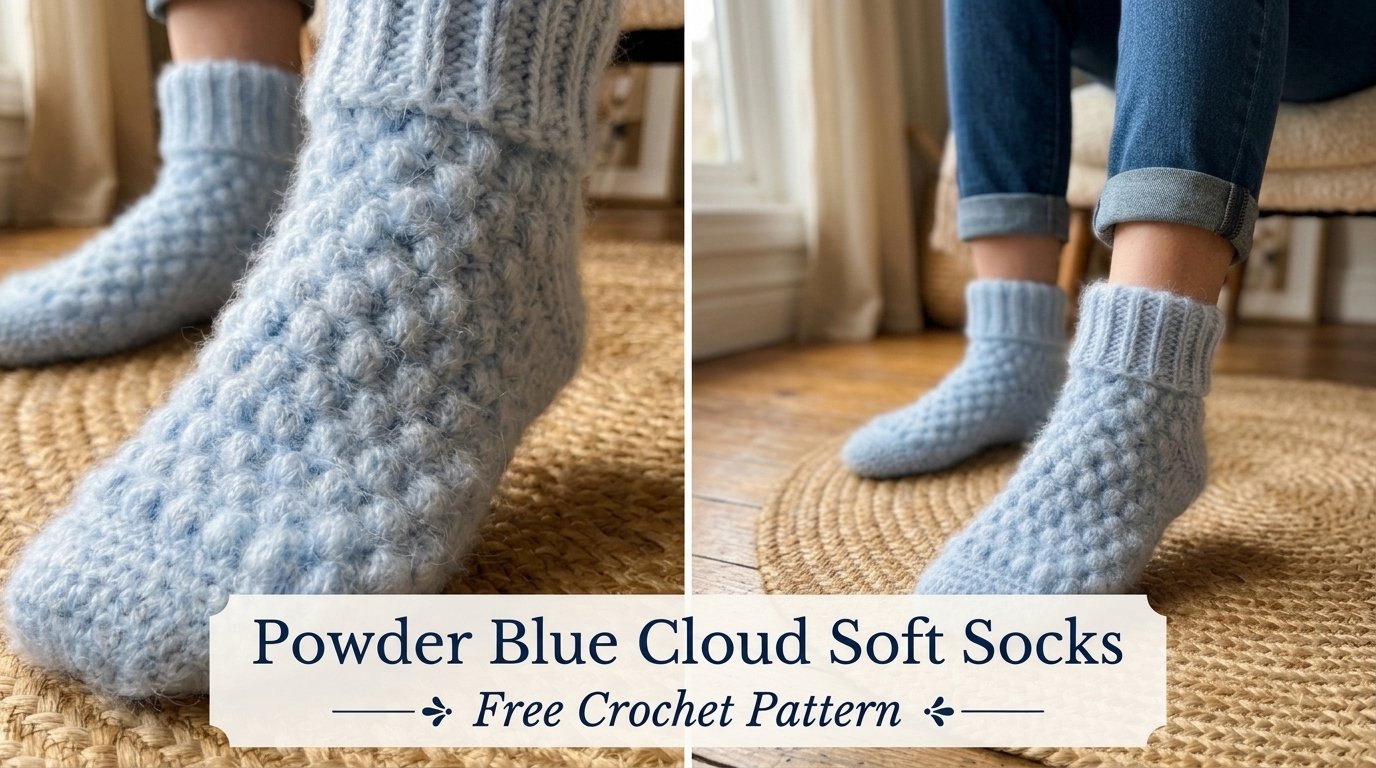
Ever dreamed of socks so soft they feel like walking on a cloud? These powder blue beauties deliver exactly that. The bubble stitch texture gives them serious squish factor while the ribbed cuff keeps everything in place. One weekend and a couple of skeins later, you’ll have a pair that outshines anything from the store.
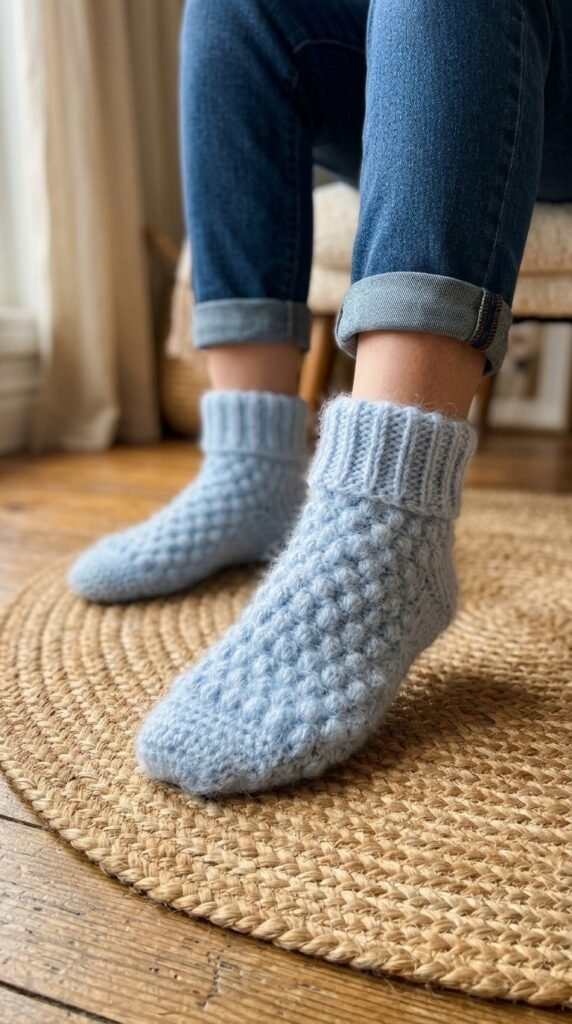
Why You’ll Love This Crochet Sock Pattern
Let’s be honest—most sock patterns either look boring or fight you every step of the way. This one does neither. The bubble stitch creates that puffy, cloud-like surface you can’t stop touching. It looks fancy but uses stitches you already know.
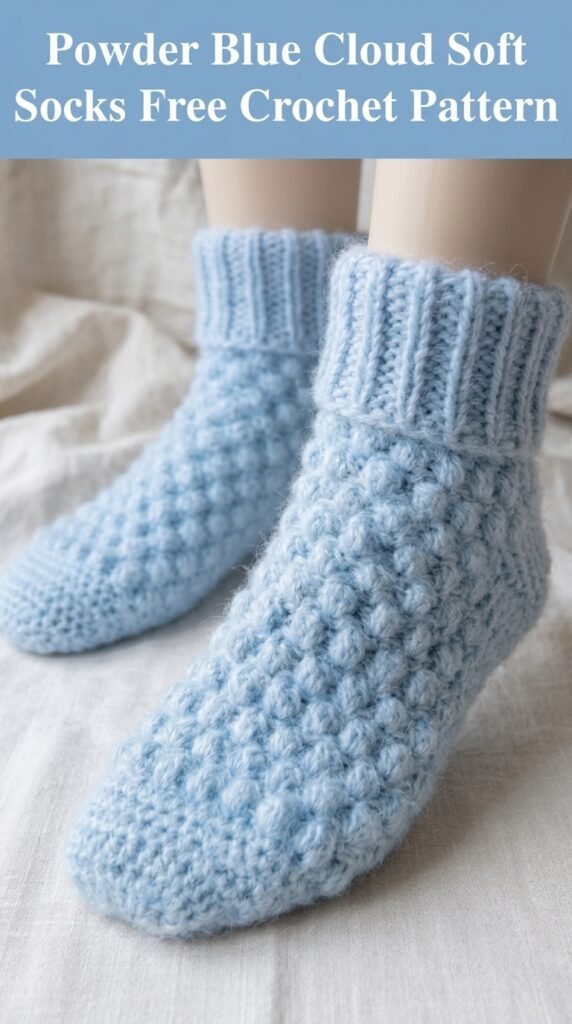
Working toe-up means you can try them on whenever you want. No more finishing a sock only to realize it won’t fit your foot. The construction stays simple once you hit the rhythm of the repeats. Soft DK yarn in that dreamy powder blue just seals the deal. IMO, these become your new favorite house socks the second you slide them on.
Materials and Tools You’ll Need
Gather these before you start so you don’t get interrupted mid-bubble.
Yarn:
- About 220–260 yards of DK weight (category 3)
- Something soft—wool blend or acrylic with a bit of halo works best
- Powder blue shows off the texture perfectly, but any solid shade will do
Hooks:
- 4.0 mm (G/6) for the main body
- 3.5 mm (E/4) for the cuff if you want it snugger
Other stuff:
- Stitch marker
- Tapestry needle
- Scissors
Gauge: 16 stitches and 14 rows = 4 inches in single crochet. Check it. Socks that are too loose feel weird and fall down.
Size: Written for women’s medium (US 7–8). Easy to tweak by stopping the toe increases earlier or later.
Skill Level
Call this intermediate. You need to feel comfortable working in the round, increasing, decreasing, and following a simple repeat. If you’ve made a hat or a few amigurumi pieces, you’re good.
New to socks? Don’t panic. The pattern walks you through every move, and the bubble stitch becomes muscle memory fast.
Stitches and Abbreviations
Here’s the short list you’ll actually use:
- ch – chain
- sl st – slip stitch
- sc – single crochet
- hdc – half double crochet
- dc – double crochet
- BLO – back loop only
- inc – increase (2 stitches in one)
- dec – decrease (work 2 stitches together)
Bubble Stitch: Work 5 dc into the same stitch. Pull the last loop off your hook, stick the hook through the first dc, grab that loop, and pull it through. Instant puffy bubble. Follow it with a sc in the next stitch to lock it down.
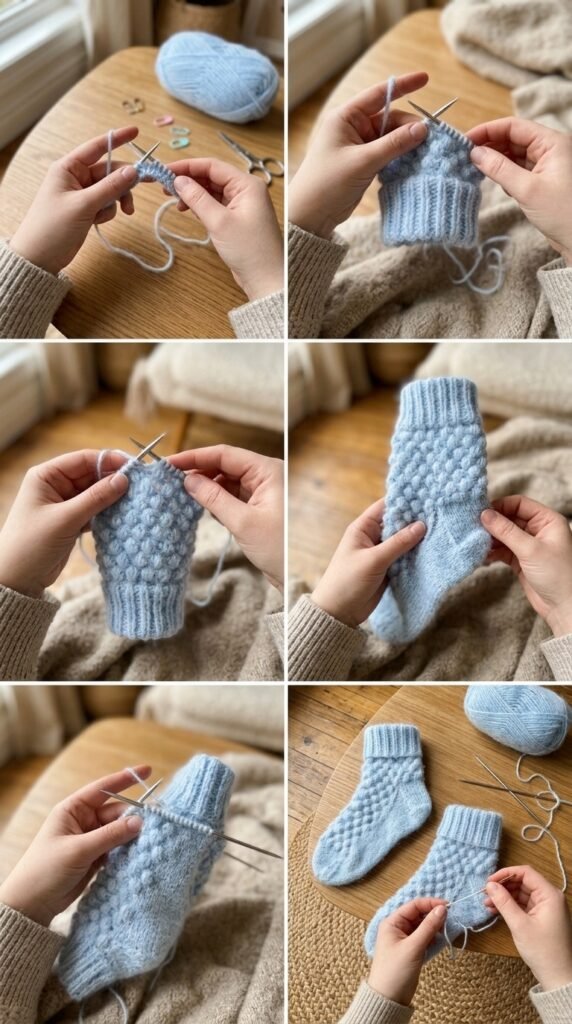
That’s it. No weird specialty stitches required.
Step by Step Crochet Pattern
Time to make some magic. Work in continuous rounds unless told otherwise. Move your stitch marker up every round.
Toe Section
Start at the tip and grow outward.
Round 1: Magic ring, 6 sc into the ring. Pull tight. (6 sts)
Round 2: Inc in every stitch. (12 sts)
Round 3: Sc, inc around. (18 sts)
Round 4: Sc in next 2, inc around. (24 sts)
Round 5: Sc in next 3, inc around. (30 sts)
Round 6: Sc in next 4, inc around. (36 sts)
Round 7: Sc in next 5, inc around. (42 sts)
Round 8: Sc in next 6, inc around. (48 sts)
Your toe should measure about 2.5–3 inches across when flattened. Stop earlier for smaller feet, keep going for larger ones.
Foot Section with Bubble Stitch
Now the fun part—the texture.
Round 9: Sc in every stitch. (48 sts)
Round 10 (Bubble Round): Bubble stitch, sc around. (24 bubbles)
Round 11: Sc in every stitch, working into the top of each bubble and each sc. (48 sts)
Round 12 (Offset Bubble Round): Sc in first stitch, bubble stitch, sc around, end with sc. (24 bubbles)
Round 13: Sc around. (48 sts)
Keep repeating Rounds 10–13 until the foot measures about 5 inches from the tip of the toe (or 2 inches shorter than your actual foot length). Always end on a plain sc round.
Heel Construction
Short rows create that nice cupped heel. Trust the process—it looks messy until it suddenly works.
Work only across 24 stitches for the heel. Leave the other 24 for the instep.
Heel Row 1 (RS): Ch 1, sc in next 24, turn.
Heel Row 2 (WS): Ch 1, sc in next 22, turn.
Heel Row 3: Ch 1, sc in next 20, turn.
Heel Row 4: Ch 1, sc in next 18, turn.
Heel Row 5: Ch 1, sc in next 16, turn.
Heel Row 6: Ch 1, sc in next 14, turn.
Now reverse and fill the cup:
Heel Row 7: Ch 1, sc in 14, sc in next unworked stitch, turn. (15 sts)
Heel Row 8: Ch 1, sc across, sc in next unworked stitch, turn. (16 sts)
Keep picking up one unworked stitch at the end of each row until all 24 heel stitches are back in play. Final heel row: sc across all 24. Do not turn.
Rejoining for Leg
Join back into the round.
Joining Round: Sc evenly up the side of the heel (8–10 sts), sc across the 24 instep stitches, sc evenly down the other side of the heel (8–10 sts), slip stitch to the first sc. Mark the new beginning. You should land around 48–52 stitches.
If you’re off, work one adjustment round with a few evenly spaced decreases to get back to 48.
Leg Section
Back to the bubbles.
Work the same 4-round bubble repeat (Rounds 10–13 from the foot) three full times. Your leg should measure 3–4 inches above the heel.
Ribbed Cuff
Switch to the smaller hook if you want extra stretch and grip.
Cuff Round 1: Ch 8. Working in BLO, slip stitch in 2nd chain from hook and across (7 slip stitches). Slip stitch to next sock stitch, turn.
Cuff Row 2: Working in BLO, slip stitch across the ribbing, slip stitch to next sock stitch, turn.
Repeat that second row all the way around, attaching each ribbing row to the next body stitch. When you meet the start, slip stitch the ends together. Fasten off.
Finishing
Fold the cuff down once. It wants to do that naturally. Weave in every end securely—go in two directions so they never work loose with wear. Make the second sock the exact same way.
You’re done. Admire those cloud-soft powder blue beauties.
Tips for Success
Try them on as you go. Toe-up construction is perfect for that. Check the length before you start the heel.
Block gently. A light wet block evens the stitches without killing the stretch.
Want non-slip bottoms? A few dots of fabric paint or stick-on grips do the trick for hard floors.
Drop a lifeline of scrap yarn through the live stitches right before the heel. If anything goes sideways, you can rip back safely.
Keep your tension even on the bubbles. Too tight and they disappear; too loose and they look floppy.
Making These Your Own
Change the cuff color for a fun contrast. Self-striping yarn gives subtle shifts without extra work. Prefer smooth socks? Skip the bubbles and work plain single crochet the whole way.
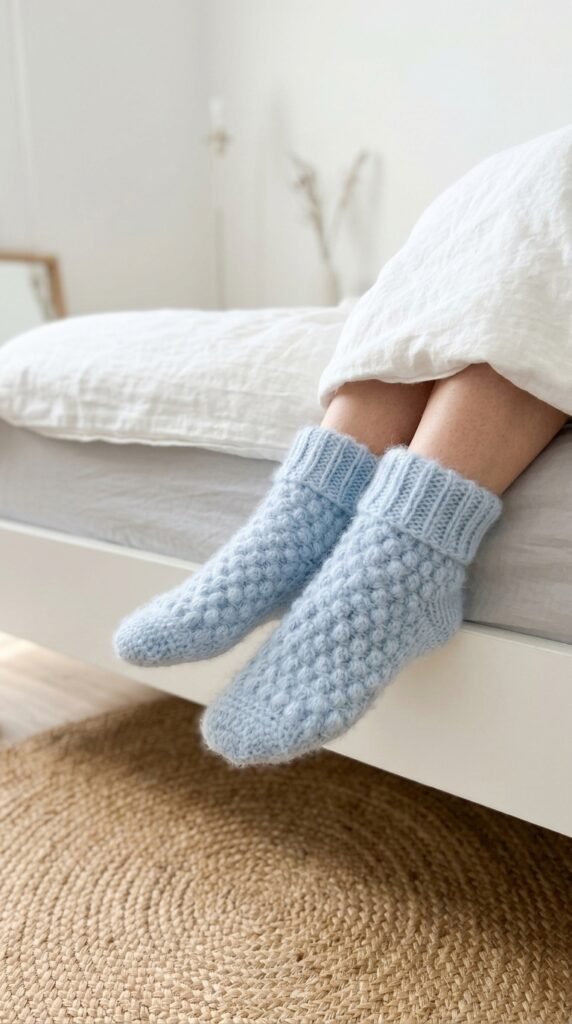
These make killer gifts. Pair them with a mug and some fancy tea and you’ve got a complete cozy package. They work up fast enough that you can knock out a few pairs in a month without burning out.
You Might Also Like
- Blush Peach Openwork Crochet High Tops Free Pattern
- Buttercream Yellow Sunshine Crochet Boots Free Pattern
- Terracotta Sunset Crochet Gladiator Sandals Free Pattern
- Sage Green Boho Button Slipper Boots Free Crochet Pattern
- Monochrome Cream White Crochet Platform Wedge Sandals Pattern
FAQ’s
Can I make these in a different size?
Yes. Stop the toe increases at 42 stitches for smaller feet or keep going past 48 for larger ones. Measure against your own foot as you work.
What if I don’t like the bubble stitch?
Just work single crochet throughout. You’ll still get a solid, comfy sock—just without the cloud texture.
How do I stop the cuff from stretching out?
Use the smaller hook and make sure you’re working tightly in the back loops. The fold-down also helps it stay snug.
Can I use worsted weight yarn instead?
You can, but go up a hook size and expect a thicker, warmer sock. Gauge will change, so try them on often.
Are these good for beginners?
If you already know the basic stitches and can work in the round, yes. The heel short rows are the only part that feels new, and they click once you try them.
How long does one sock take?
Most people finish a pair over a weekend of focused evening work. The bubble repeats move surprisingly fast once you settle into the rhythm.
Final Thoughts
There you have it—your new favorite pair of powder blue cloud-soft socks. Soft, textured, and actually fun to make. Grab that yarn, fire up your favorite show, and start at the toe. Your feet (and anyone who gets a pair as a gift) will thank you. Now go make something cozy.



Leave a Reply
You must be logged in to post a comment.