

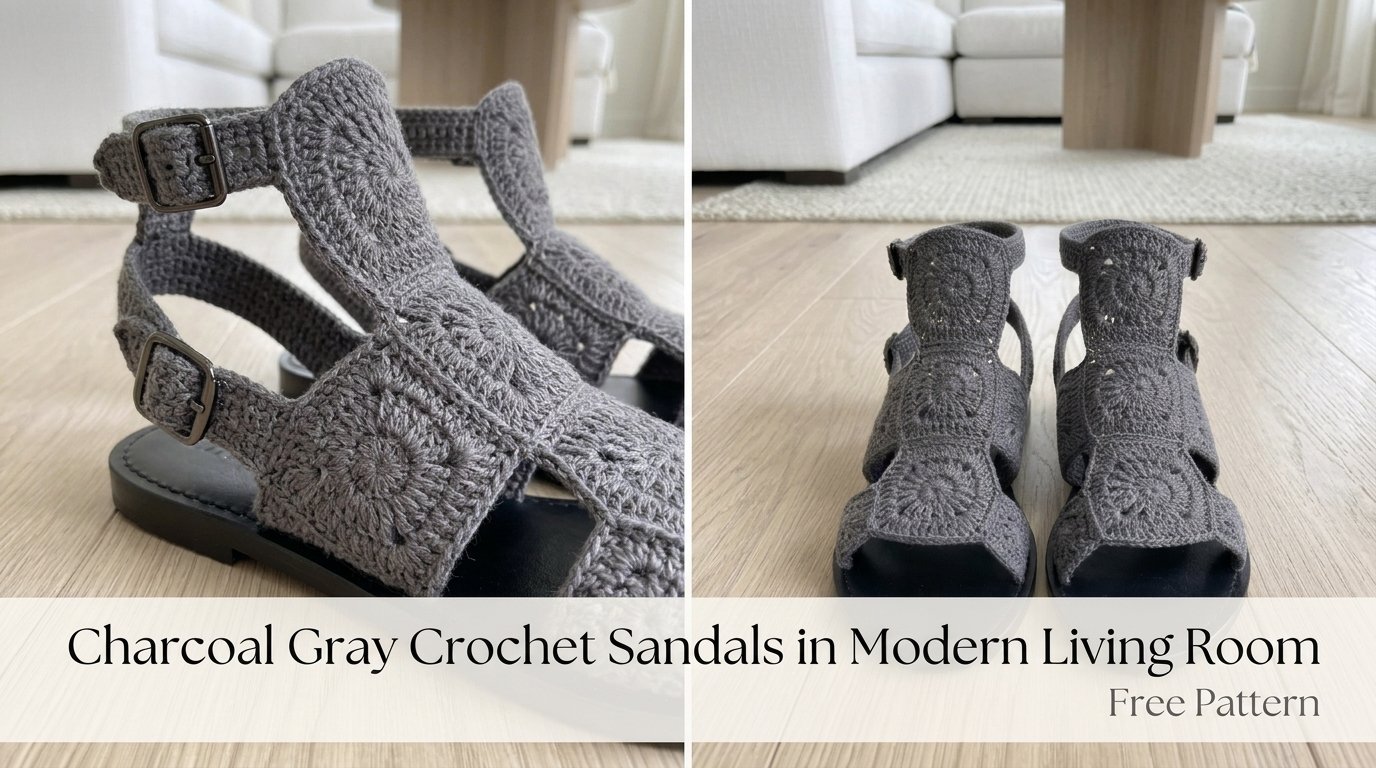
Dig into that cotton yarn stash you’ve been guarding like treasure. These charcoal gray crochet sandals turn classic granny squares into actual wearable shoes that look right at home in a sleek modern living room. They’re intermediate-level, a bit fussy on the assembly side, but totally doable if you can handle a basic square and some sewing. Ready to turn that yarn into something you can actually put on your feet?
Why You’ll Love This Crochet Sandals Pattern
These aren’t the floppy house slippers your grandma kept by the couch. You’re building real sandals with structure, thanks to pre-made soles and solid straps that actually hold up.
The open granny-square motifs keep your feet from overheating while the reinforced edges and ankle buckle give you a secure fit. You get that handmade charm without sacrificing the ability to walk across the living room—or even out the door for a quick errand.
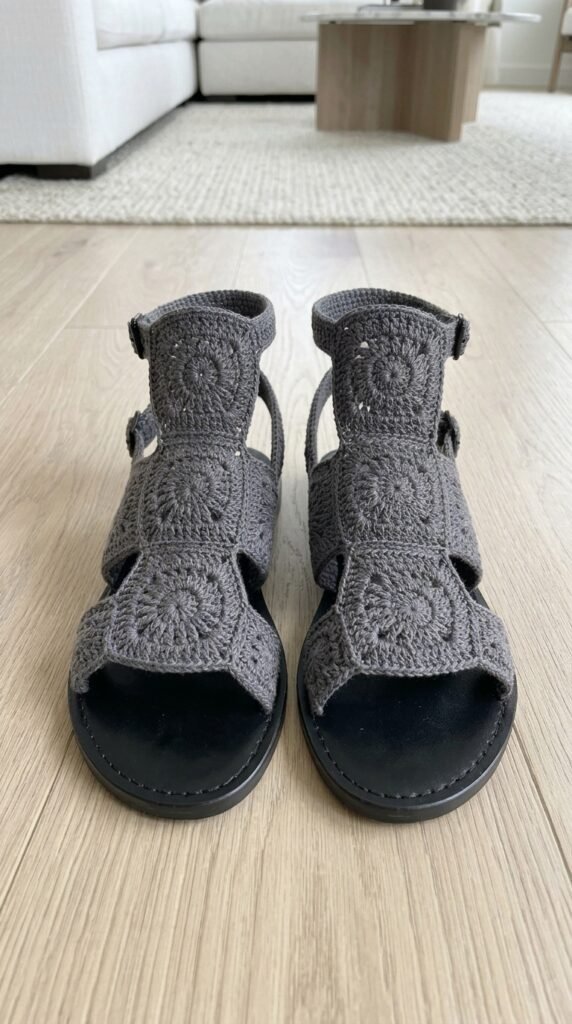
IMO, the best part is how the lacy sections balance the solid straps. Cool toes, sturdy support. What’s not to love?
Materials You’ll Need
Keep it simple. You don’t need a mountain of supplies for this one.
- Yarn: About 150 yards of sport-weight cotton (size 2) in charcoal gray. Cotton or a cotton blend holds its shape and washes well. Scheepjes Catona, Lion Brand 24/7 Cotton, or Drops Safran all work great.
- Hook: 3.25 mm (D/3). Switch sizes if your gauge is off.
- Notions: Pre-made sandal soles with punched holes (grab your size), two 10 mm buckles, tapestry needle, stitch markers, scissors. A leather needle helps if the soles are thick.
Gauge: One finished granny square should measure roughly 2.5 inches after blocking. Check this early so you don’t end up with clown shoes.
Abbreviations and Stitch Definitions
Quick refresher so we’re all speaking the same language.
- Ch – Chain: yarn over, pull through the loop on your hook.
- Sl st – Slip stitch: insert hook, yarn over, pull through both loops at once. Perfect for joining without bulk.
- Sc – Single crochet: insert, yarn over, pull up a loop, yarn over, pull through both.
- Dc – Double crochet: yarn over first, insert, yarn over, pull up a loop (three loops), yarn over, pull through two, yarn over, pull through the last two.
- 3-dc cluster – Three double crochets worked into the same spot for that classic shell look.
That’s everything you’ll meet in this pattern. No fancy new stitches hiding in the fine print.
Pattern Notes Before You Begin
Read this whole section before you chain anything. Future you will thank present you.
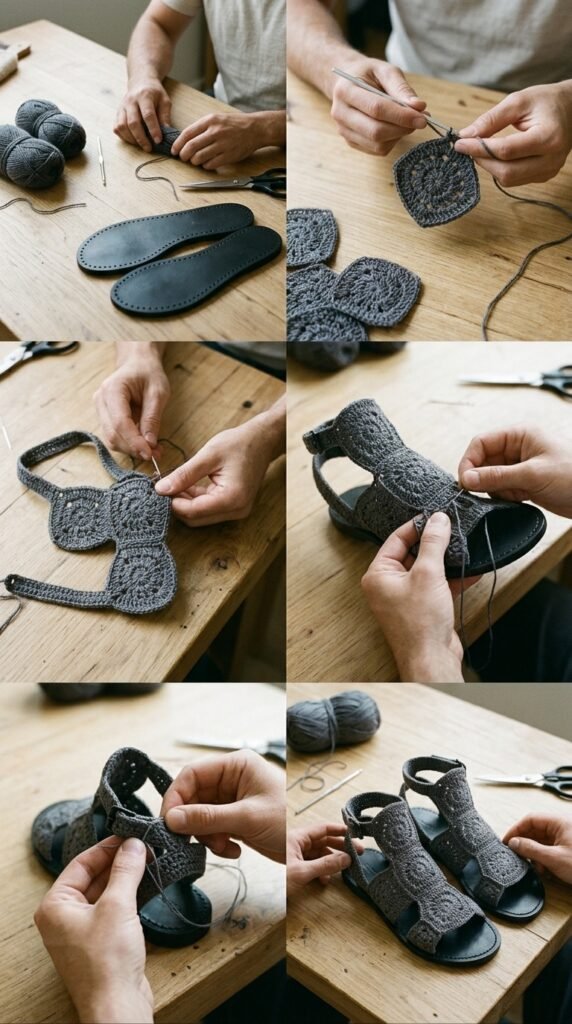
This uses US terms. Each sandal needs two granny squares for the foot upper plus a handful of straps. Crochet every piece first, then sew them onto the soles. Blocking is non-negotiable if you want them to look polished instead of homemade-in-a-bad-way.
Soles come in regular shoe sizes—buy the pair that matches your feet. And if the first square looks a little sad, block it. Magic happens.
Granny Square Motif (Make 4 Total, 2 Per Sandal)
These little squares sit across the top of each foot and give the sandals their personality.
Round 1: Start with a magic ring. Ch 3 (counts as first dc), 2 dc in the ring, ch 2. Repeat *3 dc, ch 2* three more times. Slip stitch to the top of the beginning ch-3. You now have four 3-dc clusters and four corner spaces.
Round 2: Slip stitch over to the first corner. Ch 3, 2 dc, ch 1, 3 dc all in that same corner. Then *in the next corner work (3 dc, ch 2, 3 dc), ch 1* around. Join with a slip stitch.
Round 3: Slip to the corner again. Ch 3, 2 dc, ch 2, 3 dc in the corner, ch 1, 3 dc in the next ch-1 space, ch 1. Keep working (3 dc, ch 2, 3 dc) in corners and 3 dc in the side spaces. Join.
Round 4: Same idea—build out the corners with (3 dc, ch 2, 3 dc) and place 3 dc in every ch-1 space between them. Join when you get back around.
Round 5 (Border): Ch 1, single crochet in every stitch and space, putting 3 sc in each corner ch-2. Join and fasten off. You should land around 60 sc.
Weave in ends and block each square to a neat 2.5-inch square. Do this for all four.
Toe Strap (Make 2)
This band sits right across the toes.
Chain 26. Single crochet in the second chain from the hook and across (25 sc). Work four more rows of single crochet. On the last row, don’t turn—keep going around the entire rectangle with single crochet, putting 3 sc in each corner for a clean edge. Fasten off. The border adds strength so the strap doesn’t stretch out of shape.
Center Vertical Strap (Make 2)
This little strip links the toe area up to the ankle.
Chain 6, single crochet across (5 sc). Work 21 more rows of single crochet. Fasten off with a long tail for sewing. Aim for about 4.5 inches, but measure against your own foot if you can. Adjust length now rather than later.
Ankle Strap (Make 2)
Chain 46, single crochet across (45 sc). Work two more rows. On the final row, continue around the whole piece with a single-crochet border just like the toe strap. Fasten off.
Buckle Loop (Make 2)
Tiny but important. Chain 10, single crochet across (9 sc). Work two more rows. Fasten off with a long tail. This loop will hold the buckle in place.
Side Straps (Make 4 Total, 2 Per Sandal)
These connect the sides of the foot section to the ankle strap.
Chain 6, single crochet across (5 sc). Work 11 more rows. Fasten off with long tails. Simple and sturdy.
Assembly Instructions
This is where the sandals actually become sandals. Slow and steady wins.
Step 1: Join the Granny Squares
Lay two squares side by side. Use a whip stitch or mattress stitch to sew them together along one edge. That panel becomes the top of the foot.
Step 2: Attach to Sole
Center the joined squares over the ball-of-foot area on the sole. Sew through the pre-punched holes with matching yarn and a tapestry needle. Keep the tension even. Leather soles may need a stronger needle.
Step 3: Attach Toe Strap
Position the toe strap across the front of the granny-square panel so it overlaps just a bit. Sew it down, then attach the free edge to the sole through the holes.
Step 4: Add Center Vertical Strap
Sew one end to the back edge of the granny-square panel. The other end will meet the ankle strap later.
Step 5: Attach Side Straps
Sew the side straps to the outer edges of the granny-square panel. These will also connect upward to the ankle area.
Step 6: Complete Ankle Assembly
Attach the ankle strap to the side straps and center strap. Fold one buckle loop around a buckle and sew it closed, then attach that end to the ankle strap. The opposite end threads through the buckle for an adjustable fit.
Step 7: Final Securing
Go back over every attachment point. Add a few extra stitches wherever things feel loose, especially where straps meet the sole.
Sizing Adjustments
Feet come in all shapes. The pattern flexes easily.
For smaller sizes, stop the granny squares after three rounds plus the border and shorten every strap by a few rows. For larger sizes, add one more round to the squares and lengthen the straps until they feel right on your foot.
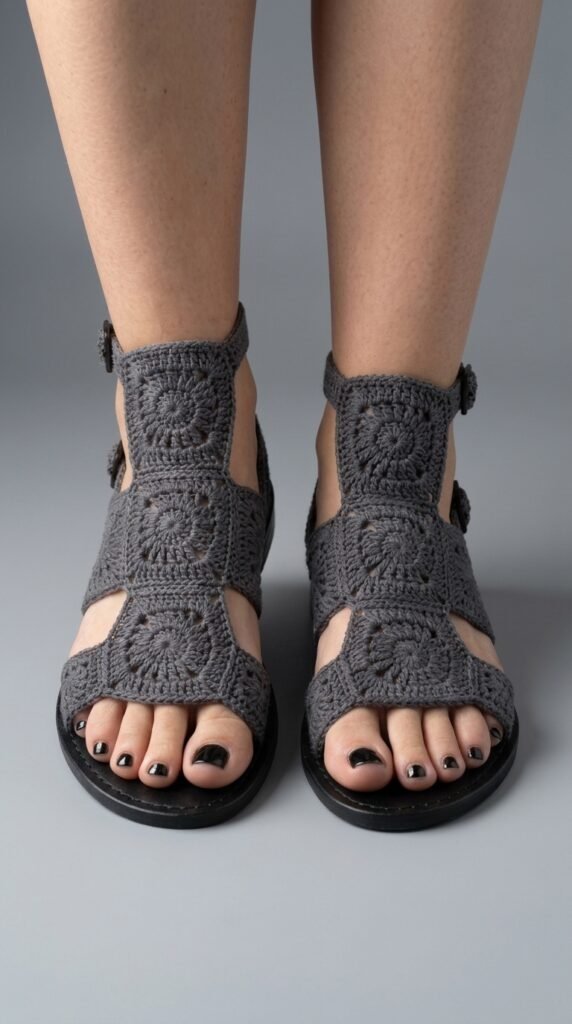
Always measure as you go. Crochet forgives a lot more than sewing machines do.
Care Instructions
Hand wash in cool water with mild soap. Reshape while damp and let them air dry completely. Wipe the soles with a damp cloth when they get dusty.
Skip the washing machine—those attachment points will thank you.
Tips for Success
Block everything. Seriously. Blocking turns “meh” into “wow.”
Use stitch markers like they’re going out of style—corners, joining points, anything that keeps you oriented.
Check tension early. If your squares are way off gauge, change hook size before you make four of them.
Don’t rush the sewing. The assembly is what makes them look pro instead of craft-fair. Take breaks when the frustration starts creeping in.
FYI, these look especially sharp against a light sofa or clean wood floor in a modern living room. Just saying.
You Might Also Like
- Monochrome Cream White Crochet Platform Wedge Sandals Pattern
- Sage Green Boho Button Slipper Boots Free Crochet Pattern
- Terracotta Sunset Crochet Gladiator Sandals Free Pattern
- Blush Peach Openwork Crochet High Tops Free Pattern
FAQ’s
Can beginners make these sandals?
If you already know how to make a basic granny square and you’re comfortable sewing pieces together, yes. Pure beginners might want to practice a few squares first. The assembly is the real intermediate part.
What if I can’t find pre-punched soles?
Many craft stores and online shops carry them in standard sizes. You can also buy plain soles and carefully punch your own holes with an awl, but the pre-punched ones save a lot of headaches.
Will the cotton stretch out over time?
Sport-weight cotton holds its shape well, especially once blocked and sewn firmly to the sole. The solid straps and border rounds help keep everything from growing with wear.
Can I use a different color?
Absolutely. Charcoal gray looks sharp in modern spaces, but any color that makes you happy works. Just stick with a durable cotton so the sandals last.
How long does one pair take?
Most people finish the crochet pieces in a weekend and spend another evening on careful assembly. Blocking overnight is the only real waiting game.
Are these only for indoor use?
The pre-made soles make them sturdy enough for light outdoor wear—think patio, garden path, or a short walk. They’re not hiking boots, but they’re way tougher than regular slippers.
Final Thoughts
You’ve got the full roadmap to a pair of charcoal gray crochet sandals that look like they belong in a design magazine living room. Grab that yarn, block those squares, and take your time on the sewing. When you slip them on for the first time you’ll understand why handmade footwear feels different. Now go make a pair—and maybe a second pair in a different shade while you’re at it.



Leave a Reply
You must be logged in to post a comment.