

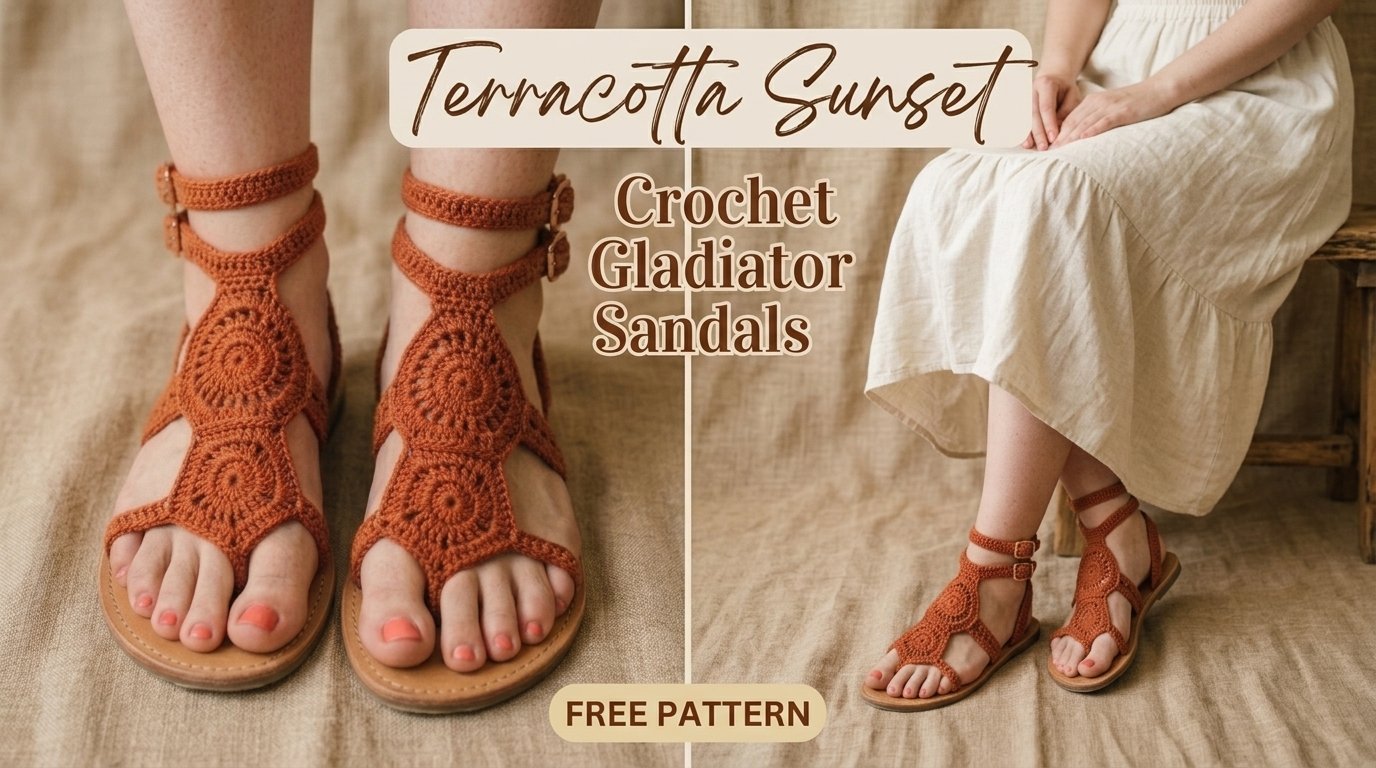
Picture this: warm terracotta yarn swirling into bold circular motifs that hug your feet like a summer hug from the Mediterranean coast. These crochet gladiator sandals turn basic stitches into something you’ll actually want to wear outside the house. No more floppy fabric that falls apart after one walk—just sturdy, breathable style that turns heads at the farmers market or beach picnic. Ready to make a pair that looks store-bought but costs a fraction?
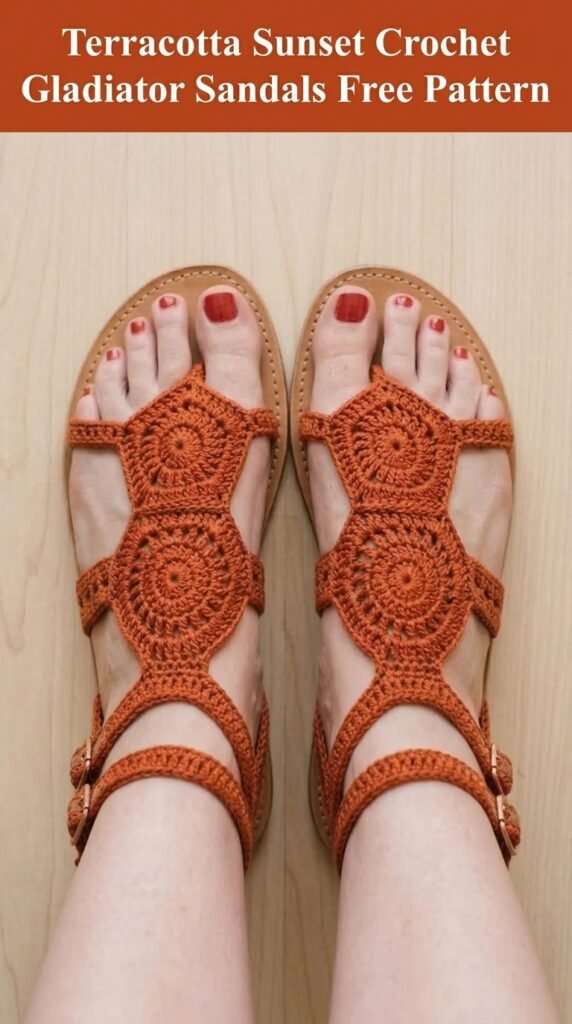
Why You’ll Love This Crochet Gladiator Sandals Pattern
These sandals scream effortless cool without trying too hard. The open medallion design lets your toes breathe while the connected circles give real structure—no sad collapsing straps here.
You get adjustable buckles for that perfect ankle hug, genuine leather soles for durability, and a finished look that fools people into thinking you splurged. Intermediate crocheters will feel right at home, but the clear steps keep beginners from quitting halfway.
Honestly, the best part? People stop you to ask where you bought them. Cue the smug “I made them” moment.
Materials Needed for Crochet Sandals
Grab these and you’re set for a full pair:
- Yarn: About 150 yards of sport or DK weight cotton—terracotta or rust shade works magic. Mercerized cotton gives that slight sheen and holds up better against sweaty summer feet.
- Hook: 3.5 mm (E/4). Swap sizes if your tension runs wild.
- Extras: Leather sandal sole bases, four tiny 10 mm buckles, leather punch or awl, tapestry needle, scissors, stitch markers. Optional fabric glue for extra stickiness.
Pro move: buy extra yarn. Running out mid-motif is the worst kind of plot twist.
Gauge Information
Work five rounds of the medallion. Your circle should hit roughly 2.5 inches across.
Too big? Drop a hook size. Too tiny? Go up. Gauge isn’t just a suggestion here—the medallions need to play nice together so your foot doesn’t feel like it’s wearing a string bag.
Abbreviations and Stitch Definitions
Quick refresher so nobody gets lost in the yarn jungle:
- Ch – Chain: yarn over, pull through loop.
- Sl st – Slip stitch: insert, yarn over, pull through everything.
- Sc – Single crochet: insert, yarn over, pull up, yarn over, pull through both.
- Hdc – Half double: yarn over, insert, pull up (three loops), yarn over, pull through all.
- Dc – Double crochet: yarn over, insert, pull up, yarn over pull through two, yarn over pull through two.
- Tr – Treble: yarn over twice, insert, pull up, yarn over pull through two three times.
- Ch-sp – That comfy little gap the chains made. Work into the space, not the chain itself.
Keep this list handy. Muscle memory is great until round four hits at 11 p.m.
Understanding the Construction
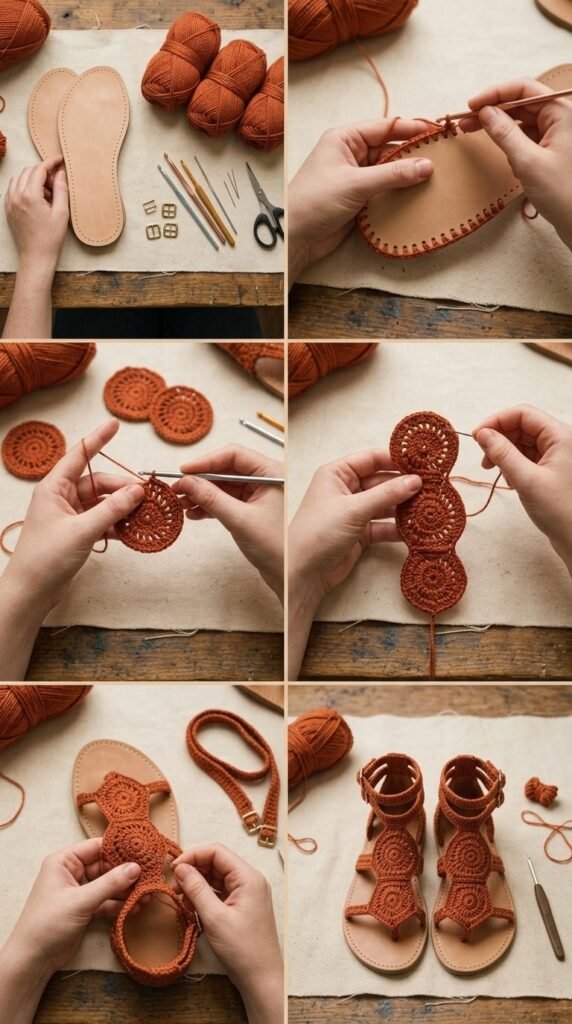
Each sandal builds from five medallions plus two straps. Toe medallion sits up front, two side ones hug the edges, instep covers the top, ankle medallion sits high. Straps grow right off the ankle piece and buckle shut.
Make all ten medallions first (five per foot). Join them into the gladiator shape, add straps, then stitch the whole upper onto the leather sole. Simple roadmap, zero mystery.
Lay everything against your actual foot before permanent joins. Trust me on this one.
Circular Medallion Motif Pattern
You’ll crank out ten of these beauties. Here’s the original flow I tweaked for clean edges and solid structure:
- Magic ring, ch 1, 8 sc into ring, sl st to join. Pull tight. (8 sc)
- Ch 3 (counts as dc), dc in same stitch, 2 dc in every stitch around, join. (16 dc)
- Ch 3, dc in same, dc in next, *2 dc in next, dc in next* repeat, join. (24 dc)
- Ch 4 (dc + ch 1), skip one, *dc, ch 1, skip one* around, join to third ch. (12 dc + 12 spaces)
- Sl st into first space, ch 3, 2 dc in same space, ch 1, *3 dc in next space, ch 1* around, join. (12 clusters)
- Ch 1, sc in same and next two dc, 2 sc in each ch-1 space, *sc in next three dc, 2 sc in space* around, join. (60 sc)
Finished circle lands around 2.5–3 inches. Steam block them flat before joining—wrinkly medallions look amateur.
Joining the Medallions
Hold two medallions wrong sides together. Slip-stitch through both layers for 8–10 stitches. That’s your seam. Fasten off, weave ends like your life depends on it.
Layout per sandal:
- Toe medallion at bottom center
- Right-side medallion upper right, joined to toe
- Left-side upper left, joined to toe
- Instep top center, joined to both sides
- Ankle medallion at the very top, joined to instep
Leave intentional gaps between joins—that’s the classic gladiator vibe. Test-fit on your foot or sole before you commit. Adjust join length if your feet are narrow or wide.
Ankle Strap Pattern
Two straps per sandal. Join yarn at the right edge of the ankle medallion.
Row 1: Ch 1, 6 sc evenly across the edge, turn.
Rows 2–35: Ch 1, sc across, turn. Aim for 10–12 inches total—enough to wrap your ankle with two inches of overlap.
Last row: Ch 1, sc in first two, ch 4, skip two, sc in last two. Buttonhole created. Fasten off.
Repeat for the upper strap, starting half an inch higher on the same medallion. Measure twice, crochet once. Ankle size varies more than you think.
Attaching to Leather Soles
Position the finished upper so the toe medallion sits over the front of the sole and the ankle piece lines up at the back.
Punch holes every half inch around the sole edge where the crochet will meet leather. Thread a tapestry needle with matching yarn and whipstitch the upper firmly to the sole through those holes and the edge stitches of your medallions.
Keep tension even—too tight and the crochet puckers, too loose and it flops. Optional thin line of leather adhesive underneath adds insurance against summer walking abuse.
Attaching the Buckles
Slide each buckle onto the free end of a strap. Fold the end over the buckle bar about one inch and whipstitch the fold closed securely. The buttonhole end wraps around the ankle and the prong pops through to lock.
Do this for all four straps. Test the fit before final stitches—you want snug but not circulation-cutting.
Sizing Adjustments
Smaller feet: Switch to 3.0 mm hook, work only one sc in each ch-1 space on the final medallion round, shorten the straps.
Larger feet: Jump to 4.0 mm hook, add an extra sc round after round 6, lengthen straps, or sneak in a sixth medallion between instep and ankle if needed.
Always check against the actual sole and your foot. Paper patterns lie; real feet don’t.
Care Instructions
Spot clean with a damp cloth for everyday dirt. Deeper clean? Hand wash gently in cool water with mild soap—never toss these in the machine.
Stuff the toe area with paper towels so the medallions keep their shape, then lay flat away from direct sun or heaters. Store flat or lightly stuffed. Hanging stretches the straps and ruins the silhouette.
Helpful Tips for Success
Steam-block every medallion before joining. It takes five extra minutes and makes the finished pair look polished instead of homemade-in-a-hurry.
Cotton is non-negotiable for sandals. Acrylic stretches and feels clammy. Mercerized cotton laughs at moisture and keeps its shape.
Weave ends like you’re sewing for battle—three passes minimum. These sandals move a lot.
Test-fit constantly. Nothing kills the joy faster than realizing the ankle strap is two inches short after you’ve already attached the sole.
Customization Ideas
Swap terracotta for cream if you want quiet boho, deep navy for evening vibes, or sage green for something unexpected.
Drop wooden beads into the center of each medallion or stitch tiny flower motifs at the join points for extra flair.
Cork soles feel eco-friendly and light. Rubber flip-flop bases give more bounce if you walk a lot.
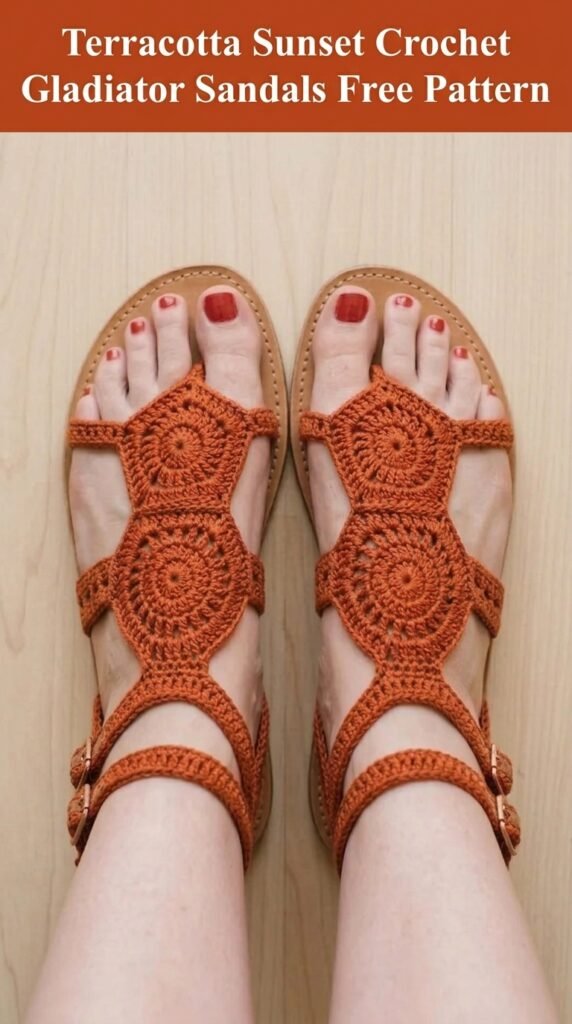
Want more toe coverage? Crochet a half-medallion and attach it at the front. Instant closed-toe option without redesigning everything.
You Might Also Like
- Blush Peach Openwork Crochet High Tops Free Pattern
- Cream and Tan Two-Tone Crochet Boots Free Pattern
- Cream and Gold Shimmer Crochet Sneakers Free Pattern
- Buttercream Yellow Sunshine Crochet Boots Free Pattern
- Classic Black Chic Peplum Crochet Top Free Pattern
FAQ’s
Can beginners actually finish these?
Yes, if you’re solid on magic rings, double crochet, and slip stitches. Take it one medallion at a time and the joins become second nature. Intermediate is the sweet spot, but determined beginners succeed every day.
How long does one pair take?
Plan on 8–12 hours total depending on your speed. Medallions fly once you get the rhythm. Joining and sole attachment slow things down a bit—perfect weekend project.
Do the leather soles come with holes already punched?
Most craft-store soles arrive blank. Grab a cheap leather punch or awl. Spacing every half inch works for almost every foot size.
Will the cotton stretch out after a few wears?
Good cotton stays put, especially mercerized. Block well and weave ends tightly. Avoid acrylic—it turns into sad stretchy socks.
Can I machine wash them later?
Nope. Spot clean or gentle hand wash only. Machine agitation destroys the shape and the leather attachment points.
What if my gauge is off and the medallions don’t match my soles?
Adjust hook size early. If you’re already finished, add or remove a join stitch or two. The open design forgives small differences better than closed shoes ever would.
Final Thoughts
These terracotta sunset gladiator sandals prove crochet belongs on your feet, not just your couch. The circular motifs look fancy, the construction stays practical, and the finished pair earns genuine compliments. Grab that cotton, fire up the 3.5 mm hook, and make something you’ll actually wear all summer. Your feet (and your Instagram feed) will thank you.


Leave a Reply
You must be logged in to post a comment.