

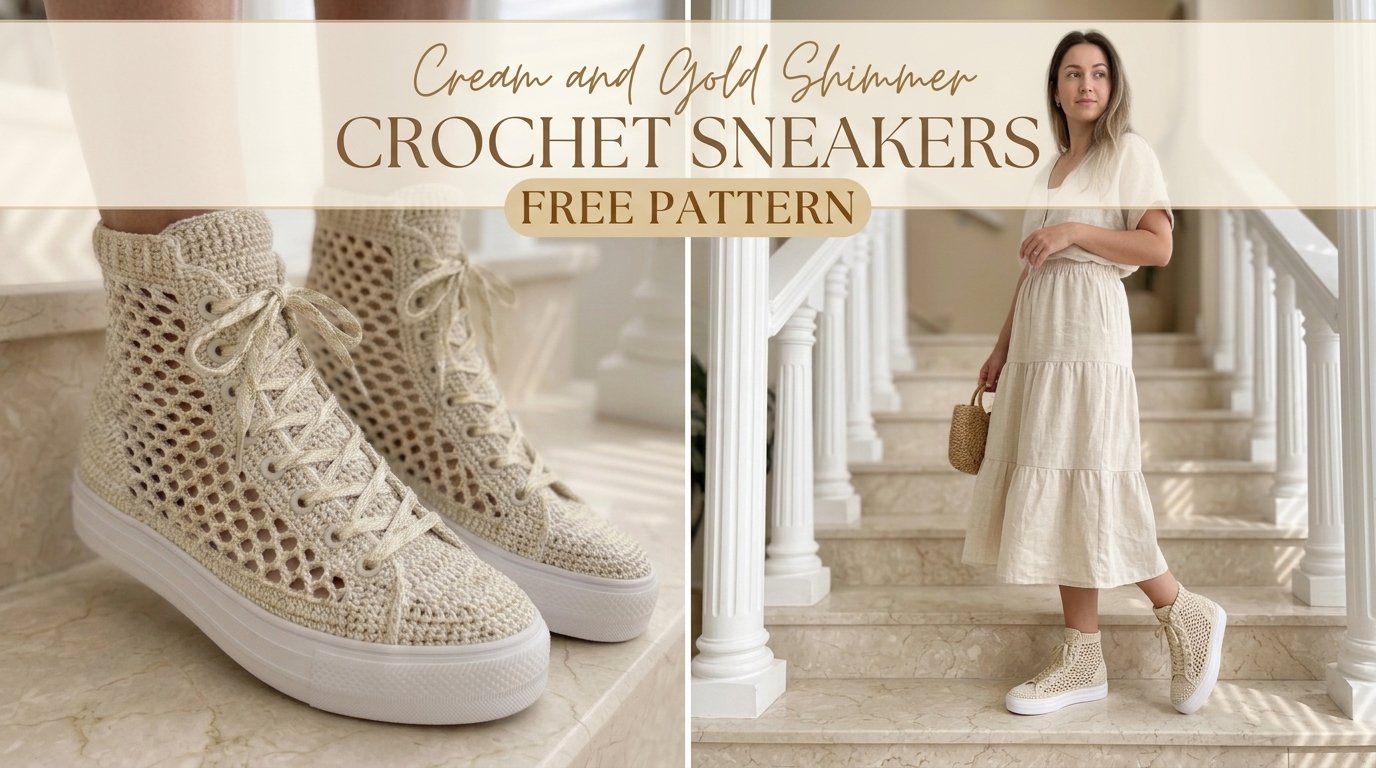
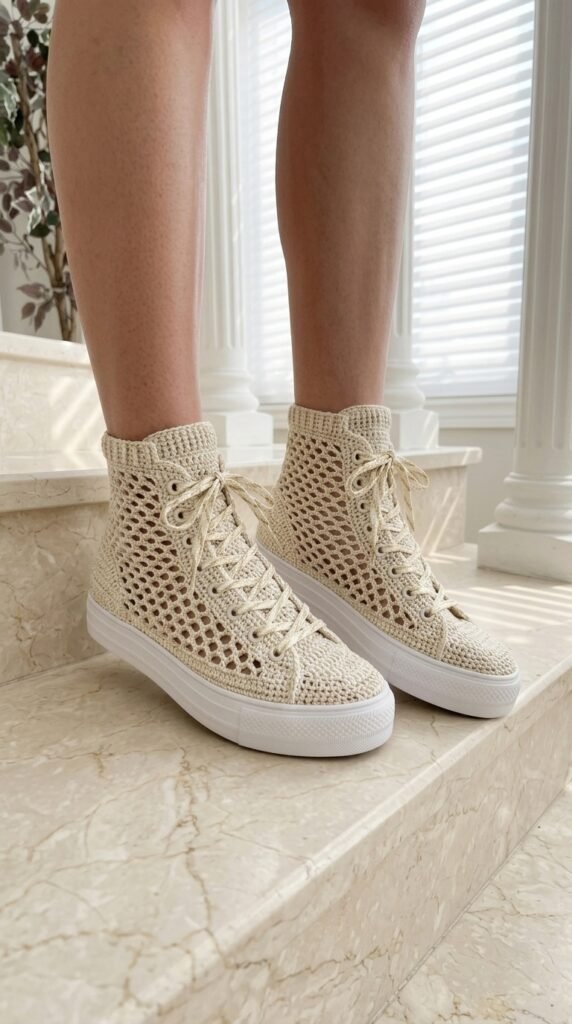
Want sneakers that look boutique-expensive but come straight from your hook? These cream and gold shimmer crochet sneakers deliver exactly that. Mesh uppers, subtle metallic sparkle, and real rubber soles mean you can wear them outside without a second thought. Ready to make a pair that turns heads?
Why You’ll Love This Crochet Sneaker Pattern
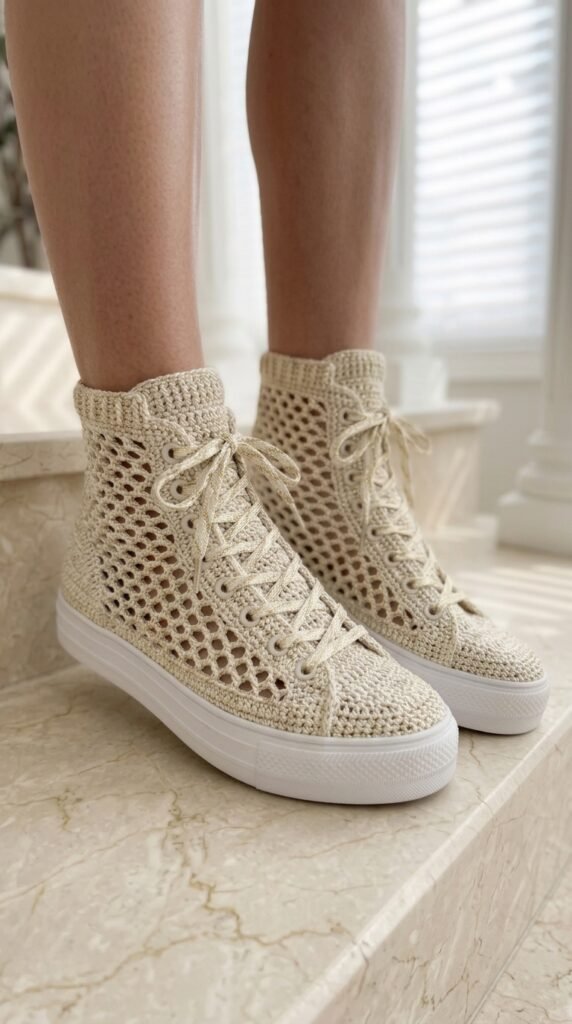
These high-tops blend handmade charm with actual wearable style. The open mesh keeps your feet cool while the gold shimmer thread catches the light just enough to feel special. Pair them with jeans or a dress and suddenly everyone asks where you bought them.
Construction stays smart. You crochet the upper pieces separately, then attach everything to a sturdy rubber sole. That gives you real shoes instead of fragile house slippers. The ribbed cuff hugs the ankle and the lace-up front works just like classic sneakers.
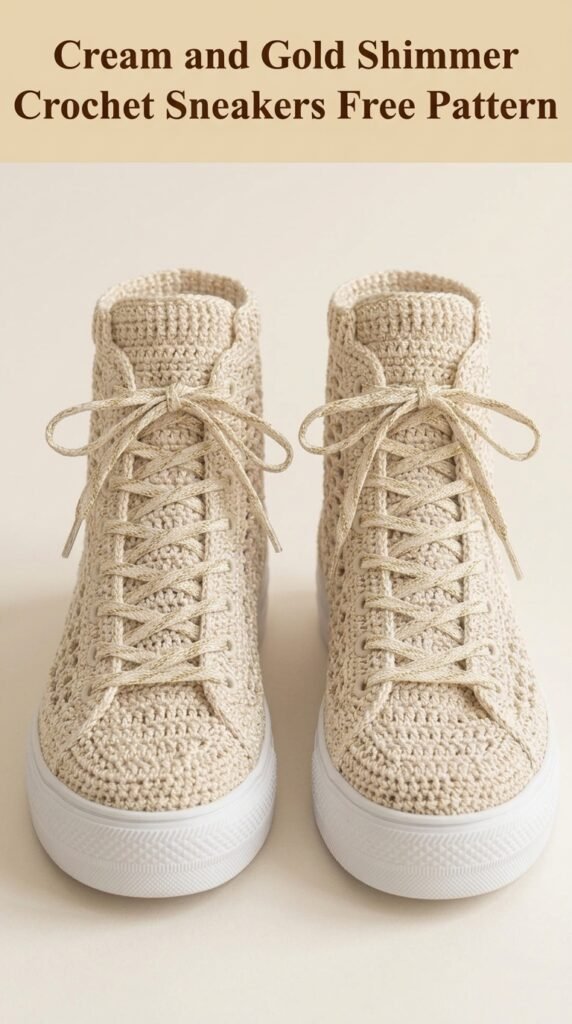
Skill level lands at intermediate. If you know basic stitches and have worked in the round a few times, you can handle this. The mesh pattern becomes almost meditative once it clicks.
Materials Needed for Your Crochet Sneakers
Gather these and you’re ready to start.
- Yarn: About 200g of DK-weight cotton or cotton blend in cream or soft off-white. Hold one strand of fine metallic gold thread with it the entire time for that shimmer effect.
- Hooks: 3.5 mm for the main body. Optional 3.0 mm for a tighter ribbed cuff.
- Extras: White rubber sneaker soles with pre-punched holes (search “crochet shoe soles” in your size), tapestry needle, stitch markers, cream or gold shoelaces (around 45 inches), scissors. Fabric glue is optional for extra security.
Cotton holds up better for footwear and washes clean. The gold thread does the heavy lifting on the fancy factor.
Gauge (Important!)
With the 3.5 mm hook and yarn held with metallic thread, aim for 18 single crochet stitches and 10 rows in 4 inches. Mesh pattern should give about 4 repeats across 3 inches.
Check your gauge. Seriously. Sneakers that stretch out or squeeze your toes defeat the whole purpose. Swatch first, adjust your hook if needed, then dive in.
Abbreviations and Stitch Definitions
Quick list so nothing slows you down.
- ch – chain
- sl st – slip stitch
- sc – single crochet
- dc – double crochet
- ch-sp – chain space
- BLO – back loop only
- sk – skip
Working in the back loop creates that stretchy ribbing on the cuff. Everything else stays basic and friendly.
Understanding the Construction
Here’s the big picture before the stitches start flying.
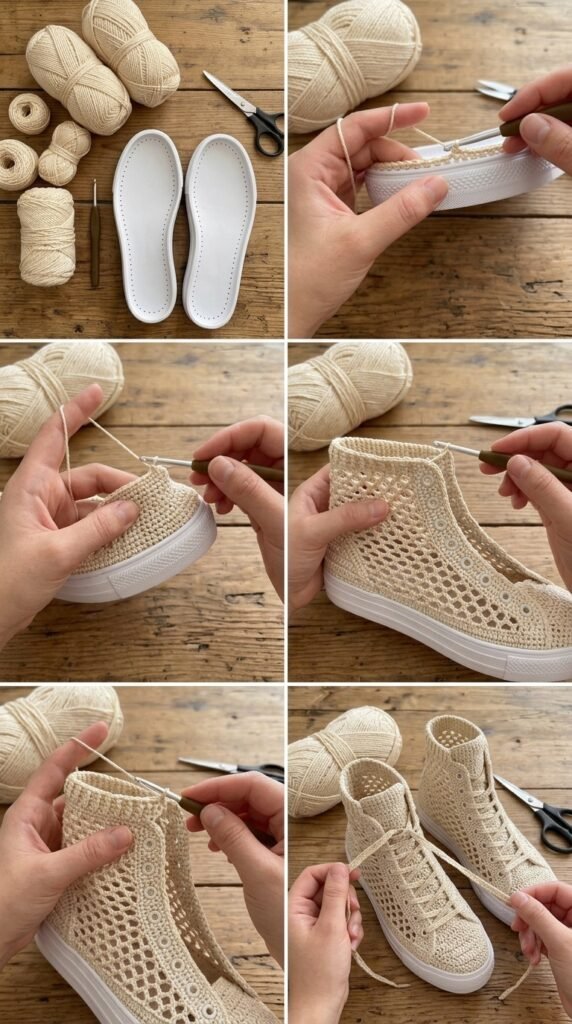
- Crochet a sturdy base right onto the rubber sole using the pre-punched holes.
- Shape a toe cap that covers the front of the foot.
- Work two mesh side panels that form the upper and create natural lace holes.
- Add a separate tongue for comfort and structure.
- Finish with a ribbed cuff at the ankle.
Once the mesh rhythm locks in, the panels fly off the hook. The whole pair feels doable instead of overwhelming.
Step-by-Step Crochet Sneaker Pattern
Let’s build these sneakers one section at a time. Keep the gold thread held with your cream yarn from the very first stitch.
Part 1: Attaching to the Sole
Join the yarn at the center back heel of the rubber sole. Work two single crochets into every pre-punched hole all the way around. Join and work a couple more solid rounds of single crochet to create a firm base that hugs the sole.
Exact stitch count depends on your sole size—usually somewhere between 80 and 100. That’s fine. The goal is a snug, even foundation.
Part 2: Toe Cap
Join yarn at one side of the toe area and single crochet across the front stitches. Decrease at both ends every other row so the piece curves gently over the toes. Keep going until you have a neat, rounded cap that covers the front without excess bulk.
Leave a long tail for seaming later. This little section does a lot of the shaping work.
Part 3: Mesh Upper Panels
Chain a foundation long enough to reach from the toe cap back to the heel. Work a simple mesh of double crochet, chain one, skip one, across. Repeat the row until the panel sits about 6–7 inches tall.
The open spaces become your lace holes. On the front edge of each panel, work a single-crochet border that reinforces 6–8 evenly spaced openings for the laces.
Make two identical panels. They form the sides and create that airy, modern look.
Part 4: Tongue
Chain a short foundation and work rows of single crochet until the tongue reaches the right length. Shape the top with a couple of gentle decreases so it sits smoothly under the laces.
This piece keeps the top of your foot comfortable and gives the sneakers a finished look when laced up.
Part 5: Ribbed Cuff
Chain a short strip and work single crochet in the back loop only for many rows until the piece stretches comfortably around your ankle. Seam the short ends together to form a tube.
The ribbing gives stretch and structure so the sneakers stay put without feeling tight.
Part 6: Assembly
Pin the toe cap to the front of the sole base and stitch it securely along the sides. Position the mesh panels on each side so they meet the toe cap at the front and overlap slightly at the heel. Stitch them in place with mattress or whip stitch.
Attach the tongue just inside the top of the toe cap. Sew the ribbed cuff to the upper edge of the mesh panels, stretching evenly as you go. Weave in every end tightly—these are shoes, after all. Thread the laces through the reinforced holes starting from the bottom.
Optional but smart: a thin line of fabric glue where the crochet meets the rubber sole adds extra staying power.
Sizing Adjustments for This Crochet Pattern
Need a smaller pair? Drop a couple of rows from the mesh panels and start the toe cap with fewer stitches. Going larger? Add rows to the panels and increase the toe-cap starting count.
Measure against your actual foot as you work. Crochet forgives small tweaks, and a quick try-on saves frustration later. The modular pieces make sizing changes straightforward.
Care Instructions
Hand wash in cool water with mild soap. Reshape while damp and stuff with paper towels so they dry in the right form. Keep them out of direct sun so the gold thread stays bright.
Treat them gently and they’ll keep their shape and shimmer for a long time. IMO, a little extra care is worth it for shoes this cute.
You Might Also Like
- Strawberry Sundae Beanie Free Crochet Pattern
- Cream Ivory Bridal Lace Maxi Skirt Free Crochet Pattern
- Mint and Lemon Spring Granny Square Blanket Free Crochet Pattern
- Cream Lamb Baby Romper Set Free Crochet Pattern
FAQ’s
Can I really wear these outside?
Yes. The rubber soles make them actual sneakers, not just indoor slippers. Just avoid heavy rain and rough terrain if you want them to last longer.
Do I have to use metallic thread?
You can skip it for a plain cream pair, but the gold shimmer is what elevates the look. It’s thin and easy to hold with the main yarn—no special technique required.
How long does one pair usually take?
A focused weekend gets most people through both shoes. The mesh panels move fast once the pattern clicks. Assembly takes a little patience but feels rewarding.
What if my soles don’t have pre-punched holes?
You can carefully punch your own with an awl or heavy needle, spacing them about 5–6 mm apart. Work slowly and keep the holes even.
Will the mesh stretch out over time?
Cotton with a good gauge holds its shape well. Blocking the panels before assembly and weaving ends securely helps a lot. Avoid over-lacing them super tight every day.
Final Thoughts
There you have it—cream and gold shimmer crochet sneakers that look like they came from a high-end shop but started on your hook. From the sturdy sole base to the airy mesh and that soft ribbed cuff, every piece works together. Grab your cream yarn, twist in that gold thread, and start the first round. You’re about to make a pair you’ll actually want to wear every day.


Leave a Reply
You must be logged in to post a comment.