

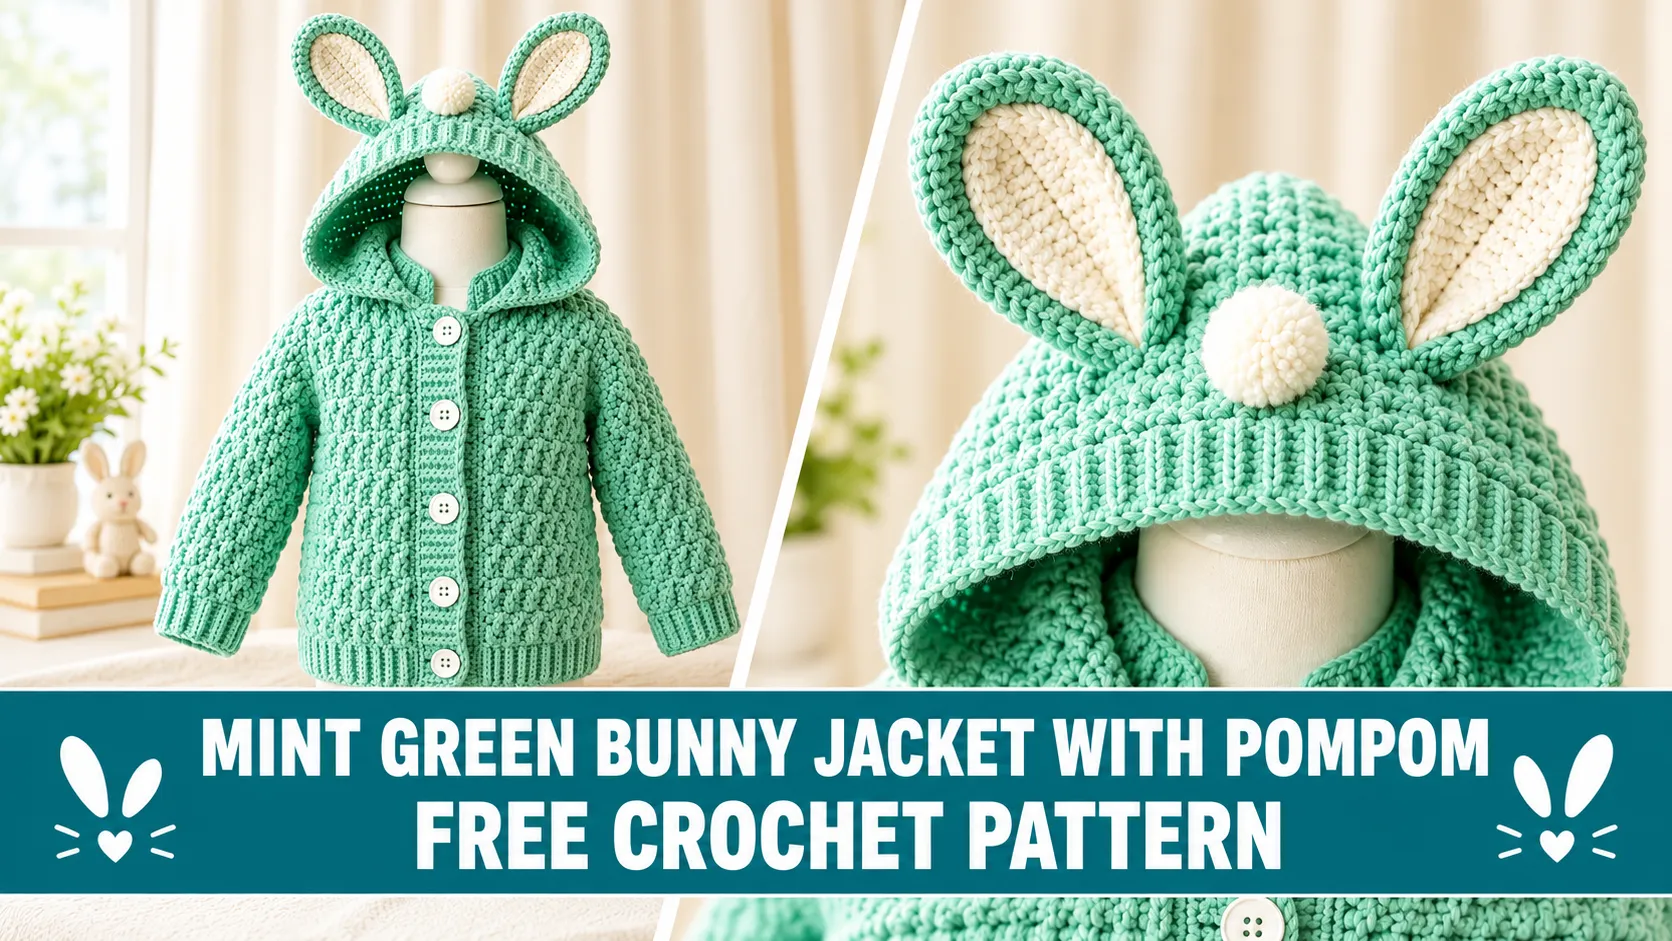
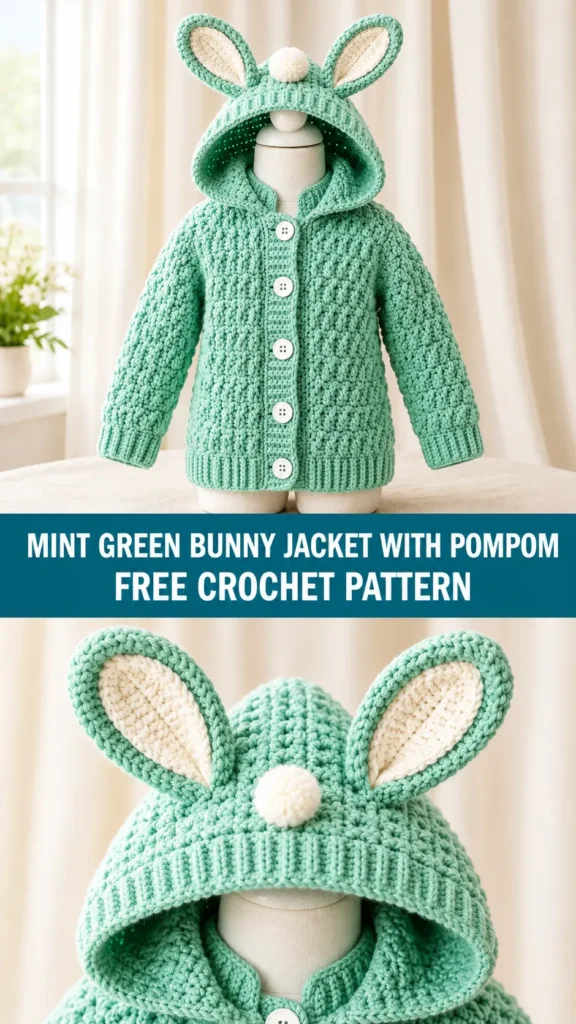
When I first sketched this little hooded cardigan I wanted something that would make parents smile the second they saw it. Soft mint green, a textured basket-weave body, cream-lined bunny ears, and a practical button front—because anyone who has dressed a wiggly toddler knows pull-over hoodies are a battle. The pieces work flat so you stay in control of the fit, and the finished jacket looks way more complicated than the stitches actually are. Let’s make it.
About This Adorable Bunny Crochet Pattern
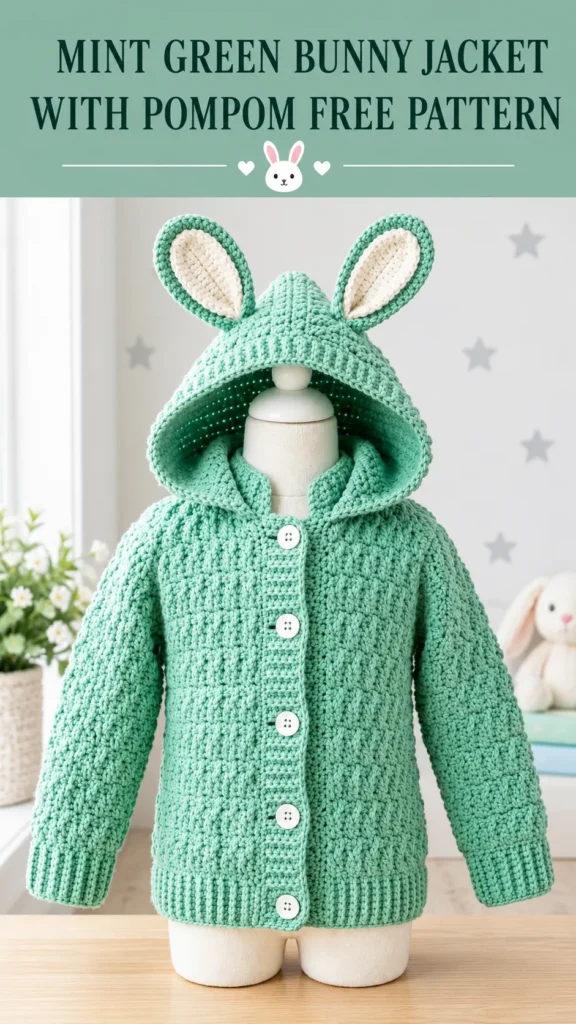
This hooded cardigan features a textured basket-weave body, a roomy hood with crocheted bunny ears lined in cream, and a button-front closure. You work every piece flat, then seam them together and finish with a button band. It is sized for a toddler around 12 to 18 months.
The body stitch creates a woven, dimensional fabric that reads almost like cables. Front-post and back-post double crochets form those gorgeous raised ridges. If you have never worked post stitches before, do not worry—I will walk you through them.
This pattern sits at intermediate level. You need to feel comfortable with post stitches, seaming, and picking up stitches for the button bands. Confident beginners ready to level up will do just fine.
Finished Size
12 to 18 months toddler
- Chest circumference: 22 inches (56 cm) blocked
- Length from shoulder to hem: 12 inches (30.5 cm)
- Sleeve length from underarm: 8 inches (20.5 cm)
- Hood height: 7 inches (18 cm)
- Hood width at opening: 9 inches (23 cm)
These measurements give a comfortable, roomy fit that still looks neat on a toddler.
Time Estimate
Plan for approximately 12 to 18 hours if you are an experienced crocheter working at a steady pace. Newer garment makers should give themselves extra time and enjoy the process.
Materials Needed for the Mint Green Bunny Jacket
Yarn: Worsted weight, approximately 600 yards mint green (MC) and 60 yards cream (CC) for ear linings.
Hooks:
US size H-8 / 5.0 mm for body, sleeves, and hood
US size G-6 / 4.0 mm for ribbing at cuffs and hem
Notions: 5 white flat buttons (5/8 inch), yarn needle, stitch markers, scissors, blocking mat and pins, sewing needle and thread for buttons.
Yarn Suggestions
Lion Brand Pound of Love is soft, washable, and widely available—one skein of mint covers the main color with room to spare.
Paintbox Yarns Simply DK held double gives excellent stitch definition for the post stitches.
Cascade 220 Superwash offers superior drape if you prefer merino.
Choose any worsted that hits gauge. Acrylic or superwash wool is best for toddler wear.
Gauge
With H-8 / 5.0 mm hook in basket-weave pattern:
16 stitches × 12 rows = 4 inches × 4 inches
Chain 22, work 16 rows of the basket-weave pattern, block the swatch, and measure. Adjust your hook size if needed. Gauge is mandatory for this garment—small differences add up across the chest.
Abbreviations (US Terms)
- ch = chain
- dc = double crochet
- FPdc = front post double crochet
- BPdc = back post double crochet
- sc = single crochet
- sc2tog = single crochet two together
- sl st = slip stitch
- BLO = back loop only
- MC / CC = main color / contrast color
- RS / WS = right side / wrong side
- pm = place marker
- st(s) = stitch(es)
Special Stitches Explained
Front Post Double Crochet (FPdc): Yarn over, insert hook from front to back to front around the post of the stitch below, complete the double crochet as usual. The ridge sits on the front of the fabric.
Back Post Double Crochet (BPdc): Yarn over, insert hook from back to front to back around the post, complete the double crochet. The ridge sits on the back.
Basket Weave Pattern: Alternating columns of 4 FPdc and 4 BPdc in a 4-row sequence create the woven look. The pattern repeats every 8 stitches horizontally and every 4 rows vertically.
Pattern Notes Before You Begin
The cardigan is worked in flat pieces: back, two fronts, two sleeves, and one hood. All pieces are seamed with a flat slip-stitch seam on the wrong side.
The basket-weave texture begins after two plain double-crochet foundation rows. Turning chains do not count as stitches. Block every piece before seaming for the most accurate measurements and cleanest joins.
Bunny ears are worked in mint with a cream lining; the two layers are held wrong sides together and slip-stitched around the edge.
Step by Step Crochet Pattern Instructions
Back Panel
Chain 44 and work two plain double-crochet rows. Then begin the four-row basket-weave sequence and continue until the panel measures about 11.5 inches tall. Shape the shoulders and back neck by working the outer sections separately and leaving the center stitches open.
Front Panels
Work the right and left fronts as narrower versions of the back. Shape the neck edges by leaving stitches unworked at the appropriate points so the neckline slopes gently. Both fronts end at the same shoulder height as the back.
Sleeves
Start each sleeve with a ribbed single-crochet cuff worked in the back loop only. Switch to the larger hook and the basket-weave pattern, adding gradual increases at the side edges until the sleeve reaches the correct width and length.
Assembly Instructions
Seam the shoulders first. Mark the armhole depth, pin the sleeves in place matching centers to the shoulder seams, and sew them in. Then sew the side and underarm seams in one continuous line from hem to cuff. The flat slip-stitch seam keeps the joins almost invisible on the right side.
Button Band and Buttonhole Band
Pick up single crochet evenly along each front edge. On the right front, work a buttonhole row with evenly spaced chain spaces. On the left front, work a plain band. Four rows of single crochet give a sturdy, professional edge.
Hood Instructions
Pick up stitches around the finished neckline and work the hood flat in the basket-weave pattern (or your preferred method). Seam the top of the hood, then attach the prepared bunny ears. A little cream lining peeks out and makes the ears look extra soft.
Finishing Your Bunny Jacket Crochet Pattern
Block every piece before final assembly. Attach the bunny ears securely to the top of the hood. Sew the buttons to the left front band, aligning them with the buttonholes. Weave in every end and give the finished jacket a gentle steam or wash-and-lay-flat block.
The pompom detail (if you choose to add one) can be sewn at the center of the hood or used as a playful accent on the ears—your call.
You Might Also Like
- Chocolate Caramel Cozy Crochet Robe Free Pattern
- Midnight Navy Blue Peplum Crochet Top Free Pattern
- Ivory Bridal Mesh Crochet Bell Sleeve Shrug Pattern
- Camel Neutral Everyday Lace Maxi Skirt Free Crochet Pattern
- Mint Green Lace Tie Cardigan Free Crochet Pattern
FAQ’s
Is the basket-weave stitch hard to learn?
Not once you get the rhythm of the four-row repeat. Practice a small swatch first and the posts will start to feel natural.
Can I make this without the bunny ears?
Yes. Simply omit the ears and you still have a beautiful textured hooded cardigan.
What if my gauge is slightly off?
Adjust your hook size before you start the back panel. Even a small difference multiplies across the chest and can change the fit.
How do I keep the ears from flopping?
Sew them firmly around the entire base and, if needed, add a tiny bit of fiberfill between the mint and cream layers.
Can I size this up or down?
Yes. Adjust the starting chain in multiples of 8 stitches to keep the basket-weave pattern intact, then recalculate the length and sleeve increases proportionally.
Is acrylic yarn okay for a toddler jacket?
Absolutely—machine-washable acrylic is often the most practical choice for real-life toddler wear.
Conclusion
This mint green bunny jacket is one of those projects that looks impressive yet stays completely doable. The basket-weave texture, cream-lined ears, and practical button front come together into a garment parents actually want to put on their kids. Take your time with the post stitches and the seaming—those steps make all the difference. Happy crocheting, and I hope the little one who wears this jacket gets plenty of cozy adventures.



Leave a Reply
You must be logged in to post a comment.