

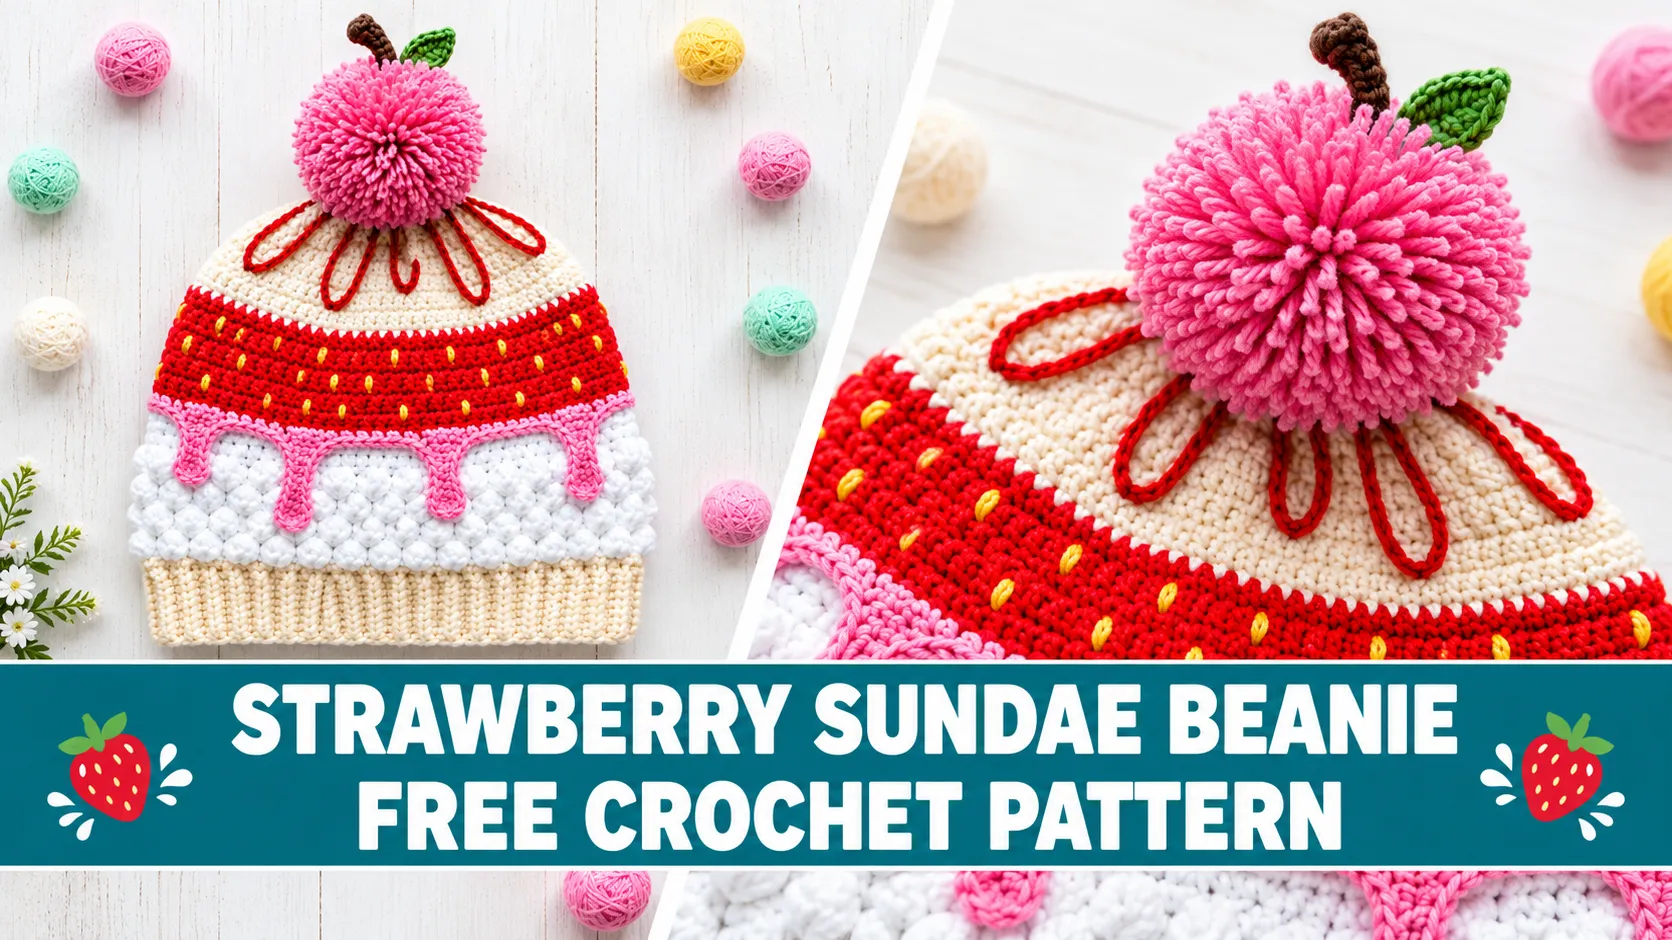
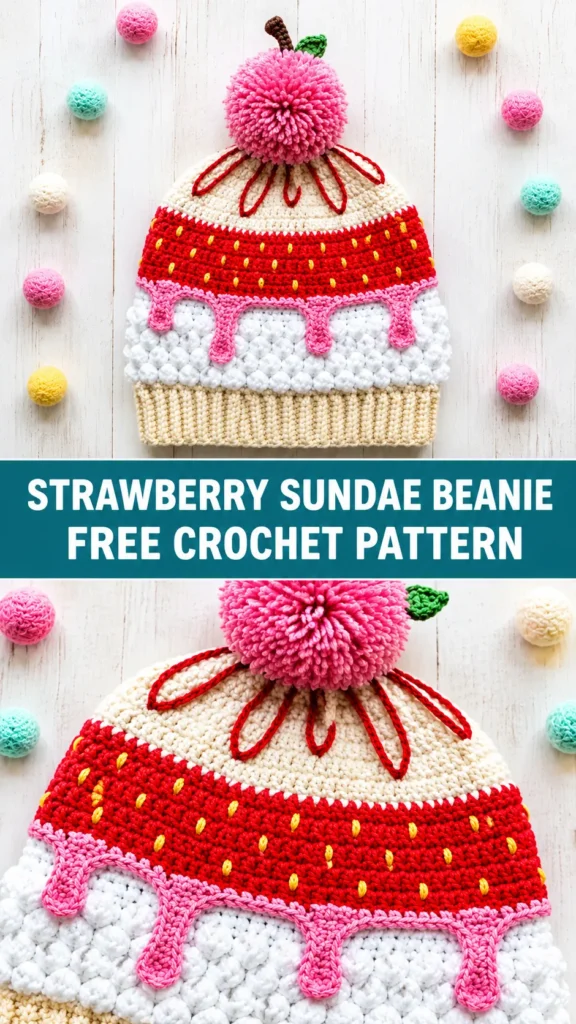
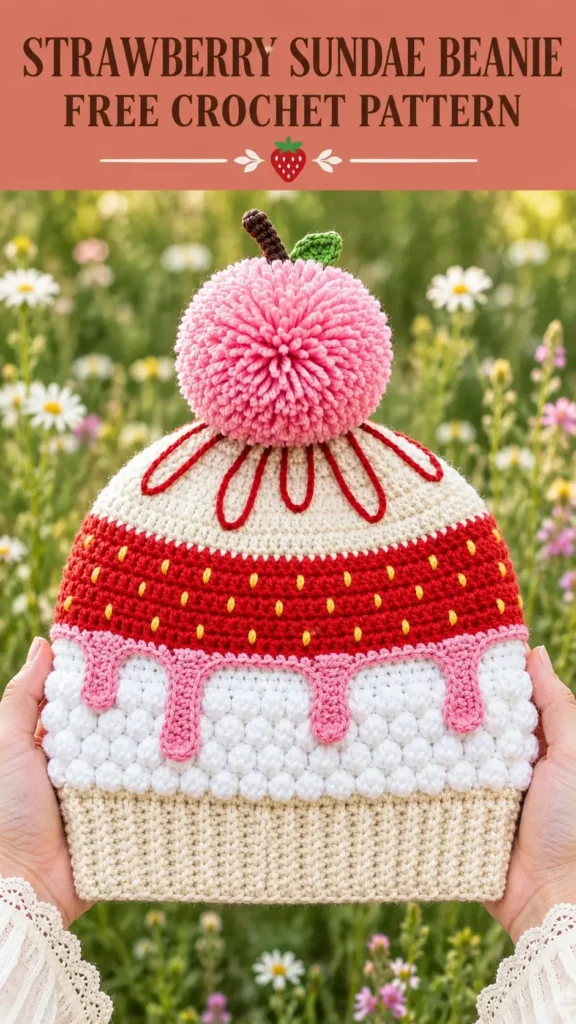
THIS is the project that will have everyone asking where you bought your hat. I’m not exaggerating. The Strawberry Sundae Beanie looks like it belongs in a boutique window, but you can make it yourself in a weekend. The construction is clever without being complicated—ribbed cream brim, fluffy white bobble “whipped cream,” pink frosting drips, a bright red strawberry band with embroidered seeds, and a cream dome topped with sauce drizzle and a cherry pom-pom. If you’ve ever wanted to make something that stops people in their tracks, this is it.
About This Strawberry Sundae Beanie Crochet Pattern
This beanie is designed for an adult head circumference of 21 to 23 inches. The finished hat measures about 9.5 inches tall from brim to crown (not including the pom-pom), with a 2-inch ribbed brim at the base.
You work bottom-up in joined rounds, creating distinct decorative zones that mimic the layers of a strawberry shortcake sundae. Bobble stitches give real texture that looks like whipped cream, while surface crochet and embroidery add the finishing details that make this hat special.
Skill level is intermediate. You should feel comfortable working in rounds, changing colors, and making bobble stitches. The embellishments use surface slip stitch and basic embroidery—none of it is difficult once you understand the moves.
Materials You’ll Need
All yarn is worsted weight unless noted:
- Color A, Cream/off-white: 150 yards
- Color B, Red: 80 yards
- Color C, White: 70 yards
- Color D, Pink: 40 yards
- Color E, Dark Red/Burgundy: 15 yards
- Color F, Yellow: 8 yards
- Color G, Brown: 5 yards
- Color H, Green: 5 yards
- Color I, Pink for pom-pom: 30 yards bulky or doubled worsted
Hooks: US Size J-10 (6.0 mm) for the main hat, US Size G-6 (4.0 mm) for the stem and leaf
Notions: Yarn needle, scissors, stitch markers, pom-pom maker (or cardboard rings about 3–3.5 inches), measuring tape
Lion Brand Vanna’s Choice gives excellent stitch definition so the bobbles really pop. Red Heart Super Saver is a solid budget option. If you prefer DK weight, drop to a 5.0 mm hook and swatch carefully.
Gauge
With a 6.0 mm hook and worsted yarn:
14 single crochet × 16 rows = 4 inches worked in rounds
Bobble stitch gauge: 12 bobbles and 8 rounds = 4 inches
Gauge matters. Even one stitch per 4 inches off will change the finished size. Swatch before you start. Go up a hook size if your gauge is tight; go down if it’s loose.
Abbreviations and Special Stitches
Standard abbreviations you’ll see:
ch, sl st, sc, hdc, dc, st(s), RS, WS, pm, rep, rem, sc2tog, MR, blo, flo, sk
Bobble Stitch (bo-st): Work 5 incomplete double crochets into the same stitch, then yarn over and pull through all 6 loops at once. The bobble pushes to the wrong side, so you flip the hat inside out for that section.
Standing Single Crochet: A clean way to join a new color without a chain.
Surface Slip Stitch: Creates the sauce drizzle and frosting drip outlines on the surface of the fabric.
Drip Loop Detail: While working a surface slip stitch, chain 5–7 and slip stitch back into the same point for a rounded drip end.
Pattern Instructions
Section 1: Brim (Color A, Cream)
Work a flat ribbed rectangle in back-loop single crochet until it measures about 22 inches unstretched. Seam the short ends into a tube, then pick up 80 single crochet evenly around the top edge. This creates that stretchy, professional ribbed brim.
Section 2: Lower Hat Body, Cream Transition
Work two plain single-crochet rounds in cream. These give a smooth transition into the bobble section.
Section 3: Whipped Cream Bobble Section (Color C, White)
Flip the hat inside out so the bobbles will face outward when you turn it right-side out again. Alternate bobble-and-single-crochet rounds with plain single-crochet rounds for a total of eight rounds. Turn the hat right-side out and admire the fluffy texture.
Section 4: Pink Frosting Drip Row (Color D, Pink)
Work two plain single-crochet rounds in pink. This creates the thin frosting layer between the white cream and the red strawberry band. The actual drip shapes get added later with surface slip stitch.
Section 5: Red Strawberry Section (Color B, Red)
Work six plain single-crochet rounds in bright red. This band becomes the strawberry layer. Yellow seed embroidery is added during finishing.
Section 6: Upper Cream Dome and Crown Shaping (Color A, Cream)
Work four plain rounds in cream, then begin decreasing every round until only eight stitches remain. Close the crown by weaving the tail through the final stitches and pulling tight. Your hat should now measure about 9–9.5 inches tall from the brim.
Finishing and Embellishments
Sauce Drizzle: Using dark red, work freehand surface slip stitches radiating from the crown center in curved lines. Add small chain loops at the ends for drips.
Pink Frosting Drips: Space 7–9 surface-slip-stitch drips evenly around the pink-to-white transition. Chain a little loop at the bottom of each drip for a rounded look.
Yellow Seed Embroidery: Scatter 35–50 tiny horizontal straight stitches across the red band at slight angles for a natural strawberry look.
Cherry Pom-Pom Topper: Make a fluffy pink pom-pom, crochet a short brown stem and a tiny green leaf, assemble them, and attach the whole cherry firmly to the crown.
Weave in every remaining end.
Size Customization Tips
For a child size (19–21 inches): Shorten the brim strip and pick up about 70 stitches. Adjust the crown decreases to seven sections instead of eight.
For a larger adult size (23–25 inches): Lengthen the brim strip and pick up 88–90 stitches (round to a multiple of 8 for easy decreasing).
To add height: Work extra plain single-crochet rounds after the upper cream section before you start decreasing.
Care Instructions
Hand wash in cool water with mild detergent. Squeeze gently—never wring—and lay flat to dry. Store the hat so the pom-pom doesn’t get crushed.
You Might Also Like
- Coral Ruffle Top & Seashell Shorts Pattern
- Baby Blue Grid Stitch Tie Cardigan Free Pattern
- Baby Blue Ribbon Crochet Vest Free Crochet Pattern
- Easter Bunny Hooded Poncho Free Crochet Pattern
- Crochet Mint Daisy Baby Dress Free Pattern
FAQ’s
Is the bobble section hard?
Not once you get the rhythm. Practice a few bobbles on a swatch first. Flipping the hat inside out is the key so they end up on the outside.
Can I skip the surface embroidery?
You can, but the drips and seeds are what make the hat look like an actual sundae. They take less time than you think and add huge impact.
Do I have to make the cherry pom-pom?
Technically no, but it is the cherry on top—literally. A store-bought pom-pom works in a pinch if you add a stem and leaf.
What if my stitch count drifts?
Count every few rounds and use a second marker at the halfway point. Continuous or joined rounds make it easy to lose track without markers.
Can I use different colors?
Absolutely. Chocolate, mint, or blueberry versions would be adorable. Just keep the “whipped cream” light and the fruit section bold so the layers read clearly.
How long does this really take?
An experienced crocheter can finish it in 8–12 hours. The embellishments are the part that slow you down in the best way—they’re fun.
Conclusion
The Strawberry Sundae Beanie is pure joy on a hook. Simple construction, clever texture, and playful finishing details combine into a hat that looks like it cost a fortune. Once you wear it (or gift it), be prepared for compliments. Grab your cream, red, and pink yarn and start building those layers. You’re about to make the most delicious-looking beanie on the block. Happy crocheting!




Leave a Reply
You must be logged in to post a comment.