

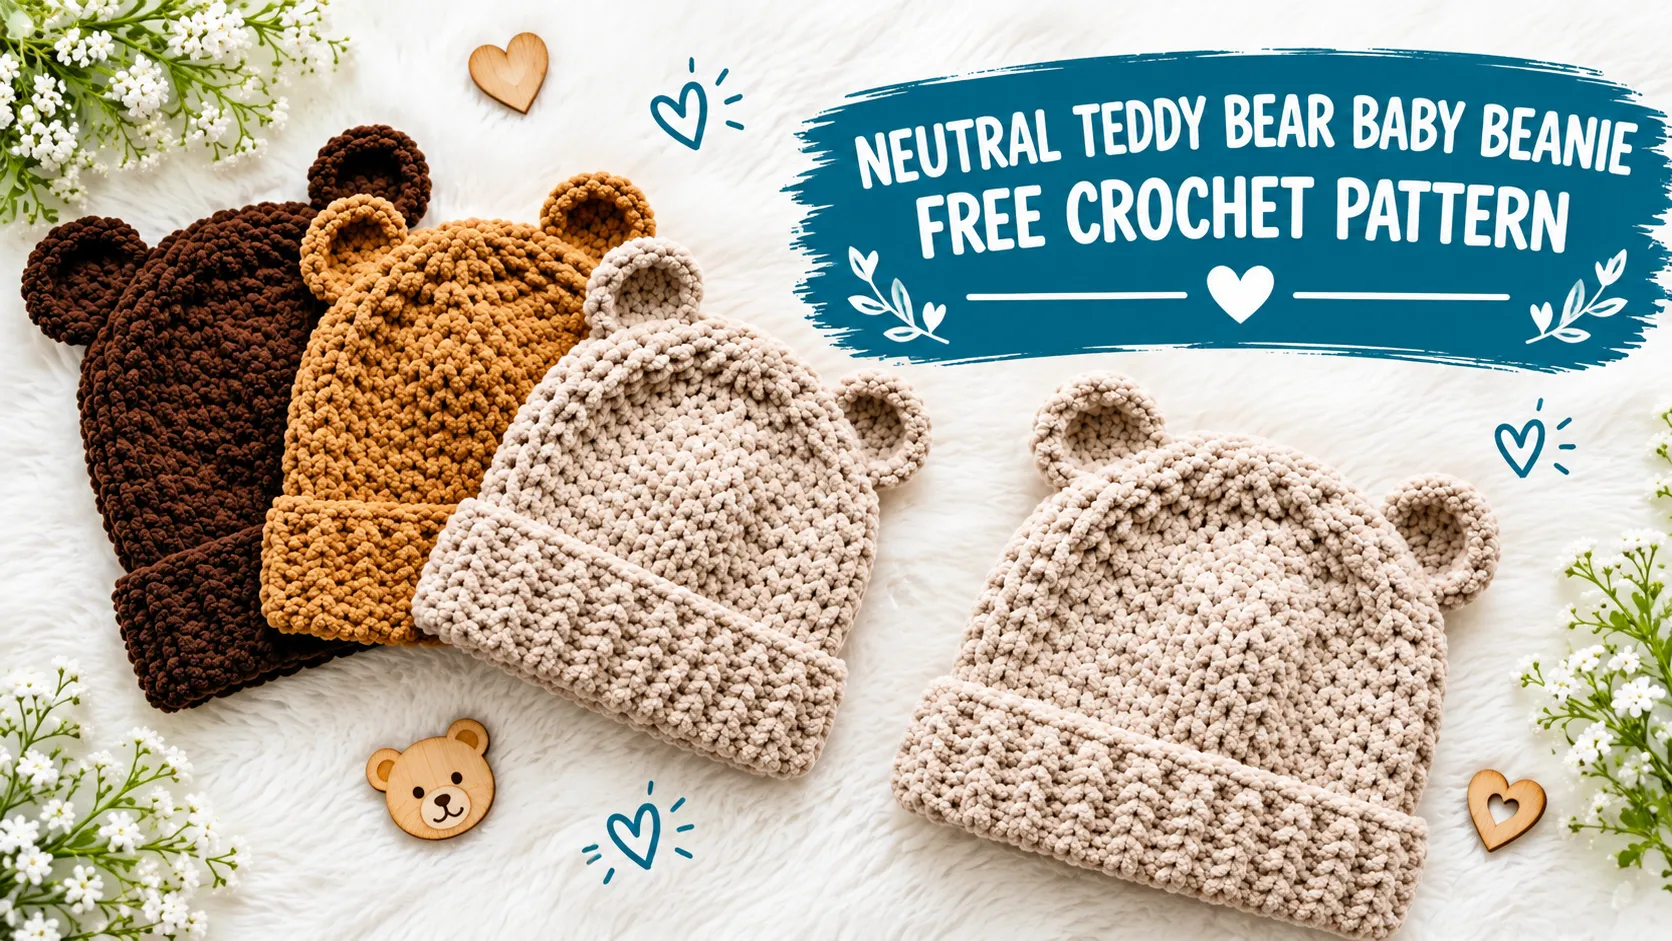
This is a chunky baby beanie with bear ears that works up in just a few hours and fits newborns to three months. The construction is straightforward—ribbed brim, simple single-crochet body, and two tiny ears sewn on at the end. If you can single crochet and work in the round, you can make this hat. The plush chenille yarn does most of the heavy lifting for that cozy, textured look.
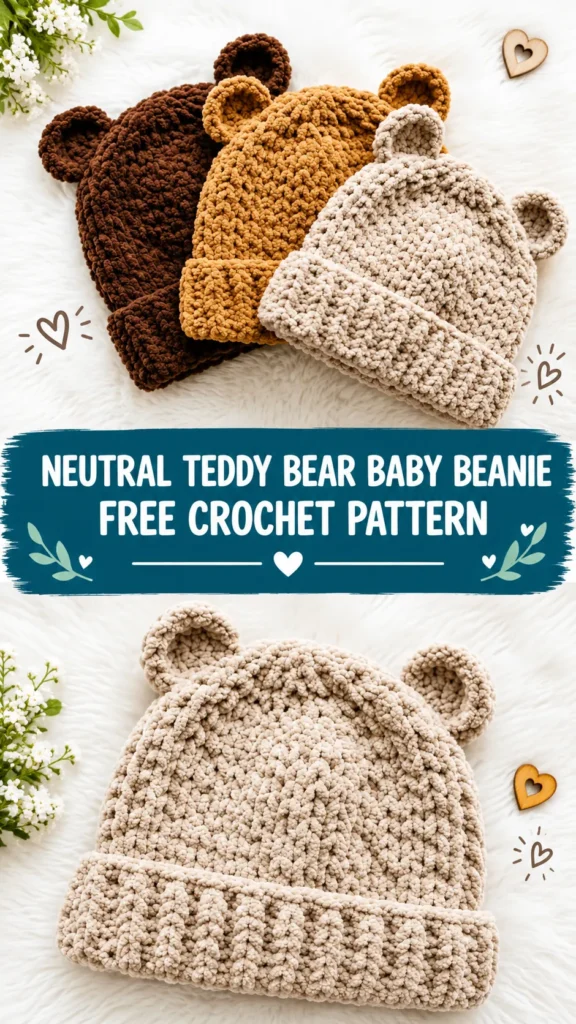
Why This Baby Beanie Pattern Works So Well
I love this design because it solves the most common baby hat problem. You know the one—you spend hours making a hat and it slides right off a wiggly newborn head. The deep ribbed brim on this beanie actually stays put. It folds up to create a snug, stretchy cuff that grips gently without being too tight.
The bear ears are the finishing touch that makes people say “oh my goodness” every single time. They’re small, subtle, and absolutely adorable. Not over the top, just perfectly sweet.
This pattern produces a structured, slouch-free hat that photographs beautifully for baby announcements, makes an incredible shower gift, and works up so quickly you can make a whole set in different neutral tones in one weekend.
Materials You Will Need
Yarn: Approximately 80 to 100 yards of bulky weight yarn (weight 5) in chenille or velvet texture. One skein will make multiple hats.
Recommended yarns:
Bernat Blanket Yarn in Vintage White, Almond, or Chocolate
Paintbox Yarns Simply Chunky in Champagne White, Soft Fudge, or Caramel Fudge
Lion Brand Pound of Love held double for similar bulk
Hook: US size K / 6.5 mm
Notions: One stitch marker, yarn needle, scissors
The plush yarn is what gives this beanie its signature pebbled, cuddly surface. Smooth worsted will work in a pinch, but you’ll lose that soft teddy-bear feel.
Gauge
13 single crochet stitches by 15 rows equals 4 inches (10 cm) worked in continuous rounds, unblocked.
Gauge matters here. A loose gauge makes a hat too big for a newborn head. A tight gauge makes it too small. Swatch first and adjust your hook size up or down until you hit this gauge.
Finished Size
Head circumference: approximately 14 inches (35.5 cm), fits newborn to 3 months
Hat height with folded brim: approximately 6.5 inches (16.5 cm)
Hat height without folded brim: approximately 5 inches (12.5 cm)
Folded brim depth: approximately 1.5 inches (3.8 cm)
Ear height: approximately 1 inch (2.5 cm)
These measurements give a snug, stay-put fit that still looks proportional on tiny heads.
Skill Level
Easy to intermediate. You should be comfortable with working in continuous rounds, seaming pieces together, and sewing on small embellishments. If you have made at least one hat before, you can handle this pattern.
Abbreviations and Stitch Definitions
- ch = chain
- sc = single crochet
- sc2tog = single crochet two together (decrease)
- sl st = slip stitch
- st/sts = stitch/stitches
- BLO = back loop only
- rnd = round
- pm = place marker
- MR = magic ring
- RS/WS = right side/wrong side
Special Techniques Used in This Crochet Tutorial
Ribbed Single Crochet: Working single crochet in the back loop only creates ridges that look like knit ribbing and stretch beautifully around a baby’s head.
Continuous Rounds: The hat body is worked in a spiral without joining. Keep a stitch marker moving up to track the start of each round. This eliminates the visible seam line that joining creates.
Pattern Instructions
Section 1: Ribbed Brim
Chain 9 and work back-loop single crochet rows until the strip measures about 14 inches long. Seam the short ends together to form a ring. The ribbing compresses naturally, so the unstretched length is what matters.
Section 2: Hat Body
Pick up stitches evenly around the top edge of the brim ring (aim for 44 stitches). Work even single crochet in continuous rounds for about 3.5 inches. No shaping yet—just keep the tube growing straight up.
display render_generated_image withprompt isHyper-detailed 8K photograph of the hat body being worked upward from the ribbed brim in continuous single crochet rounds, stitch marker visible, soft natural light, realistic chenille texture orientation isportrait layout isblock
Section 3: Crown Shaping
Begin evenly spaced decreases every other round, then every round, until only a few stitches remain. Pull the final stitches closed tightly and weave in the end. The crown should sit flat with no gap.
Section 4: Bear Ears
Make two small circles starting with a magic ring. Increase to 18 stitches, then flatten each circle into a half-moon shape. Pinch the bottom corners together slightly to give the ears a natural cupped look.
Section 5: Attaching the Ears
Position the ears about 1.5 inches from the center top of the crown and roughly 3 inches apart. Pin them first and check from every angle. Whipstitch firmly around the entire base so the ears stand up and don’t flop.
Size Customization Tips
For 3 to 6 months (16-inch head): Work the brim to 16 inches, pick up 48 stitches, and add a couple of extra body rounds before decreasing.
For preemie (12-inch head): Shorten the brim to 12 inches, pick up 36 stitches, and reduce the even body rounds.
Always keep the decrease sections in multiples of four so the crown closes evenly.
Finishing and Care
Weave in every end securely, splitting the yarn tail and weaving in two directions. For chenille or velvet yarns, skip steam blocking. Gently hand wash in cool water, press out moisture with a towel, and lay flat (or over a balloon) to dry.
Machine wash on gentle cycle in cold water if the yarn label allows. Lay flat to dry. Do not tumble dry on high heat or iron.
Time Estimate
An experienced crocheter can finish this baby beanie in 2 to 3 hours. If the construction method is new to you, allow 4 to 5 hours. The ears take about 10 minutes each.
Tips for Beginner Crocheters
Working with chenille yarn can be tricky because the stitches blend together visually. Use a stitch marker religiously and count your stitches at the end of each round until you feel confident.
If picking up stitches along the brim edge feels awkward, take it slow. Insert your hook under both loops of each row-end stitch and make sure each pickup is secure.
The ears might not look right until you flatten and pinch them. Trust the process—that little pinch at the bottom is what transforms a flat circle into a cute cupped ear.
You Might Also Like
- Strawberry Sundae Beanie Free Crochet Pattern
- Cream Ivory Bridal Lace Maxi Skirt Free Crochet Pattern
- Coral Ruffle Top & Seashell Shorts Pattern
- Baby Blue Grid Stitch Tie Cardigan Free Pattern
- Baby Blue Ribbon Crochet Vest Free Crochet Pattern
FAQ
Is this pattern really beginner-friendly?
Yes, if you already know single crochet and can work in the round. The only extra skills are seaming the brim and sewing on the ears—both straightforward.
Can I use regular worsted yarn instead of chenille?
You can, but you’ll lose the plush teddy-bear texture that makes this hat special. If you do switch, check your gauge carefully.
How do I keep the ears from flopping?
Pinch the bottom of each ear before sewing and stitch firmly all the way around the base. A little tension while sewing helps them stand up.
What if my stitch count drifts during the body rounds?
Count every few rounds and keep that stitch marker moving. Continuous rounds make it easy to lose track without a marker.
Can I make this in brighter colors?
Absolutely. Soft gray, butter yellow, or classic pink all look adorable. Neutrals just photograph especially well and work for any baby.
How many hats can I get from one skein?
With most bulky chenille yarns you’ll easily get two or three newborn hats from a single skein—perfect for gift sets.
Why This Makes an Amazing Gift
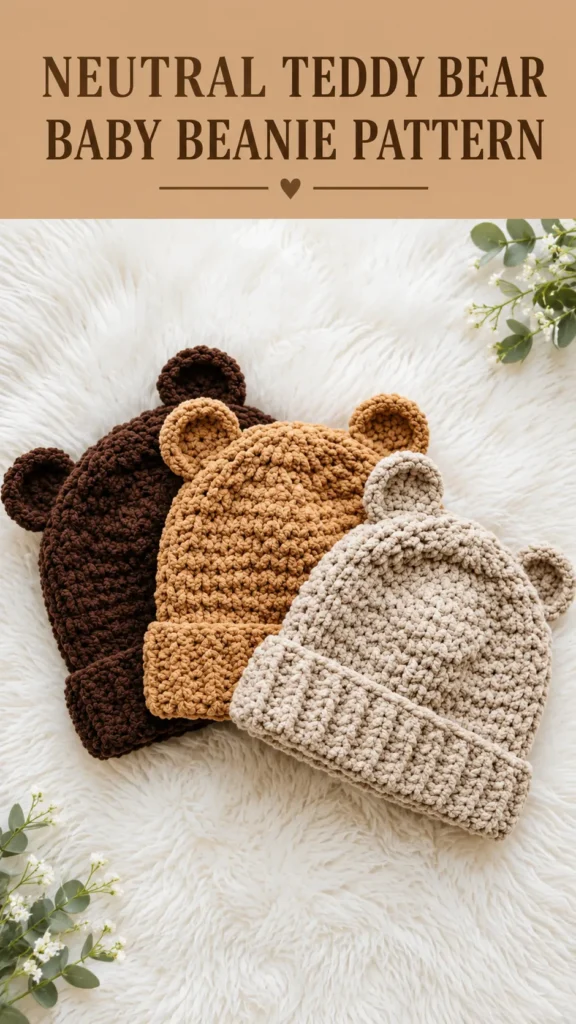
This neutral teddy bear beanie photographs beautifully in any nursery setting. The earth tones work for any baby, the construction is sturdy enough to survive many washes, and the bear ears add personality without being overwhelming.
Make a set of three in chocolate brown, caramel, and cream for the ultimate baby shower gift. Package them in a simple kraft box with tissue paper and watch the recipient melt. Happy crocheting—you’re about to make something truly adorable.



Leave a Reply
You must be logged in to post a comment.