

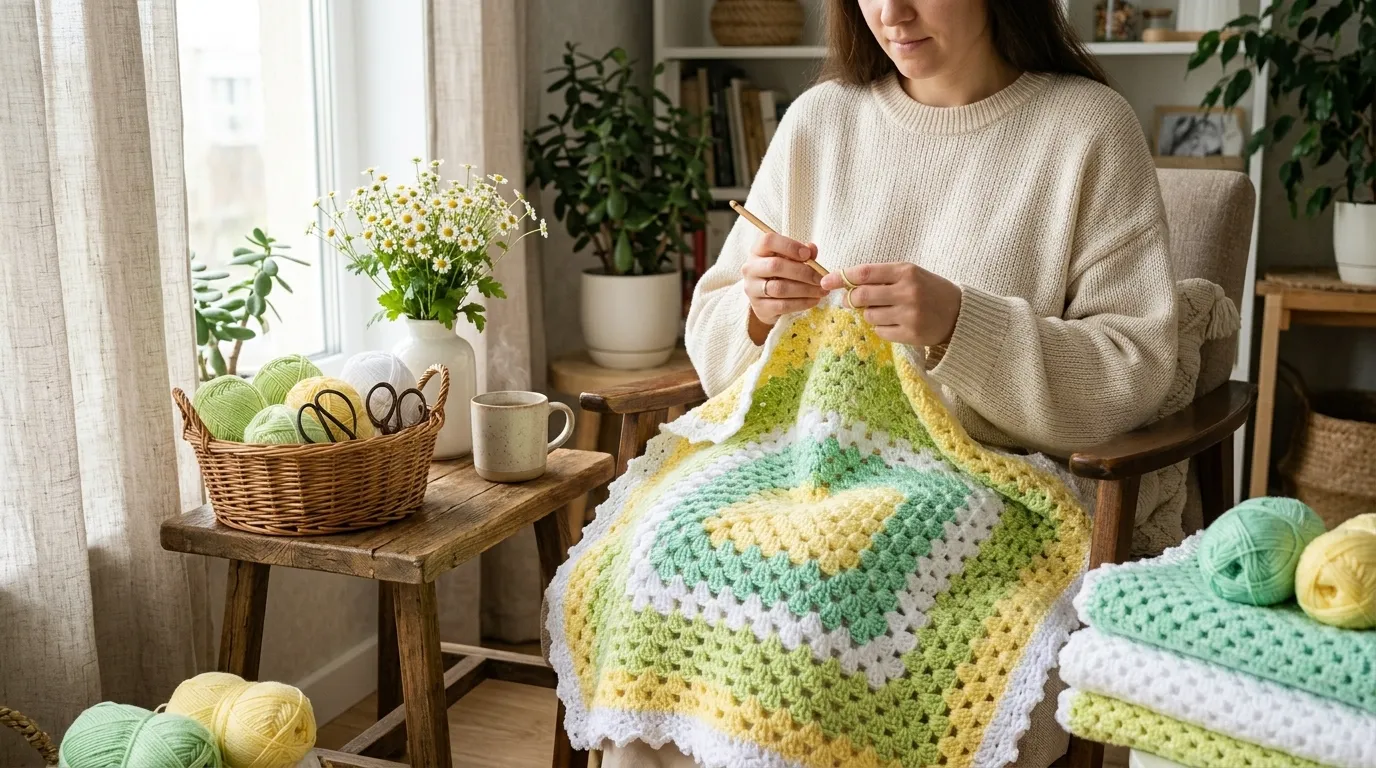
Spring is calling, and it wants you to grab your hook. There’s something about fresh mint and bright lemon that just screams sunshine, doesn’t it? This granny square blanket brings those two together in a way that’s cozy, cheerful, and honestly pretty addictive to make. If you’re looking for a project that feels like a breath of fresh air, you’ve found it.
Why Mint and Lemon Works Like Magic
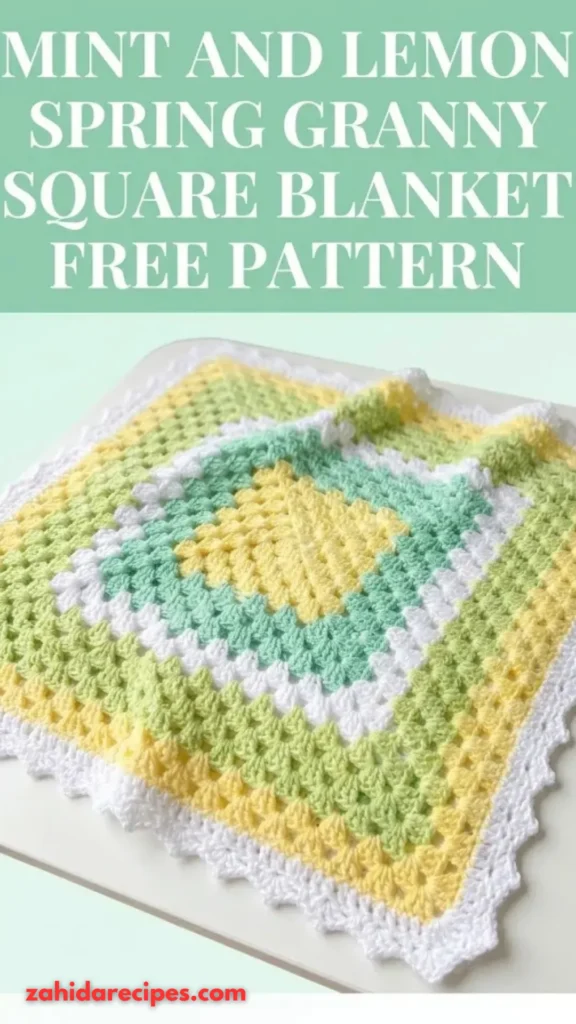
Color combos can make or break a blanket. You know it, I know it. Mint and lemon happen to be one of those pairings that just works.
Think about it. Mint is cool, calming, and slightly retro in the best way. Lemon brings the energy—bright, zesty, and impossible to ignore. Together? They balance each other out perfectly.
<strong>This palette works for so many reasons:</strong>
- It feels fresh without being overwhelming
- The contrast keeps your eyes moving across the blanket
- It suits spring and summer vibes equally well
- It photographs beautifully (yes, that matters for your Instagram)
Plus, if you’ve been stuck in a rut of making neutral blankets, this is the perfect way to shake things up.
What You’ll Need to Get Started
Before you dive in, let’s talk supplies. Nothing complicated here—just the essentials.
Yarn Choices
You’ll want two main colors: a soft mint green and a cheerful lemon yellow. A white or cream for joining and bordering ties everything together nicely.
<strong>Yarn weight matters here.</strong> A worsted weight (category 4) works great for a blanket that drapes well without taking forever to finish. DK weight is another solid option if you want something lighter.
If you’re wondering about fiber, acrylic is budget-friendly and easy to care for. Cotton blends give you better stitch definition and a bit more weight. It’s really up to your preference and budget.
Hook and Notions
Grab a crochet hook that matches your yarn. For worsted weight, a 5.0mm to 5.5mm hook usually does the trick. DK weight pairs well with a 4.0mm to 4.5mm hook.
You’ll also need:
- A yarn needle for weaving in ends
- Scissors (obviously)
- Stitch markers if you tend to lose your place
The Classic Granny Square: Your Building Block
If you’ve never made a granny square before, don’t panic. This is genuinely one of the most beginner-friendly motifs out there.
The magic of a granny square is that it grows from the center out, adding rounds of clusters and chain spaces. Once you get the rhythm, your hands basically do the work on autopilot.
Basic Stitches You’ll Use
<strong>Here’s your stitch cheat sheet:</strong>
- <strong>Chain (ch)</strong> – the foundation of everything
- <strong>Slip stitch (sl st)</strong> – used for joining rounds
- <strong>Double crochet (dc)</strong> – the star of the granny square show
- <strong>Single crochet (sc)</strong> – often used for borders
That’s it. Four stitches. If you can handle those, you can make this blanket.
Starting Your Square
Most granny squares begin with a magic ring or a small chain loop. From there, you work clusters of double crochets separated by chain spaces, with corners created by working extra stitches into the same space.
The first round typically has four clusters and four corners. Each subsequent round adds more clusters along the sides, making the square grow.
<strong>Pro tip:</strong> Keep your tension consistent. If your squares come out different sizes, your blanket will be lumpy. Trust me, I learned this the hard way.
Making the Mint and Lemon Squares
Alright, let’s talk color placement. You’ve got options here.
Option 1: Solid Color Squares
This is the simplest approach. Make some squares entirely in mint and others entirely in lemon. Join them in a checkerboard or random pattern. The result is clean, modern, and super satisfying to put together.
<strong>Why this works:</strong> It’s fast. You don’t have to switch colors mid-square, which means fewer ends to weave in. And the finished look is bold without being busy.
Option 2: Two-Tone Squares
Want a bit more visual interest? Try changing colors between rounds.
For example, start with lemon in the center, then switch to mint for the outer rounds. Or reverse it. Alternate between the two styles across your blanket for a subtle patchwork effect.
This method takes a little more effort, but the payoff is worth it. The color transitions create depth that solid squares just can’t match.
Option 3: Adding a Third Color
If you’re feeling adventurous, throw a soft cream or white into the mix. Use it as a middle round between mint and lemon. Or make it the final round on every square before joining.
<strong>IMO, this is the secret sauce</strong> that takes a good blanket and makes it great. That neutral buffer keeps the mint and lemon from fighting each other and gives the whole thing a polished, intentional look.
Joining Your Squares Together
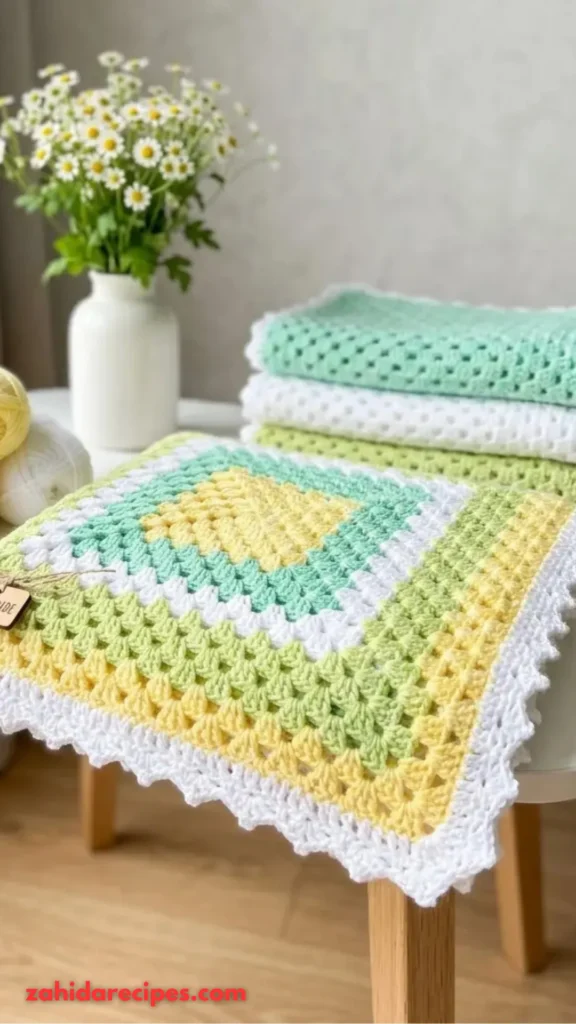
You’ve made all your squares. Now what?
Joining is where a lot of people get stuck. But honestly, it doesn’t have to be complicated.
Join-As-You-Go Method
This is my personal favorite for blankets. Instead of making all your squares first and then joining them, you attach each square to the previous one as you finish it.
<strong>Benefits of join-as-you-go:</strong>
- No endless seaming at the end
- Easier to see your progress
- Less chance of losing motivation halfway through
You basically work a slip stitch or single crochet join along the edges, connecting each new square to the ones already in place.
Traditional Seaming
If join-as-you-go feels intimidating, you can always make all your squares first and seam them later. Whip stitch or mattress stitch both work well.
Just be prepared for a few hours of joining. Put on a good podcast or a comfort show. It’s actually pretty relaxing once you get into the groove.
Layout Ideas
Before you start joining, lay your squares out on the floor or a large table. Play with the arrangement.
<strong>Popular layouts include:</strong>
- Checkerboard (alternating mint and lemon)
- Random placement (for an organic, scrappy look)
- Gradient (light to dark if you’re using multiple shades)
- Stripes (rows of mint, then rows of lemon)
Take a photo of your layout before you start joining. Trust me, you’ll thank yourself later when you inevitably forget the order.
Borders That Tie It All Together
A good border frames your blanket and gives it a finished look. You didn’t come this far to skip the border.
Simple Single Crochet Border
One or two rounds of single crochet around the entire blanket is all you need. It’s clean, it’s easy, and it works with any color scheme.
Use your cream or white yarn for this if you want the border to pop. Or match it to one of your main colors for a more subtle finish.
Granny Stitch Border
Want something a bit more decorative? Work a few rounds of granny clusters around the edge.
<strong>Here’s the basic idea:</strong> Work 3 dc clusters along the sides, with (3 dc, ch 2, 3 dc) in each corner. Repeat for 2-3 rounds.
This creates a textured, ruffled edge that feels fancy without being fussy.
Shell or Scallop Border
For a truly feminine touch, try a shell border. Work shells of 5 dc into every other stitch or chain space around the perimeter.
This border takes a bit more time, but it’s absolutely gorgeous on a spring-themed blanket.
Tips for a Blanket You’ll Actually Love

Let’s be real. Blankets take time. Here are some tips to keep you sane and happy throughout the process.
Don’t Obsess Over Perfection
Your first few squares might be a little wonky. That’s fine. Blocking can fix minor size differences, and honestly, once everything is joined, small imperfections disappear into the overall pattern.
Weave in Ends as You Go
I know, I know. Weaving in ends is the worst part of any project. But if you wait until the very end, you’ll have a mountain of them, and you’ll want to cry.
<strong>Weave in ends after each square.</strong> It takes two minutes. Future you will be grateful.
Work in Batches
Making 50+ granny squares individually can feel tedious. Instead, work in batches of 5 or 10. Finish a batch, then reward yourself with a snack or an episode of your favorite show.
Join a Crochet Community
There’s nothing like sharing your progress with people who get it. Join a crochet group on Facebook or Reddit. Post your WIP photos. Celebrate your wins. Commiserate over yarn tangles.
<strong>FYI,</strong> the crochet community online is genuinely one of the kindest corners of the internet. You’ll find your people.
You Might Also Like:
- Sunny Lemon Hexagon Kitchen Throw Free Crochet Pattern
- Rainbow Dolphin Pod Baby Blanket Free Crochet Pattern
- Elsa Frozen Ice Queen Baby Dress Free Crochet Pattern
- Dusty Mauve Rainbow Baby Dress Free Crochet Pattern
Conclusion
This mint and lemon spring granny square blanket is more than just a project. It’s a mood. It’s sunshine in yarn form. It’s the kind of blanket you’ll want to drape over your couch, wrap around your shoulders on a cool morning, and maybe never share with anyone else.
Whether you’re a seasoned crocheter or just starting out, this pattern is approachable, rewarding, and genuinely fun to make. The colors lift your spirits. The repetitive nature of granny squares is meditative. And the finished product? Absolutely worth every stitch.
So grab your hook, pick your yarn, and let’s make something beautiful. Spring is waiting.



Leave a Reply
You must be logged in to post a comment.