

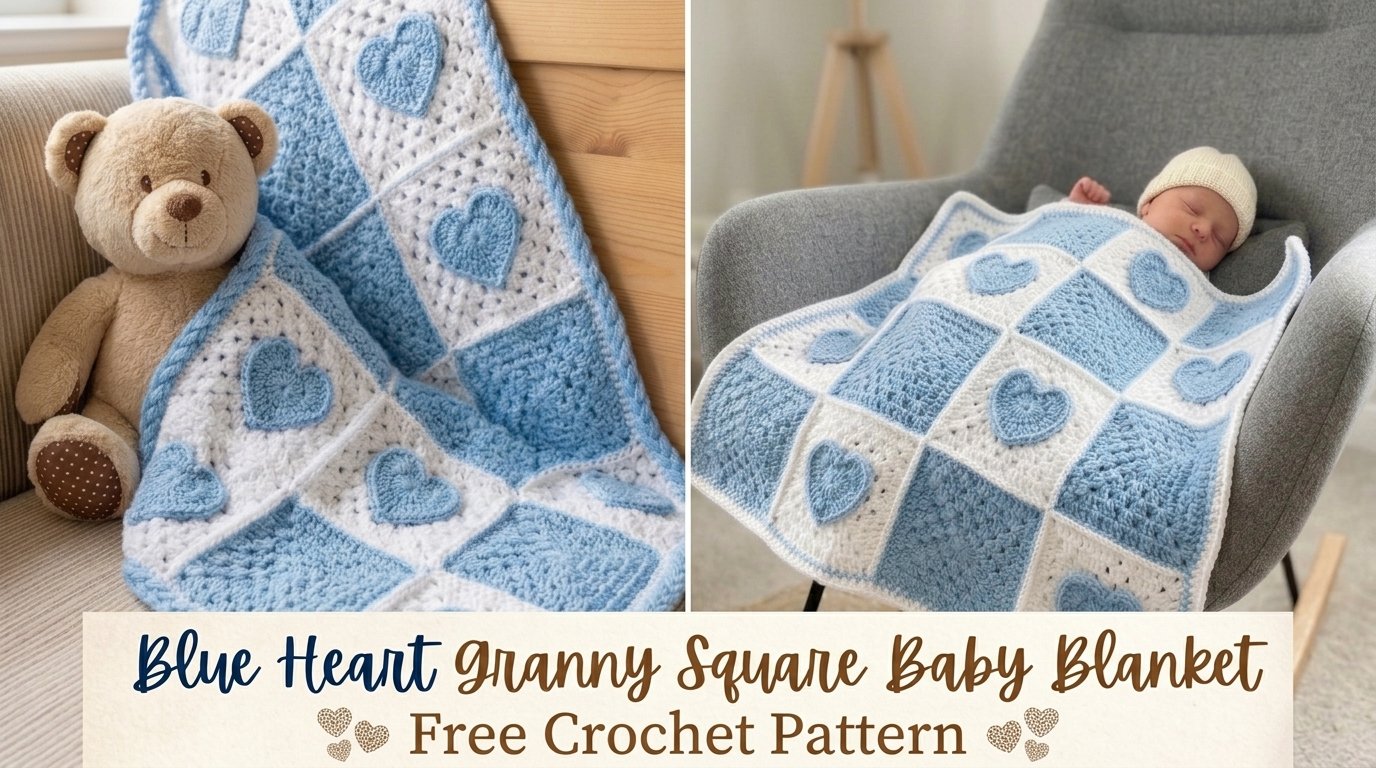
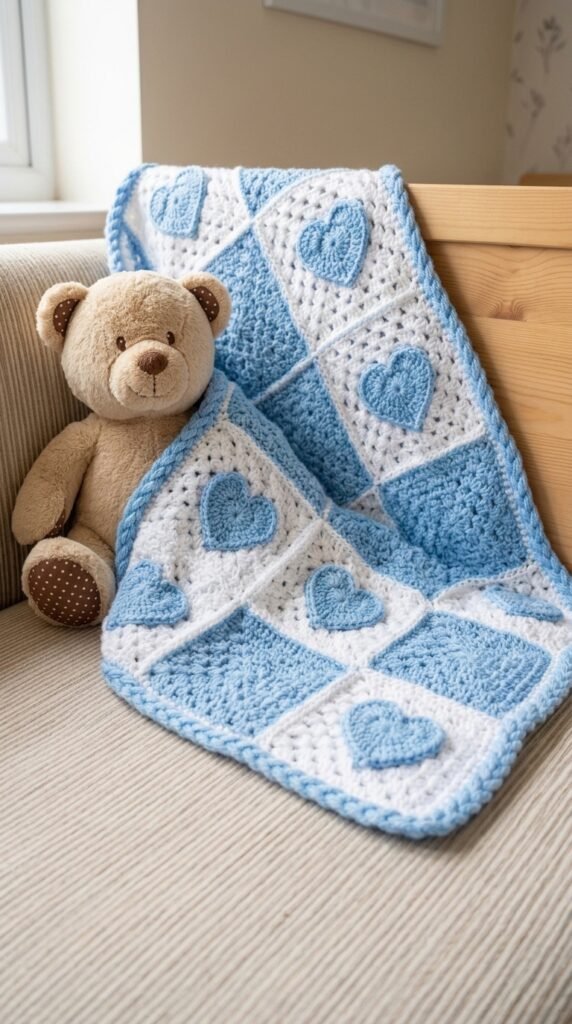
Soft blue yarn, classic granny squares, and a handful of sweet heart appliqués turn into the kind of baby blanket that makes people stop and stare. You get a clean checkered layout with just enough personality to feel special without going overboard. This project travels well, washes like a champ, and lands at the perfect size for strollers and tummy time. Ready to make something that looks way more complicated than it actually is?
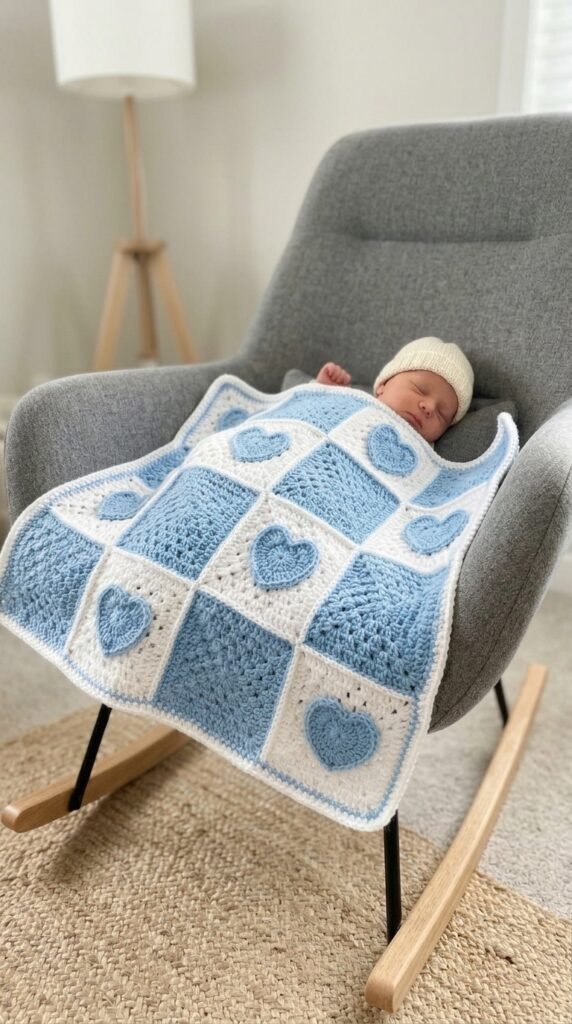
Why This Baby Blanket Pattern Works So Well
Granny squares still rule for a reason. They stay portable, they grow fast, and they let you change colors without drama. This version pairs solid blue squares with white ones, then drops bright blue hearts on a few of the white squares for that extra handmade spark.
The construction stays modular the whole way. You finish one square at a time, join them later, add a simple border, and sew on the hearts last. Even if this is your first motif blanket, the steps build in a logical order. Toss a few squares and a ball of yarn in your bag and suddenly car rides become productive. Before you know it, you have a full stack ready to assemble.
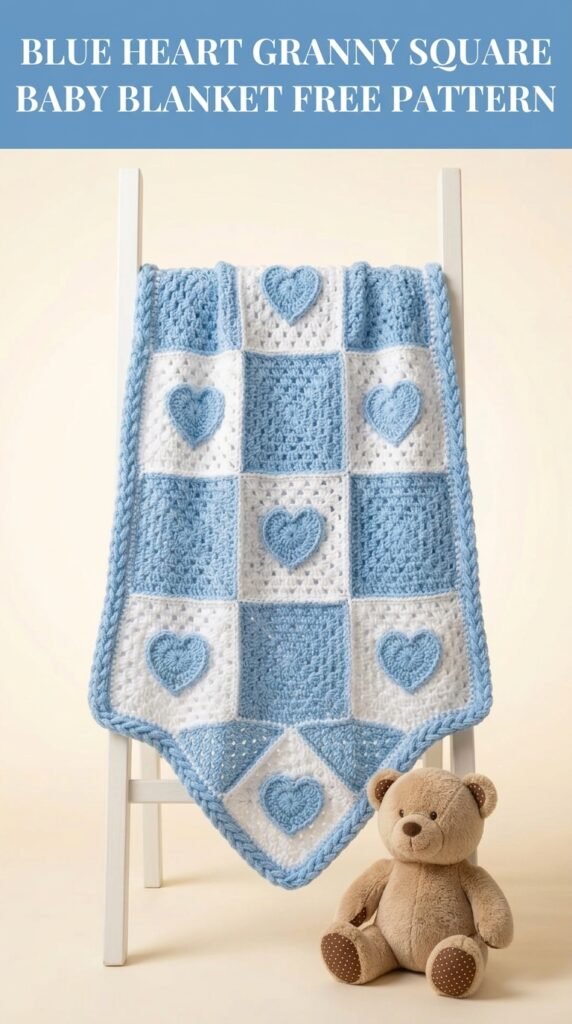
IMO, the hearts steal the show without stealing the spotlight. They sit flat, sew on quickly, and give the blanket that “someone actually made this” feeling every recipient loves.
Materials You Will Need
Gather these before you start:
Yarn
- Light blue worsted weight (category 4), about 400 grams
- White worsted weight, about 350 grams
Soft acrylic or a cotton blend works best. Both survive endless gentle washes and stay soft against baby skin.
Hook
5.0 mm (US H/8). Adjust up or down if your tension runs tight or loose.
Notions
- Tapestry needle
- Scissors
- Stitch markers (optional but handy)
- Pins for blocking and placing hearts
One finished square should measure about 5 inches after blocking. Slight differences will only change the final blanket size a little.
Finished Measurements
Twenty squares arranged in a 4-by-5 grid create a blanket that finishes around 22 inches wide by 28 inches long. That size fits car seats, strollers, and play mats without feeling bulky. Want it bigger? Just add another round to every square or make a few extra motifs.
Skill Level
This stays beginner-friendly. If you already know how to chain, single crochet, and double crochet, you have everything you need. The hearts use only single crochet increases and decreases, nothing fancy. You will practice working in the round and joining motifs, both solid skills for future projects.
Abbreviations and Stitch Definitions
Quick refresher on every stitch you will meet:
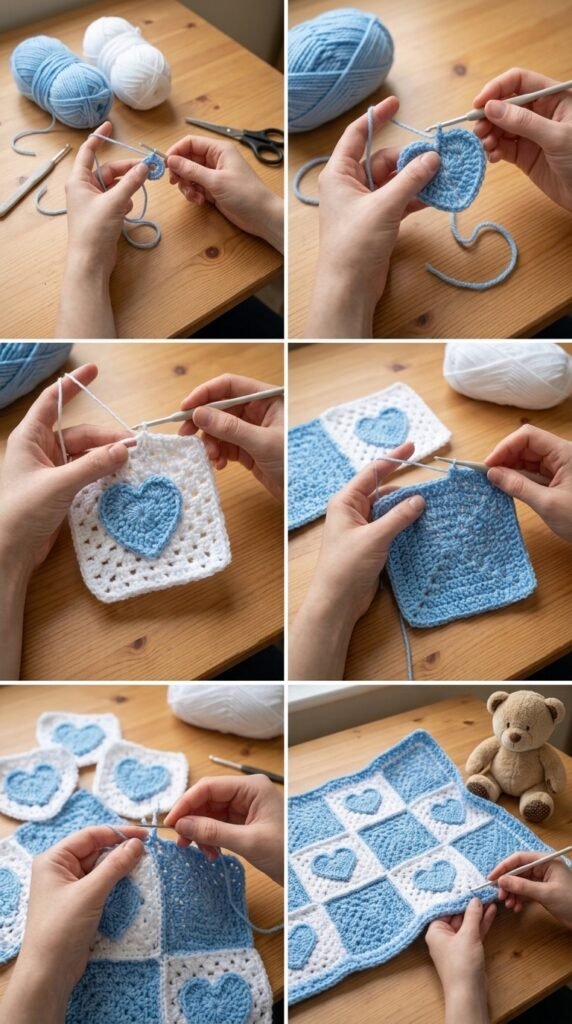
Ch – chain: yarn over and pull through the loop on the hook.
Sl st – slip stitch: insert hook, yarn over, pull through both the stitch and the loop.
Sc – single crochet: insert, yarn over, pull up a loop, yarn over, pull through both loops.
Dc – double crochet: yarn over, insert, yarn over, pull up a loop, yarn over, pull through two, yarn over, pull through the last two.
3-dc cluster – three double crochets worked into the same space. This creates the classic granny square “puff.”
Ch-2 sp – the chain-2 gap that forms the corners. You always work into the space, not the individual chains.
Corner space – the ch-2 space at each corner where you place two 3-dc clusters separated by another ch-2.
Keep this list handy the first couple of rounds. After that the rhythm clicks.
Pattern Notes Before You Begin
Read the whole pattern once before you start. It helps the pieces click together in your head.
All squares work from the center outward. You can join each round or work in a continuous spiral—your call. I prefer joining for cleaner corners.
The finished look alternates solid blue squares, solid white squares, and white squares with blue hearts. Plan on:
- 10 blue granny squares
- 10 white granny squares
- 12 blue heart appliqués (you will place them on selected white squares)
Count your clusters carefully. Every corner holds two 3-dc clusters and a ch-2 space. Each side gains more clusters as the rounds grow.
How to Crochet the Granny Squares
These four-round squares form the backbone of the blanket. Work them all the same way, just switch colors.
Blue Granny Square (Make 10)
Round 1: With blue yarn, form a magic ring (or chain 4 and slip stitch to close). Ch 3 (counts as first dc), 2 dc into the ring, ch 2. 3 dc into the ring, ch 2 three more times. Slip stitch to the top of the beginning ch-3. (4 corners, 12 dc)
Round 2: Slip stitch into the first corner space. Ch 3, 2 dc, ch 2, 3 dc into the same corner. Ch 1, (3 dc, ch 2, 3 dc) in the next corner around. Ch 1, slip stitch to join. (4 corners, 4 side spaces, 24 dc)
Round 3: Slip stitch to the corner. Ch 3, 2 dc, ch 2, 3 dc in the corner. Ch 1, 3 dc in the next ch-1 space, ch 1, (3 dc, ch 2, 3 dc) in the corner around. Slip stitch to join. (4 corners, 8 side clusters, 36 dc)
Round 4: Slip stitch to the corner. Ch 3, 2 dc, ch 2, 3 dc in the corner. Ch 1, 3 dc in each ch-1 space across the side, ch 1, (3 dc, ch 2, 3 dc) in the corner around. Slip stitch to join. Fasten off and weave ends. (4 corners, 12 side clusters, 48 dc)
Block the square flat to 5 inches.
White Granny Square (Make 10)
Follow the exact same four rounds using white yarn. Fasten off, weave ends, and block to the same size. Consistency here makes joining later a breeze.
How to Crochet the Heart Appliqués
These little hearts look fancier than they are. You shape them with simple single crochet increases and a couple of short rows for the top bumps.
Blue Heart (Make 12)
Start at the bottom point with blue yarn and chain 2.
Row 1: 2 sc in the second chain from the hook. Turn. (2 sts)
Row 2: Ch 1, 2 sc in each stitch. Turn. (4 sts)
Row 3: Ch 1, 2 sc in first, sc in next 2, 2 sc in last. Turn. (6 sts)
Row 4: Ch 1, 2 sc in first, sc in next 4, 2 sc in last. Turn. (8 sts)
Row 5: Ch 1, 2 sc in first, sc in next 6, 2 sc in last. Turn. (10 sts)
Row 6: Ch 1, sc in first 5 stitches only. Turn, leaving the rest unworked. (5 sts)
Row 7: Ch 1, skip first, sc in next 3, skip last. Turn. (3 sts)
Row 8: Ch 1, skip first, sc in next, skip last. Fasten off. (1 st)
Second bump: Join yarn with a slip stitch in the sixth stitch of Row 5. Ch 1, sc across the remaining 5 stitches. Turn.
Repeat Rows 7 and 8 to finish the second bump.
Fasten off and leave a long tail for sewing.
The hearts stay small and flat—perfect for appliqué without bulk.
Assembling Your Baby Blanket
Lay the squares in a 4-by-5 grid, alternating blue and white in a checkerboard. Move pieces around until the balance feels right. Leave the hearts for later so you can see the overall flow first.
Joining Method
A single crochet join keeps the seams strong and neat. Hold two squares with right sides facing. Using white yarn, insert the hook through both corner spaces, slip stitch to attach, then chain 1. Work single crochet through both layers across the edge, matching stitches as you go.
Join the squares into four-square strips first. Then join the strips together the same way. The white joins almost disappear against the white squares and frame the blue ones cleanly.
Adding the Border
Round 1: Join blue yarn in any corner. Ch 1, 3 sc in the corner space. Single crochet evenly around, placing about 3 sc per granny cluster and 3 sc in every corner. Slip stitch to join.
Round 2: Ch 1, sc in every stitch, 3 sc in each corner stitch. Slip stitch to join.
Round 3: Ch 3, dc in every stitch, 3 dc in each corner. Slip stitch to join.
Round 4: Repeat Round 2.
Fasten off and weave every end. The border frames the whole piece without fighting the hearts.
Attaching the Heart Appliqués
Pin the twelve hearts onto selected white squares. Some centered, some slightly off-center—whatever looks balanced when you step back.
Use the long yarn tail and a tapestry needle to whip stitch around the entire edge of each heart. Keep the stitches small and even so the hearts stay flat. Press with your fingers as you sew to avoid puckering. Once every heart is secure, give the whole blanket one final check for loose ends.
Care Instructions
This blanket faces real baby life, so washability matters. Machine wash on gentle with cold water. Tumble dry on low or lay flat. Acrylic yarn softens with every wash and holds its shape for years. Avoid high heat—it can tighten the stitches over time.
Customization Ideas
Swap the blue for soft pink, sage, or sunny yellow and the blanket instantly changes personality. Try rainbow hearts on a cream background for a bolder look.
Add one more round to every square if you want a larger throw. Skip the hearts entirely for a pure checkerboard, or double them up for maximum sweetness. Variegated yarn on the hearts creates a subtle ombre effect that looks intentional without extra work.
FYI, the modular construction makes size changes painless. Just decide how many squares you need and keep going.
You Might Also Like
- Blush Pink Teddy Bear Granny Square Blanket Free Pattern
- Mint and Lemon Spring Granny Square Blanket Free Crochet Pattern
- Sunny Lemon Hexagon Kitchen Throw Free Crochet Pattern
- Rainbow Dolphin Pod Baby Blanket Free Crochet Pattern
FAQ’s
How long does this blanket usually take to finish?
Most people complete it in a week of evening sessions. The squares fly once you get the rhythm, and the hearts take only a few minutes each.
Can absolute beginners handle the heart shape?
Yes. The hearts use only single crochet and basic increases. If you can make a simple triangle, you can make these hearts.
What if my squares come out different sizes?
Block them. A quick steam or wet block equalizes almost any tension difference. Consistent blocking is the secret to neat seams.
Is this safe for newborns?
Absolutely. No buttons, no plastic eyes, just soft yarn and secure sewing. The finished piece stays completely baby-safe.
Can I make the blanket bigger for a toddler?
Easy. Add more rounds to each square or increase the grid to 5 by 6. The pattern grows without changing any of the techniques.
Which yarn brands work best?
Any soft worsted acrylic or cotton blend. Brands that survive frequent washing and stay soft after drying are ideal.
Final Thoughts
You now have every step to create a blue heart granny square baby blanket that feels both classic and personal. The checkered layout stays clean, the hearts add just the right amount of charm, and the finished size works for almost any baby gear. Grab your hooks, pick your favorite soft blues, and start stitching. The finished blanket will become the kind of handmade gift that gets used, washed, and loved for years. Happy crocheting!



Leave a Reply
You must be logged in to post a comment.