

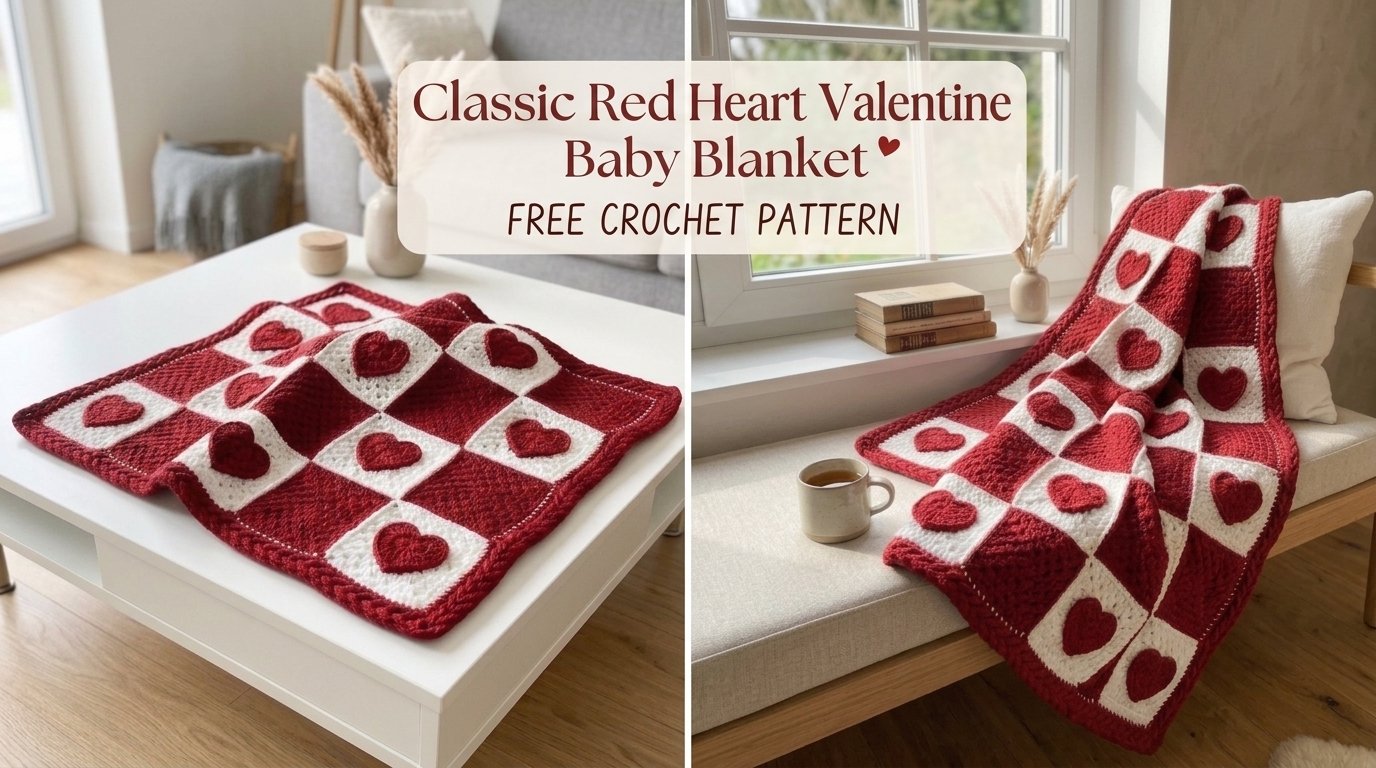
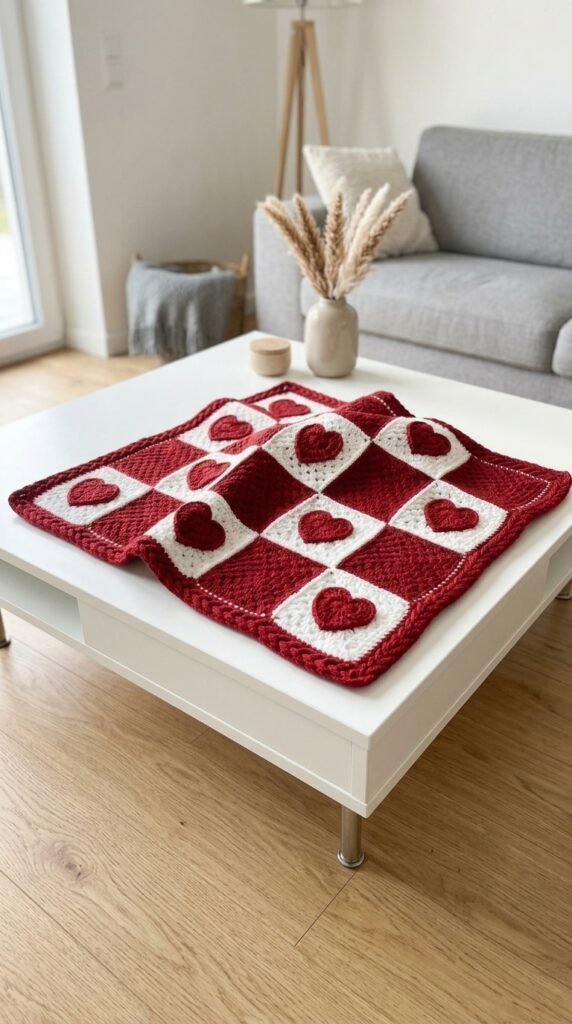
Valentine’s Day and new babies just go together, don’t they? This Classic Red Heart Valentine Baby Blanket gives you that perfect mix of sweet and classic without turning into a months-long saga. You crochet simple solid squares, add contrasting heart appliqués, join them in a checkerboard, and finish with a braided border that looks way fancier than the effort required. Ready to make something that actually gets used instead of stuffed in a closet?
Why This Valentine Baby Blanket Pattern Works
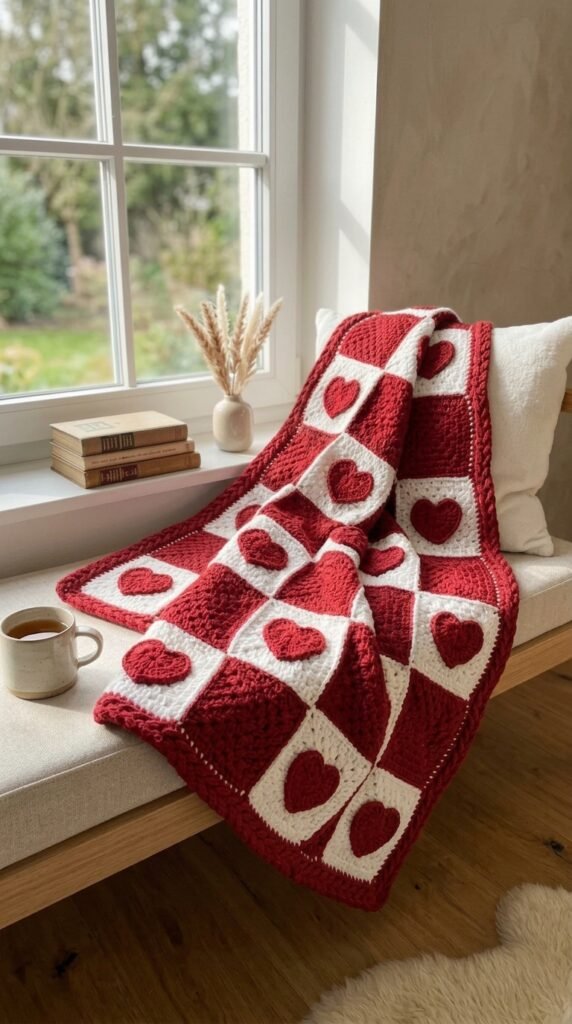
This design keeps everything modular and manageable. You knock out one square at a time, sew on a heart, and suddenly you’ve got a piece that already looks gift-worthy. No giant project dragging around the house. Just grab a ball of yarn and your hook whenever you’ve got twenty minutes.
The finished size sits right around 24 by 24 inches. That’s ideal for a stroller blanket, car-seat cover, or tummy-time mat. Substantial enough to feel special, small enough that you finish it before the baby outgrows the “tiny and adorable” stage. The red-and-cream checkerboard with those little hearts hits classic Valentine vibes without screaming “I only wear this one day a year.”
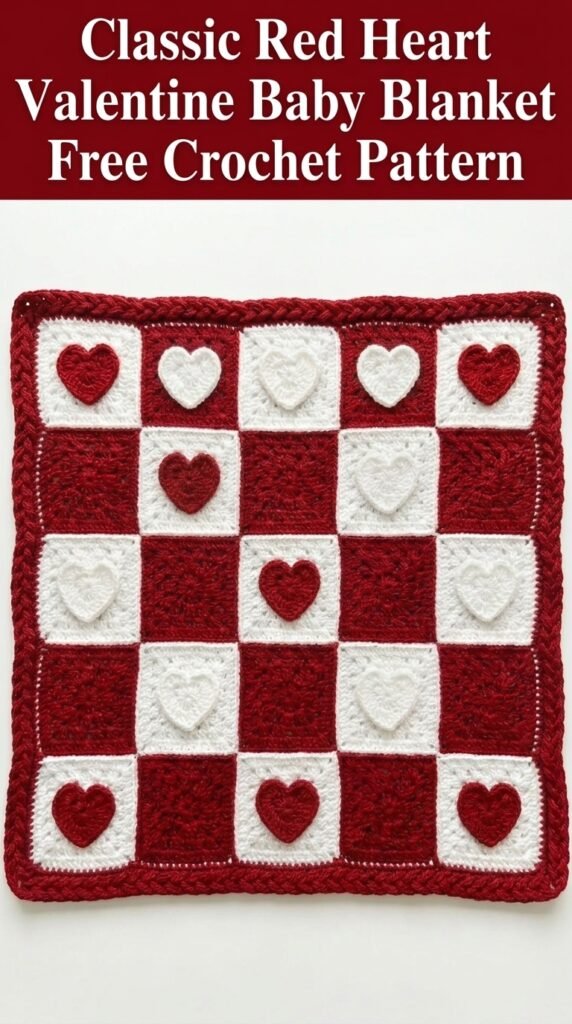
And honestly? The hearts do most of the heavy lifting for the cuteness factor. You attach them after the squares are done, so zero stress about color changes mid-round.
Materials You Will Need
Grab these before you start:
- Worsted weight yarn (category 4) in red – about 350 yards
- Worsted weight yarn (category 4) in cream or off-white – about 250 yards
- 5.0 mm (H/8) hook for the squares
- 4.0 mm (G/6) hook for the hearts
- Yarn needle
- Scissors
- Stitch markers (optional but handy)
- Blocking mats and pins if you like things neat
Soft acrylic blends work best here. Babies destroy things. Machine-washable yarn is the only smart choice.
Gauge
Gauge actually matters this time. Aim for 14 stitches and 16 rows of single crochet to equal 4 inches with your 5.0 mm hook. Off gauge means your squares won’t line up cleanly when you join them. Spend five minutes on a swatch. Future-you will high-five present-you.
Skill Level
Beginner-friendly with a couple of intermediate moments. You need to know chain, single crochet, double crochet, working in the round, and basic seaming. If granny squares still feel new, practice one plain square first. The hearts involve a little shaping, but the steps stay straightforward.
Abbreviations and Stitch Definitions
Quick cheat sheet so we’re on the same page:
- ch – chain
- sl st – slip stitch
- sc – single crochet
- hdc – half double crochet
- dc – double crochet
- sk – skip
- st(s) – stitch(es)
- sp – space
That’s the full list. Nothing exotic.
Pattern Instructions
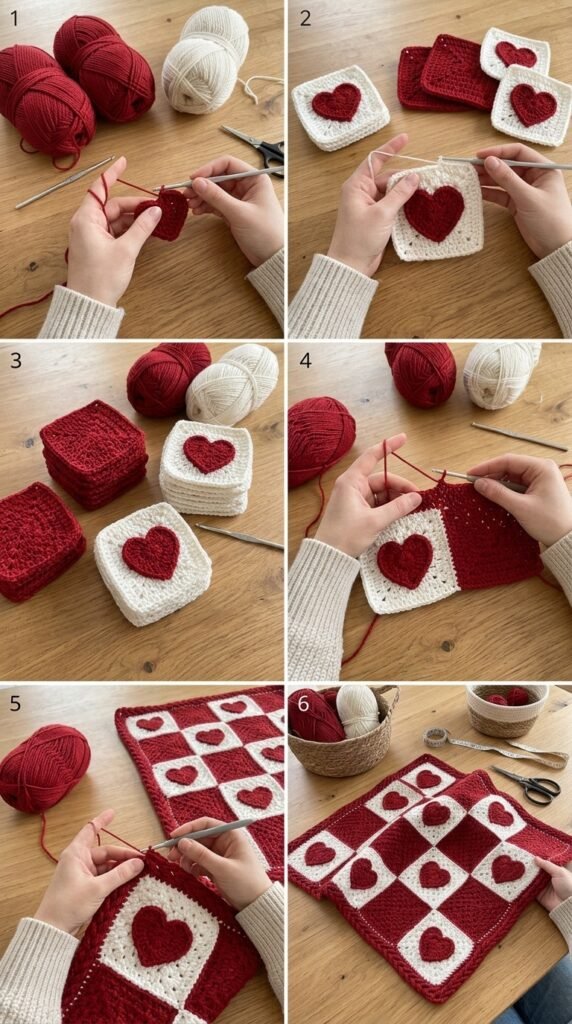
Part 1: Solid Colour Squares (Make 9 Total: 5 Red, 4 Cream)
These form your checkerboard base. Each one stays a single color.
With main color and 5.0 mm hook:
Round 1: Ch 4, join with sl st to form a ring. Ch 3 (counts as dc), 2 dc in ring, ch 2. 3 dc in ring, ch 2 three more times. Join to top of beginning ch-3. (12 dc, 4 corner spaces)
Round 2: Slip over to the corner space. Ch 3, 2 dc, ch 1, 3 dc in same corner. Ch 1, (3 dc, ch 1, 3 dc) in next corner around. Join. (24 dc)
Round 3: Work (3 dc, ch 2, 3 dc) in each corner. Place 3 dc in each ch-1 space along the sides with ch 1 between clusters. Join. (36 dc)
Round 4: Same pattern—corner clusters stay the same, and you add one more 3-dc cluster per side. Join. (48 dc)
Round 5: Repeat the Round 4 style. (60 dc)
Round 6: One more round the same way. Fasten off. (72 dc)
Each square should measure about 6 inches. Count your clusters after every round so nothing sneaks off track.
mediaimagerender_generated_image
Part 2: Heart Appliqués (Make 9)
Make cream hearts for the red squares and red hearts for the cream squares. Contrast is everything.
With contrasting color and 4.0 mm hook:
Start with a magic ring (or ch 2 and work into the first chain if the ring fights you).
Row 1: 2 sc in ring. Ch 1, turn. (2 sc)
Row 2: 2 sc in each stitch. Ch 1, turn. (4 sc)
Row 3: 2 sc in first, sc in next 2, 2 sc in last. Ch 1, turn. (6 sc)
Row 4: 2 sc in first, sc across to last, 2 sc in last. Ch 1, turn. (8 sc)
Row 5: Repeat Row 4. (10 sc)
Row 6: Sc across all 10. Ch 1, turn. (10 sc)
Now shape the two top bumps.
First bump: Sc in first 5 stitches only. Ch 1, turn. (5 sc)
Next row: Skip first, sc in next 3, skip last. Ch 1, turn. (3 sc)
Final row: Skip first, sc in next, skip last. Fasten off. (1 sc)
Second bump: Join yarn in the 6th stitch of Row 6. Ch 1, sc in same stitch and next 4. Ch 1, turn. (5 sc)
Repeat the decrease rows exactly as the first bump. Fasten off, leave a long tail for sewing.
Border: Join yarn at the bottom point. Sc evenly around the entire heart, putting 2 sc in the dip between the bumps so it stays flat. Join and fasten off.
mediaimagerender_generated_image
Part 3: Attaching Hearts to Squares
Center each heart on its square. Pin it if you’re the cautious type. Whip-stitch all the way around with the long tail. Go around twice for extra security—babies pull on everything. Weave ends to the back so nothing shows.
Color plan is simple: cream hearts on red squares, red hearts on cream squares. That contrast makes every heart pop.
Part 4: Joining the Squares
Lay out a 3-by-3 grid in checkerboard order. Start with red in the top-left corner and alternate from there.
Join with a flat slip-stitch seam for a clean raised line. Hold two squares wrong sides together. Work through the outer loops only and slip-stitch across the edge. Join all squares into rows first, then join the rows together. Keep the tension even so nothing puckers.
Part 5: The Braided Border
This border delivers the polished finish.
Round 1: Join red in any corner. Ch 1, 3 sc in the corner, then sc evenly around the whole blanket with 3 sc in every corner. Join. Aim for an even number of stitches between corners.
Rounds 2–4: Ch 1, sc in every stitch, putting 3 sc in the center stitch of each corner. Join each round.
Round 5 (the twisted rope edge): Ch 1. Work reverse single crochet (crab stitch) all the way around—insert the hook into the next stitch to the right instead of the left, yarn over, pull up a loop, yarn over, pull through both loops. Join and fasten off.
That reverse stitch creates the braided look that makes the whole blanket feel finished.
Finishing Your Valentine Baby Blanket
Wet-block the finished piece for the cleanest look. Soak it in lukewarm water for about 15 minutes, gently squeeze out the excess (never wring), lay it flat on blocking mats, and pin to size. Let it dry completely. Acrylic softens beautifully after this step.
Care Instructions
Machine wash cold on gentle. Tumble dry low or lay flat. The acrylic will only get softer after the first wash. Skip high heat so the yarn keeps its nice hand.
Customization Ideas
Want to make it yours? Easy.
Size: Add more squares. A 4-by-5 layout turns it into a nice lap blanket. A 5-by-6 version works as a full baby blanket.
Colors: Soft pink and white for a gentler feel. Navy and cream for something that works past Valentine’s Day. Or go full rainbow hearts if the nursery demands it.
Heart placement: Keep them centered for classic, or offset a few for a more playful look. You can even face them all the same direction if you prefer uniformity.
IMO the red-and-cream combo still wins for pure classic Valentine energy, but you do you.
You Might Also Like
- Panda Bear Granny Square Baby Blanket Free Crochet Pattern
- Rainbow Sherbet Granny Square Baby Blanket Free Crochet Pattern
- Rainbow Bright Daisy Granny Square Blanket Free Crochet Pattern
- Blue Heart Granny Square Baby Blanket Free Crochet Pattern
- Blush Pink Teddy Bear Granny Square Blanket Free Pattern
FAQ’s
How long does this blanket actually take?
Most people finish a solid square in 20–25 minutes once the rhythm kicks in. Hearts take another 10–15 minutes each. Full blanket in a couple of focused weekends is realistic if you’re not racing the calendar.
Can I use a different yarn weight?
Stick with worsted for the given dimensions. DK or bulky will change the size and drape, so you’d need to adjust the number of rounds and the border.
What if my hearts look a little wonky?
That’s normal on the first couple. The border round around the heart smooths most of the quirks. Practice one or two before you commit to the full set.
Do the hearts stay on after washing?
Yes—if you sew them securely with a double pass of whip stitch. I’ve washed mine multiple times with zero drama.
Can I skip the crab-stitch border?
Sure. A simple single-crochet border works fine. The crab stitch just gives that braided texture that makes the blanket look more polished.
Is the magic ring required for the hearts?
Nope. Chain 2 and work into the first chain if the magic ring still feels like wrestling a tiny octopus. Results look the same.
Final Thoughts
This Classic Red Heart Valentine Baby Blanket delivers big on charm without demanding advanced skills or endless hours. The checkerboard squares keep the construction simple, the contrast hearts do the heavy lifting for cuteness, and that braided border ties everything together. Whether you’re making it for a February baby, a Valentine’s Day gift, or just because you needed a project that feels special, this one hits the mark.
Grab your red and cream yarn and get those squares started. The little hearts are waiting.

Leave a Reply
You must be logged in to post a comment.