

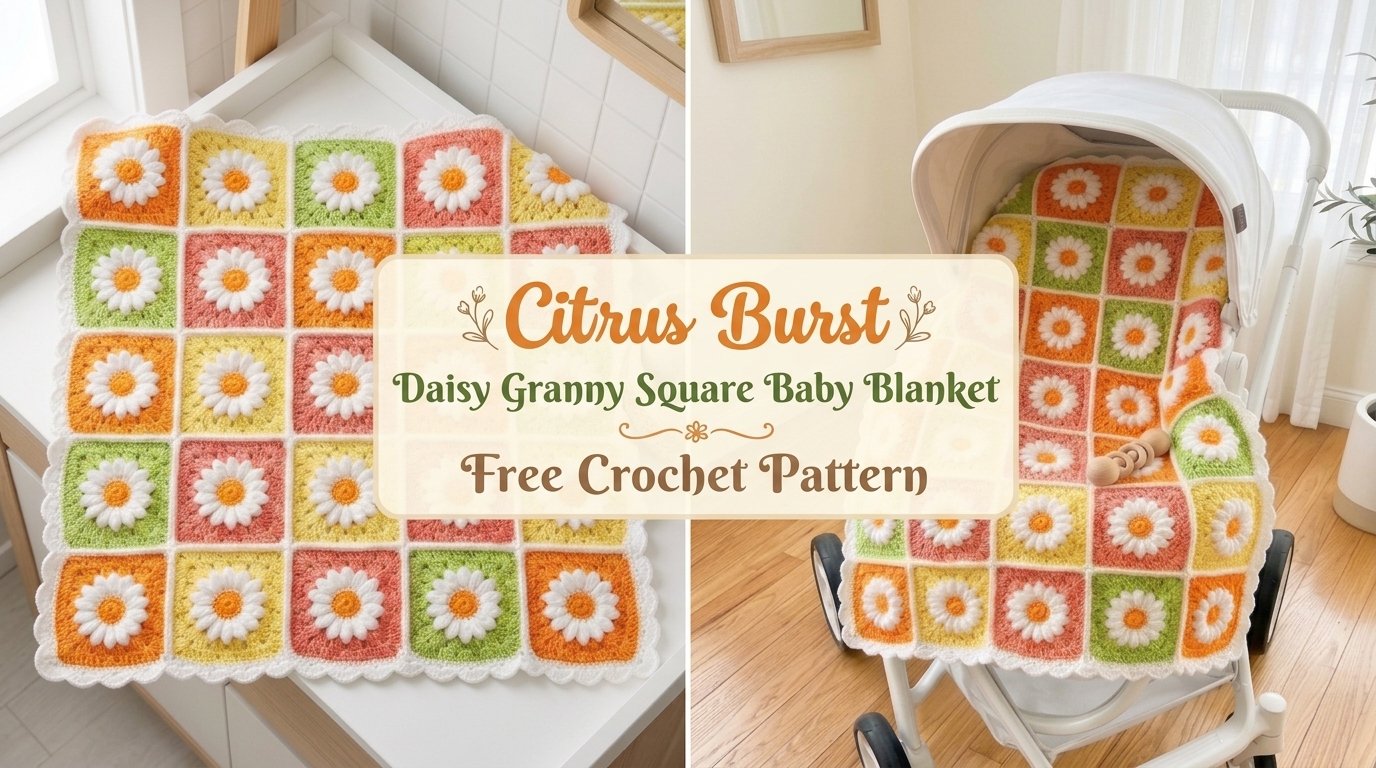
Sunny citrus colors, puffy daisy centers, and classic granny squares—this blanket practically screams summer picnic even if you’re crocheting it in the middle of winter. The Citrus Burst Daisy Granny Square Baby Blanket pulls together bright orange centers, white petals, and cheerful background rounds in coral, yellow, and lime. You make twenty-five little squares, join them with white, and finish with a scalloped edge that looks polished without any fancy tricks. Let’s get those daisies growing.
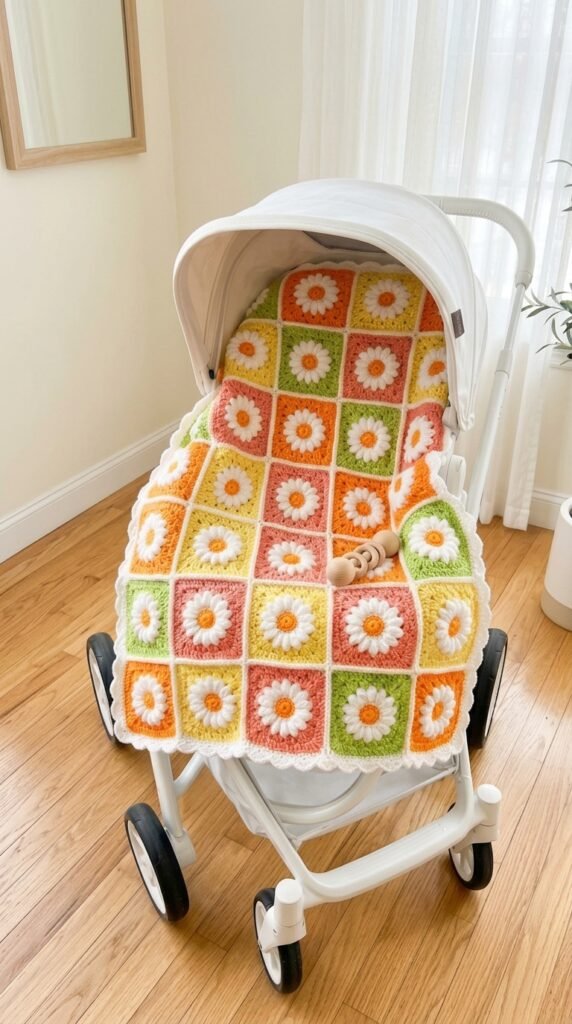
About This Daisy Granny Square Crochet Pattern
This pattern builds a bright baby blanket entirely from daisy-centered granny squares. Each square starts with a raised orange center, adds eight white puff-stitch petals, then moves into colorful granny rounds. You work every square separately, so the project stays portable. Toss one in your bag and stitch through appointments, car rides, or quiet evenings.
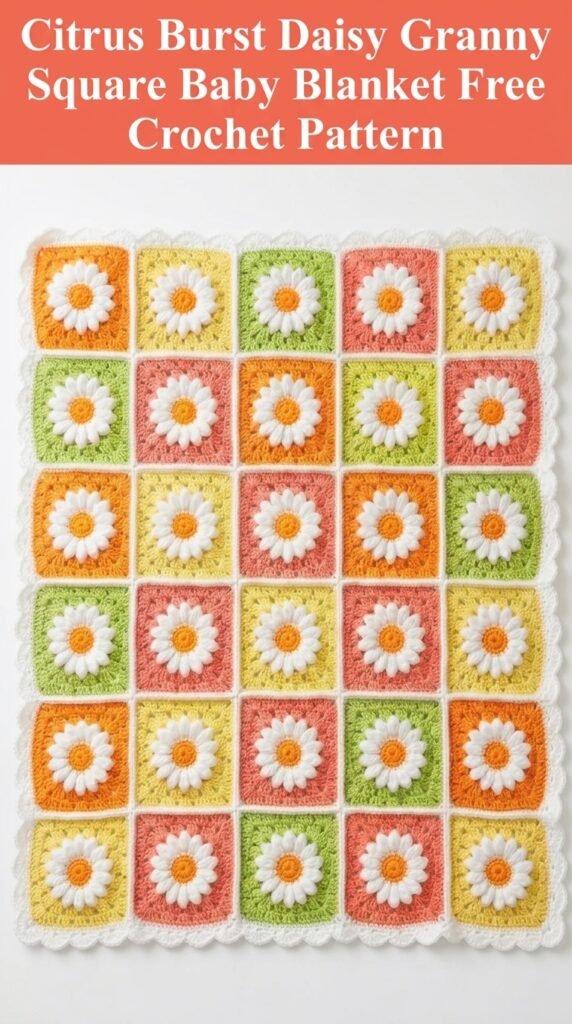
The skill level sits at confident beginner to intermediate. If you already know chain, single crochet, and double crochet, you can handle this. The only new-ish technique is the puff stitch for the daisy centers, and I’ll walk you through it step by step. Twenty-five squares give you a cheerful 5-by-5 grid that finishes at a practical baby size.
Finished Measurements
Each square measures about 5 inches by 5 inches before blocking.
The joined blanket without border lands around 25 by 25 inches. Add the scalloped edge and you reach roughly 28 by 28 inches.
That size works perfectly as a stroller blanket, car-seat cover, or tummy-time mat. Big enough to be useful, small enough to fold into a diaper bag without drama.
Materials Needed
You’ll need worsted-weight yarn (category 4) in these colors:
- Orange (bright citrus): about 150 yards
- Coral or salmon: about 150 yards
- Yellow (sunny golden): about 150 yards
- Lime green: about 150 yards
- White: about 300 yards (petals, joining, and border)
Total yarn sits around 900 yards. Soft acrylic or cotton-blend yarn labeled baby-friendly and machine-washable is your best friend here.
Hook: Size H/8 (5.0 mm), or whatever gets you the right gauge.
Notions: tapestry needle, scissors, and a couple of stitch markers if you like them.
Gauge
Aim for 4 double-crochet clusters and 4 rows = 4 inches in the granny pattern with your H hook.
Gauge matters because the squares need to match for clean joining. Make one test square. Larger than 5 inches? Drop a hook size. Smaller? Go up a size. Consistency across all 25 squares keeps the finished blanket looking sharp.
Abbreviations and Stitch Definitions
Here’s every stitch you’ll use:

- Ch – chain
- Sl st – slip stitch
- Sc – single crochet
- Dc – double crochet
- Puff stitch – (yarn over, insert hook, yarn over, pull up a loop) four times in the same stitch (9 loops on hook), yarn over and pull through all 9 loops, ch 1 to lock it. Creates that raised daisy-center texture.
- 3-dc cluster – three double crochets worked into the same space
- Ch-sp – chain space
Practice the puff stitch on scrap yarn first if it’s new to you. Pull the loops a little taller than usual so they stay puffy instead of tight.
How to Crochet the Daisy Granny Square
Make 25 squares total. Work them in color batches if that helps you stay organized. The outer rounds use orange, coral, yellow, and lime in a balanced mix.
Daisy Center (Rounds 1-2)
Start with orange yarn.
Round 1: Magic ring (or ch 4 and join). Ch 1, 8 sc into the ring. Join with sl st to first sc. Fasten off orange and pull the tail tight. (8 sc)
Round 2 (petals): Join white with a sl st in any sc. In the same stitch work (puff stitch, ch 2, sl st). That makes your first petal.
Sl st into the next sc, then work (puff stitch, ch 2, sl st) in that stitch. Repeat around all 8 stitches. You end up with 8 petals. Join and keep the white attached.
The petals will cup upward a bit. That’s exactly what you want—they give the daisy its dimensional look.
Granny Square Rounds (Rounds 3-4)
Still with white, work behind the petals.
Round 3: Ch 3 (counts as dc), 2 dc into the base of the same petal (the slip stitch between petals). Ch 2.
Skip one petal, work 3 dc into the base of the next petal, ch 2. Repeat around so you have four 3-dc clusters with ch-2 spaces between them. Join and fasten off white. These become your four corners.
Round 4: Join your background color (orange, coral, yellow, or lime) in any corner ch-2 space. Ch 3, 2 dc, ch 2, 3 dc in the same space.
Ch 1, (3 dc, ch 2, 3 dc) in next corner space. Repeat around. Join. You now have proper corners and side spaces.
Final Square Round (Round 5)
Continue with the same background color.
Round 5: Ch 3, 2 dc in the space between the last cluster and the corner.
In corner ch-2 space work (3 dc, ch 2, 3 dc). Ch 1, 3 dc in next ch-1 space, ch 1.
Repeat the corner-and-side pattern around. Join and fasten off.
Each side now has two 3-dc clusters plus the corner clusters. Your square should measure about 5 inches.
Color Arrangement
Arrange the 25 squares in a 5-by-5 grid. Avoid putting the same background color next to itself if you can help it. One balanced layout looks like this:
- Row 1: Orange, Yellow, Lime, Coral, Orange
- Row 2: Lime, Coral, Orange, Yellow, Lime
- Row 3: Coral, Lime, Coral, Lime, Yellow
- Row 4: Yellow, Orange, Yellow, Coral, Orange
- Row 5: Orange, Yellow, Lime, Yellow, Lime
Or just lay them all out and shuffle until the mix feels cheerful. Random works great too—daisies don’t grow in perfect rows anyway.
Joining the Squares
Use a flat slip-stitch join with white yarn for that clean white grid look.
Lay the squares in your chosen order. Hold two squares with wrong sides together (right sides facing out). Insert the hook through both corner spaces and join white with a slip stitch. Work slip stitches through both layers along the entire edge, matching stitches and spaces as you go. Join all squares into five horizontal strips first, then join the strips together vertically.
Check corner alignment often. A little patience here pays off in a neat finished blanket.
Scalloped Border
The white scalloped edge gives the blanket its finished, gift-ready look.
Round 1: Join white in any corner ch-2 space. Ch 1, 3 sc in the corner. Sc evenly along each side (about 3 sc per cluster and 1 sc in each ch-1 space), putting 3 sc in every corner. Join. Count stitches so opposite sides match.
Round 2: Ch 1, sc in first stitch. Skip 2 stitches, 5 dc in next stitch (that’s the scallop), skip 2 stitches, sc in next stitch. Repeat around. Adjust slightly at corners so a scallop lands nicely at each corner point. Join and fasten off.
If the numbers don’t divide perfectly, skip one stitch or add an extra sc here and there. Keep the scallops looking even and nobody will notice.
Finishing Your Blanket
Weave in every end securely. For baby items I run each tail through at least two inches of stitches, then reverse direction so little fingers can’t pull them loose.
Wet blocking is optional but recommended. Soak the blanket in lukewarm water for 15 minutes, roll it in a towel to remove excess water, then lay it flat and gently square up the edges. Let it dry completely. The stitches relax and the whole piece looks sharper.
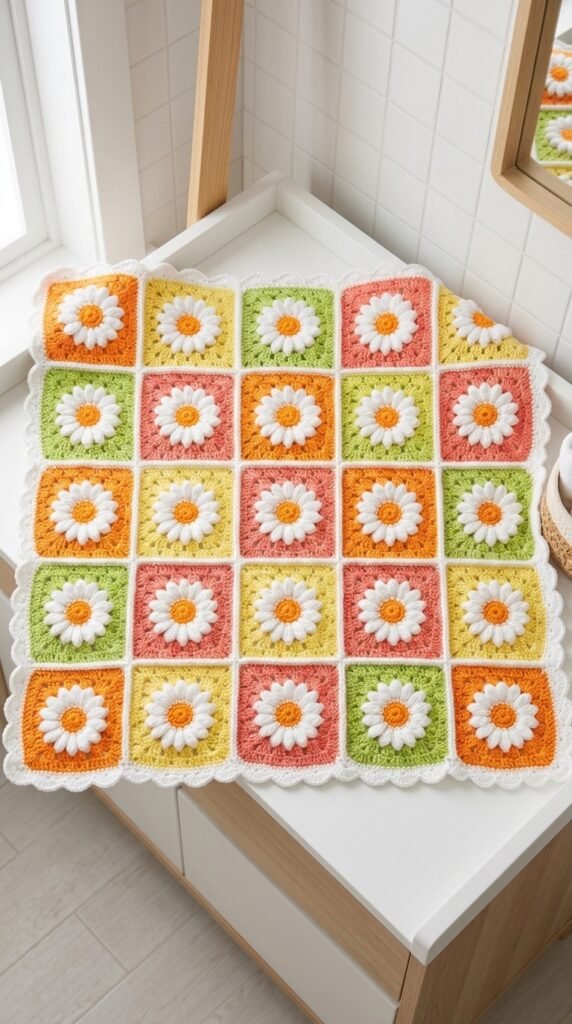
Machine wash cold on gentle. Tumble dry low or lay flat. Acrylic softens nicely after the first wash; cotton may shrink a tiny bit.
Tips for Success
Keep tension consistent across all 25 squares. A few that are noticeably larger or smaller will fight you at joining time.
Practice the puff stitch until the loops stay loose and rounded. Tight puffs flatten and lose the daisy look.
Count stitches at the end of every round. Catching a mistake early beats frogging half a square later.
Wind smaller balls of each color if you’re working from big skeins. Portable projects stay more fun when the yarn doesn’t tangle itself into a knot.
Why This Crochet Pattern Works for Baby Gifts
Bright citrus colors suit almost any nursery, and the classic granny construction holds up to years of washing and dragging around. New parents love gifts they can actually toss in the machine. The finished size is intentional—useful from newborn days through the toddler “blankie” stage without becoming a giant laundry burden.
Handmade still feels special, and this one delivers both charm and practicality. FYI, it also photographs beautifully for those baby-shower gift tables.
You Might Also Like
- Blush Pink Teddy Bear Granny Square Blanket Free Pattern
- Blue Heart Granny Square Baby Blanket Free Crochet Pattern
- Mint and Lemon Spring Granny Square Blanket Free Crochet Pattern
- Sunny Lemon Hexagon Kitchen Throw Free Crochet Pattern
- Classic Red Heart Valentine Baby Blanket Free Crochet Pattern
FAQ’s
How long does one square take?
Once you settle into the rhythm, most people finish a square in 25–35 minutes. The first few take longer while you learn the petal placement.
Can I change the color order?
Absolutely. Swap the citrus shades for pastels, or go full rainbow. Just keep the orange centers and white petals if you want the daisy look to stay clear.
What if my puffs look flat?
You’re probably pulling the loops too tight. Make them a little taller than a normal double crochet and they stay nicely rounded.
Do I have to use the magic ring?
No. Chain 4 and join into a ring if the magic ring still feels awkward. The center closes up fine either way.
Will the scalloped border curl?
A light wet block usually settles it. If it still wants to ripple, go up a hook size for the border rounds only.
Can I make a bigger blanket?
Yes. Add more squares. A 6-by-6 or 7-by-7 grid turns it into a toddler throw. Just buy extra yarn in the same colors.
Final Thoughts
This Citrus Burst Daisy Granny Square Baby Blanket brings cheerful color and classic construction together in a project that stays fun from the first petal to the last scallop. The modular squares keep it manageable, the puff-stitch centers add just enough texture, and the finished piece looks like you spent far more time than you actually did. Grab those bright yarns and start a few daisies. Your hook (and some lucky baby) will thank you.



Leave a Reply
You must be logged in to post a comment.