

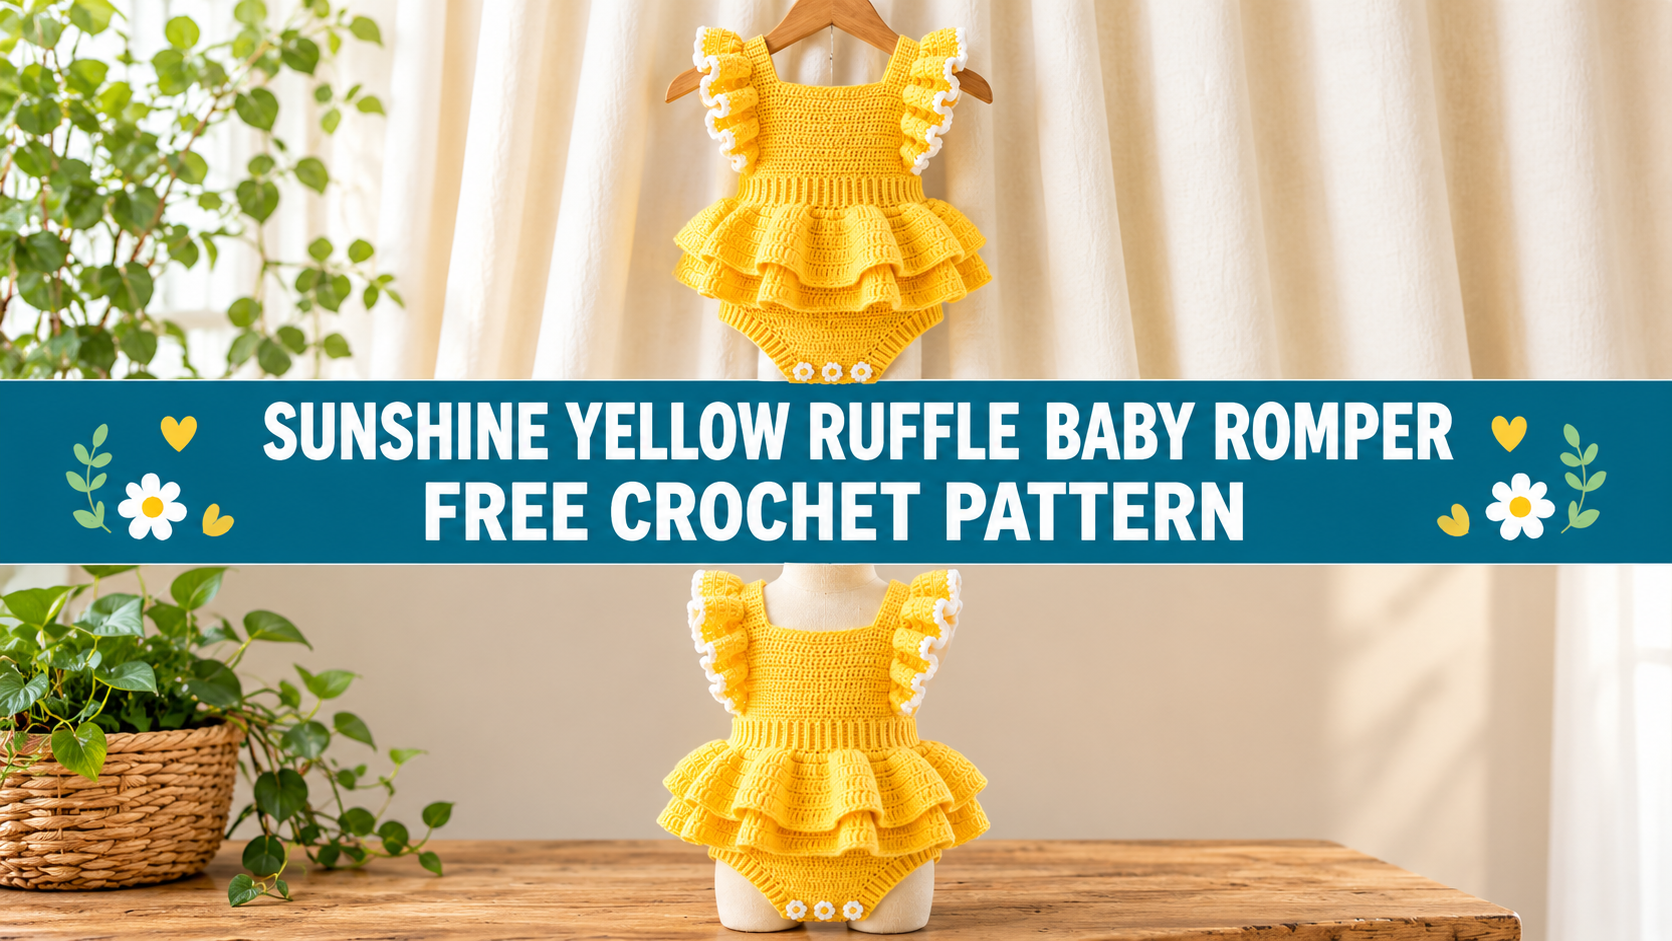
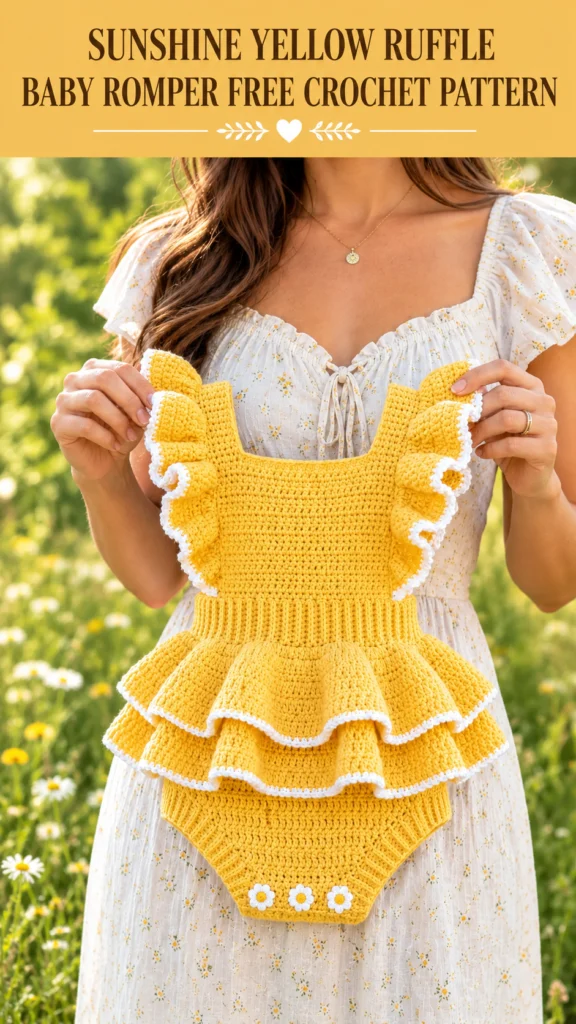
I have a serious weakness for baby clothes with ruffles. Something about those tiny layered tiers just gets me every single time. This sunshine yellow romper has been living rent-free in my head since I first sketched it—the double ruffle skirt, flutter sleeves with white picot edging, and sweet little daisy appliques at the leg openings. It looks like it came from a fancy boutique, but the construction is more straightforward than it appears.
Why This Crochet Baby Romper Pattern Is Worth Your Time
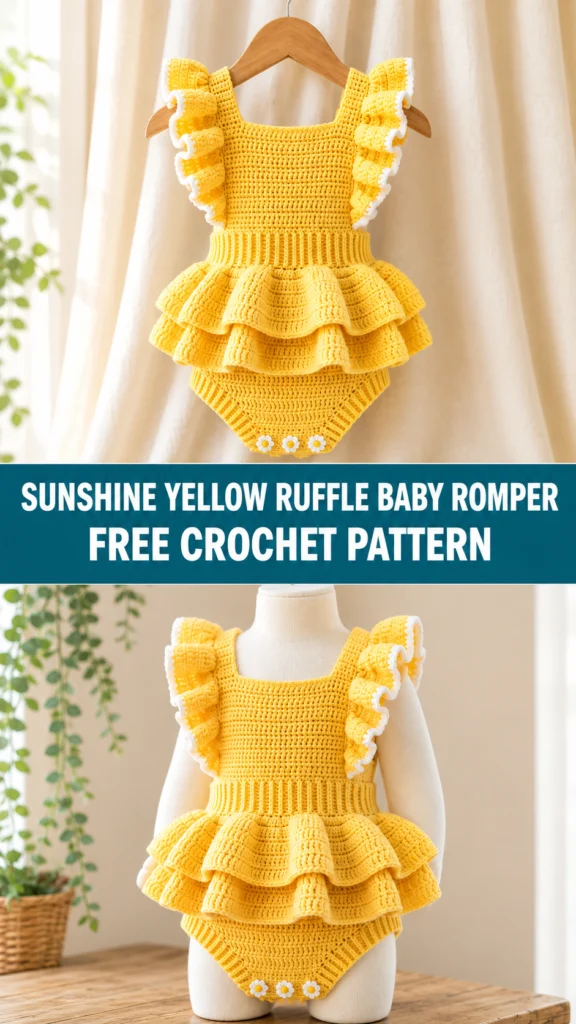
This isn’t your average baby sweater or simple hat. It’s an heirloom-quality piece with a square neckline, ruffled flutter sleeves, a double-tiered ruffle skirt, a ribbed waistband for stretch, and a practical diaper-cover bottom with snap closures.
The construction stays manageable. You work the bodice flat in two panels, seam them, then work the waistband and ruffles in the round. The flutter sleeves get picked up from the armholes last. Breaking it into sections keeps the whole project from feeling overwhelming.
Skill Level and Time Investment
I’m calling this intermediate. You should feel comfortable working flat and in the round, seaming pieces, picking up stitches along an edge, and working into the front or back loop only for ribbing. If you’ve made a few garments before, you’ve got this.
Time estimate: About 10 to 14 hours for an experienced crocheter at a moderate pace. If this is your first multi-section garment, give yourself extra time and patience. The results are worth it.
Finished Measurements
Sized for 3 to 6 month old babies:
- Chest circumference: 16 inches (40.5 cm)
- Bodice length (shoulder to waist): 6 inches (15 cm)
- Total length (shoulder to bottom of diaper cover): 11 inches (28 cm)
- Waist ribbed band: 1.5 inches (3.8 cm) tall
- Ruffle tier depth (each): approximately 2 inches (5 cm)
- Diaper cover depth: approximately 3.5 inches (9 cm)
Size customization tips appear at the end if you need to go smaller or larger.
Materials You’ll Need
Yarn:
- Yarn A (Main Color): Yellow DK weight, approximately 300 yards
- Yarn B (Contrast Color): White DK weight, approximately 50 yards
Yarn suggestions: Lion Brand Pound of Love in Yellow and White is soft, machine-washable, and budget-friendly. Paintbox Yarns Simply DK in Buttercup Yellow and Pure White gives excellent stitch definition. Drops Safran is a nice cotton-blend option if you prefer natural fibers (hand wash only).
Hooks: US size E-4 (3.5 mm) for the main sections; optional D-3 (3.25 mm) for tighter ribbing and picot edging.
Notions: Tapestry needle, stitch markers, scissors, 3–4 small snap closures or buttons, sewing needle and thread.
Gauge
18 single crochet × 22 rows = 4 inches worked flat with a 3.5 mm hook and main color, blocked.
Please check your gauge. This is a fitted garment. Even a small variance changes the fit significantly. Work a 6-inch swatch, block it, and measure the center 4 inches. Adjust your hook size before you start.
Abbreviations and Stitch Definitions
- blo = back loop only
- ch = chain
- dc = double crochet
- flo = front loop only
- hdc = half double crochet
- sc = single crochet
- sc2tog = single crochet two together
- sl st = slip stitch
- st(s) = stitch(es)
- RS / WS = right side / wrong side
Special Stitches You’ll Learn
Picot Stitch: Single crochet, chain 3, then slip stitch into the first of those three chains. Creates the pretty little bumps on the white sleeve and neckline trim.
Ruffle Stitch: Work three double crochets into the same stitch. This triples the stitch count and creates the full, gathered look of the skirt tiers.
Daisy Applique: A tiny magic-ring flower with six chain-3 petals and a yellow center. Make six and sew them around the leg openings.
Pattern Instructions
Bodice Front and Back Panels
Work both panels flat in single crochet. The front gets a square neckline with short shoulder straps; the back stays solid across the top. Seam the sides (leaving armhole openings) and attach the front straps to the back corners.
Waistband Ribbing
Pick up stitches around the bottom of the bodice and work several rounds of back-loop-only single crochet for a stretchy, structured waistband.
Ruffle Skirt Tiers
Work the first ruffle into the front loops of the last ribbing round, tripling the stitches for fullness. Then pick up the back loops of the same ribbing round and create a second identical ruffle layer. The double tiers cascade beautifully.
Diaper Cover Bottom and Flutter Sleeves
Continue from the waistband into a short diaper-cover section with gentle shaping and a snap or button closure. Pick up stitches around each armhole and work double-layer flutter ruffles finished with white picot edging. Add the daisy appliques and you’re done.
Finishing Touches
Sew the daisy appliques evenly around the leg openings. Attach the snap closures or buttons along the diaper cover. Weave in every end securely. A light blocking opens the stitches and sets the ruffles so they fall just right.
You Might Also Like
- Sage Green Boho Ruffle Romper Free Crochet Pattern
- Rainbow Garden Festival Crochet Dress Free Crochet Pattern
- Peach Shell Stitch Baby Poncho Free Crochet Pattern
- White and Sage Minimal Monstera Crochet Plant Pattern
- Lavender Star Granny Square Cardigan Set Free Crochet Pattern
FAQ’s
Is this really intermediate?
Yes. The individual stitches are straightforward, but the multi-section construction and shaping require some garment experience. Take it one section at a time.
Can I skip the daisy appliques?
You can, but they add so much charm. They take only a few minutes each and make the romper look extra special.
How do I keep the ruffles from looking uneven?
Work the increase rounds carefully and block the finished piece. The double-layer construction naturally creates nice fullness once it settles.
Are the snaps secure enough?
Yes, as long as you sew them firmly. Many parents prefer snaps for quick diaper changes. Buttons work too if you prefer.
What if my gauge is slightly off?
Adjust your hook size before starting the bodice. A fitted romper needs accurate measurements more than a blanket does.
Can I make this in a different color?
Absolutely. Soft pink, mint, or classic white with contrasting trim all look adorable. Keep the contrast color light so the picot and daisies pop.
Final Thought
This sunshine yellow ruffle baby romper is pure joy on a hook. The double ruffles, flutter sleeves, and tiny daisies turn simple stitches into something that feels special enough for a baby shower or a first birthday. Take your time with the gauge and the finishing details—those steps make the biggest difference. Happy crocheting, and I hope the little one who wears this romper gets plenty of sunny days and sweet photos.


Leave a Reply
You must be logged in to post a comment.