

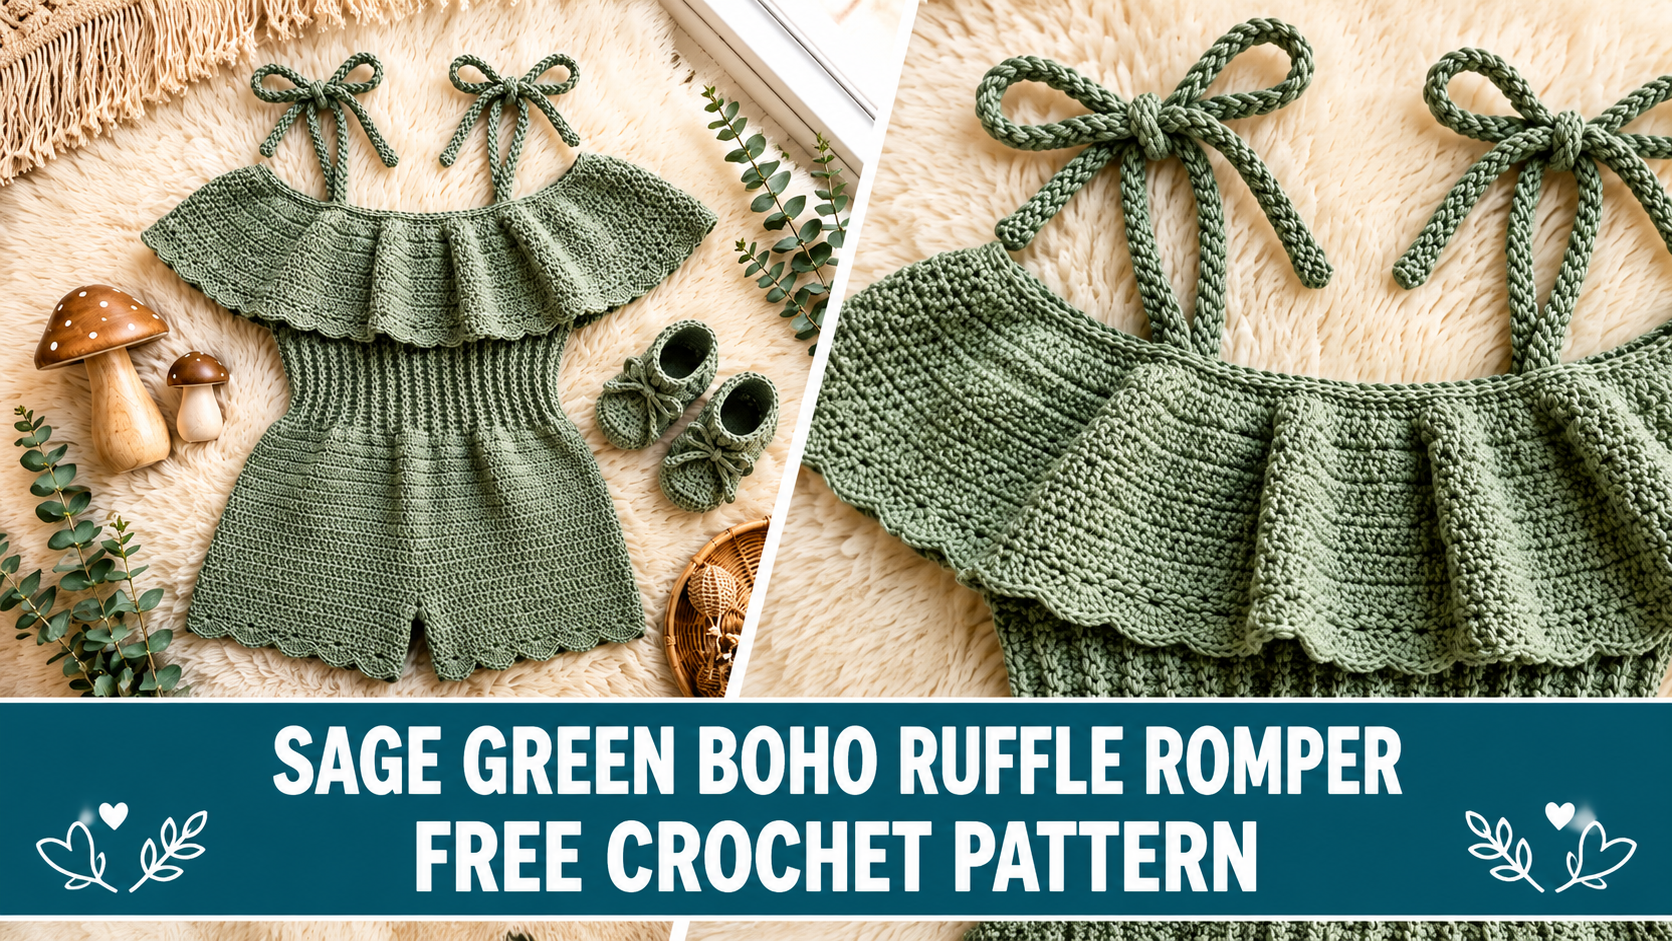
When I sat down to design this romper I had a very clear picture in my head. Soft sage green, an off-shoulder ruffle that falls just right, a fitted ribbed bodice, and those sweet scalloped leg hems. I wanted something that looked boutique-level but still felt doable for intermediate crocheters. The finished piece delivers exactly that—earthy, boho, and surprisingly practical for real baby life.
About This Crochet Romper Pattern
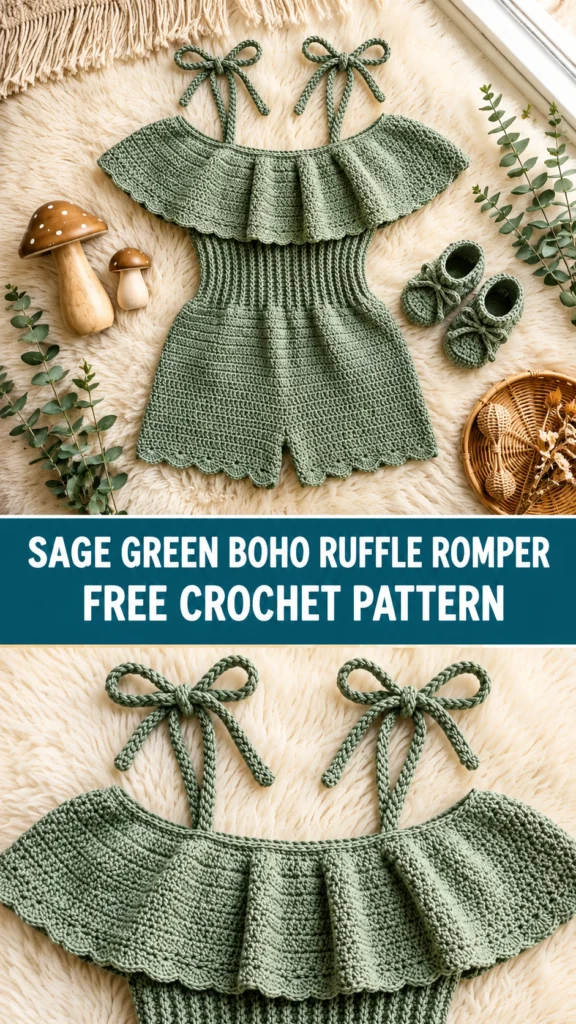
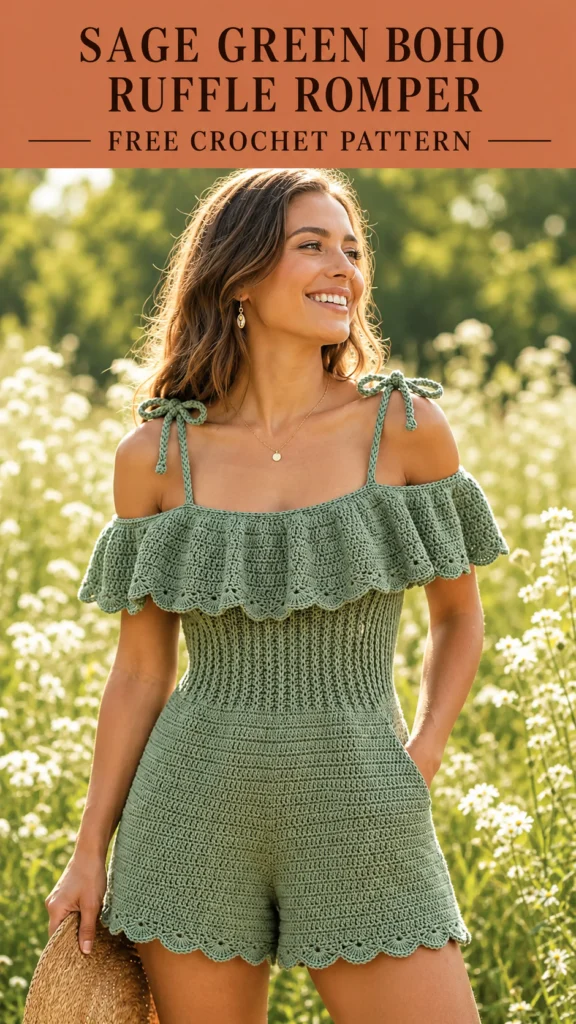
This romper features an off-shoulder ruffle yoke, a stretchy ribbed bodice with gentle waist shaping, short bottoms finished with scalloped hems, and adjustable tie straps at the shoulders. Everything works together for that soft, polished boho look.
It is sized for 12 to 18 months. Finished chest circumference sits around 18 inches with gentle stretch, and total length from strap to leg hem is about 14 inches.
Skill level: Intermediate. You should feel comfortable working in the round, creating ribbed texture with back-loop stitches, joining rounds, and keeping track of stitch counts. Nothing is overly complex on its own, but the multi-section construction makes it a step up from true beginner projects.
Time estimate: Plan for 8 to 12 hours at a comfortable pace, including finishing and blocking.
Materials You Will Need
Yarn: DK weight (CYCA 3) in sage green, approximately 350–400 yards. Cotton or a cotton blend is ideal for breathability and stitch definition.
Yarn suggestions:
Lion Brand 24/7 Cotton in Succulent or Aloe
Paintbox Yarns Simply DK in Grass Green or Misty Green
Caron Simply Soft in Soft Green (adjust gauge if needed)
Hook: US size E-4 / 3.5 mm as primary. Optional D-3 / 3.25 mm for tighter straps.
Notions: Yarn needle, scissors, at least 4 stitch markers, measuring tape, blocking board and pins.
Gauge (Do Not Skip This)
Single crochet: 18 sc × 20 rows = 4 inches, blocked
Ribbing: 16 hdc-blo × 14 rows = 4 inches, blocked
Make a swatch. If it comes out larger than gauge, go down a hook size. Too small, go up. A fitted romper needs accurate gauge or the proportions will be off.
Abbreviations and Stitch Definitions
- blo = back loop only
- ch = chain
- dc = double crochet
- hdc = half double crochet
- hdc-blo = half double crochet in back loop only
- hdc2tog-blo = half double crochet two together in back loop only
- sc = single crochet
- sl st = slip stitch
- st(s) = stitch(es)
- RS / WS = right side / wrong side
Numbers in parentheses at the end of rows or rounds show your total stitch count.
Special Stitches Explained
Foundation Double Crochet (fdc): Creates a flexible foundation that replaces a regular chain plus first row. More stretchy and neater for the ruffle start.
Scallop Stitch: Skip 1 stitch, work 5 double crochets into the next stitch, skip 1 stitch, slip stitch into the following stitch. This forms the pretty shell edge on the leg openings and lower ruffle.
Back Loop Only Ribbing: Working into only the back loop creates raised ridges that look like knit ribbing and give the bodice its stretchy, fitted structure.
Pattern Instructions
The romper is built in clear sections: ruffle yoke, ribbed bodice, crotch panel, leg openings, then final assembly with straps and edging.
Section 1: Ruffle Yoke Panel
Work the ruffle flat in rows. Start with a long foundation, then double the stitches twice to create full, soft volume. The panel will look very wide—that is exactly what you want so it gathers nicely onto the bodice.
Section 2: Bodice
Work the bodice in joined rounds of half-double crochet in the back loop only. Begin at the top and work downward, decreasing for a gentle waist then increasing again for the hips. The ribbing gives structure and a flattering cinched look.
Section 3: Crotch Panel
A short flat panel of single crochet divides the front from the back and creates the leg openings. Simple but essential for the romper shape.
Section 4: Leg Openings
Pick up stitches around each leg opening and work a few rounds of single crochet, then finish with a round of scallops. Twelve neat shells per leg give that sweet finished edge.
Sections 5–7: Assembly and Straps
Gather the wide ruffle onto the top of the bodice, easing the extra fabric evenly. Add a scallop edge to the lower edge of the ruffle for extra movement. Make two long tie straps and thread them through the top of the ruffle at the shoulders. Tie in bows and adjust as needed.
Finishing Your Boho Crochet Romper
Weave in every end securely. Soak the finished romper in cool water, gently press out the excess moisture, and pin it to the finished measurements on a blocking board. Let it dry completely. Blocking opens the stitches and sets the shape so the ruffle and scallops look their best.
Size Customization Tips
For 2T–3T: Increase the bodice foundation chain and the ruffle foundation chain, then add a couple of extra plain rounds to the bodice and legs.
For 6–12 months: Decrease both foundation chains and shorten the bodice and leg sections. Keep all scallop counts divisible by four so the shells land evenly.
Care Instructions
Machine wash cold on gentle cycle if you used cotton or a cotton blend. Always lay flat to dry. Never tumble dry or iron directly on the fabric. Store folded so the ribbed bodice keeps its shape.
You Might Also Like
- Lavender Star Granny Square Cardigan Set Free Crochet Pattern
- Pink Cherry Blossom Butterfly Cardigan Crochet Pattern
- Sage and Cream Granny Square Baby Overalls Free Pattern
- Navy Blue Classic Cuff Socks Free Crochet Pattern
- Icy Blue Winter Frost Slipper Boots Free Crochet Pattern
FAQ’s
Is this pattern realistic for an intermediate crocheter?
Yes. Each section uses familiar stitches. The challenge is keeping track of the different parts and stitch counts, not learning brand-new techniques.
Can I use acrylic instead of cotton?
You can, but cotton or a cotton blend drapes better for this warm-weather design and shows the ribbing and scallops more cleanly.
How do I keep the ruffle from looking messy when I attach it?
Divide both the ruffle edge and the bodice top into equal sections with stitch markers and ease the extra fabric in evenly. Blocking afterward helps everything settle.
Are the straps secure enough for an active baby?
Yes. The long ties let you adjust the fit and tie a secure bow. Just check them periodically as the baby grows.
What if my stitch count drifts during the bodice decreases?
Count at the end of every round and use a second marker at the halfway point. The back-loop texture can make stitches harder to see, so markers are your friend.
Can I make this in a different color?
Absolutely. Soft terracotta, dusty rose, or classic cream all look beautiful in this silhouette. Keep the yarn light-to-medium weight so the ruffle stays soft.
Final Thought
This sage green boho ruffle romper brings together an off-shoulder ruffle, stretchy ribbed bodice, and scalloped hems into one sweet, wearable package. The construction stays logical from start to finish, and the finished piece photographs like a dream. Take your time with the gauge and the blocking—those two steps make the biggest difference. Happy crocheting, and I hope the little one who wears this romper gets plenty of sunny days and soft adventures.



Leave a Reply
You must be logged in to post a comment.