


That feeling when you spot a baby outfit so adorable you literally stop scrolling? Yeah, that’s this romper. Bright, sunny, and totally doable even if you’ve only crocheted a few wearables before. Let’s make something ridiculously cute together.
What Makes This Romper So Darn Cute
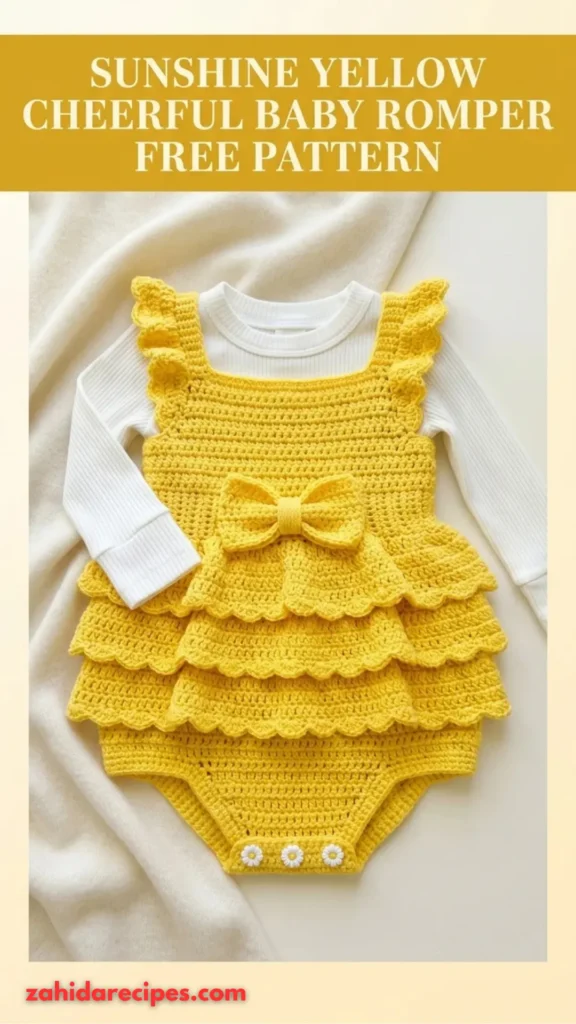
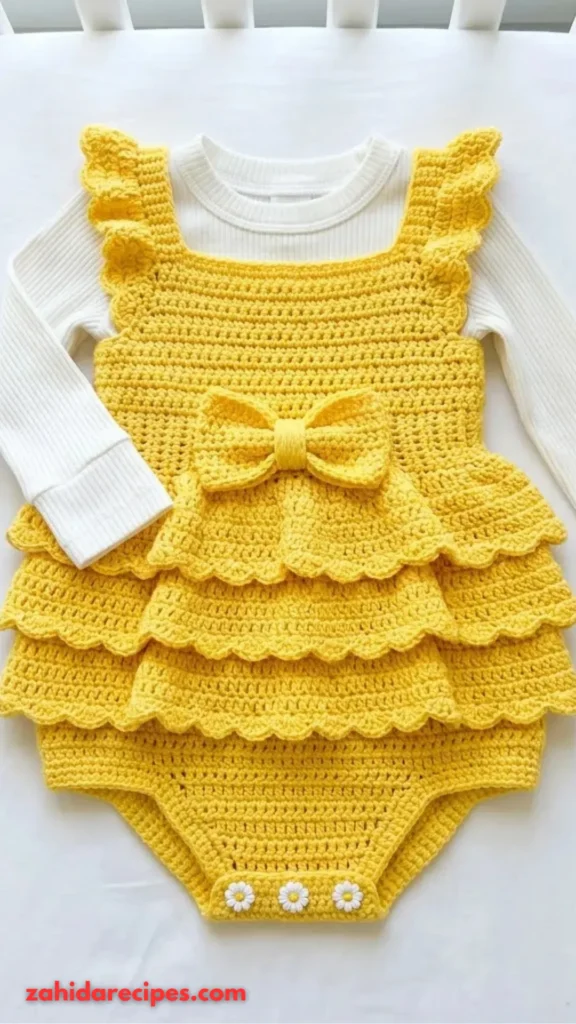
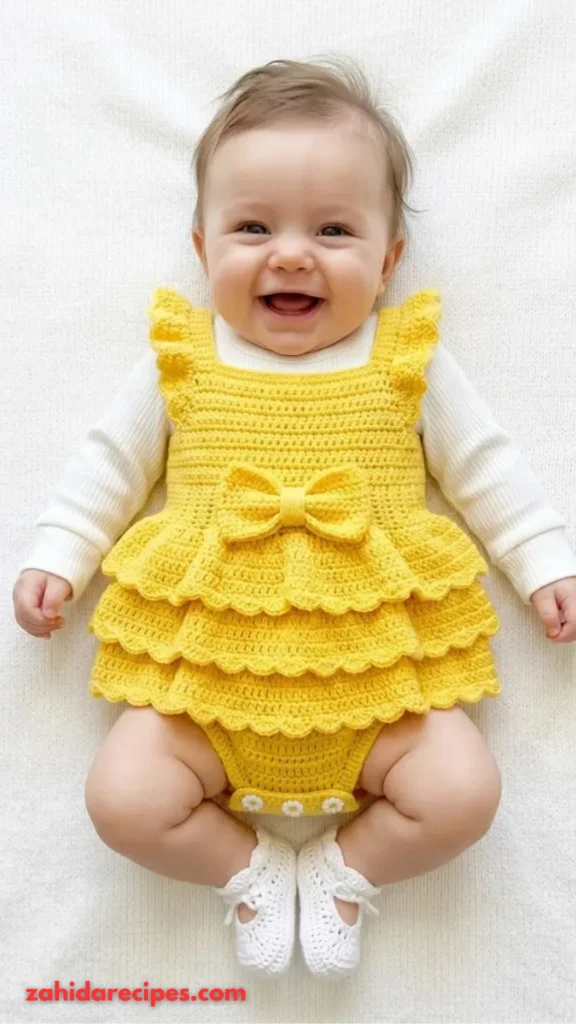
Picture a soft, bubbly silhouette in the happiest shade of yellow you can find. That’s the vibe here. The romper features a sweet bib front, ribbed leg openings that actually stay put on wiggly babies, and button straps that make diaper changes less of a wrestling match.
The real magic? A little duck applique on the front. It’s chubby, cheerful, and looks way harder to make than it actually is. Even if your crochet skills are still growing, you can pull this off.
This pattern works for newborn to 3 months, making it perfect for baby shower gifts, photography props, or just because you saw the yarn and couldn’t resist.
Skill Level: Honest Talk
Let’s be real. This isn’t a “first project ever” kind of pattern. You’ll need to feel comfortable with:
- Working in the round without getting dizzy
- Creating ribbing using back-loop-only stitches
- Basic shaping with increases and decreases
- Sewing pieces together (yes, there’s some assembly required)
If you’ve made a few hats or simple garments before, you’re golden. Confident beginners, this is your next challenge. Intermediate crocheters, you’ll breeze through it.
How Long Will This Take?
Realistic time estimates, because we all have lives:
- Romper: 10 to 14 hours
- Matching hat: 2 to 3 hours
- Booties: 3 to 4 hours
- Total set: 15 to 21 hours
Spread it across a few evenings or binge-watch a series and knock it out in a weekend. No judgment either way.
Getting the Fit Right (Don’t Skip This)
Here’s the thing about baby clothes. They’re tiny. A small gauge mistake turns a “newborn” romper into a “doll clothes only” situation.
Finished measurements for newborn to 3 months:
- Chest circumference: about 16 inches
- Total length (bib top to leg hem): roughly 14 inches
- Bib panel: around 6 inches wide and tall
- Each leg: about 4 inches including the hem
The stretchy ribbing helps everything stay snug without being tight. Babies squirm. The romper should move with them.
Gauge check: Work a swatch until 18 single crochet stitches by 22 rows equal 4 inches. Block it. Measure the center. I know swatches feel like homework, but fitted baby clothes punish gauge drift hard. Trust me on this one.
Supplies You’ll Actually Need
Yarn
Grab about 300 yards of worsted weight in your main sunshine yellow. You’ll also want:
- Small amounts of orange for the duck beak and wing details
- A bit of white if you want tiny eye highlights
Yarn suggestions that work beautifully:
- Lion Brand Pound of Love in Buttercup (soft, washable, affordable)
- Paintbox Yarns Simply DK held double (softer drape)
- Drops Baby Merino held double (gentle for sensitive skin)
Skip fuzzy or textured yarns. They hide the stitch definition you want to show off.
Hook and Notions
- US size G-6 (4 mm) crochet hook
- Four brown or rust-colored buttons (¾ inch), two for straps, two optional for booties
- Six black safety eyes at 9 mm OR black embroidery floss if the baby is under 36 months
- Yarn needle, stitch markers, scissors
Safety note: If you’re making this for a baby under three, embroider the eyes instead of using plastic safety eyes. Better safe than sorry.
Stitches and Abbreviations You’ll Meet
Quick rundown so nothing surprises you mid-pattern:
- blo = back loop only (creates that stretchy ribbed texture)
- ch = chain
- dc = double crochet
- dec = invisible decrease
- hdc = half double crochet
- inc = two single crochets in the same stitch
- MC = main color (yellow)
- CC1 = contrast color 1 (orange)
- rnd = round
- sc = single crochet
- sc2tog = single crochet two together
The invisible decrease makes shaping look cleaner. Insert your hook into the front loop only of the next stitch, then the front loop only of the following stitch. Yarn over, pull through both front loops, yarn over again, pull through the two loops left on your hook. Smooth and nearly invisible.
Pattern Overview: How This Comes Together
The romper has three main parts:
- Lower body worked seamlessly in the round
- Front bib attached to the lower body
- Straps that button onto the bib corners
Legs finish with back-loop-only ribbing for that polished look. The duck applique gets sewn on at the end.
Button-fastened straps cross over the shoulders and snap onto the front bib. This design makes dressing a squirming baby way easier than pulling something over their head.
Making the Duck Applique
This is the part everyone notices. The chubby duck face sits front and center on the bib, and it’s simpler than it looks.
You’ll work the duck in orange yarn for the beak and yellow for the head. Small white highlights in the eyes add personality if you want them.
For babies under 36 months, skip the plastic safety eyes and embroider simple black stitches instead. The applique attaches to the bib with a yarn needle and matching thread. Take your time positioning it. Symmetry matters here.
Tips for a Polished Finished Piece
Block your work. Seriously. Blocking transforms homemade into handmade-looking-professional. The ribbing relaxes, the stitches even out, and everything drapes better.
Weave in ends securely. Baby items get washed. A lot. Loose ends will poke out and unravel.
Check button security. Give each button a good tug after sewing. Babies put everything in their mouths.
Try it on before finishing. If you know the baby, do a quick fit check before adding buttons. Adjustments are easier before the final assembly.
Washing and Care
Babies are messy. This romper will need washing. A lot.
Machine wash cold on gentle cycle with mild detergent. Tumble dry low or lay flat to dry. The acrylic and cotton blends suggested here hold up beautifully to repeated washing.
Avoid fabric softener. It coats the fibers and makes them less absorbent. Not a big deal for a romper, but still good practice.
You Might Also Like:
- Navy Blue Nautical Baby Romper Free Crochet Pattern
- Ocean Blue Baby Romper Set Free Crochet Pattern
- Blue Forget-Me-Not Mesh Bag Free Crochet Pattern
- Ocean Wave Baby Dress Free Crochet Pattern
Conclusion
This sunshine yellow romper is one of those projects that looks impressive but doesn’t require expert-level skills. The duck applique steals the show, the ribbed details keep it practical, and the cheerful color makes every photo pop.
Whether you’re making it for your own little one or as a gift that’ll get “you MADE this?” reactions, this pattern delivers. Grab your hook, pick your yellow, and make something that’ll brighten someone’s day. Happy crocheting!



Leave a Reply
You must be logged in to post a comment.