

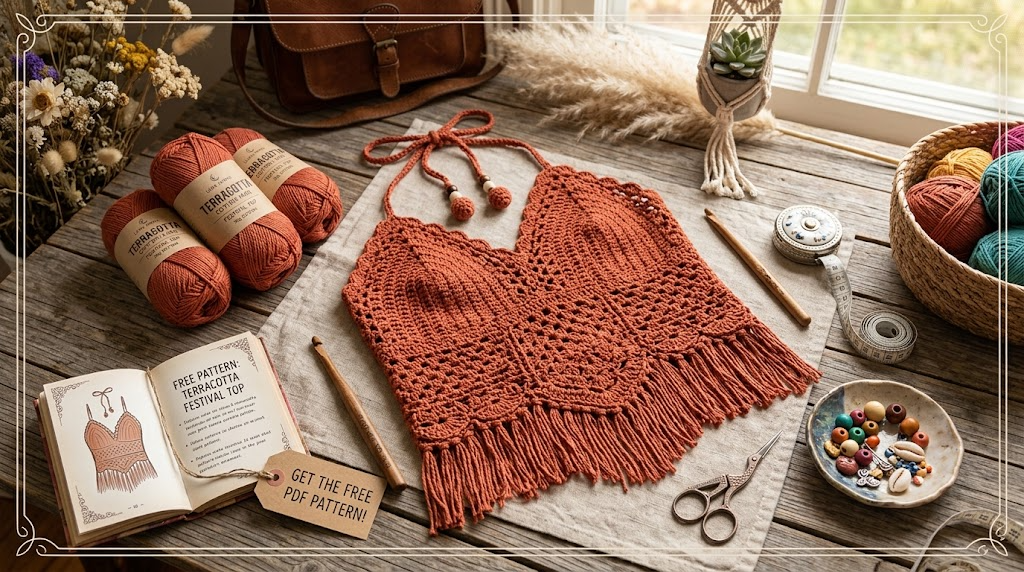
You want a festival top that looks complicated but actually uses just two stitches. This terracotta halter bralette has sculpted cups, open diamond mesh, and fringe that moves when you dance. The whole thing works up in about 6 to 9 hours using only single crochet and chain stitches. No crazy color changes. No confusing charts. Just a top you’ll actually finish before the concert.
Why This Top Is Worth Your Time
Let’s be real—most crochet garment patterns either look amazing but require a PhD in stitch counting, or they’re beginner-friendly but look like a square sack. This one lands right in the sweet spot.
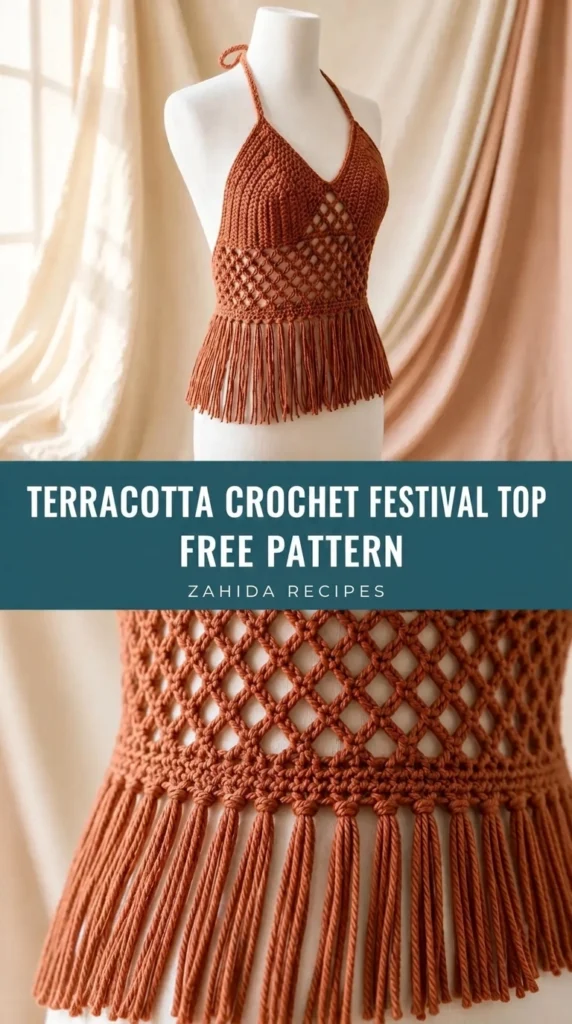
The diamond mesh section creates all that gorgeous negative space, but it’s literally just chain loops anchored with single crochet. The cups? Worked flat with simple increases at the center point. If you can chain, single crochet, and count to three, you’re qualified.
And here’s the part I love most: the ties make it adjustable. Whether your underbust measures 30 inches or 36 inches, the same instructions work. You just tie it to fit your body. No grading drama. No “sorry, that size isn’t available.” Just knot it and go.
The fringe is the cherry on top. It catches the light, swings when you walk, and feels ridiculously satisfying to attach at the end. Trust me on that one.
What You Need Before You Start
Gather these supplies first so you’re not digging through your stash mid-project.
Yarn: DK weight or light worsted cotton or cotton blend. You’ll need 250 to 320 yards (229 to 293 meters). One solid terracotta shade throughout—no color changes, remember?
Hook: US G/6 (4.0 mm), or whatever size gets you the right gauge.
Notions: Tapestry needle, stitch markers, scissors, measuring tape, pins, and a blocking mat or towel.
Picking the Right Yarn
A plant fiber DK yarn with good stitch definition is your best friend here. Very stretchy acrylics might grow at the ties and fringe over time. Very stiff cotton might need a larger hook to hit gauge. Look for something smooth and cooperative.
Quick gauge check: 18 single crochet stitches by 20 rows equals 4 inches (10 cm) after blocking. Please swatch. I know, I know—swatching feels like homework. But all the measurements in this pattern are built from this gauge. Too-small swatch means a too-small top. You’ve been warned.
Breaking Down the Cups (Make Two)
Each cup works from a vertical foundation chain, up one side, around the top point, and down the opposite side. The chain 1 to turn doesn’t count as a stitch.
Row 1: Chain 19. Single crochet in the second chain from hook and in the next 16 chains. Work 3 sc in the last chain. Rotate to work along the unused loops of the foundation chain. Single crochet in the next 17 chains. Place a marker in the center stitch of your 3-sc group at the top. (37 sc total)
Rows 2 through 10: Chain 1, turn. Single crochet to the marked center stitch. Work 3 sc in the marked stitch. Move your marker to the center of these 3 sc. Single crochet to the end. Your stitch count grows by 2 each row—39, 41, 43, all the way up to 55 sc after Row 10.
Fasten off after Row 10, leaving a 12-inch tail for seaming.
Size Adjustments for the Cups
Want more coverage? Add 2 rows per cup size. Each added row increases your final count by 2 sc and adds roughly 0.4 inches (1 cm) of coverage.
Want less? Stop after Row 8. You’ll end with 51 sc instead of 55.
Make Cup 2 exactly like Cup 1. If you want to use the working yarn to add a neat edge, skip the fasten-off and single crochet evenly around the outside curve, placing 2 sc at the top point. Otherwise, join yarn at a lower outside corner and edge from there.
The Diamond Mesh Body
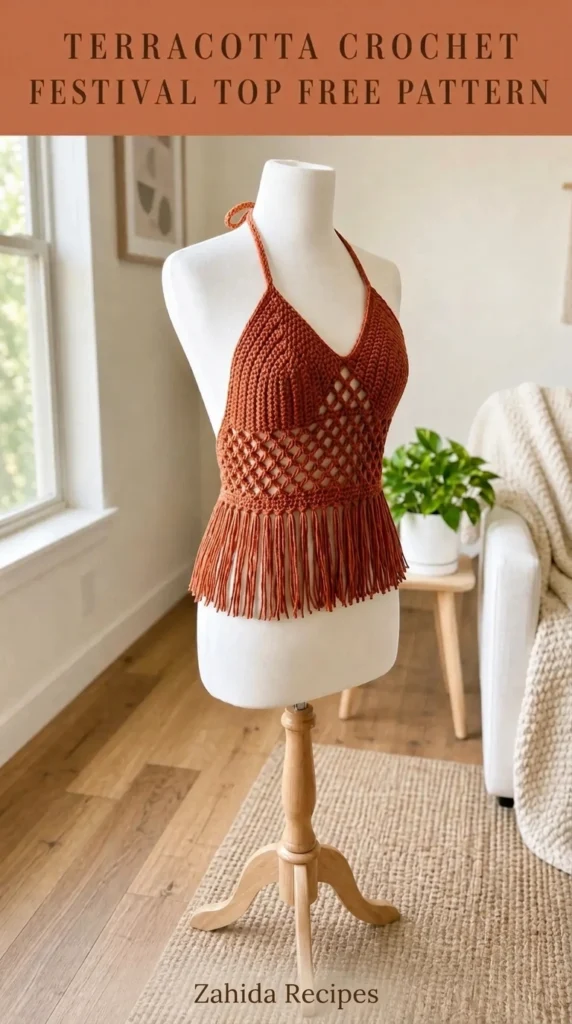
This is where the magic happens. Work the front body panel flat. Keep all your mesh chains relaxed and the same length—tight chains will make the body pull inward, and nobody wants that.
Row 1: Chain 78. Single crochet in the second chain from hook and across. (77 sc)
Rows 2-4: Single crochet in each sc across. (77 sc each row)
Row 5: Single crochet in first sc. Chain 5, skip 3 sc, single crochet in next sc. Repeat across. You’ll end with 20 sc and 19 chain-5 spaces.
Row 6: Single crochet in first sc. Work 3 sc in the next chain-5 space. Single crochet in the next sc. Repeat across. Back to 77 sc.
Row 7: Repeat Row 5.
Row 8: Repeat Row 6.
Rows 9-11: Single crochet in each sc across. Fasten off after Row 11.
Your top edge should measure about 17 inches wide. The solid upper band sits around 0.8 inches tall, the mesh section about 1.6 inches, and the lower band about 0.6 inches.
Putting It All Together
Pin the cups to the upper solid band with right sides facing out. Center the cups over the top edge with the inside cup corners touching or overlapping by 0.25 inches. Leave about 2 inches at each side of the front panel before the cup begins.
Sew through the cup lower edge and band top edge using whipstitch or mattress stitch. Take your time here. Good seaming is the difference between “I made this” and “Wait, you made this?”
Ties That Actually Stay Put
Neck ties: Join yarn at the top point of one cup. Chain 70 for a 20-22 inch tie, then slip stitch back through the back bump of each chain. Slip stitch into the cup point. Fasten off. Repeat for the other cup.
Back ties: Join yarn to one upper side corner of the body band. Chain 85 for a 25-27 inch tie. Slip stitch back through the back bumps. Fasten off. Repeat on the opposite corner.
That “slip stitch through the back bump” trick? It creates a rounder, sturdier tie than a plain chain. Worth the extra few minutes.
Fringe: The Fun Part
Cut 40 strands of yarn, each 12 inches long.
Attach 2 strands as one fringe group into every fourth stitch along the lower edge, including the corner stitches. You’ll end up with 20 fringe groups.
Fold the strands in half. Pull the loop through the edge stitch. Pass the ends through the loop. Tighten gently. Repeat nineteen more times.
Steam or wet block first, then trim the fringe to about 5.5 inches from knot to end. Even fringe looks intentional. Uneven fringe looks like you gave up halfway through.
Fixing Common Headaches
Cups curling inward? Block flatter, loosen your center point increases, or add one edging round.
Mesh pulling tight? Use a larger hook just for the mesh rows, or consciously relax your chain-5 loops. Breathe.
Band ruffling? Check your gauge and make sure Row 8 returns to 77 sc—not extra stitches sneaking in.
Fringe looking wild? Block first, comb gently with your fingers, then trim in one straight line. Patience pays off.
Top feeling loose? Shorten the back ties or add a second side tie at each lower corner.
Finishing and Wearing Your Creation
Weave in all ends on the wrong side, splitting yarn plies for a smooth, secure finish. Wet block the cups and body flat to the measurements given. Pin the mesh open so the diamonds dry evenly and keep their shape.
Steam the fringe lightly if your yarn allows. Do not press acrylic directly with a hot iron—that’s a one-way ticket to melted disaster.
Try the top on over a fitted layer first. Adjust tie lengths before trimming any tails. Better safe than sorry.
Care Instructions
Hand wash or machine wash on gentle in cool water according to your yarn label. Lay flat to dry. Store folded with the fringe straightened to prevent tangling. Future you will thank present you for that small kindness.
Final Thoughts:
Your finished top deserves a sunny photo. Style it over a bandeau, swimsuit, fitted tank, or linen dress. Let the fringe move naturally. This piece works for music festivals, beach days, summer concerts, or anywhere you want to prove that yes, you do know how to crochet actual clothing.
Left-handed crocheters, work the same instructions—your cup shaping will mirror naturally. Just keep those markers at the cup points so the increase line stays centered.
Now go make something that makes you want to dance.


Leave a Reply
You must be logged in to post a comment.