

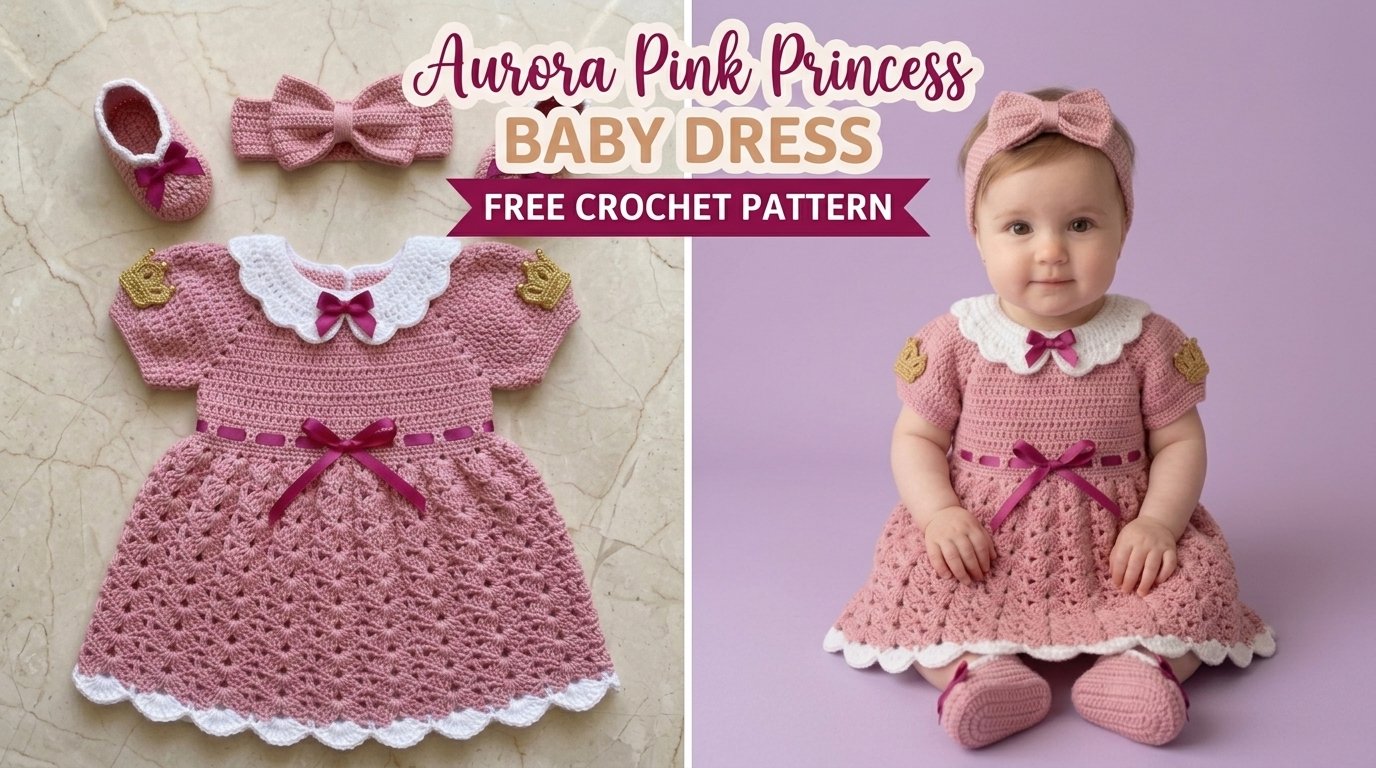
This little princess set will steal every heart in the room. You get a complete three-piece outfit—dress, matching booties, and a bow headband—that works up faster than most people expect and looks like pure royalty. Dusty rose pink, soft white scallops, tiny gold crowns on the sleeves, and a ribbon waistband cinch it all together. Perfect for showers, first photos, or spoiling that grandbaby you have been waiting for.

About This Crochet Baby Dress Pattern
This Aurora Pink Princess Baby Dress is a full layette set sized for babies roughly 0 to 6 months. The dress starts with a solid single-crochet bodice that blooms into an airy shell-stitch skirt. A Peter Pan collar, short sleeves topped with crown appliqués, and a ribbon threaded at the waist give it that storybook finish.
White scalloped edging frames the hem and collar against the dusty rose. Matching mary-jane style booties and a coordinating bow headband complete the look. You work everything in straightforward pieces that join easily, so the whole set feels achievable even if this is your first baby garment.
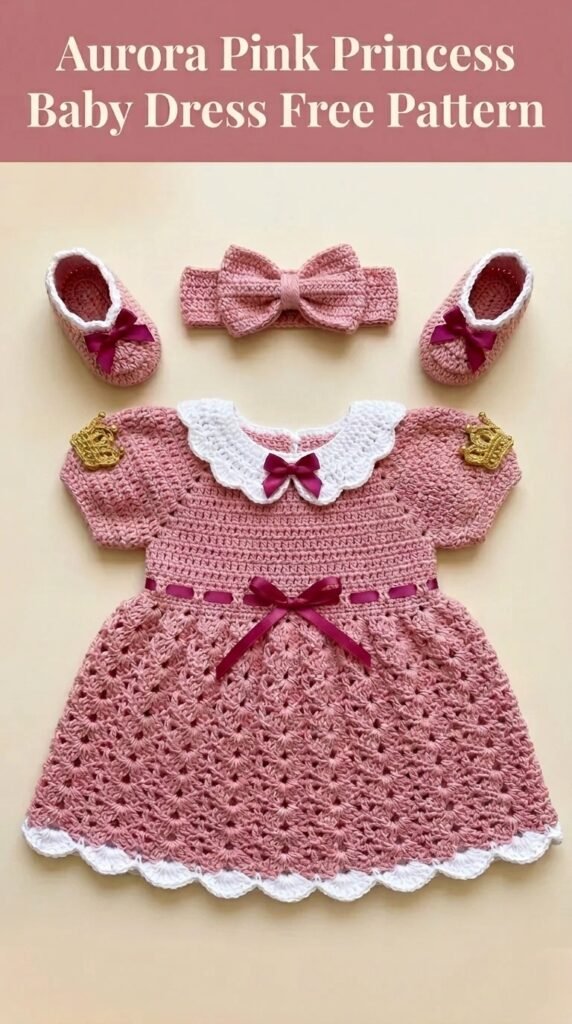
IMO, the combination of texture and tiny details makes this one of those projects people keep asking about.
Skill Level
Intermediate. You need comfort working in rows and rounds, increasing, decreasing, and joining pieces. Shell stitches appear in the skirt, but they are simple once you see the pattern.
Confident beginners who already handle basic stitches can tackle this. The instructions walk through every new move, so nothing stays mysterious for long.
Finished Measurements
Dress (0 to 6 months):
- Chest: about 16 inches
- Length from shoulder to hem: roughly 12 inches
- Sleeve length: about 2 inches
Booties: sole length approximately 3.5 inches
Headband: circumference around 14 inches (stretchy), bow width about 4 inches
These numbers give a sweet fit with a little ease for growth and movement.
Materials Needed
Gather soft, machine-washable worsted weight yarn so the set survives real baby life.
- Dusty rose pink: roughly 250 yards for the dress, 50 yards for booties, 30 yards for the headband
- White: about 40 yards for collar and trim
- Gold: a small amount (around 10 yards) for the crowns
Hooks: 4.0 mm (G/6) for the main pieces and 3.5 mm (E/4) for finer details.
Notions include a yarn needle, scissors, stitch markers, one yard of 3/8-inch satin ribbon in a deeper pink or burgundy, three small satin bows, optional tiny gold beads for the crowns, and two small buttons if you want a back closure.
Choose a soft acrylic or cotton blend. Babies need practical yarn that holds up to frequent washes.
Gauge
16 single crochet stitches and 18 rows equal 4 inches square with the 4.0 mm hook.
Check it. Garments demand accurate gauge. Too many stitches per inch? Go up a hook size. Too few? Drop down. A proper fit keeps the dress comfortable and safe.
Abbreviations and Stitch Definitions
Here is every stitch you will meet, explained simply:
- Ch = chain
- Sl st = slip stitch
- Sc = single crochet
- Hdc = half double crochet
- Dc = double crochet
- Inc = increase (two stitches in the same place)
- Dec = decrease
- Shell = five double crochets worked into the same stitch
- Sk = skip
Nothing exotic. Just the building blocks for the bodice, shells, and tiny crowns.
Step by Step Crochet Pattern Instructions
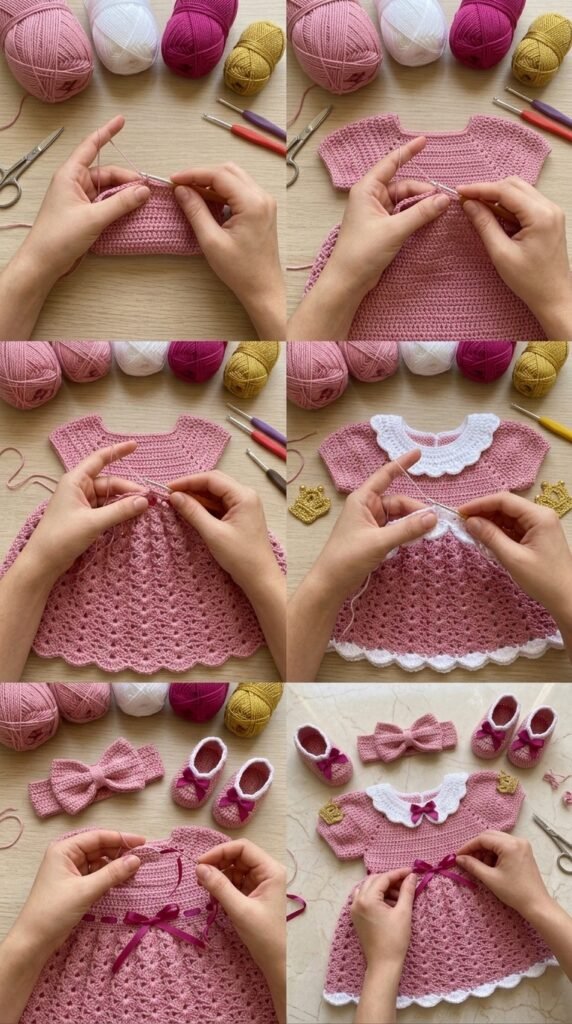
Work the pieces separately, then join them. Start with the bodice panels, add sleeves, build the shell skirt, then finish with the collar, crowns, booties, and headband.
Dress Bodice (Back Panel)
Chain the foundation and work solid single crochet rows until the panel reaches the right height for the armholes. Keep the stitch count steady. Set the finished rectangle aside.
Dress Bodice (Front Panel)
Make an identical panel. Matching front and back keeps the shoulders and armholes even.
Joining Bodice and Creating Armholes
Place the panels right sides together. Slip-stitch the shoulder seams, leaving the center open for the neck and the sides open for the armholes. You now have a tube ready for sleeves.
Sleeves (Make 2)
Join yarn at each underarm and work single crochet rounds around the armhole opening. Keep the height short and sweet—about four rounds total. Fasten off cleanly.
Skirt
Join yarn at the bottom edge of the bodice and work a single crochet foundation round. Double the stitches in the next round to create fullness. Then switch to the shell pattern: groups of five double crochets alternating with single crochets. Repeat the shell rounds until the skirt measures about six inches from the waist.
The shells nest into each other and give the skirt that soft, princess drape.
White Scalloped Hem Border
Join white yarn and work a simple scallop round—single crochet, chain, double crochet in the shell centers—around the entire hem. The contrast pops against the pink.
Peter Pan Collar
With white yarn and the smaller hook, chain a foundation and shape a gently curved collar with increases at the ends. Finish the outer edge with the same scallop treatment. The collar sits neatly around the neckline.
Crown Appliqués (Make 2)
Chain a short base with gold yarn, then create three tiny points along the top row. These little crowns sit on each sleeve near the shoulder and add the royal sparkle.
Matching Booties (Make 2)
Start with an oval sole worked in single crochet rounds, increasing at the ends for shape. Work the sides in the back loops for a clean ridge, then decrease across the toe. Finish the ankle with a few even rounds and a white edging. Add a small satin bow on top of each bootie.
Bow Headband
Work a short single-crochet band and seam the ends into a loop. Make a wider rectangle for the bow, pinch the center, wrap yarn tightly, and sew it onto the band. Instant coordinating headpiece.
Assembly and Finishing
Position the Peter Pan collar around the neckline and whip-stitch it in place. Sew one crown appliqué onto each sleeve. Thread the satin ribbon through the waistline stitches and tie a bow at the front. Attach the small satin bows for extra sparkle.
Weave every end carefully on the wrong side. Lightly block the pieces if needed so the shells and collar sit perfectly.
Helpful Tips for Success
Practice the shell stitch on a small swatch first if it feels new. Once you see how the shells nest, the skirt becomes automatic. Count stitches at the end of every round on the bodice—lost or gained stitches throw off the fit.
Pick a muted dusty rose rather than a bright pink for that elegant look. Swap the gold crowns for hearts or flowers if you want a different theme. Work the whole set in white or cream for a christening version.
FYI, soft acrylic or cotton blend yarn survives the washing machine and still feels gentle on baby skin.
Who Is This Pattern For?
This set shines as a baby shower gift when you know a little girl is on the way. It also works beautifully for first birthday photos, christenings, holiday cards, cake smash sessions, and newborn photography props.
Anyone who loves making special baby pieces will enjoy the mix of simple construction and pretty details. You finish something that photographs like a dream and feels special every time it is worn.
You Might Also Like
- Vanilla Blush Tiered Baby Dress Free Crochet Pattern
- Oatmeal Beige Chunky Baby Romper Set Free Crochet Pattern
- Navy Blue Nautical Baby Romper Free Crochet Pattern
- Ocean Blue Baby Romper Set Free Crochet Pattern
FAQ’s
Can I make this in a larger size?
Yes. Add foundation chains and extra rows proportionally for 6–12 months. Keep the shell pattern consistent and check the finished measurements against a similar commercial dress.
What if I have never done shell stitches?
Practice on a short chain first. Work a single crochet row, then place the five-double-crochet shells. Once you see the rhythm, the skirt moves quickly.
Do the crowns have to be gold?
Not at all. White, silver, or even a matching pink works. Gold just gives that classic princess sparkle.
How do I keep the ribbon from sliding?
Weave it through the stitches at the waist and secure the ends with a couple of hidden stitches if the baby is especially active.
Is the set machine washable?
Yes, as long as you choose a machine-washable yarn. Gentle cycle and lay flat to dry keep the shape and the bows looking fresh.
Can I omit the booties or headband?
Absolutely. The dress stands alone beautifully. The extras just turn it into a complete gift set.
Final Thoughts
You end up with a complete princess outfit that looks far more elaborate than the stitches required. The solid bodice, shell skirt, tiny crowns, and matching accessories create something people remember. Grab that dusty rose yarn, start the first panel, and enjoy every row. Handmade baby clothes like this one never go out of style.


Leave a Reply
You must be logged in to post a comment.