

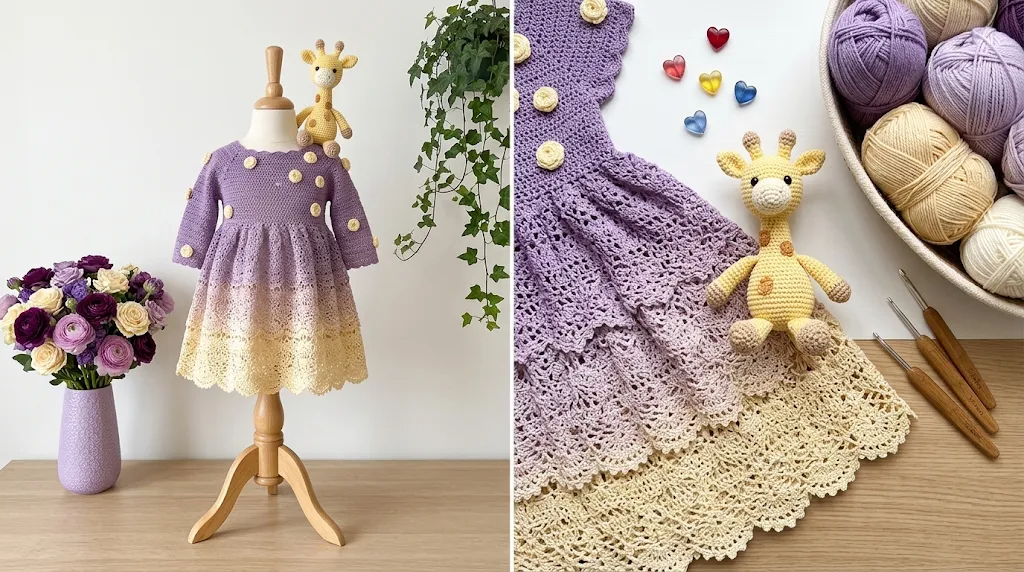
There is something especially sweet about a handmade baby dress in a soft buttercream shade. I wanted this design to feel delicate, warm, and a little vintage-inspired without becoming too complicated to wear or make. The gentle yellow color reminds me of fresh buttercream frosting, while the little crochet rosettes add a charming floral touch.
When designing this dress, I imagined something suitable for birthdays, family photographs, baby showers, and special occasions. I wanted the bodice to be comfortable and simple, with a softly flared skirt that moves beautifully when the baby is carried or gently rocked.
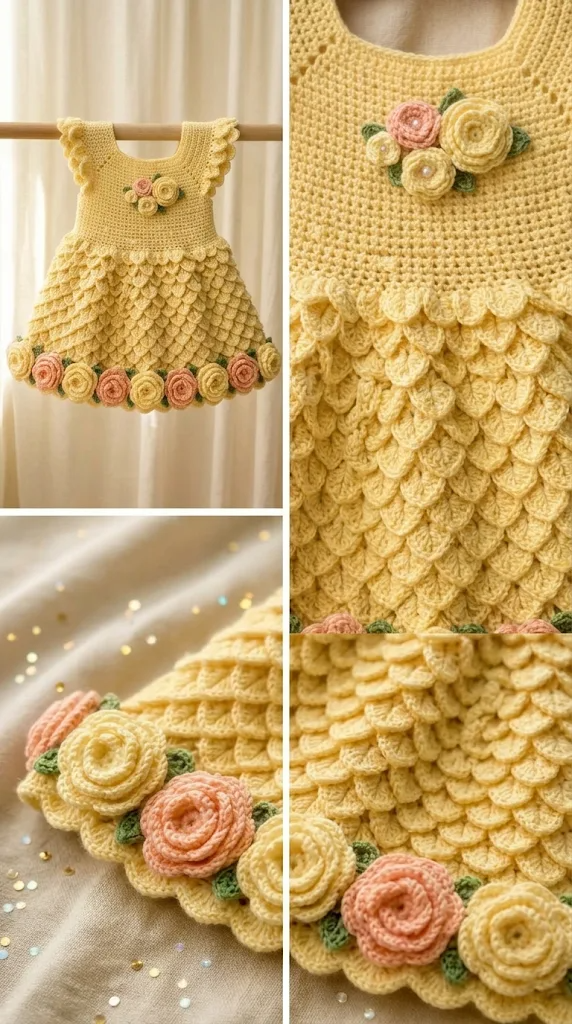
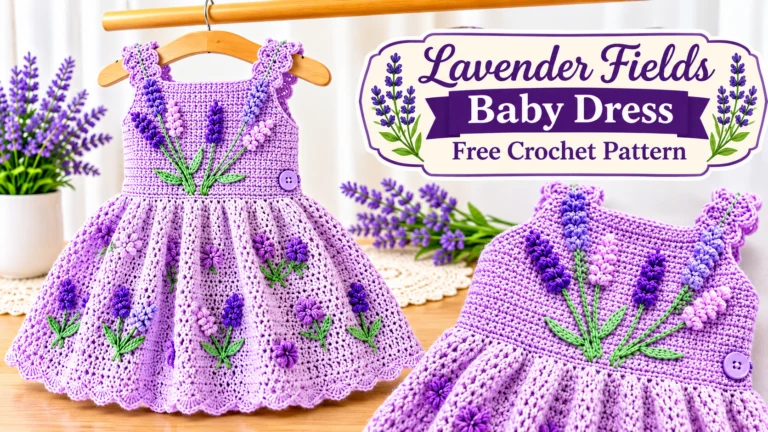
The Buttercream Rosette Baby Dress Free Crochet Pattern combines a comfortable crochet bodice, a textured skirt, and small three-dimensional flowers. It is a lovely project if you enjoy making meaningful handmade gifts.
About This Pattern
This baby dress is worked from the top down, beginning with a simple yoke. The yoke is increased to create the neckline, shoulders, and armholes before the skirt is worked in joined rounds.
The finished dress features:
- A soft, rounded neckline.
- A comfortable short-sleeved bodice.
- A gently flared skirt.
- Decorative textured shell stitches.
- Small raised rosette flowers.
- A neat button closure at the back.
Skill Level: Advanced beginner to intermediate.
You should be comfortable with basic crochet stitches, increasing, working in joined rounds, and following stitch repeats. The rosettes require a little additional attention, but I have explained each step.
Finished Sizes:
- 0–3 months: Chest 16 inches; length 13 inches.
- 3–6 months: Chest 17 inches; length 14 inches.
- 6–12 months: Chest 18 inches; length 15 inches.
- 12–18 months: Chest 19 inches; length 16 inches.
These measurements are approximate. Check the baby’s measurements whenever possible before choosing a size.
Materials You’ll Need
Yarn
Choose a soft, washable baby yarn that feels gentle against delicate skin.
- Color A – Buttercream Yellow: Approximately 250–350 yards (230–320 meters), DK-weight cotton or cotton-acrylic blend.
- Color B – Soft Ivory: Approximately 25 yards (23 meters), DK-weight yarn for rosette centers and decorative details.
- Color C – Pale Cream: Approximately 15 yards (14 meters), DK-weight yarn for optional flower accents.
Allow 15% extra yarn if your tension is loose or you plan to make additional flowers.
Crochet Hooks
- 3.5 mm hook for the bodice and skirt.
- 3.0 mm hook for neckline, sleeve, and hem finishing.
Additional Supplies
- Tapestry needle.
- Two small, smooth buttons.
- Stitch markers.
- Measuring tape.
- Scissors.
- Blocking mat and rustproof pins.
For baby clothing, avoid loose beads, detachable embellishments, and small decorative pieces that could become choking hazards.
Abbreviations and Terminology
This pattern uses US crochet terminology.
- ch: Chain – Yarn over and pull through the loop on your hook.
- sl st: Slip stitch – Insert the hook, yarn over, and pull through both loops.
- sc: Single crochet – Insert the hook, yarn over, pull up a loop, yarn over, and pull through both loops.
- hdc: Half double crochet – Yarn over, insert the hook, pull up a loop, yarn over, and pull through all three loops.
- dc: Double crochet – Yarn over, insert the hook, pull up a loop, yarn over and pull through two loops twice.
- tr: Treble crochet – Yarn over twice, insert the hook, pull up a loop, and work through two loops three times.
- ch-sp: Chain space.
- sk: Skip.
- st(s): Stitch(es).
- rep: Repeat.
- RS: Right side.
- WS: Wrong side.
Important Notes:
- Turning chains do not count as stitches unless specifically stated.
- Join rounds with a slip stitch to the first stitch.
- Place a stitch marker at the beginning of each round.
- Check stitch counts regularly to keep the bodice and skirt symmetrical.
Gauge
Gauge is important because a baby dress should fit comfortably without being restrictive.
Using the 3.5 mm hook:
18 hdc stitches × 14 rows = 4 × 4 inches.
Make a small practice swatch before starting.
If your swatch is larger than the stated measurement, use a smaller hook. If it is smaller, try a larger hook.
Wash and dry your swatch as you intend to care for the finished dress before measuring.
Main Pattern Instructions
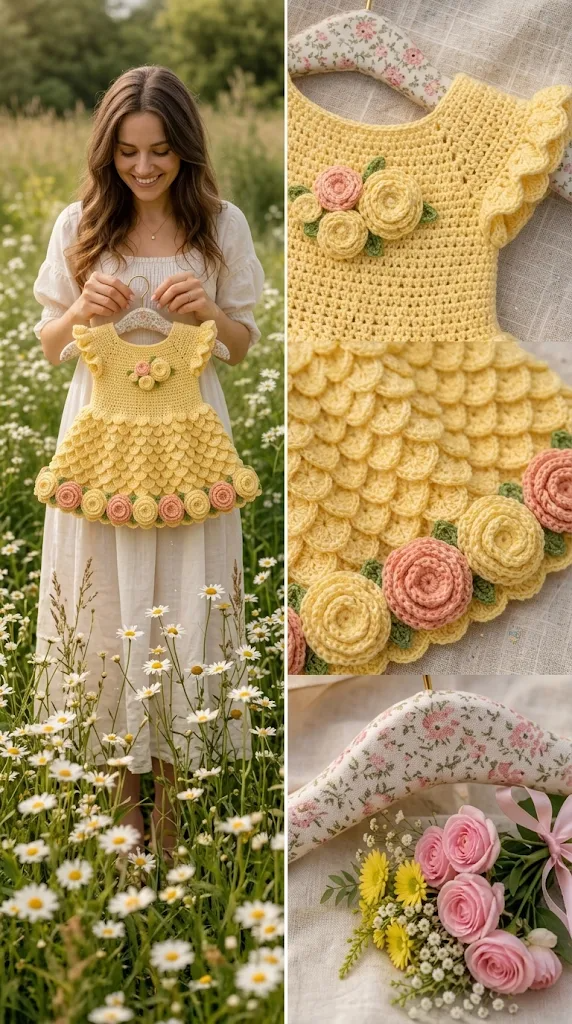
Part 1: Crochet the Bodice Yoke
Use Color A and the 3.5 mm hook.
The yoke is worked in rows with increases at four points to create a rounded, comfortable shape.
Foundation: Ch 56 (60, 64, 68).
Row 1: Hdc in the second chain from the hook and in each remaining chain. Turn.
Count: 55 (59, 63, 67) hdc.
Row 2: Ch 1, hdc in the first 7 stitches, 2 hdc in the next stitch, hdc across the next 12 stitches, 2 hdc in the next stitch, hdc across the next 15 stitches, 2 hdc in the next stitch, hdc across the next 12 stitches, 2 hdc in the next stitch, hdc in the remaining 7 stitches. Turn.
Row 3: Ch 1, hdc in every stitch. Turn.
Row 4: Ch 1, hdc to the first marked increase point, work 2 hdc in the marked stitch, continue to the next marked point and increase in the same way. Repeat at all four marked points. Turn.
Row 5: Ch 1, hdc across. Turn.
Continue alternating an increase row with a plain hdc row until the yoke measures approximately:
- 3.5 inches for 0–3 months.
- 4 inches for 3–6 months.
- 4.5 inches for 6–12 months.
- 5 inches for 12–18 months.
Keep the four increase positions evenly spaced.
Part 2: Form the Armholes
The next step separates the front, back, and sleeves.
Lay the yoke flat with the right side facing you.
Place markers to divide the stitches into four sections:
- Right back.
- Right sleeve.
- Front.
- Left sleeve.
- Left back.
Adjust the sections evenly so both sleeves have matching stitch counts.
Next Row: Ch 1, hdc across the first back section. Ch 4, skip the first sleeve section, hdc across the front section, ch 4, skip the second sleeve section, and hdc across the remaining back section. Turn.
Join the back opening edges neatly if your chosen closure is a button band.
The body should now form a continuous piece with two armholes.
Part 3: Crochet the Dress Skirt
Join the yarn at the underarm chain space.
Work the skirt in joined rounds.
Round 1: Ch 2, work 1 dc in each stitch and chain space around. Join.
Round 2: Ch 2, dc in each stitch around. Join.
Round 3: Ch 2, dc in the next 3 stitches, 2 dc in the next stitch. Repeat around. Join.
Round 4: Ch 2, dc in each stitch around. Join.
This gradual increase creates a gentle flare without making the skirt too heavy.
Textured Shell Stitch Skirt
The decorative skirt is made using small shell clusters.
Shell Round: Ch 1, sc in the first stitch, skip 2 stitches, work 5 dc in the next stitch, skip 2 stitches, sc in the next stitch. Repeat around, adjusting the final repeat if needed to maintain an even pattern. Join.
Next Round: Ch 3, work 4 dc into each shell center, placing a sc between shell groups.
Continue alternating the shell round with a plain dc round.
Repeat until the skirt measures approximately:
- 6 inches from the underarm for 0–3 months.
- 7 inches for 3–6 months.
- 8 inches for 6–12 months.
- 9 inches for 12–18 months.
Finish with a round of sc stitches.
Fasten off and weave in the ends.
Special Techniques: Crochet Rosette Flowers
The little rosettes are the main decorative feature of this dress. They create a raised floral texture against the smooth buttercream fabric.
Make 5–7 small rosettes using Color A and Color B.
Rosette Center
Using Color B:
Round 1: Make a magic ring, ch 1, work 6 sc into the ring. Pull the ring closed and join with a sl st.
Round 2: Ch 1, work 2 sc in each stitch around. Join.
Count: 12 sc.
Fasten off.
Rosette Petals
Join Color A into any stitch.
Round 1: Ch 3, work 2 dc into the same stitch, sl st into the next stitch. Repeat around to create six small petals.
Fasten off, leaving a long tail for sewing.
Gently shape each petal with your fingers to give the flower a rounded appearance.
Adding Texture to the Flowers
For a slightly fuller flower, make another smaller petal layer using Color C.
Work behind the first petal layer, placing three small dc stitches in selected spaces.
Keep the flowers compact and securely attached. Avoid oversized rosettes because they can make the dress heavy or uncomfortable for a baby.
Sleeves and Neckline Finishing
Sleeves
Join Color A at the underarm.
Round 1: Ch 1, sc evenly around the armhole. Join.
Round 2: Ch 2, hdc in each stitch around. Join.
Round 3: Ch 1, sc in each stitch around. Join and fasten off.
Repeat for the second sleeve.
Neckline
Using the 3.0 mm hook, join Color A at the back neckline.
Round 1: Ch 1, sc evenly around the neckline. Join.
Round 2: Ch 1, sc in every stitch. Join.
Fasten off and weave in the ends.
The smaller hook helps keep the neckline neat and prevents it from stretching.
Assembly and Finishing
Lay the dress flat and check that both sleeves and the skirt are symmetrical.
Arrange the rosettes along the upper skirt, concentrating them slightly toward the front.
A lovely arrangement is:
- One central rosette beneath the bodice.
- Two rosettes on either side.
- Two additional flowers near the lower skirt if desired.
Use a tapestry needle and matching yarn to sew each flower securely in place.
For the back closure, create a small button loop at the neckline and sew two smooth buttons along the back opening if your chosen construction includes a split back.
Check that every seam is comfortable and that no long yarn tails remain.
Blocking and Care
Because this dress is made with baby-friendly yarn, gentle blocking is best.
Fill a basin with cool water and a small amount of mild detergent. Submerge the dress, gently squeeze the water through the fabric, and avoid twisting or wringing.
Rinse carefully and press the excess water out using a clean towel.
Lay the dress flat on a blocking mat. Smooth the bodice, shape the skirt, and arrange the rosette petals.
Allow it to dry completely.
For everyday care:
- Hand wash or use a gentle machine cycle if the yarn label permits.
- Use cool water.
- Avoid harsh bleach.
- Dry flat.
- Never hang the dress while wet.
- Store folded in a clean, dry place.
Fit and Troubleshooting Tips
The bodice feels too tight: Check your gauge and increase the hook size if necessary. You can also add a few foundation chains when beginning the next size.
The skirt curls upward: Your tension may be too tight. Try a slightly larger hook or check that you have not missed stitches.
The skirt looks too ruffled: Too many increases can create excess fullness. Remove one increase round and check the shape again.
The rosettes look flat: Use a slightly looser tension for the petals and gently shape them before sewing.
The neckline stretches: Use a smaller hook for the finishing round and avoid making loose chains.
The sleeves feel restrictive: Add one additional underarm chain or work an extra round of hdc.
Always check the fit before adding decorative flowers, especially if you are making the dress as a gift.
Final Thoughts
The Buttercream Rosette Baby Dress Free Crochet Pattern is a lovely way to turn soft yarn into something meaningful. Its gentle yellow color, textured skirt, and delicate handmade flowers create a sweet vintage-inspired look that feels special without being overly complicated.
I especially love how the little rosettes bring the dress to life. You can keep the flowers subtle or add a few extra along the skirt for a fuller floral appearance.
Whether you are making this dress for your own little one, preparing a baby shower gift, or creating a special handmade outfit for a family celebration, I hope you enjoy every stitch.
If you make this pattern, share your finished dress in the comments or tag your crochet creation on Pinterest. I would love to see how your buttercream rosettes turn out!
Happy crocheting!



Leave a Reply
You must be logged in to post a comment.