

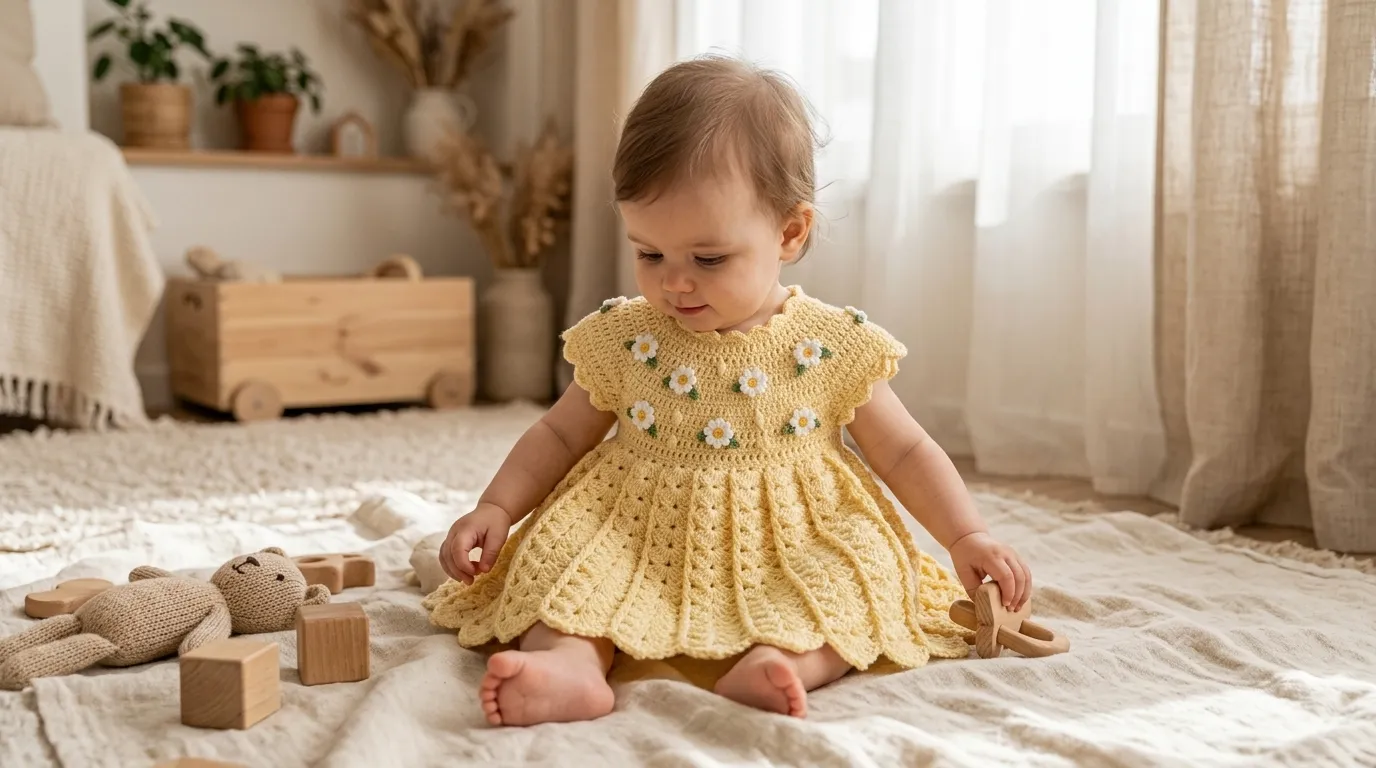
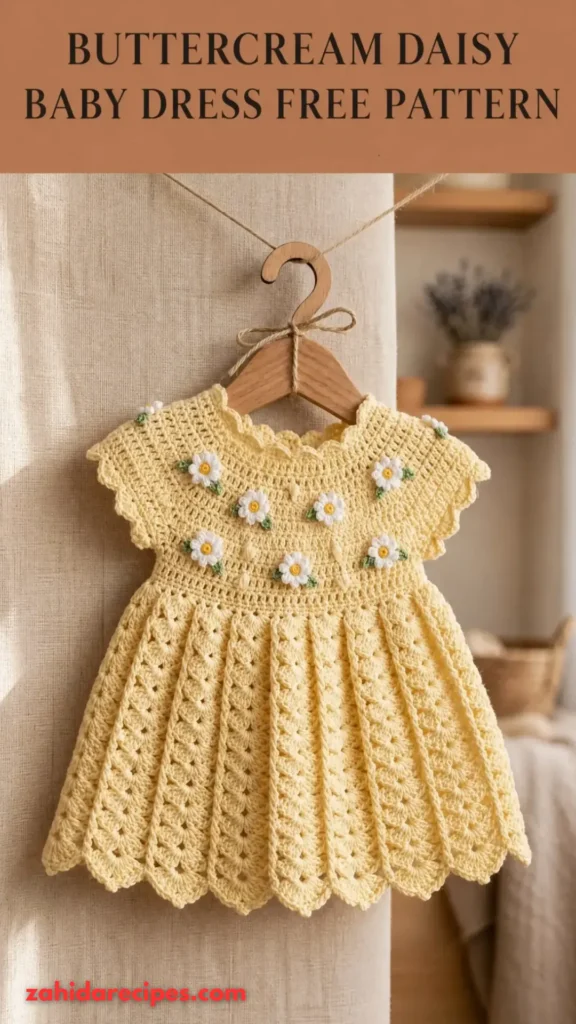
That tiny buttercream dress with daisy squares? It’s the kind of project that makes you stop scrolling and say “I need to make that right now.” The soft yellow base with white daisy petals creates a vintage charm that works for baby showers, first birthdays, or just because. And the best part? You can crochet it yourself with basic stitches and a free pattern.
Why This Daisy Dress Hits Different
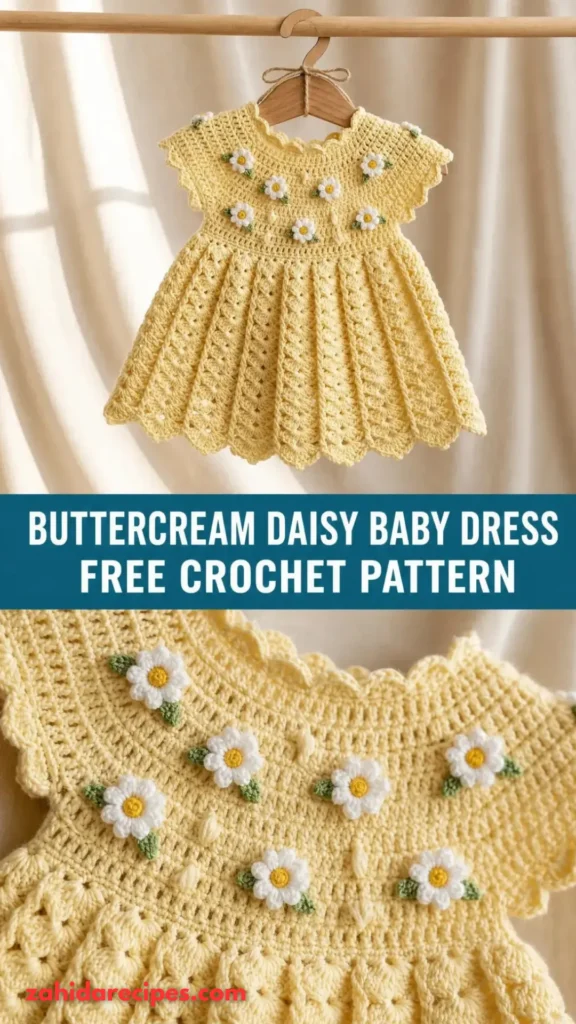
Some baby patterns look cute but feel complicated. This one balances charm with practicality.
The daisy granny square design gives you that heirloom feel without requiring advanced skills. If you can chain, double crochet, and slip stitch, you’re already qualified. The squares work up fast, and joining them feels like putting together a puzzle—satisfying in that oddly addictive way.
The buttercream yellow color choice is genius, by the way. It’s soft enough for babies but bright enough to photograph beautifully. Plus, it pairs with almost any nursery theme. IMO, neutral pastels like buttercream work better than pink or blue because they suit any baby.
What You’ll Need Before You Start
Gathering supplies before you begin saves you from that frustrating mid-project yarn run.
Yarn: You’ll want fine weight (category 2) or sport weight yarn. Cotton blends work beautifully here—they hold stitch definition and feel cool against baby skin. Premier Yarns Cotton Fair is a popular choice for exactly this reason. You’ll need three colors: a buttercream yellow for the main color, white for the daisy petals, and a small amount of yellow or gold for the flower centers.
Hook: A 3.25 mm (US D) hook works for most people hitting gauge. Always check your gauge first, though. Baby garments need accurate sizing, and even a small difference changes the fit.
Notions: Tapestry needle for weaving ends, stitch markers (at least four), scissors, and a flexible measuring tape.
Skill level: Intermediate. If you’ve made granny squares before, you’re golden. If not, this makes a great first garment project because the squares are small and portable.
Breaking Down the Daisy Square
The magic happens in three rounds. Each one builds on the last, transforming a simple circle into a flower-centered square.
Round 1: The Center
Start with a magic circle and work 12 single crochets into it. Join with a slip stitch. This creates the tight center that becomes your daisy’s middle.
If magic circles make you want to throw your hook across the room, chain 2 and work your stitches into the second chain from the hook instead. Same result, less cursing.
Round 2: Petals Take Shape
Switch to your white yarn. You’ll work clusters of double crochets that fan out from the center like petals. Each cluster uses four double crochets worked together—yarn over, pull up a loop, yarn over, pull through two loops, repeat until you have five loops on your hook, then pull through all of them.
Chain 1 between each cluster to give the petals breathing room. By the end of this round, you should have twelve clusters. That chain-1 space between clusters? That’s where your corners will form in the next round.
Round 3: From Circle to Square
Switch to your main buttercream color. Now you’re turning that circular flower into a square shape. Work double crochet clusters into the chain spaces, with chain-1 corners at four points around the flower.
The corners are what give the square its shape. Without them, you’d just have a bigger circle. With them, you get those crisp edges that make joining easy.
Joining Squares Into a Bodice
Most sizes need between 14 and 36 squares, depending on how big you’re making the dress. You’ll arrange them in two or three rows to form the bodice.
Lay your squares out first. Trust me on this. Arranging them before joining saves you from the heartbreak of realizing you sewed them in the wrong order. The daisy centers should all face the same direction for a polished look.
Join the squares using slip stitches or single crochets along the edges. Whip stitch works too if you prefer seaming with a needle. Whatever method you choose, keep your tension even—lumpy seams show up more than you’d expect on tiny garments.
Leave the back open. This isn’t a mistake. The open back makes dressing a squirmy baby infinitely easier, and you’ll add straps later to keep everything in place.
Building the Skirt and Waist
Once your bodice is assembled, you’ll work the skirt directly from the bottom edge of the squares.
Attach your buttercream yarn to the bodice’s lower edge and work rounds of double crochet. The first few rounds shape the waist, so pay attention to any decreases in the pattern. After that, you’re mostly working even rounds until the skirt reaches your desired length.
Want a twirlier skirt? Add more rounds. Want something simpler? Stop earlier. This is your dress, and the pattern is just a starting point.
Straps and Finishing Touches
The shoulder straps are simple single crochet strips worked to the right length for your baby’s size. Attach them to the front and back bodice, leaving enough room for wiggling but not so much that the dress slides off.
Add a button or two at the back for closure. Small flat buttons work best—nothing that could come loose and become a choking hazard. Sew them on securely with doubled thread.
Weave in all your ends. I know this is the least fun part, but skipped ends have a way of popping out after the first wash. Take the five minutes and do it right.
Sizing Tips That Actually Help
The pattern covers sizes from 3-6 months up to 10 years. That’s a lot of numbers to keep straight.
Highlight the numbers for your size before you start. Print the pattern or open it on a device where you can mark it up. Trust me, nothing kills crochet momentum faster than losing your place in a sea of parentheses.
Measure as you go. Baby proportions vary wildly, so the stitch counts are guidelines, not gospel. If your square measures slightly larger or smaller than expected, adjust your hook size rather than rewriting the pattern in your head.
The dress is designed with growing room in mind. Babies don’t stay one size for long, so a little extra ease means they’ll wear it for more than two weeks.
Care Instructions for Your Finished Dress
Baby clothes get washed. A lot. Prepare your dress for reality.
Hand wash in cool water with gentle detergent, or use a mesh bag on a delicate cycle. Lay flat to dry—hanging wet crochet stretches it into shapes you didn’t intend. Cotton blends hold up well, but acrylic can pill over time.
Block your dress before the first wear. Lightly mist it, pin it to shape, and let it dry completely. This sets the stitches and makes everything look more professional.
you Might Also Like:
- Crochet Mint Daisy Baby Dress Free Pattern
- Pink Rose Granny Square Baby Romper Free Crochet Pattern
- Blue Heart Granny Square Baby Blanket Free Crochet Pattern
- Blush Pink Teddy Bear Granny Square Blanket Free Pattern
Final Thoughts
This buttercream daisy dress is one of those projects that looks impressive but doesn’t require superhuman crochet skills. The squares keep things manageable, the color scheme works for any season, and the finished piece has that handmade charm that store-bought can’t touch.
Whether you’re making it for your own little one or as a baby shower gift, take your time with the details. Check your gauge. Join your squares carefully. Block before wearing. Those small efforts make the difference between “cute handmade dress” and “where did you buy that?”
Now go grab your hook. Those daisies aren’t going to crochet themselves.



Leave a Reply
You must be logged in to post a comment.