

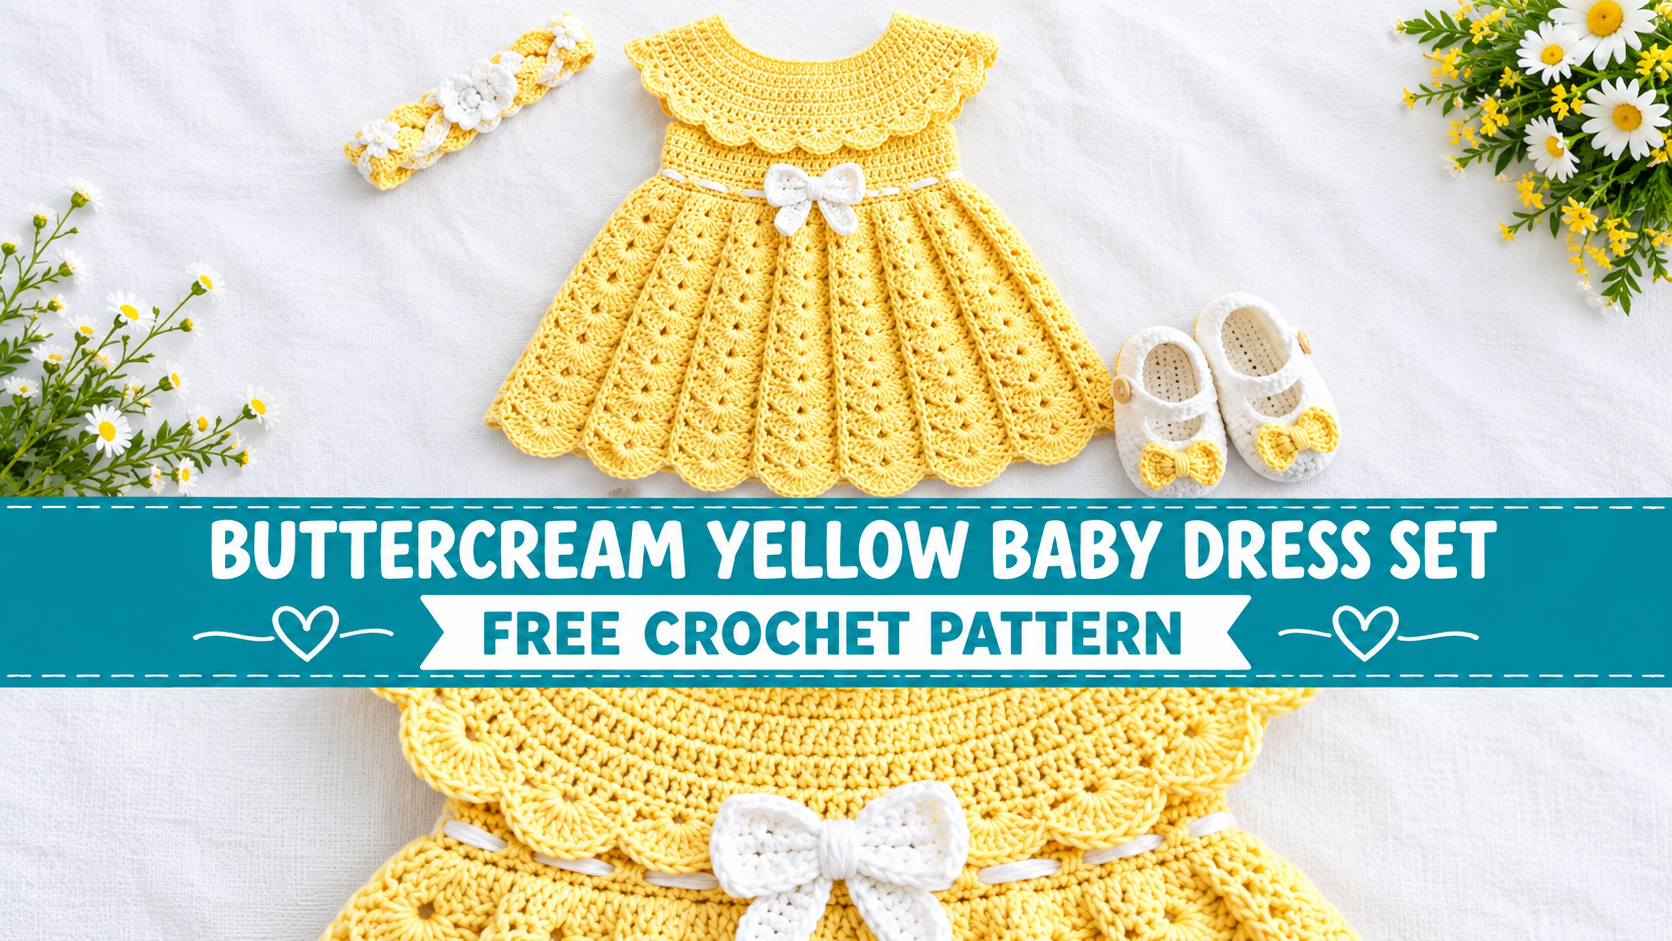
I still remember the exact shade of yellow that started this set. It was the soft, warm cream of fresh butter left out on a sunny windowsill—neither bright nor pale, just quietly glowing. I wanted a baby dress that felt like that color: gentle, hopeful, and a little bit special without ever trying too hard. The Buttercream Yellow Baby Dress Set grew from that simple image. A light dress with a delicate yoke, a softly textured skirt, and a matching bonnet that frames a tiny face just right.
This is the free pattern for that set. It is designed for everyday beauty—something soft enough for a newborn’s skin, structured enough to hold its shape through photos and family gatherings, and timeless enough to be packed away and brought out again for the next little one.
About This Pattern
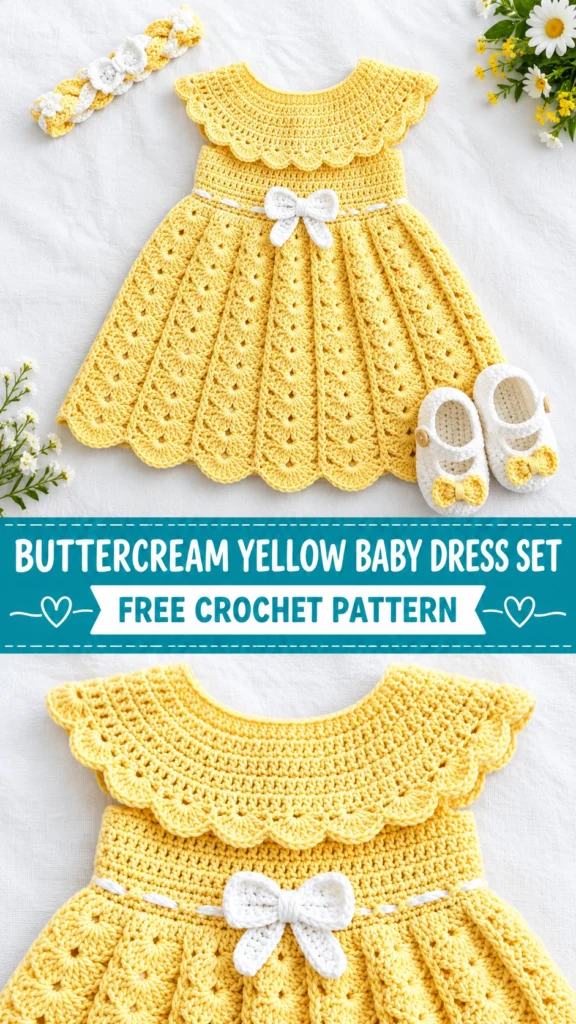
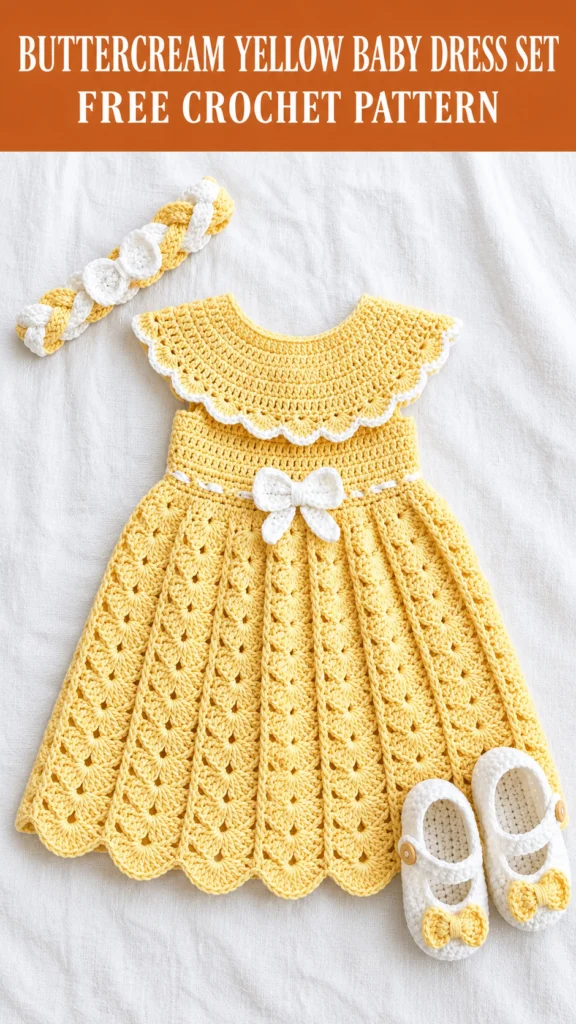
The dress is worked from the top down in one piece. The yoke is a simple combination of double crochet and chain spaces that creates a light, open texture. After the yoke is divided for the armholes, the skirt is worked in a gentle shell pattern that gives a soft flare without bulk. The matching bonnet is worked flat and seamed at the back, with the same shell edging for a coordinated look.
Skill level is intermediate. You should be comfortable with working in the round, increasing evenly, and keeping track of stitch counts across a few pattern rows. Nothing is overly complex, but the openwork requires attention so the fabric stays even.
Finished sizes (after blocking):
- Dress: Newborn to 3 months (chest 16–17 in / 40–43 cm) with notes for adjusting to 6 months
- Bonnet: Newborn to 3 months (head circumference 13–14 in / 33–35 cm)
The fabric has a soft drape once blocked and will relax further with gentle wear. Expect a light, airy feel rather than a stiff structure.
Materials You’ll Need
Yarn
I used a soft, soft baby cotton that holds stitch definition while remaining cool and breathable.
- Color A (Buttercream Yellow): 380 yd / 350 m DK-weight cotton or cotton-blend baby yarn
- Color B (Soft Ivory, optional accent): 40 yd / 35 m of the same weight (for edging and ties if desired)
Allow 15 % extra for gauge variation and swatching.
Hooks
- 3.5 mm (E-4) for the main fabric of both dress and bonnet
- 3.0 mm (D-3) for a slightly firmer neckline and bonnet brim if preferred
Notions
- Tapestry needle
- Stitch markers
- 3 small buttons (10–12 mm), preferably mother-of-pearl or matte finish
- Blocking mats and pins
- Scissors
Abbreviations and Terminology (US Terms)
- ch – chain
- sc – single crochet (insert hook, yarn over, pull up loop, yarn over, pull through both loops)
- hdc – half double crochet (yarn over, insert hook, yarn over, pull up loop, yarn over, pull through all three loops)
- dc – double crochet (yarn over, insert hook, yarn over, pull up loop, yarn over, pull through two loops, yarn over, pull through remaining two loops)
- sl st – slip stitch
- sp – space
- sk – skip
- rep – repeat
- beg – beginning
- RS – right side
- WS – wrong side
Turning chains do not count as a stitch unless a step explicitly says they do.
Shell: (2 dc, ch 1, 2 dc) in the same stitch or space.
V-st: (dc, ch 1, dc) in the same stitch or space.
Gauge
With 3.5 mm hook and Color A, work a 4 in × 4 in (10 cm × 10 cm) swatch in the skirt shell pattern:
Ch 26.
Row 1: Dc in 4th ch from hook and in each ch across. (24 dc)
Row 2: Ch 3 (counts as dc), sk 2 dc, shell in next dc, *sk 3 dc, shell in next dc; rep from * across, ending with sk 2 dc, dc in last dc.
Row 3: Ch 3, shell in each ch-1 sp across, dc in top of turning ch.
Repeat Rows 2–3 until swatch measures at least 4 in. Block lightly. You should have approximately 4 full shells and 5–6 rows in 4 in.
If your swatch is too small, go up a hook size. If it is too large, go down a half size. The fabric should feel open but not loose.
Main Pattern Instructions
Dress Yoke
With 3.5 mm hook and Color A, ch 62.
Row 1 (RS): Dc in 4th ch from hook and in each ch across. (60 dc) Turn.
Row 2: Ch 3 (counts as dc), dc in next 8 dc, (dc, ch 1, dc) in next dc (corner), dc in next 12 dc, (dc, ch 1, dc) in next dc, dc in next 16 dc, (dc, ch 1, dc) in next dc, dc in next 12 dc, (dc, ch 1, dc) in next dc, dc in last 9 dc. Turn.
Count: 4 corner spaces created.
Row 3: Ch 3, *dc in each dc to next ch-1 sp, (dc, ch 1, dc) in ch-1 sp; rep from * three more times, dc in each remaining dc. Turn.
Rows 4–7: Repeat Row 3. You will have increased evenly at each corner. At the end of Row 7 the yoke should measure approximately 5.5–6 in (14–15 cm) deep at the center back.
Divide for Armholes
Row 8: Ch 3, dc in each dc and ch-1 sp across the first front to the first corner space, dc in the corner space, ch 4 (underarm chain), sk all stitches of the first sleeve section to the next corner space, dc in that corner space, dc across the back to the next corner, dc in corner, ch 4, sk sleeve stitches, dc in final corner space and across remaining front. Turn.
You have now separated the fronts, back, and two armhole openings.
Skirt
Row 9: Ch 3, dc in each dc and underarm chain across. Turn. Place a stitch marker at each underarm if desired for later sleeve work.
Row 10 (Shell Setup): Ch 3, sk 2 dc, shell in next dc, *sk 3 dc, shell in next dc; rep from * across, ending with sk 2 dc, dc in last dc. Turn.
Row 11: Ch 3, shell in each ch-1 sp across, dc in top of turning ch. Turn.
Rows 12–27: Repeat Rows 10 and 11 (or continue working shells in the ch-1 spaces of the previous row). Work until the skirt measures approximately 8–8.5 in (20–22 cm) from the underarm, or desired length.
Final Skirt Row: Ch 1, sc in first dc, *ch 3, sc in ch-1 sp of next shell; rep from * across, ending with sc in top of turning ch. Fasten off.
Sleeves (optional short sleeves)
Join Color A at the center of one underarm chain.
Work 3–4 rounds of sc evenly around the armhole opening, decreasing 2–3 stitches per round if needed to keep the sleeve from flaring. Fasten off. Repeat for the second armhole.
Neckline and Button Band
With RS facing, join Color A at the lower right front edge.
Work 1 row of sc evenly up the right front, around the neckline, and down the left front. Place three stitch markers evenly spaced on the right front for buttonholes.
Next row: Sc in each sc, working (sc, ch 2, sk 2 sc) at each buttonhole marker.
Final row: Sc in each sc and 2 sc in each ch-2 space. Fasten off.
Sew buttons opposite the buttonholes.
Bonnet
With 3.5 mm hook and Color A, ch 42.
Row 1: Dc in 4th ch from hook and in each ch across. (40 dc) Turn.
Rows 2–12: Ch 3, dc in each dc across. Turn.
At the end of Row 12 the rectangle should measure approximately 7.5 in (19 cm) wide and 4.5 in (11.5 cm) tall.
Crown Shaping
Fold the rectangle in half and seam the back edges together for about 2.5 in (6 cm) from the top, leaving the lower portion open for the neck.
Neck Edge
Join yarn at one front corner of the lower edge. Work 1 row of sc evenly across the neck opening, placing 2–3 decreases near the back seam if needed for a gentle curve.
Next row: Ch 3, shell in every 4th sc across for a soft decorative edge. Fasten off.
Optional Ties
With Color B (or Color A), ch 60 for each tie. Fasten off and sew one tie to each front corner of the bonnet.
Special Techniques – Soft Picot Edging (optional)
For a delicate finish on the skirt hem or bonnet edge:
*Sc in next stitch, ch 3, sl st in first ch of the ch-3 (picot made), sk 1 stitch; rep from * around or across.
Assembly and Finishing
Weave in every end securely on the wrong side, paying special attention to the underarm joins and button band. Check that the buttonholes are large enough for the chosen buttons but not so large that they gap.
Blocking and Care
Wet-block both pieces. Soak in cool water with a drop of mild baby-safe soap for 15 minutes. Gently squeeze out excess water (never wring). Pin the dress to the finished measurements on blocking mats, opening the shells fully so the lace pattern shows. Pin the bonnet over a small bowl or balloon of the correct size. Allow to dry completely.
Care: Hand wash in cool water, roll in a towel to remove moisture, and dry flat. Do not tumble dry or hang when wet. Store folded in a clean cotton bag.
Fit and Troubleshooting Tips
If the yoke feels tight around the chest, add 4–6 chains to the starting chain and distribute the extra stitches evenly across the four sections.
If the skirt flares too much, reduce the number of skipped stitches between shells by one on the setup row.
If the bonnet sits too far back on the head, add 2–3 extra rows before beginning the back seam.
Buttons that feel insecure can be reinforced with a tiny second stitch through the same holes after the first sewing pass.
Final Thoughts
There is a quiet kind of happiness in finishing a tiny dress and bonnet that will be worn for first photos, first outings, and quiet afternoons at home. The buttercream yellow feels warm without being loud, and the soft shells catch the light in a gentle way.
I hope this set brings you the same soft satisfaction in the making that I felt while designing it. If you share photos of your finished Buttercream Yellow Baby Dress Set, I would love to see them—leave a comment or tag me so we can celebrate the little ones who will wear these stitches. Happy crocheting.


Leave a Reply
You must be logged in to post a comment.