


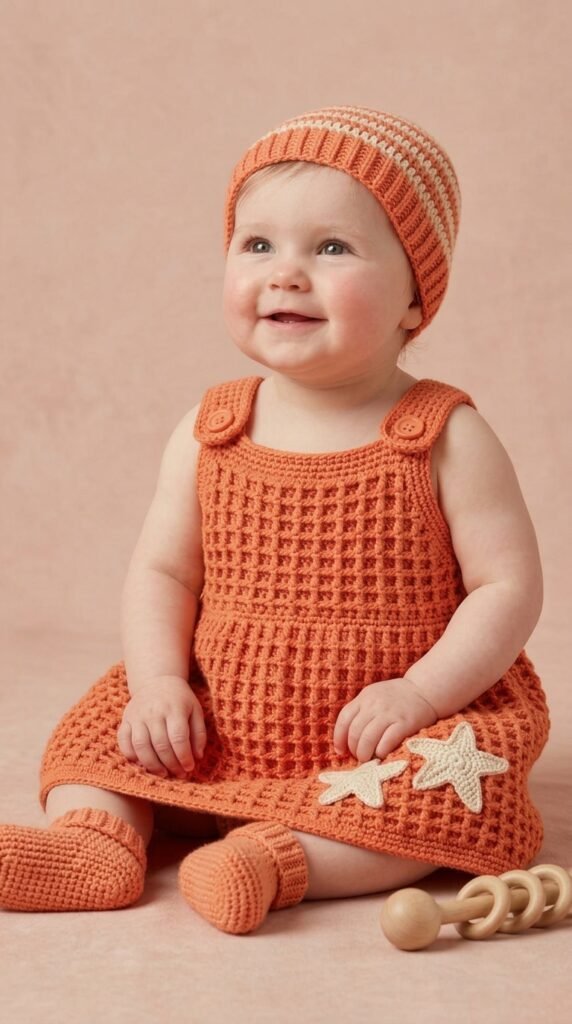
Grab your coral yarn and get ready for the cutest baby pinafore you will ever stitch. This free pattern turns a simple waffle-inspired grid into a soft, textured dress with button-strap shoulders and optional starfish appliqués that scream coastal charm. You work the whole thing flat, so no scary sleeve shaping or complicated joins. Four evenings and a cup of coffee later, you hold a gift that looks far more impressive than the stitches required.
Why You Will Love This Crochet Baby Pinafore Pattern
This little dress delivers texture without the drama. The raised grid looks like it took hours of fancy cable work, yet you create it with a simple alternating post-stitch rhythm that clicks after just a few rows.
No sleeves means zero armhole stress. You get a sweet bodice, adjustable shoulder straps with buttonholes, and an A-line skirt that leaves room for diapers and wiggly legs. The coral shade feels fresh for any season, and you can swap it for whatever matches the nursery.
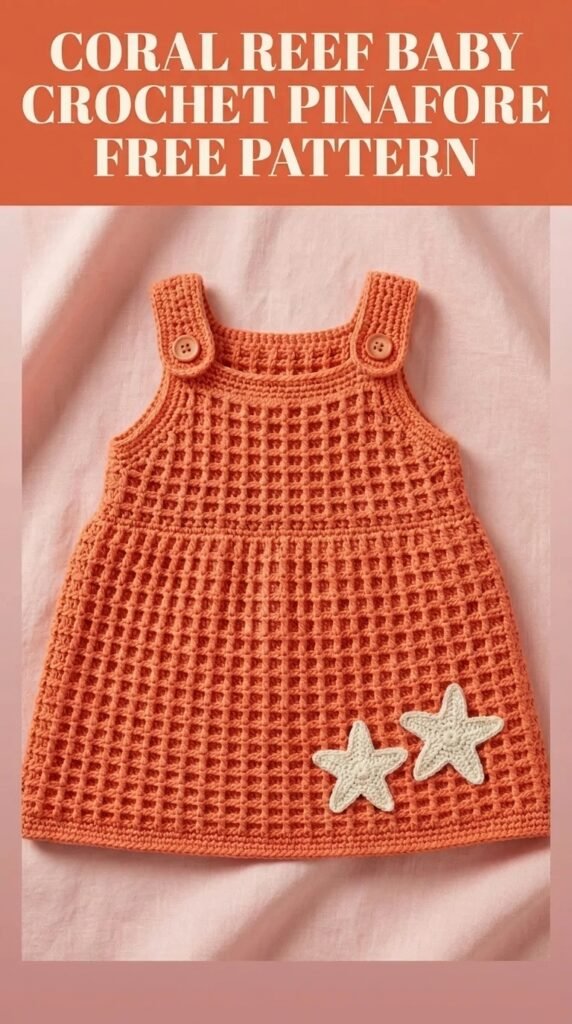
Those starfish appliqués? Pure bonus charm. Leave them off for a clean look or replace them with hearts or flowers if the coastal vibe is not your thing. IMO, this pattern becomes an instant go-to once you finish the first one.
Skill Level
Call it confident beginner to intermediate. If you handle basic stitches in rows and keep a running stitch count, you can absolutely make this pinafore.
The textured section repeats the same combo across every row. Once that rhythm settles, the skirt flies off your hook. Post stitches might feel new at first, but they turn meditative fast.
Finished Measurements
This version fits 6 to 12 months.
- Chest circumference: about 18 inches (comfortable ease for 17–19 inch chests)
- Length from shoulder to hem: roughly 14 inches
- Skirt width at hem: around 22 inches
Need a smaller or larger size? Start with fewer or more foundation chains and adjust the bodice proportionally. Easy tweak.
Materials Needed
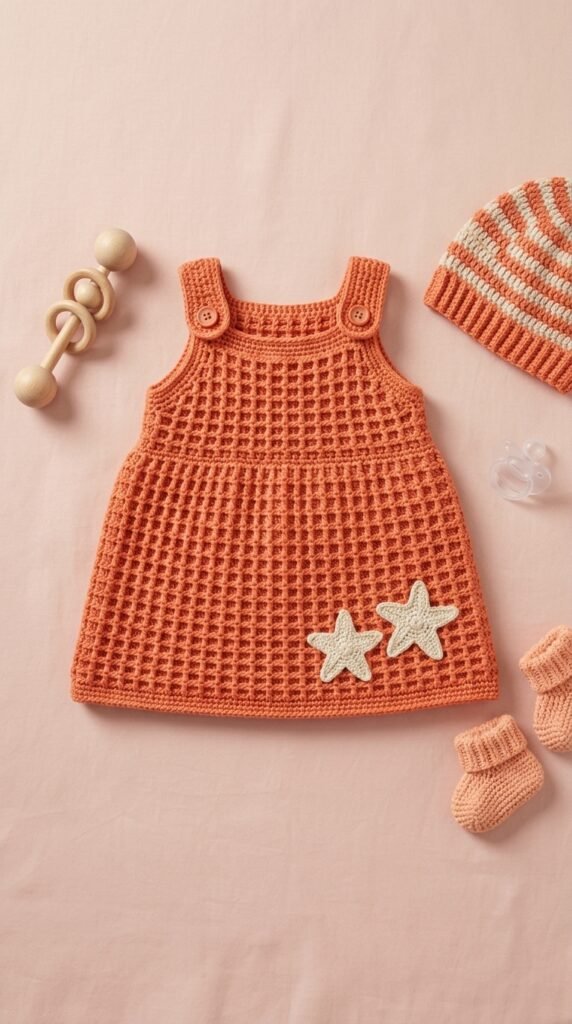
Collect everything before you start so the flow never breaks.
Yarn
Main Color (Coral): roughly 200 yards of worsted-weight yarn. Soft cotton blend or baby acrylic works best—machine washable and gentle on skin.
Contrast Color (Cream): about 15 yards for the starfish. Keep it smooth so the tiny points stay defined.
Hook
Size H/8 (5.0 mm) for the dress body. Size G/6 (4.0 mm) for the appliqués if you want tighter stitches on those little motifs. Always check gauge and switch hooks if your swatch drifts.
Notions
- Two wooden buttons, about 15 mm
- Yarn needle
- Stitch markers
- Scissors
- Measuring tape
That is the whole list. Nothing exotic.
Gauge
14 stitches and 10 rows = 4 inches in the textured grid pattern with the H/8 hook.
Swatch, measure, and adjust. Baby clothes need proper fit for comfort and safety. Too tight? Go up a hook size. Too loose? Drop down. Trust the numbers.
Abbreviations and Stitch Definitions
Here is every abbreviation you will meet, explained in plain talk:
- ch = chain
- sl st = slip stitch
- sc = single crochet
- dc = double crochet
- fpdc = front post double crochet (work around the vertical post from the front)
- bpdc = back post double crochet (work around the post from the back)
- sk = skip
- st(s) = stitch(es)
- rep = repeat
Nothing fancy. Just the tools for the texture.
Special Stitch: Textured Grid Pattern
The waffle-like surface comes from alternating front-post and back-post double crochets. Work a front-post where the previous row had a back-post, and vice versa. That simple switch creates the raised squares.
Never tried post stitches? Insert the hook around the vertical bar of the stitch below instead of the top loops, then finish the double crochet as usual. It clicks after two rows. Promise.
Pattern Instructions
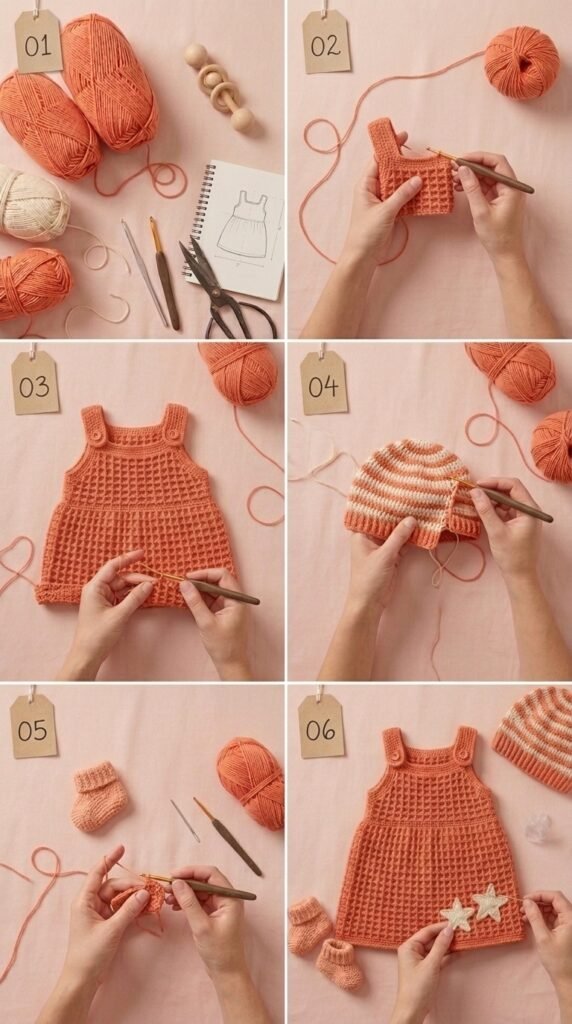
Everything works flat from the hem upward. You build the skirt first, shape the bodice, divide for armholes, add straps, then assemble.
Skirt (Worked Flat, Bottom Up)
Chain the foundation for the hem width. Work a setup row of double crochet, then launch into the alternating post-stitch grid. Keep the same stitch count and flip the posts every row so the texture stays consistent. Stop when the skirt hits about 11 inches. Add or remove rows in pairs if you need extra length.
Bodice Section
Switch to decreases across one row to pull the width in for the chest. Work a couple of even double-crochet rows, then get ready to split for the armholes.
Divide for Armholes
Work the right front panel across a small group of stitches and finish those rows. Skip a couple of stitches for the armhole gap, join yarn for the back panel, work those rows, then skip again and finish the left front. Fasten off each section cleanly.
Shoulder Straps (Make 2)
Chain a short foundation and work single crochet rows for length. Add a simple buttonhole near the end by chaining over two skipped stitches, then fill that space on the next row. Leave a long tail for sewing.
Assembly
Sew the plain ends of the straps to the outer edges of the front bodice. Fold the piece right sides together and seam the skirt sides up to the armholes. Lay the straps over the back, mark the button spots, and sew the buttons securely in place.
Edging (Optional)
Run a round of single crochet around each armhole and the neckline for a clean, polished finish. Work two single crochets into most row ends and one into each stitch so the edge lies flat.
Starfish Appliqués (Optional)
These tiny coastal accents finish the look. Start with a magic ring and five single crochets. From each single crochet, chain a short point, work a slip stitch, single crochet, and half double crochet back down, then slip stitch into the next ring stitch. Repeat for all five points.
Shape the arms gently with your fingers and sew two of them onto the lower front of the skirt. Cream yarn makes them pop against the coral.
Helpful Tips for Success
Park a stitch marker at the start of every row until the pattern repeat feels automatic. Post stitches can tighten up—loosen your tension a touch so the hook slides easily around each post.
Wet-block the finished piece. Soak, squeeze gently, and lay flat to dry. The grid texture suddenly looks crisp and professional. Want a different size? Change the starting chain and scale the bodice stitches the same way.
How to Care for Your Finished Pinafore
Machine wash gentle cycle in cold water. Lay flat to dry or tumble low. Cotton may shrink a hair on the first wash—nothing dramatic. Skip hanging; the straps stretch if you do.
Keep it simple and the pinafore stays soft for years of wear and washing.
You Might Also Like
- Navy Blue Herringbone Baby Romper Free Crochet Pattern
- Sunshine Yellow Cheerful Baby Romper Free Crochet Pattern
- Berry Blossom Granny Romper Free Crochet Pattern
- Ocean Wave Baby Dress Free Crochet Pattern
FAQ’s
Can I use a different yarn weight?
Stick with worsted. Anything lighter or heavier throws the gauge and the finished fit. If you must substitute, match yardage and swatch carefully.
What if post stitches still feel awkward?
Practice on a small square first. Once you feel the difference between front and back posts, the whole skirt becomes easy. You will not even think about it after a few rows.
Do the starfish have to match the dress color?
Nope. Cream looks classic against coral, but white, soft yellow, or even a contrasting teal works just as well. Make them whatever makes you smile.
How do I keep the straps from twisting?
Sew them carefully and check alignment before you attach the buttons. A quick steam after assembly helps them lie flat.
Is this safe for newborns?
The 6–12 month size is best. For younger babies, scale the starting chain down and watch the button size—choose larger, securely sewn buttons or omit them for a tie closure if needed.
Can I add a lining?
You can, but the texture already gives enough body. A light cotton lining works if the baby is extra sensitive to acrylic.
Final Thoughts
You finish with a dress that feels special every time a little one wears it. The grid texture, the easy straps, and those optional starfish create something that photographs beautifully and lasts through countless washes. Pick up that coral yarn, chain the foundation, and enjoy every row. Handmade baby clothes never go out of style—and neither does this pattern.


Leave a Reply
You must be logged in to post a comment.