

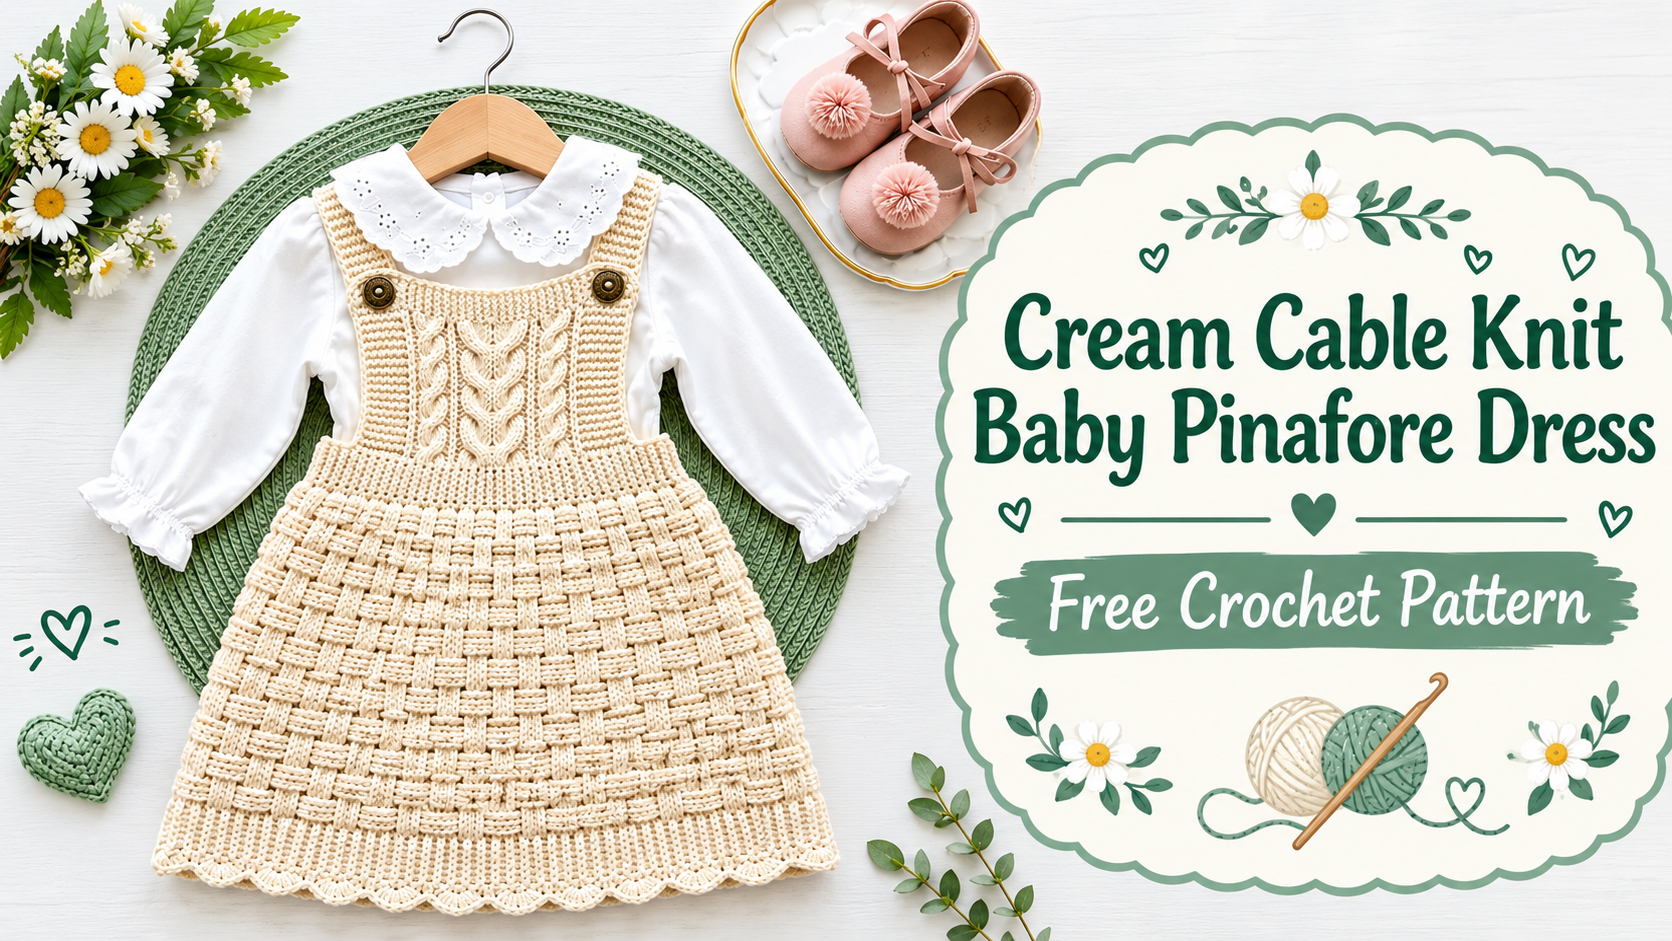
I’ve been hunting for the perfect heirloom-quality baby garment for months. You know the kind—something that looks like it belongs in a vintage photograph, draped over a nursery chair, waiting for tiny arms. This cream cable baby pinafore dress is exactly that. The textured basket-weave skirt paired with a stunning cable panel on the bodice creates a piece grandparents will ooh and ahh over, and one you’ll want to tuck into a keepsake box long after baby outgrows it.
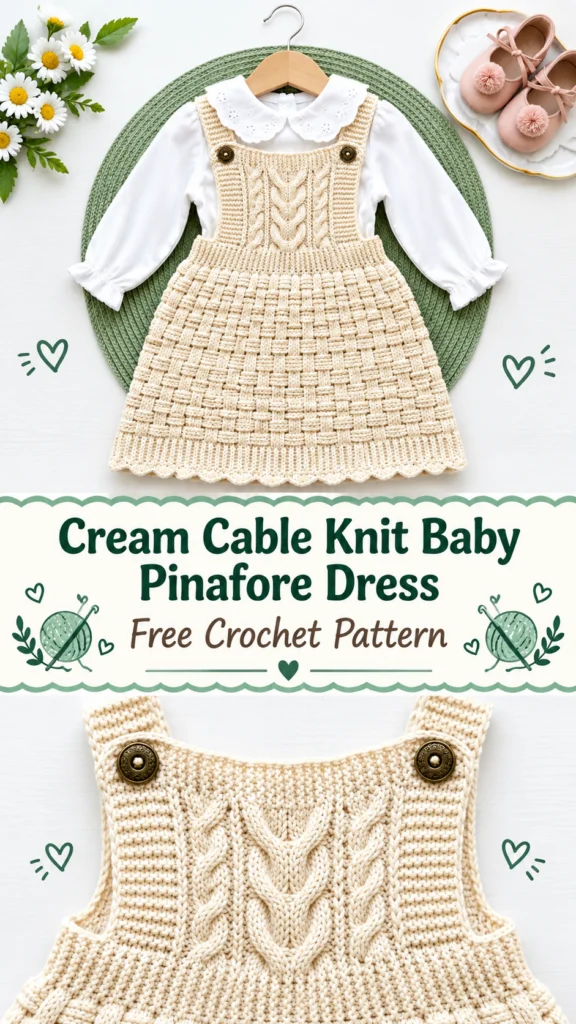
About This Baby Pinafore Dress Crochet Pattern
This pinafore is designed for babies aged 6 to 12 months. The finished garment measures about 18 inches around the chest and 14 inches from the top of the strap to the hem. It’s meant to be layered over a long-sleeve collared blouse for that classic, polished look.
You’ll work a front bodice with a gorgeous cable detail, a simpler back bodice in basket-weave, two straps, and an A-line skirt. Everything gets seamed at the end, and a sweet scallop border finishes the hem.
Skill level: Advanced beginner to intermediate. Don’t let the cables scare you—I’ll walk you through every special stitch.
Time estimate: Plan for 8 to 12 hours. Give yourself a little extra if the cable crosses are new to you.
Materials You’ll Need
Yarn: Worsted weight (CYCA 4), approximately 350–400 yards in cream or natural ecru.
Great options include:
Lion Brand Pound of Love in Fisherman – soft, machine-washable, excellent stitch definition.
Paintbox Yarns Simply DK worked a bit tighter – lovely drape.
Cascade 220 Superwash – crisp definition and cozy warmth.
Choose a smooth yarn. You want those basket-weave blocks and cable crosses to really stand out.
Hook: US size G-6 / 4.0 mm (adjust to meet gauge).
Notions: At least 6 stitch markers, yarn needle, 2 antique brass or bronze shank buttons (¾ inch), scissors, rust-proof pins, measuring tape.
Gauge
With a 4.0 mm hook in basket-weave stitch:
16 stitches = 4 inches
10 rows = 4 inches
In single crochet: 16 sc = 4 inches.
Swatch a 5-inch square in the basket-weave pattern, block it, and measure the center 4 inches. Too big? Drop a hook size. Too small? Go up. Gauge matters on a fitted garment like this.
Abbreviations and Stitch Definitions
- ch = chain
- sl st = slip stitch
- sc = single crochet
- dc = double crochet
- hdc = half double crochet
- FPdc = front post double crochet
- BPdc = back post double crochet
- sk = skip
- st(s) = stitch(es)
- RS / WS = right side / wrong side
Special Stitches Explained
Basket-Weave Block: Pairs of front-post or back-post double crochets that alternate every two rows. This creates the beautiful woven texture on the skirt and side panels of the bodice.
Front Post Double Crochet Cross (Right- or Left-Leaning): You skip two posts, work the next two, then go back and work the skipped ones. The order determines whether the cross leans right or left. This is what forms the raised cable on the front bodice.
Scallop Edging: Slip stitch, skip one, five double crochets in the next stitch, skip one, slip stitch. Repeat for a pretty shell border around the hem.
Pattern Instructions
Front Bodice Panel
Worked flat from the waist up. The center eight stitches form the cable column; the sides are basket-weave. You’ll alternate plain cable rows with right- and left-leaning crosses every few rows. After twelve rows the panel should measure about 4.5 inches tall and 9 inches wide.
Back Bodice Panel
Much simpler—pure basket-weave all the way across. Same foundation and row count as the front so the side seams line up perfectly.
Straps
Two narrow single-crochet straps, each about 7 inches long, with a buttonhole near one end. The plain end attaches to the front; the buttonhole end buttons at the back.
Skirt Front and Back Panels
Join yarn at the bottom edge of each bodice and work the skirt downward in basket-weave, adding gentle increases every few rows for a soft A-line shape. Both panels end with the same stitch count so the side seams match.
Assembly
Block every piece first—this step makes a huge difference. Seam the bodice side edges (leaving armhole openings), seam the skirt sides, then join the bodice to the skirt at the waist. Attach the straps to the front corners, mark the button placement on the back, and sew on the buttons. Finish with a round of scallops around the entire hem.
Pattern Notes and Tips
Mark the right side with a stitch marker on the first row so you never lose track. Count carefully on the cable rows—those crosses are easier than they look once you do the first one. Block aggressively; the post stitches open up beautifully and the fabric drapes better.
You Might Also Like
- Ocean Blue Craft Room Wall Basket Free Crochet Pattern
- Rainbow Pastel Snake Plant Amigurumi Free Crochet Pattern
- Cozy Tan Kitty Face Tote Bag Free Crochet Pattern
- Warm Mustard Yellow Crochet Backpack Free Pattern
- Navy Blue Nautical Hanging Basket Free Crochet Pattern
FAQ’s
Are the cables hard if I’ve never done them before?
Not really. The right- and left-leaning crosses are just a specific order of front-post stitches. Practice the cross on a small swatch first and you’ll be fine.
Can I make this in a different color?
Of course. Soft gray, pale pink, or classic white all look beautiful. Just keep the yarn smooth so the cable and basket-weave texture stay clear.
How do I keep the straps from stretching?
Work them at a slightly tighter tension or drop half a hook size for the straps only. The button closure also helps keep them secure.
Is the fit adjustable?
The buttoned straps give a little flexibility. If you need more room in the chest, add a couple of stitches to the foundation chain of both bodice panels and adjust the skirt increases accordingly.
What if my gauge is off?
Swatch and adjust your hook before you start the bodice. A fitted pinafore needs accurate measurements more than a blanket does.
Can I skip the scallop border?
You can, but the scallops add a lovely finished touch that ties the whole heirloom look together. They’re quick and worth the extra few minutes.
Final Thought
This cream cable baby pinafore dress is the kind of project that feels special from the first stitch. The combination of basket-weave texture and that raised cable panel creates a garment that looks far more complicated than it actually is. Take your time with the blocking and the finishing details—those steps turn good work into heirloom work. Happy crocheting, and I hope the little one who wears this dress gets plenty of sweet photos and even sweeter memories.


Leave a Reply
You must be logged in to post a comment.