


Ever stumbled on a crochet project that makes you grin before you even pick up the hook? This cozy tan kitty face tote bag does exactly that. It turns a practical everyday carryall into a wide-eyed feline companion that gets smiles at the coffee shop, the market, and pretty much anywhere else. Ready to make one that looks like it wandered straight out of a cartoon?
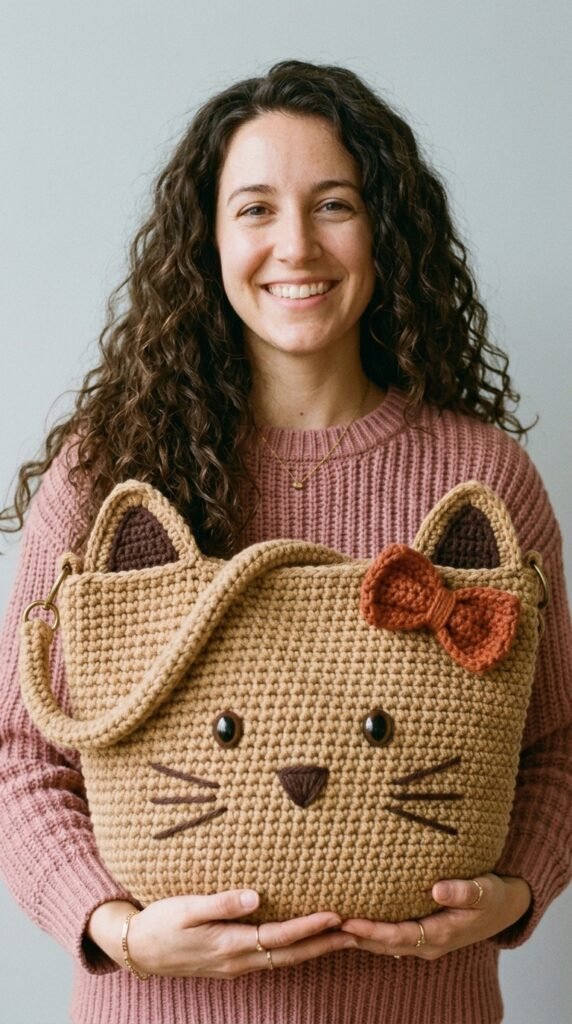
Why You Will Love This Crochet Cat Tote Bag
This bag hits that sweet spot between useful and ridiculously cute. You get a roomy tote that actually holds your stuff without collapsing, plus a face full of personality that people notice from across the room.
The main fabric uses dense single crochet, so it feels sturdy instead of floppy. Ears, nose, whiskers, and a little bow all go on at the end, which means you can tweak placement until the expression feels just right. Finished size lands around 14 inches wide by 12 inches tall (ears extra), and the skill level sits comfortably at confident beginner to intermediate. The body rows are repetitive in the best way—perfect for zoning out with a show while your hands keep moving.
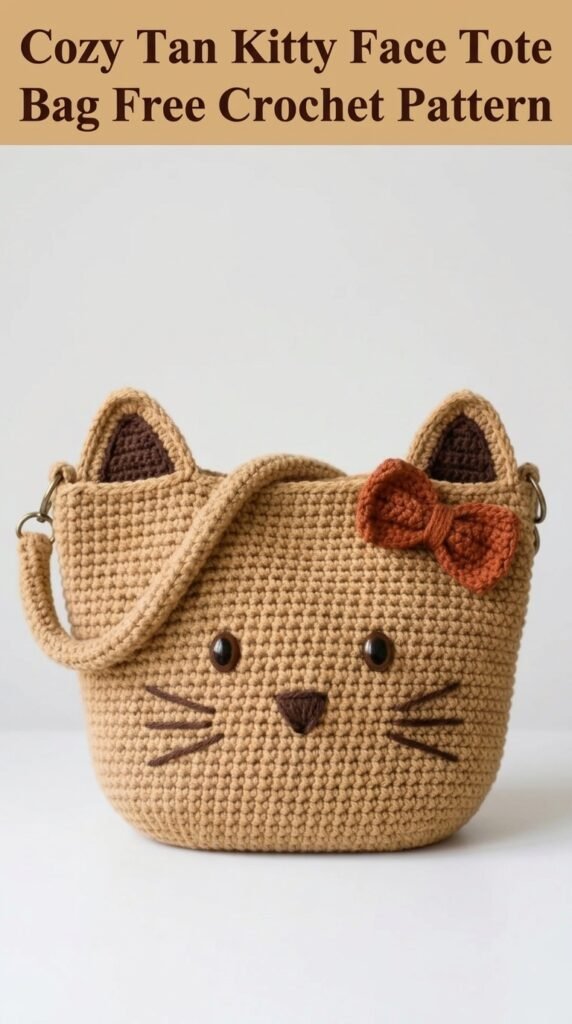
Honestly, once you finish one, you might start planning a whole litter in different colors.
Materials You Will Need
Grab everything first so you are not hunting mid-row. Here is the full list:
Yarn
- Main color (warm tan or beige): about 400 yards of worsted weight (category 4). Cotton or a cotton blend gives the best structure.
- Dark brown: roughly 30 yards for inner ears, nose, and whiskers.
- Rust or burnt orange: about 20 yards for the bow.
Hook and notions
- Size H/8 (5.0 mm) crochet hook, or whatever gets you to gauge.
- Two 18 mm black safety eyes (or sew-on buttons if you prefer).
- Two 1-inch gold D-rings.
- Yarn needle, stitch marker, scissors.
- Optional: a tiny bit of polyester fiberfill for the ears.
Gauge: 14 single crochet and 16 rows = 4 inches. Check it. Bag size depends on it.
That is everything. Nothing fancy, nothing hard to find.
Abbreviations and Stitch Definitions
Quick refresher so nothing trips you up:
- Ch – Chain: yarn over, pull through loop on hook.
- Sc – Single crochet: insert hook, yarn over, pull up a loop, yarn over, pull through both loops.
- Inc – Increase: two single crochets in the same stitch.
- Dec – Decrease: pull up a loop in each of the next two stitches, yarn over, pull through all three loops.
- Sl st – Slip stitch: insert hook, yarn over, pull through both the stitch and the loop on the hook.
- Hdc – Half double crochet: yarn over, insert hook, pull up a loop, yarn over, pull through all three loops.
- FO – Fasten off: cut yarn and pull the tail through the last loop.
Most of the bag lives in single crochet. The rest is just shaping with increases and decreases.
Crochet Pattern Instructions
Work each piece separately, then bring them together at the end. Take your time—rushing the assembly is how ears end up wonky.
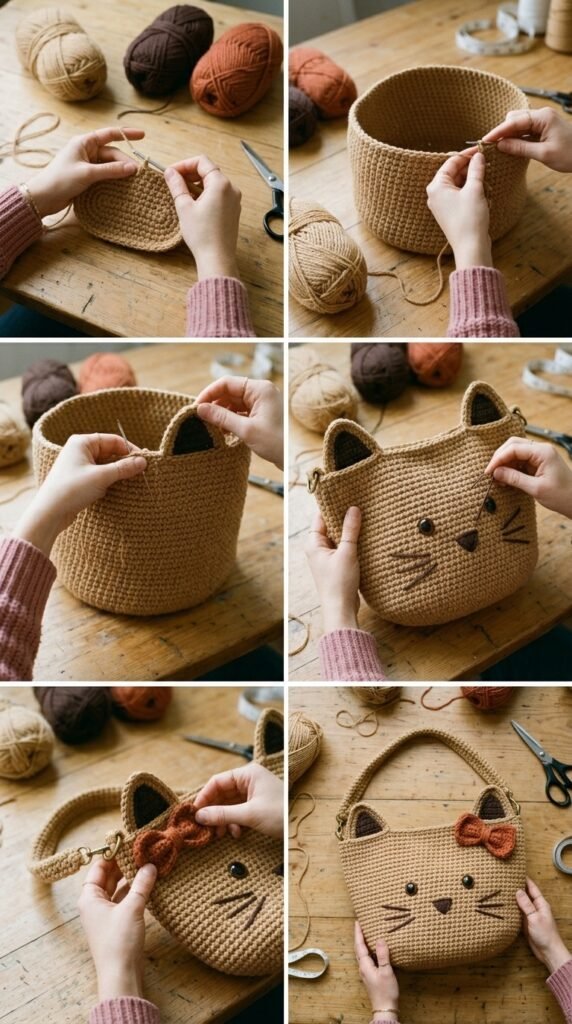
Main Body Panels (Make 2)
These two identical rectangles form the front and back.
With tan yarn:
- Chain 50.
- Row 1: Single crochet in the second chain from the hook and in every chain across. (49 stitches)
- Row 2: Chain 1, turn. Single crochet in each stitch across. (49 stitches)
- Rows 3–48: Repeat Row 2.
Fasten off and weave in the ends. Your panel should measure roughly 14 by 12 inches. If it comes out smaller, go up a hook size and try again.
Tip: Drop a stitch marker at the start of every row so the edges stay straight. Edge stitches love to disappear when you are not looking.
Outer Ears (Make 2)
These create the tall tan triangles that sit on top.
With tan yarn:
- Chain 16. Single crochet in the second chain from the hook and across. (15 stitches)
- Row 2: Chain 1, turn. Single crochet across.
- Row 3: Chain 1, turn. Decrease, single crochet to the last two stitches, decrease. (13 stitches)
- Continue alternating a plain row with a decrease row until you have 3 stitches left, then single-crochet-three-together to finish.
Leave a long tail for sewing. The gradual taper gives that classic pointy cat-ear shape.
Inner Ears (Make 2)
Darker triangles that sit inside the outer ears for contrast.
With dark brown:
- Chain 12. Single crochet in the second chain and across. (11 stitches)
- Work decrease rows and plain rows the same way as the outer ears until you finish with a single-crochet-three-together.
These should be a little smaller so a border of tan shows around the edges.
Triangle Nose
Simple and quick.
With dark brown:
- Chain 8. Single crochet in the second chain and across. (7 stitches)
- Decrease on both ends each row until one stitch remains.
Leave a long tail. Point faces down when you sew it on.
Decorative Bow
This little accent makes the whole face pop.
Bow center: Chain 5, single crochet across for 6 rows. Fasten off with a long tail.
Bow loops (make 2): Chain 12, single crochet across for 4 rows. Fasten off.
To assemble: Fold each loop piece into a circle and stitch the short ends. Stack the two loops, wrap the center piece tightly around the middle, and secure on the back. Instant classic bow.
D-Ring Tabs (Make 2)
These hold the hardware for a future strap.
With tan: Chain 8, single crochet across for 8 rows. Leave a long tail. Later you will fold each tab over a D-ring and sew it in place.
Assembly Instructions
This is where the bag turns into a cat. Placement matters, so pin first and step back before you sew.
Step 1: Prepare the Ears
Center one inner ear on one outer ear so a thin tan border shows all around. Whip-stitch them together. Optional: stuff lightly with fiberfill before you close the last edge for a little dimension. Repeat for the second ear.
Step 2: Attach Facial Features to Front Panel
Lay one body panel right-side up. This becomes the face.
Position the safety eyes about 4 inches down from the top edge and 4 inches apart. Once the backs click on, they stay put—double-check the spacing. Center the nose about 2 inches below the eyes, point down, and whip-stitch it. Embroider three whiskers on each side with dark brown yarn, each about 1½–2 inches long and angled outward. Stitch the bow near the right ear area, roughly 2 inches from the top and side edges.
Step 3: Attach D-Ring Tabs
Slide a D-ring onto each tab. Fold the tab in half with the ring at the fold. Sew the raw ends firmly to the inside top corners of the front panel, about an inch in from each side.
Step 4: Join Front and Back Panels
Hold the panels with right sides together. Single-crochet through both layers down one side, across the bottom, and up the other side. Leave the top open. Turn right-side out. Prefer an invisible seam? Whip-stitch instead.
Step 5: Attach Ears
Place the ears on the top edge of the front panel only, about 3 inches in from each side. The base of each ear should overlap the bag edge by about an inch. Whip-stitch securely through the front panel.
Step 6: Finishing Touches
Weave in every last end. A light steam block helps everything settle flat if you want a polished look.
Tips for Customizing Your Kitty Tote
This pattern is basically a blank cat canvas. Try these ideas:
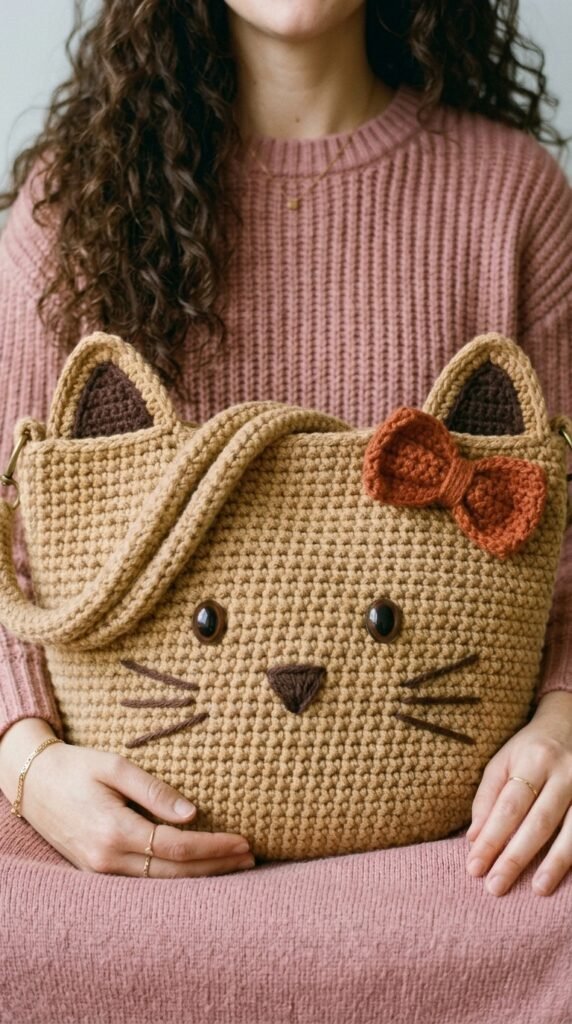
- Swap the tan for gray, orange, or black for different cat vibes.
- Skip the bow for a more understated look.
- Add a long chain or crocheted strap that clips onto the D-rings for hands-free carrying.
- Use buttons instead of safety eyes if the bag will be around little kids.
Play around. The basic shape stays solid no matter what colors or extras you throw at it.
Care Instructions
Spot-clean with mild soap and cool water when life happens. If the whole bag needs a wash, hand-wash gently and lay flat to dry. Skip the dryer—heat turns structured fabric into sad fabric. Treat it kindly and the bag will keep its shape and face for years.
You Might Also Like
- Ocean Breeze Bow Handbag Free Crochet Pattern
- Baby Blue Bunny Easter Barrel Bag Free Crochet Pattern
- Teal Bohemian Bobble Bag Free Crochet Pattern
- Classic Black Round Evening Bag Free Crochet Pattern
- Cream and Gold Elegant Round Bag Free Crochet Pattern
FAQ’s
How long does this project actually take?
Most people finish the body panels in a few evenings of TV time. The small pieces and assembly add another session or two. Call it a weekend project if you stay focused, or a leisurely week if you crochet in short bursts.
Can absolute beginners make this?
If you know single crochet and can follow decreases, you can do it. The assembly is the only part that needs a little patience. Take it one piece at a time and you will be fine.
What if my gauge is off?
Your bag will just end up a different size. Too small? Go up a hook. Too big? Drop a size. The face proportions still work as long as everything scales together.
Do I have to use safety eyes?
Nope. Embroidered eyes or securely sewn buttons work just as well and remove any concern about small parts.
Can I add a lining?
Absolutely. Cut fabric panels slightly smaller than the crochet ones, sew them together, and hand-stitch the lining inside the finished bag. Instant upgrade for strength and polish.
What yarn works best?
Cotton or cotton-blend worsted holds its shape beautifully. Acrylic works too, but it can stretch more over time with heavy use.
Final Thoughts
There you have it—a sturdy, smile-inducing kitty tote that carries your everyday essentials while looking ridiculously charming. Grab your tan yarn, settle in, and start those body panels. Once the face comes together, you will understand why this little project is so addictive. Happy stitching, and may your cat bag get all the compliments it deserves.



Leave a Reply
You must be logged in to post a comment.