

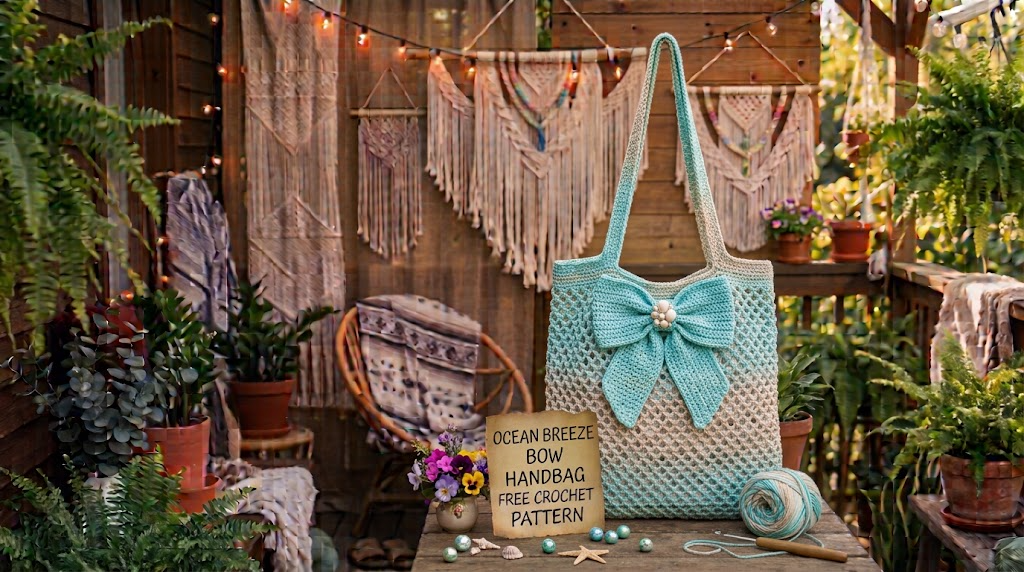
A floppy crochet bag looks homemade in the wrong way. A structured one looks intentional. The Ocean Breeze Bow Handbag is designed to sit upright and keep its shape, but that only happens when you treat the fabric, seams, and finishing with a bit of extra care.
Here’s exactly how intermediate makers get a firm, polished result from this free pattern (and from most structured bag projects).
Why Cotton Makes the Biggest Difference
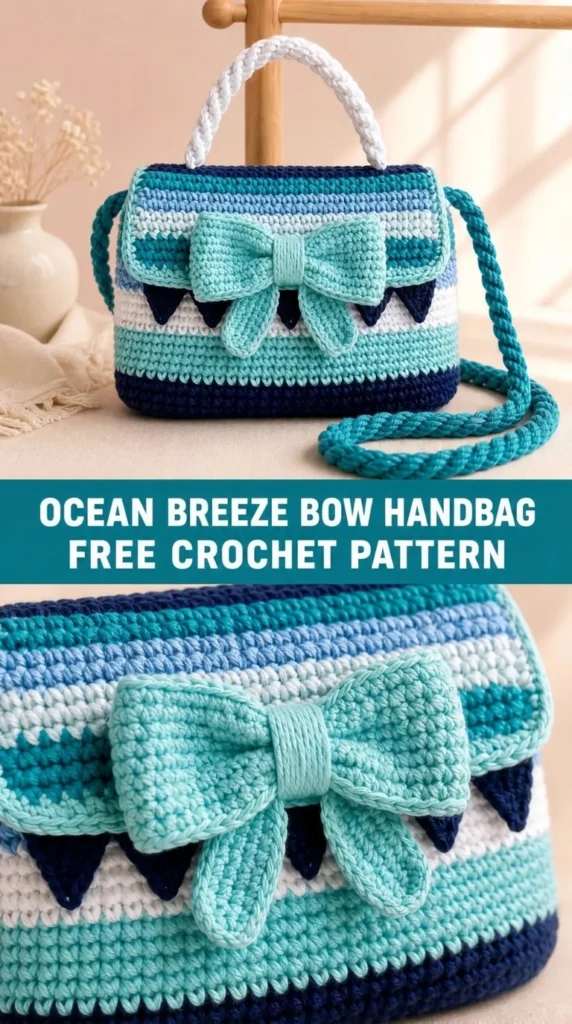
Acrylic stretches. Soft wool collapses. Smooth worsted cotton stays put.
For the Ocean Breeze bag you want a yarn that produces dense single crochet at the given gauge. Lily Sugar’n Cream, Paintbox Cotton Aran, and Lion Brand 24/7 Cotton all work well. If the fabric feels spongy or the stitches look open, drop to a 3.75 mm or 3.5 mm hook for the body. The finished fabric should feel almost like thin cardboard when you press it between your fingers—firm but still flexible.
Color changes stay crisp on cotton because the fiber doesn’t bloom the way acrylic does. That matters for the clean navy, aqua, white, sky, and turquoise stripes.
Gauge Is Not Optional on a Bag
On a sweater you can ignore a slight difference. On a bag it changes the proportions and the way the gusset sits.
Work a swatch in single crochet with your chosen cotton and the 4 mm hook. Measure after a light steam or wet block. You need 16 stitches and 18 rows in 4 inches. If you’re under, go up a hook size. If you’re over, go down. Both front and back panels must measure the same before you start sewing. Mismatched panels force the gusset to twist and the bag never sits square.
Assembly Tricks That Keep the Shape
Pin every seam before you sew. The gusset is deliberately a little longer than the panel perimeter so you can ease the extra fabric at the upper corners. If you stretch it instead of easing, the top edge will pull inward and the bag will look pinched.
Sew with a firm whipstitch through the outer loops only. This creates a raised seam that adds structure rather than a flat join that can collapse. Keep tension even—too tight and the sides pull in, too loose and the bag sags.
After the body is joined, work the two rounds of single crochet around the top opening. These rounds act like a sturdy rim. Do not skip them.
The Flap, Bow, and Pennants Need the Same Firmness
The fold-over flap is only three inches tall, but it has to lie flat. If your tension is looser on the flap than on the panels, it will ruffle. Use the same hook and the same cotton. The edging stitches along the sides should be slightly tighter than the body rows so the edges don’t wave.
The bow looks soft, but it still needs body. Cinch the center rectangle tightly and wrap the band snugly. Sew the tails so they sit slightly angled rather than hanging straight down—this keeps the whole motif from looking limp.
Pennants are small triangles. Sew them only along the top edge and leave tiny gaps between the points. Crowding them makes the flap edge look busy and can cause it to curl.
Handle and Strap Strength
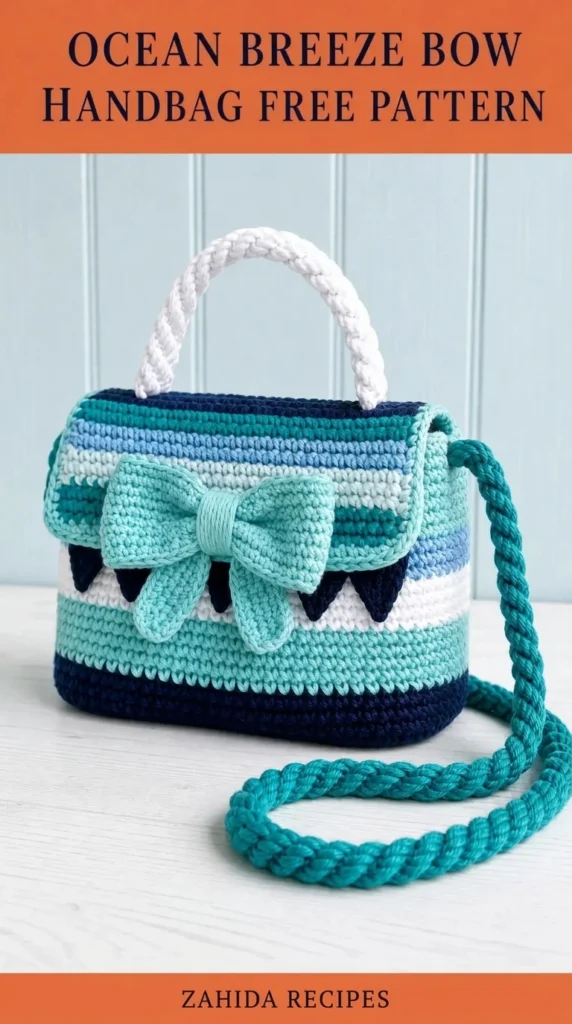
The white braided handle and the turquoise twisted strap carry the weight of the bag. Make the cords firm. Slip stitch in the back bumps with a slightly smaller hook if needed. Braid the three white cords flat so they don’t round up and dig into your hand. Twist the two turquoise cords tightly and secure the ends well.
Sew both handle and strap through several layers of fabric, preferably with a small reinforcing patch of felt or scrap cotton on the inside. A magnetic snap under the flap is optional but recommended—it keeps the bag closed without adding bulk.
Lining and Base Inserts (When You Want Extra Structure)
The pattern works without a lining, but a simple fabric lining or a piece of plastic canvas cut to the base size turns a good bag into a great one. Cut the canvas just slightly smaller than the finished base so it doesn’t poke the corners. Slip it in after the body is sewn and before you attach the flap. A full fabric lining also hides ends and protects the inside from keys and phones.
If you line the bag, sew the strap and handle through the lining for maximum strength.
Related Articles:
- Sunshine Yellow Ruffle Baby Romper Free Crochet Pattern
- Baby Blue Elephant Toilet Paper Cozy Free Crochet Pattern
- Sage Green Boho Ruffle Romper Free Crochet Pattern
Common Problems and Quick Fixes
- Sides cave in → tighter gauge or plastic canvas base.
- Flap ruffles → fewer edging stitches on the short sides or a smaller hook for the edging only.
- Strap stretches over time → work the cords around a thin non-stretch cord or use two tightly twisted strands.
- Color changes look messy → always change color on the last yarn-over of the stitch and keep the ends on the same side edge so they hide in the seam.



Leave a Reply
You must be logged in to post a comment.