

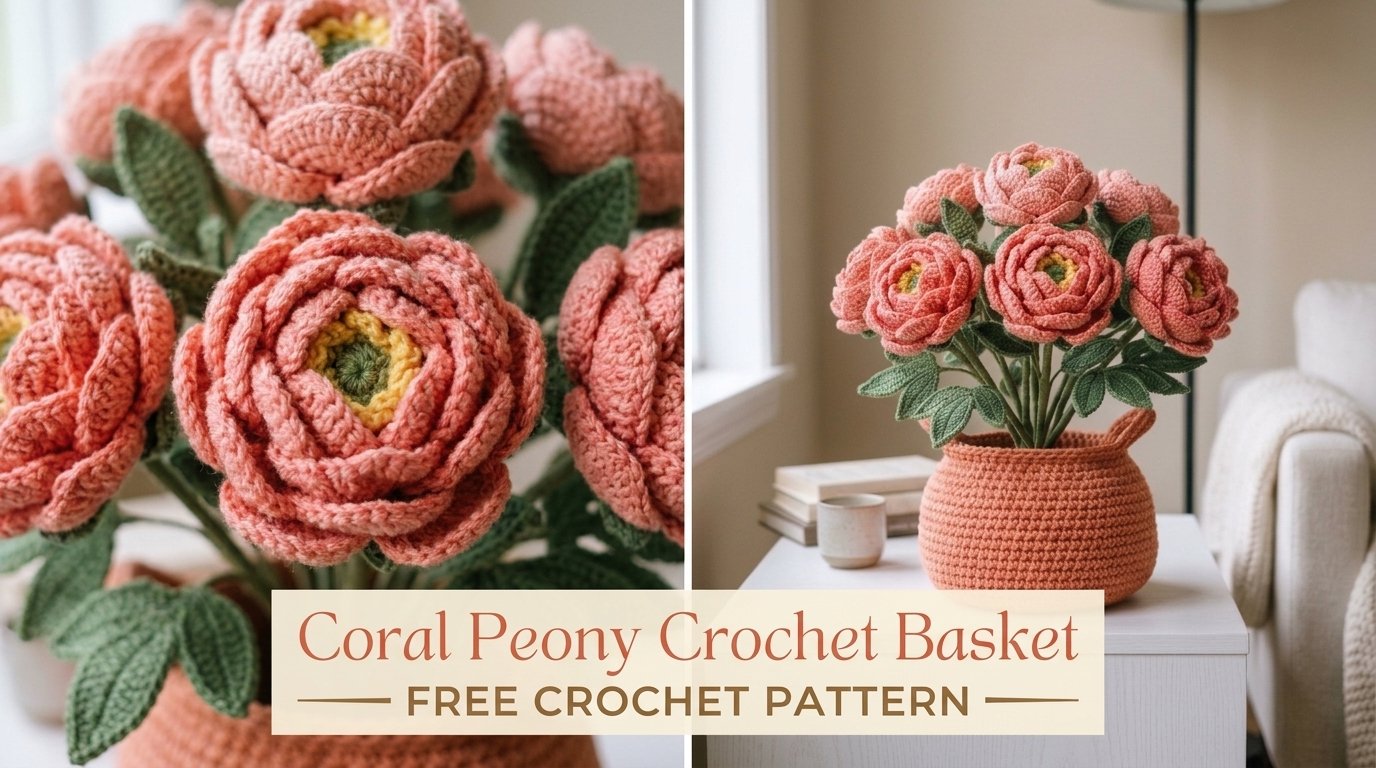
Looking for a handmade piece that turns heads and actually holds stuff? This coral peony crochet basket delivers lush layered blooms sitting pretty in a sturdy base. Perfect for gifting on Mother’s Day, brightening a shelf, or just proving you can make flowers that never die. Confident beginners, this one’s for you—basic stitches, big wow factor.
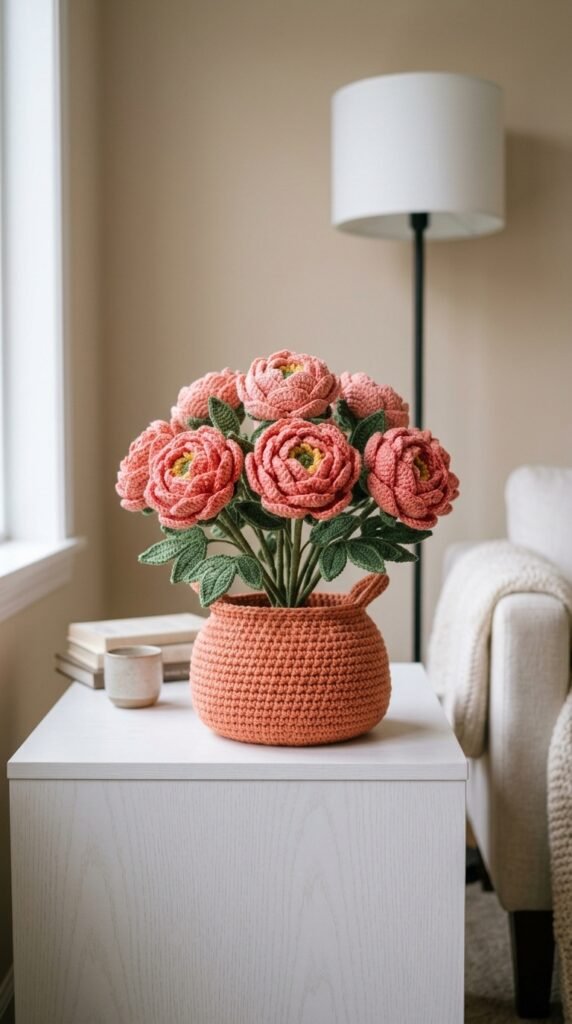
Why You’ll Love This Crochet Peony Basket Pattern
You get serious visual drama without advanced techniques. Those peonies look like they just bloomed because of the layered petals, yet every round uses stitches you already know. The basket keeps everything tidy and adds that handmade charm.
I love how this project clears out leftover yarn. Coral pinks, sunny yellows, deep greens, and warm terracotta play so well together. Swap colors to match your couch or the recipient’s favorite mug. FYI, no wire armature drama for the flowers themselves—just clean, dimensional petals that hold their shape.
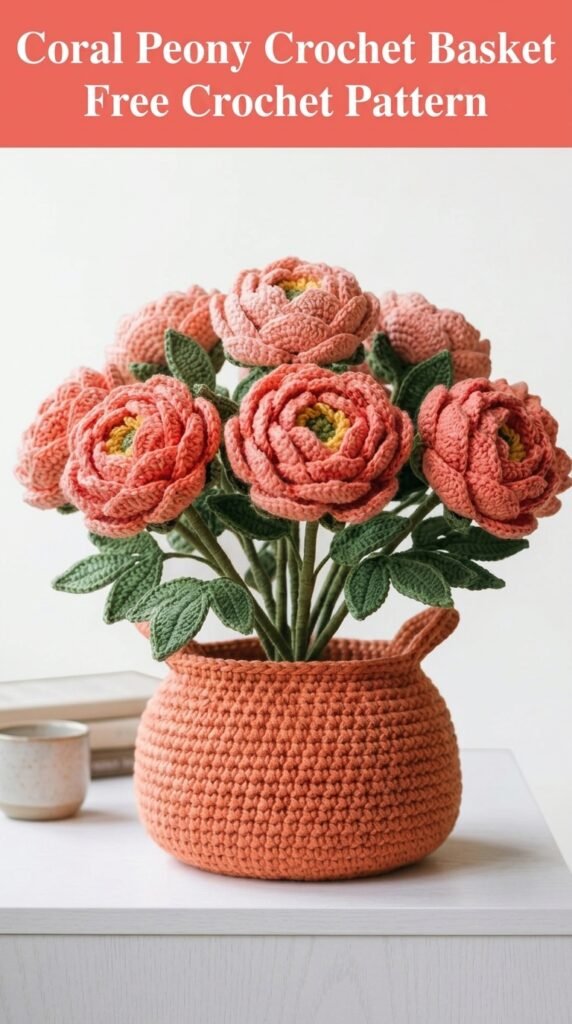
What stands out:
- Layered petals that create real depth
- A functional basket that actually works as storage
- Worsted weight yarn for fast progress
- Zero maintenance forever flowers
- Custom color options that feel personal
Who wouldn’t want a centerpiece that refuses to wilt?
Materials Needed for Your Crochet Peony Basket
Grab these before you start so the whole process stays smooth.
Yarn:
- Coral pink worsted weight, about 200 yards (enough for six peonies)
- Golden yellow worsted weight, roughly 30 yards (centers)
- Forest green worsted weight, around 150 yards (leaves and stems)
- Terracotta or burnt orange worsted weight, about 175 yards (basket)
Cotton or a cotton blend shines here. It keeps the petals structured and the basket firm. Acrylic works in a pinch, but pick something with crisp stitch definition.
Tools:
- 4.0 mm (G/6) hook for flowers and leaves
- 5.0 mm (H/8) hook for the basket
- Tapestry needle
- Scissors
- Stitch marker
- Optional polyester fiberfill for plump centers
- 18-gauge floral wire cut into 10-inch lengths (six pieces)
- Green floral tape
Finished size:
Each peony lands around 3 to 3.5 inches across. Leaves hit about 2.5 inches long. The basket stands roughly 5 inches tall and 6 inches wide at the top. The full arrangement reaches 10 to 12 inches high.
Ready? Let’s dig in.
Skill Level and Gauge Information
Skill Level: Confident beginner to intermediate.
If you handle working in the round plus basic increases and decreases, you own this pattern. The petal layers look fancy, but they simply stack rounds of familiar stitches into a foundation ring.
Gauge: Skip the stress. This decorative project forgives tension differences. Your peonies might turn out a touch larger or smaller—nature does the same thing.
Abbreviations and Stitch Definitions
Here’s every abbreviation you’ll meet. Newer crocheters, scan these first.
ch = chain. Yarn over and pull through the loop on your hook.
sl st = slip stitch. Insert hook, yarn over, pull through stitch and loop in one go. Perfect for joining.
sc = single crochet. Insert, yarn over, pull up a loop, yarn over, pull through both.
hdc = half double crochet. Yarn over, insert, yarn over, pull up a loop, yarn over, pull through all three.
dc = double crochet. Yarn over, insert, yarn over, pull up a loop, yarn over, pull through two, yarn over, pull through two.
tr = treble crochet. Yarn over twice, insert, yarn over, pull up a loop, then yarn over and pull through two three times.
inc = increase. Two stitches in the same spot.
dec = decrease. Work two stitches together as one.
Got it? Time for the flowers.
Crochet Peony Pattern Instructions
Each peony needs a center, inner petals, and outer petals. Make six complete ones for a full look.
prompt: Hyper-detailed 8K resolution close-up of hands crocheting a golden yellow flower center for a coral peony, magic ring with single crochets in continuous rounds, soft natural window light, intricate yarn texture, realistic fiber details, step-by-step instructional style, ultra sharp focus on stitches
Flower Center (Make 6)
Yellow yarn, 4.0 mm hook.
Round 1: Magic ring, ch 1, 6 sc into the ring. Pull closed. Work continuous rounds. (6 sts)
Round 2: Inc in every stitch. (12 sts)
Round 3: Sc, inc around. (18 sts)
Round 4: Sc around. (18 sts)
Round 5: Sc, dec around. (12 sts)
Optional: Tuck a bit of fiberfill inside for extra plumpness.
Round 6: Dec until the opening closes. Fasten off with a 6-inch tail.
Inner Petals (Make 6)
Coral pink yarn, 4.0 mm hook.
Foundation: Ch 4, sl st to form a ring.
Round 1: Ch 1, 8 sc into the ring. Join with sl st. (8 sts)
Round 2: Ch 3, dc in same stitch, dc in next, ch 3, sl st in same stitch as last dc around. Four small petals form. Join at the base.
Round 3: Work behind the first layer into back loops only. Ch 4, tr in same stitch, tr in next, ch 4, sl st in same stitch as last tr around. Four medium petals appear. Fasten off with a tail.
prompt: Hyper-detailed 8K resolution instructional image of layered coral pink crochet peony petals being formed, showing inner petal layer with double crochets and outer starting, hands holding work, vibrant yarn colors, sharp stitch definition, soft studio lighting, realistic textile details
Outer Petals (Make 6)
Coral pink yarn, 4.0 mm hook.
Foundation: Ch 5, sl st to form a ring.
Round 1: Ch 1, 10 sc into the ring. Join. (10 sts)
Round 2: Ch 5, 2 tr in same stitch, 2 tr in next, ch 5, sl st in same stitch as last tr around. Five large petals. Join.
Round 3: Behind the previous layer into back loops. Ch 6, 3 tr in same, 3 tr in next, ch 6, sl st in same as last tr around. Five extra-large petals. Fasten off with a long tail.
Assembling Each Peony
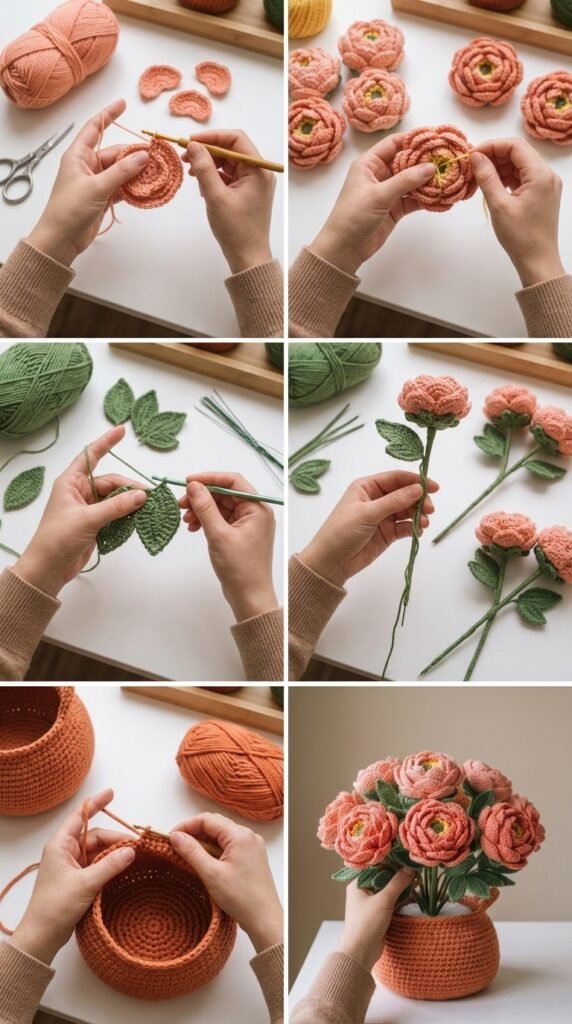
Stack with care.
- Center the yellow piece on the inner petals so they fan evenly.
- Whip-stitch the center down with the yellow tail.
- Set that combo onto the outer petals, keeping all layers visible.
- Sew everything together at the base with the coral tail.
- Fluff the petals and curl a few inward for that just-picked look.
prompt: Hyper-detailed 8K resolution step-by-step view of assembling a coral peony crochet flower, yellow center sewn onto layered pink petals, hands using tapestry needle, dimensional petal curls, natural daylight, ultra realistic yarn and stitch textures
Crochet Leaf Pattern Instructions
Aim for 15 to 18 leaves total—two or three per stem.
Green yarn, 4.0 mm hook.
Foundation: Ch 12.
Row 1: Starting in second chain, sl st, sc, hdc in next two, dc in next three, hdc in next two, sc, sl st. (11 sts)
Row 2: Ch 1, turn. Work down the opposite side of the chain the same way. Fasten off with a tail.
You get a pointed oval that curls just enough for realism.
Crochet Stem Instructions
These give height and structure. Cover wire with a crocheted tube.
Green yarn, 4.0 mm hook.
Foundation: Ch 2.
Round 1: 6 sc in second chain. Continuous spiral. Mark the first stitch each round.
Rounds 2–25: Sc around. (6 sts)
About 8 inches long. Adjust rounds for shorter or taller stems. Fasten off with a long tail.
Slide the floral wire through the tube. Sew the top closed around the wire. Wrap the bottom inch of exposed wire with green floral tape.
Sew the finished peony to the top of the stem. Attach two or three leaves at different heights, angling them outward.
prompt: Hyper-detailed 8K resolution close-up of crocheting a green stem tube around floral wire for a peony basket, continuous single crochet spiral, hands inserting wire, realistic yarn texture and metal wire details, bright even lighting, instructional clarity
Crochet Basket Pattern Instructions
The basket hides the stem ends and looks beautiful on its own.
Terracotta yarn, 5.0 mm hook.
Basket Base
Round 1: Magic ring, ch 1, 6 sc. Join. (6 sts)
Round 2: Ch 1, inc around. Join. (12 sts)
Round 3: Ch 1, sc, inc around. Join. (18 sts)
Round 4: Ch 1, sc in next two, inc around. Join. (24 sts)
Round 5: Ch 1, sc in next three, inc around. Join. (30 sts)
Round 6: Ch 1, sc in next four, inc around. Join. (36 sts)
Round 7: Ch 1, sc in next five, inc around. Join. (42 sts)
Round 8: Ch 1, sc in next six, inc around. Join. (48 sts)
Base should measure about 4.5 to 5 inches across. Keep increasing the same way if you want it wider.
Basket Sides
Round 9: Ch 1, sc in back loops only around. Join. (48 sts) This creates the clean turn from base to sides.
Rounds 10–22: Ch 1, sc in both loops around. Join. (48 sts)
Round 23 (optional): Ch 1, sc in next five, skip one, 5 dc in next (shell), skip one around. Join. Fasten off.
Prefer a plain edge? Just work one more sc round.
Weave in every end.
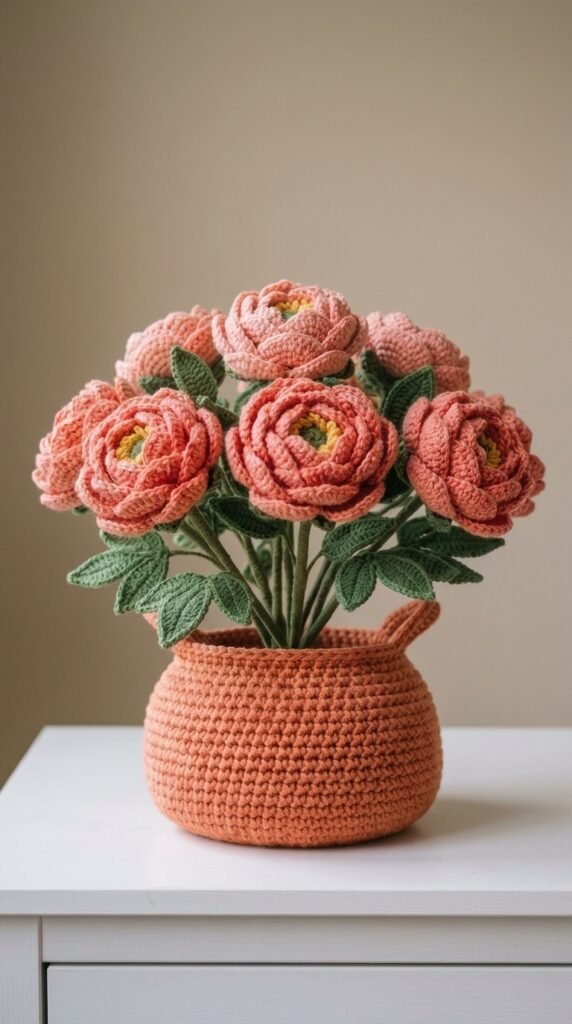
prompt: Hyper-detailed 8K resolution instructional photo of crocheting the terracotta basket base and sides for a peony arrangement, single crochet increases visible, hands holding work with 5mm hook, warm yarn color, sharp stitch texture, soft natural light
Assembling Your Crochet Peony Basket
This is the satisfying part.
- Bend the bottom inch of each stem wire at a 90-degree angle for stability.
- Place the tallest stems in the center first.
- Add shorter ones around the outside, angling them out.
- Fill gaps with extra leaves or tweak until it feels balanced.
- Drop a little fiberfill or fabric scraps in the bottom if the stems need extra hold.
Step back and admire. You just made a bouquet that never needs water.
Tips for Success with This Crochet Peony Pattern Tutorial
Lightly steam the leaves if they curl too tightly. Skip wet blocking the peonies—you want those petals to stay dimensional.
Try white, blush, deep burgundy, or sunny yellow for a whole new vibe. A mixed-color bunch looks especially lively.
Cotton gives the crispest edges. Acrylic softens the look a bit, which some people prefer.
Dust with a soft brush now and then. Store in a box if you put it away for a season.
Make This Crochet Peony Basket Your Own
Add more peonies for a full explosion or keep it minimal with three or four. Change the basket color to navy, cream, or sage. Toss in a few crocheted ferns or tiny filler flowers for extra texture. IMO, the best version is the one that matches your space or the person you’re gifting it to.
You Might Also Like
- White and Sage Minimal Monstera Crochet Plant Pattern
- Pink Cherry Blossom Butterfly Cardigan Crochet Pattern
- Classic Navy Nautical Crochet Platform Wedge Sandals Pattern
- Blush Peach Openwork Crochet High Tops Free Pattern
FAQ’s
Can a true beginner handle this pattern?
If you know single crochet, double crochet, and working in the round, yes. The layers look complex but follow simple repeats. Take your time on the first peony and the rest click fast.
What yarn works best?
Cotton or cotton blends hold shape beautifully. Acrylic is softer and more affordable. Avoid super fuzzy yarns—they hide the petal definition.
Do I really need floral wire?
The wire keeps stems upright and poseable. Without it the flowers flop. Floral tape covers the ends safely.
How long does the whole project take?
Each peony runs about an hour once you hit the rhythm. Leaves and stems go quicker. The basket takes a couple of focused hours. Spread it over a weekend and you finish without burnout.
Can I make just the peonies without the basket?
Absolutely. Use them as individual stem flowers, attach them to a wreath, or scatter them on a table. The basket is optional but makes a complete gift.
How do I clean the finished piece?
Gentle dusting with a soft brush or low-power vacuum attachment. Spot clean if needed. Never machine wash—those layered petals prefer a hands-off approach.
Final Thoughts
There you have it—a coral peony basket that looks impressive, works as real storage, and never asks for water. Grab your hook, pick your favorite coral shade, and start stacking those petals. Once the first flower comes together you’ll wonder why you waited so long. Happy stitching.


Leave a Reply
You must be logged in to post a comment.