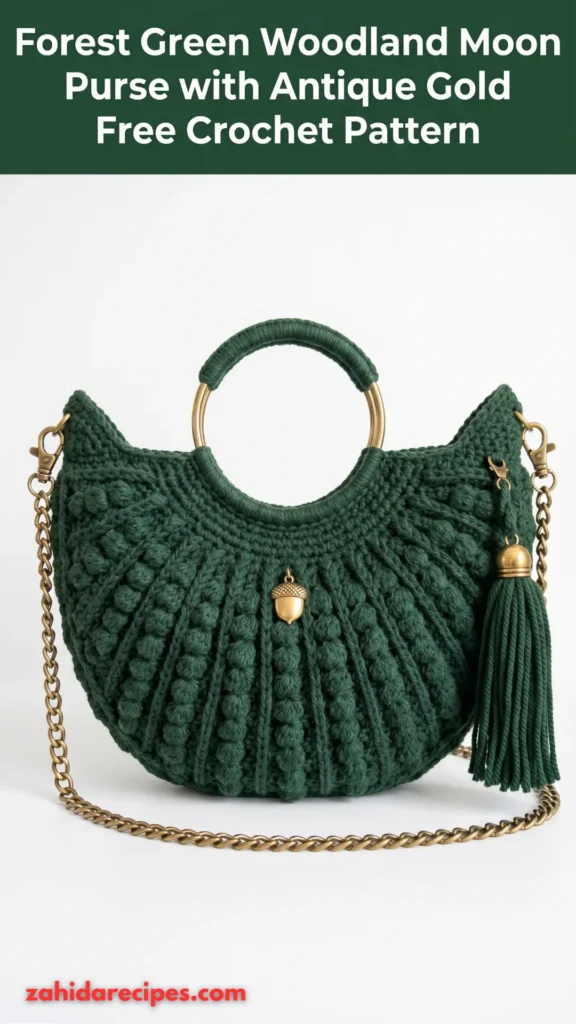
Forest Green Woodland Moon Purse with Antique Gold Free Crochet Pattern
Have you ever seen a bag that looks like it was plucked straight out of a fairy tale? That’s exactly what this forest green woodland moon purse feels like. With its deep, rich color and shimmering antique gold accents, it’s the kind of accessory that makes people stop and ask, “Wait, where did you get that?” The best part? You can make it yourself with a free crochet pattern that’s easier than it looks.
Why a Moon Purse Belongs in Your Life
Crescent-shaped bags have been having a moment lately, and for good reason. They sit comfortably against your body when worn crossbody, they hold just enough stuff without encouraging you to carry unnecessary junk, and honestly? They just look cool.
A moon purse works with almost any outfit. Pair it with jeans and a tee for a casual daytime look, or wear it with a flowy dress for something more magical. The forest green color gives it a woodland vibe that feels earthy and grounded, while the antique gold details add just enough sparkle to make it special.
Plus, when you crochet your own bag, you get to control everything. The size, the strap length, the exact shade of green—it’s all up to you. And there’s something really satisfying about carrying something you made with your own hands.
What Makes This Purse Special
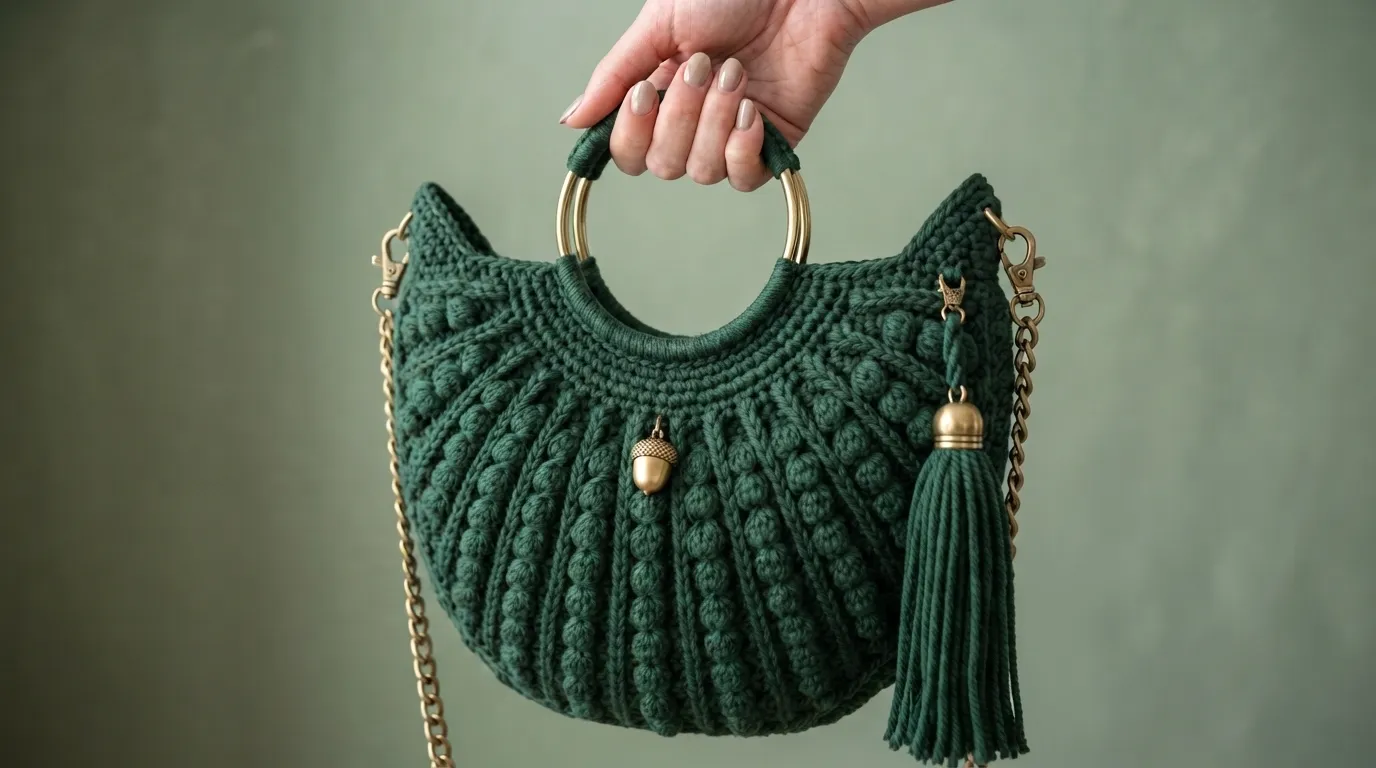
The color combination is what really sets this project apart. Forest green is that deep, mossy shade you’d find on pine trees in a shaded woodland. It’s dramatic without being loud. Then you’ve got antique gold—not shiny, bright yellow gold, but that muted, aged metallic tone that looks like it’s been passed down for generations. Together, they create a bag that feels like it belongs in a story about secret gardens and hidden treasures.
The moon shape itself comes from the construction method. You crochet two identical curved panels, then join them with a strap that also serves as the bottom and sides of the bag. It’s a clever design that means fewer seams and less assembly frustration.
Materials You’ll Need
Before you start, gather your supplies. Here’s what this pattern calls for:
- Worsted weight cotton yarn in forest green (about 180-200 yards)
- Metallic antique gold yarn for accents (a small amount goes a long way)
- 4.5mm crochet hook (or whatever size gets you the right gauge)
- Scissors
- Tapestry needle for weaving in ends and seaming
- One button for the closure (something vintage-looking would be perfect)
- Stitch markers (because you WILL lose track of your increases without them)
Why cotton? Because it doesn’t stretch under weight the way acrylic does. When you’re making a bag, you want the shape to hold up. A cotton bag will still look like a crescent moon six months from now. An acrylic one might stretch into a sad, droopy banana.
Understanding the Crescent Shape
Here’s the thing about crescent bags that scares some people: the curves. But honestly? The shaping is simpler than you’d think.
Each side panel starts small—just four stitches at the bottom point. Then you increase evenly across each row. Four increases per row, every row. That’s it. The curve emerges naturally from this steady, predictable rhythm.
You don’t need complicated short rows or fancy shaping techniques. Just simple half double crochets and increases. If you can count, you can make this bag.
The pattern gives you full control over the size too. Want a tiny purse for just your phone and keys? Work fewer increase rows. Need something bigger for a wallet and water bottle? Add a few more rows before you stop.
Working the Body Panels
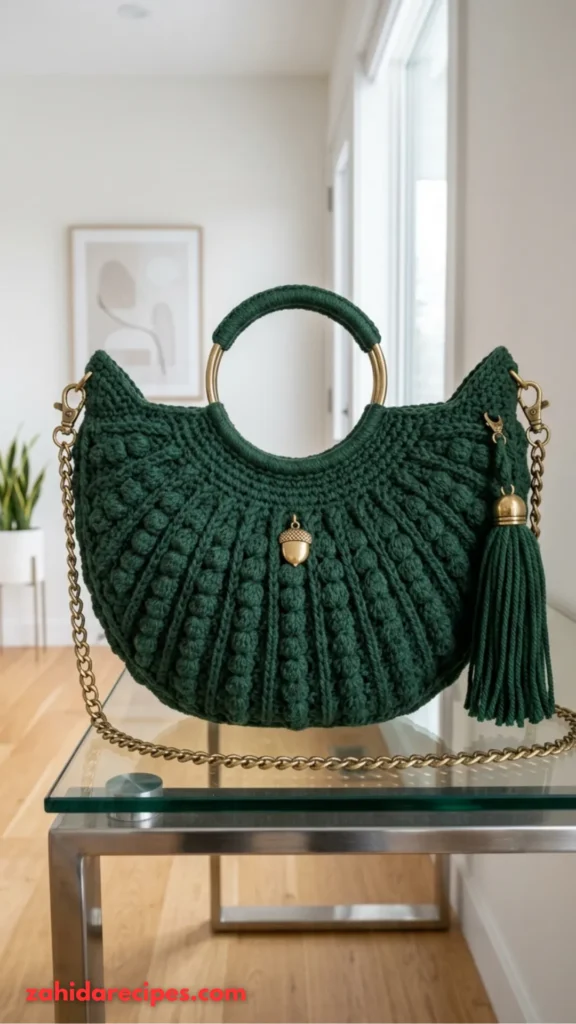
Let’s talk through how the panels actually come together.
You start with a chain of two, then work four half double crochets into that second chain from the hook. That’s your foundation row—the bottom tip of your crescent.
From there, each row follows the same formula: chain one, turn, then repeat a pattern of regular half double crochets followed by an increase. The number of regular stitches between increases grows by one each row. Row three has one hdc between increases. Row four has two. Row five has three. You get the picture.
This creates a triangle shape that curves as it grows. By the time you’ve worked fourteen rows, you’ll have fifty-six stitches across. The panel will measure roughly ten inches wide and five inches tall.
Make two of these. They should be identical. If they’re not, don’t panic—blocking can fix minor differences.
Adding the Antique Gold Touches
This is where the magic happens. The antique gold accents are what transform a simple green bag into something that looks like it belongs in a woodland fairy tale.
You’ve got options for how to incorporate the gold. One approach is surface crochet or duplicate stitch to add a crescent moon motif on the front panel. Another is working a round of gold single crochet around the edges of both panels before assembly.
For a subtler touch, consider using gold yarn for the button closure or adding small gold beads as embellishments along the strap. Even a tiny bit of metallic yarn makes a big impact.
The key is restraint. You want the gold to feel like a discovery, not a decoration overload. A few well-placed details will make people lean in and wonder how you did it.
Assembling Your Moon Purse
Assembly is straightforward, which is good news if you’re like me and hate seaming.
You’ve got two curved panels and one long strap. The strap is a simple rectangle worked in half double crochet until it’s about thirty-six inches long. That length lets you wear the bag crossbody, but you can adjust it shorter or longer depending on your preference.
Here’s how it goes together: lay one panel flat, then position the long edge of the strap along the curved edge of the panel. Sew them together, matching one stitch to one row. Then do the same with the second panel on the other side of the strap.
The strap wraps around the bottom of the bag and becomes the sides too. When you sew the short ends of the strap together, you create the loop that goes over your shoulder or across your body.
Add your button and a small flap if you want extra security. The flap is just a tiny curved piece sewn to the top center of one panel.
Tips for a Polished Finish
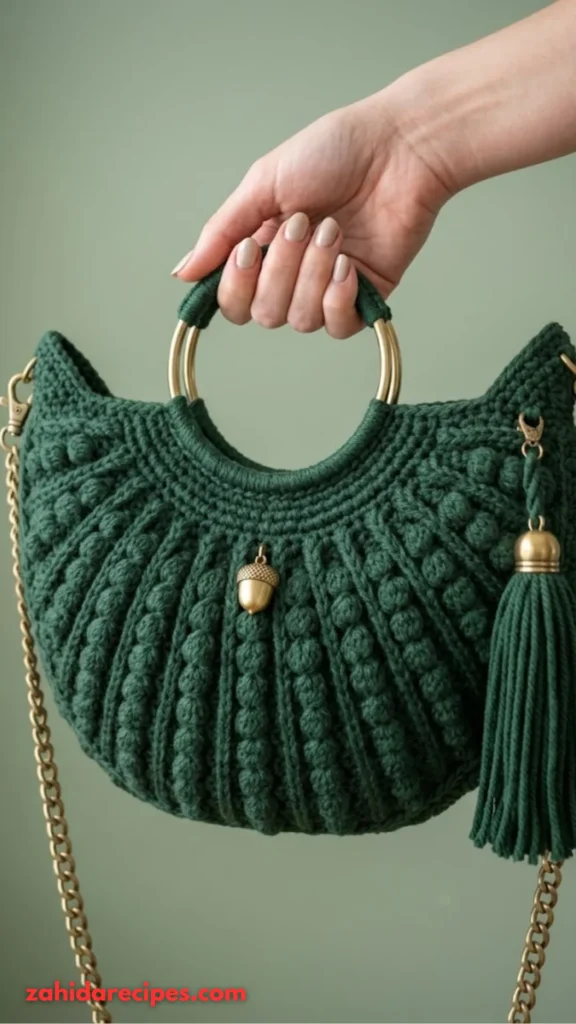
A few small details make the difference between “homemade” and “handcrafted.”
Use a smaller hook than you think you need. Tighter stitches mean a denser fabric that holds its shape better. Your hands might complain, but your finished bag will thank you.
Block your panels before assembly. Pin them into shape, spritz with water, and let them dry completely. This evens out any wonky stitches and makes seaming much easier.
Consider adding a lining. A simple fabric lining prevents small items from poking through the crochet stitches and gives the bag a more professional finish. It’s optional, but it’s a nice touch.
Reinforce your strap attachment points. Those areas take the most stress. Sew them twice if you want extra security.
Caring for Your Woodland Purse
Cotton bags are pretty low-maintenance. Hand wash in cool water with a gentle detergent, then reshape and lay flat to dry. Don’t wring it out—that’ll mess up your stitch definition.
If your bag gets stretched out over time, a quick soak in cool water followed by careful reshaping will bring it back to life.
The antique gold yarn might tarnish slightly over time, but honestly? That just adds to the vintage charm. It’ll look even more like a found treasure.
You Might Also Like:
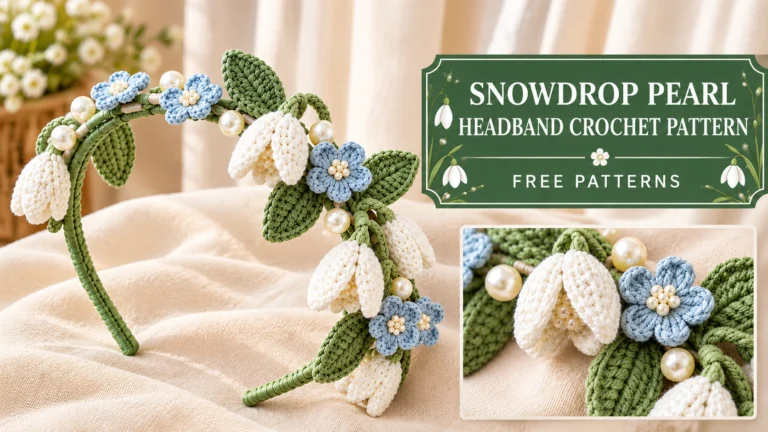
- Snowdrop Pearl Headband Crochet Pattern
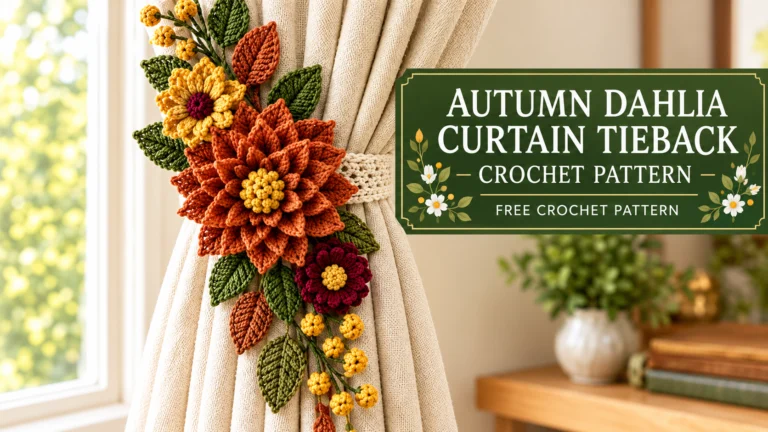
- Autumn Dahlia Curtain Tieback Crochet Pattern
- Ivory Pearl Lace Dress Crochet Pattern
Ready to Make Your Own?
This forest green woodland moon purse is one of those projects that looks impressive but doesn’t require expert-level skills. If you know how to chain, half double crochet, and increase, you’re ready to go.
The free pattern walks you through every step with clear instructions and stitch counts. You don’t need to figure anything out on your own—just follow along and trust the process.
And when someone asks where you bought your bag, you get to say the best four words in a crocheter’s vocabulary: “I made it myself.”