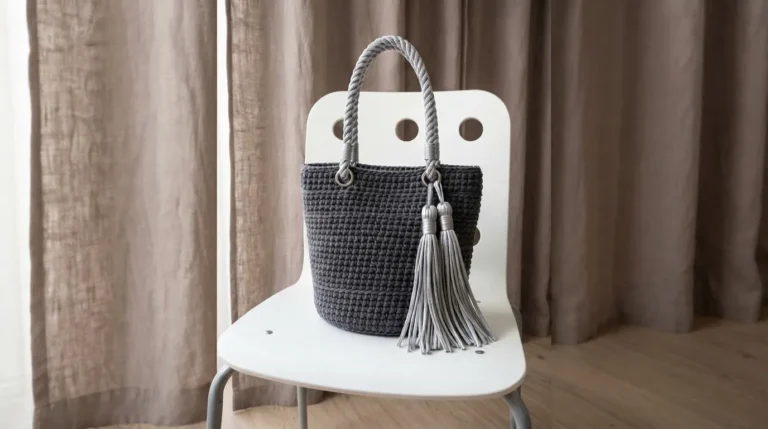
Monochrome Gray Drawstring Bucket Bag Free Crochet Pattern
You know that feeling when you finish a project and immediately start using it every day? This monochrome gray drawstring bucket bag delivers exactly that. It looks sharp with jeans or a dress, holds your daily stuff without drama, and works up faster than most people expect. Basic stitches in the round plus simple color changes are all you need.
If you can handle continuous rounds and a few increases, you can make this. The vertical stripes give it a clean modern look without fancy techniques. Grab your yarn and let’s get this bag on your shoulder.
Why This Bucket Bag Pattern Wins
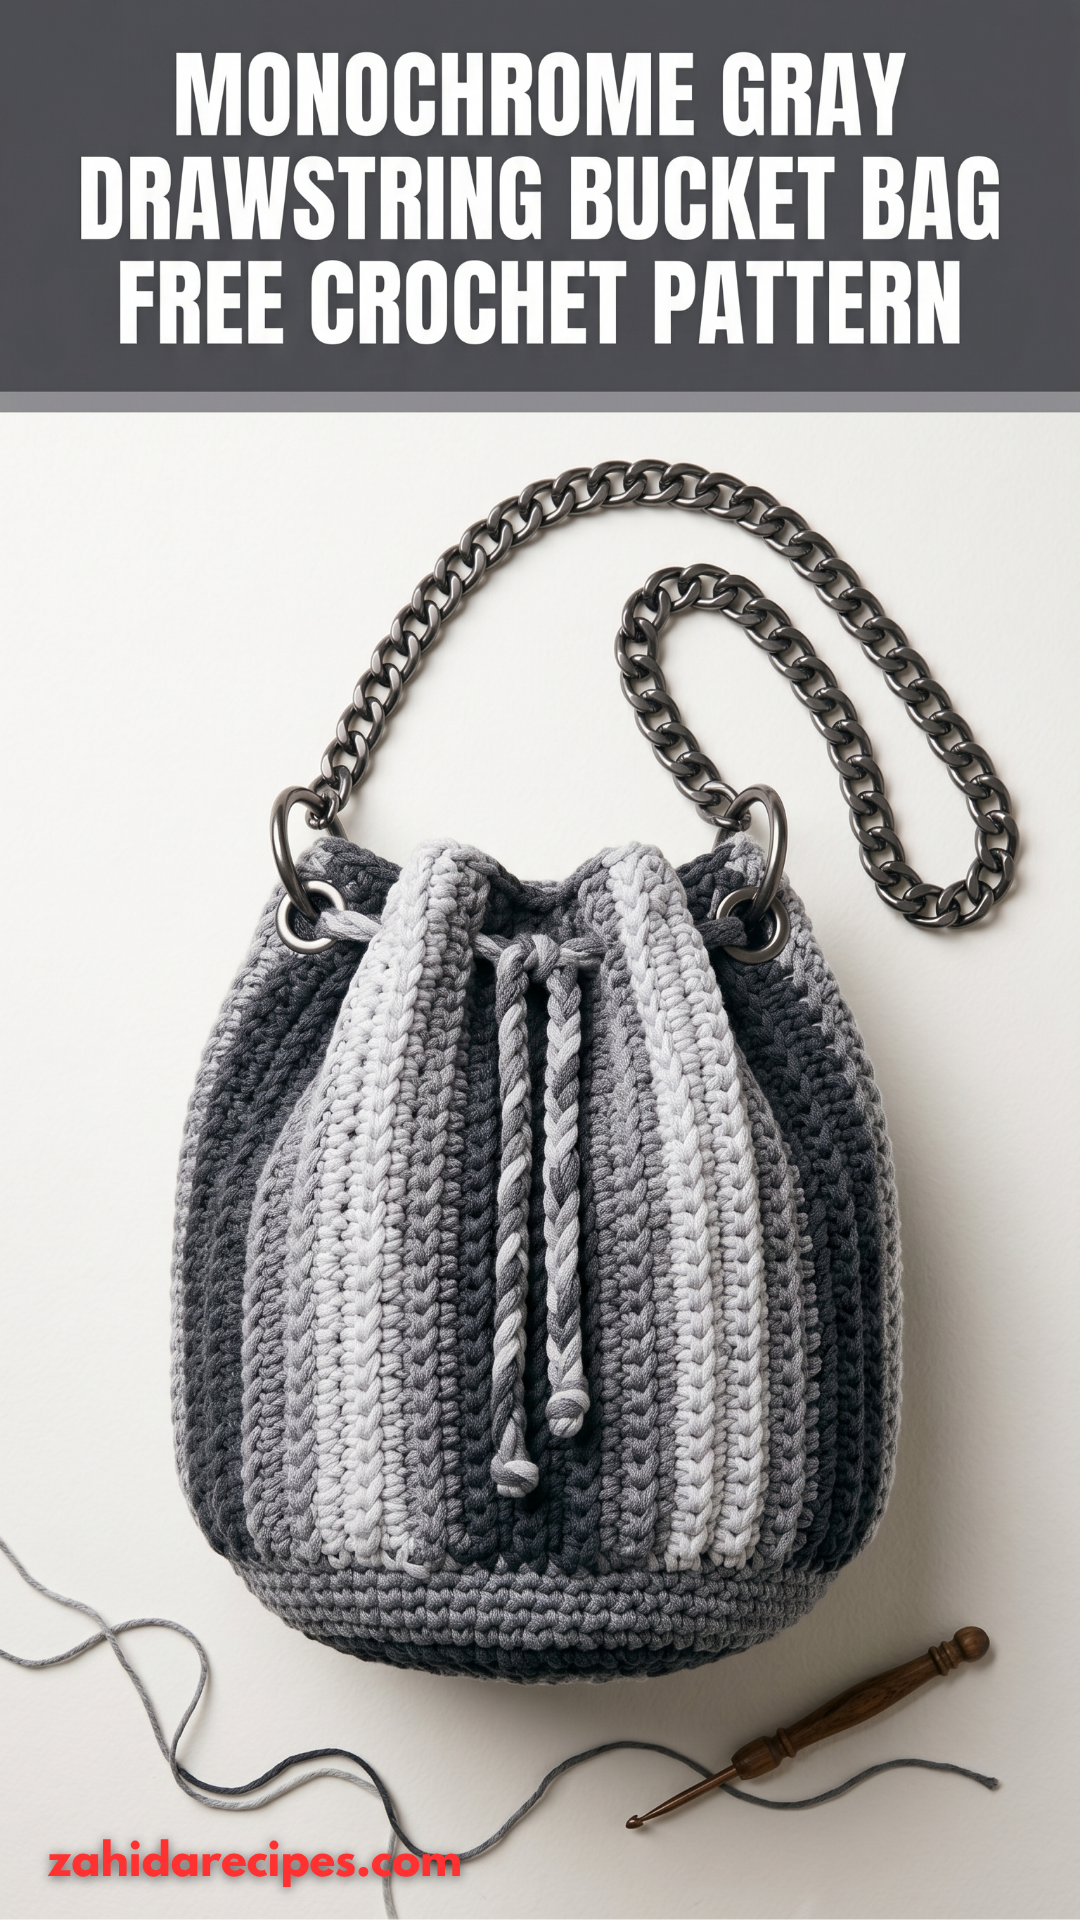
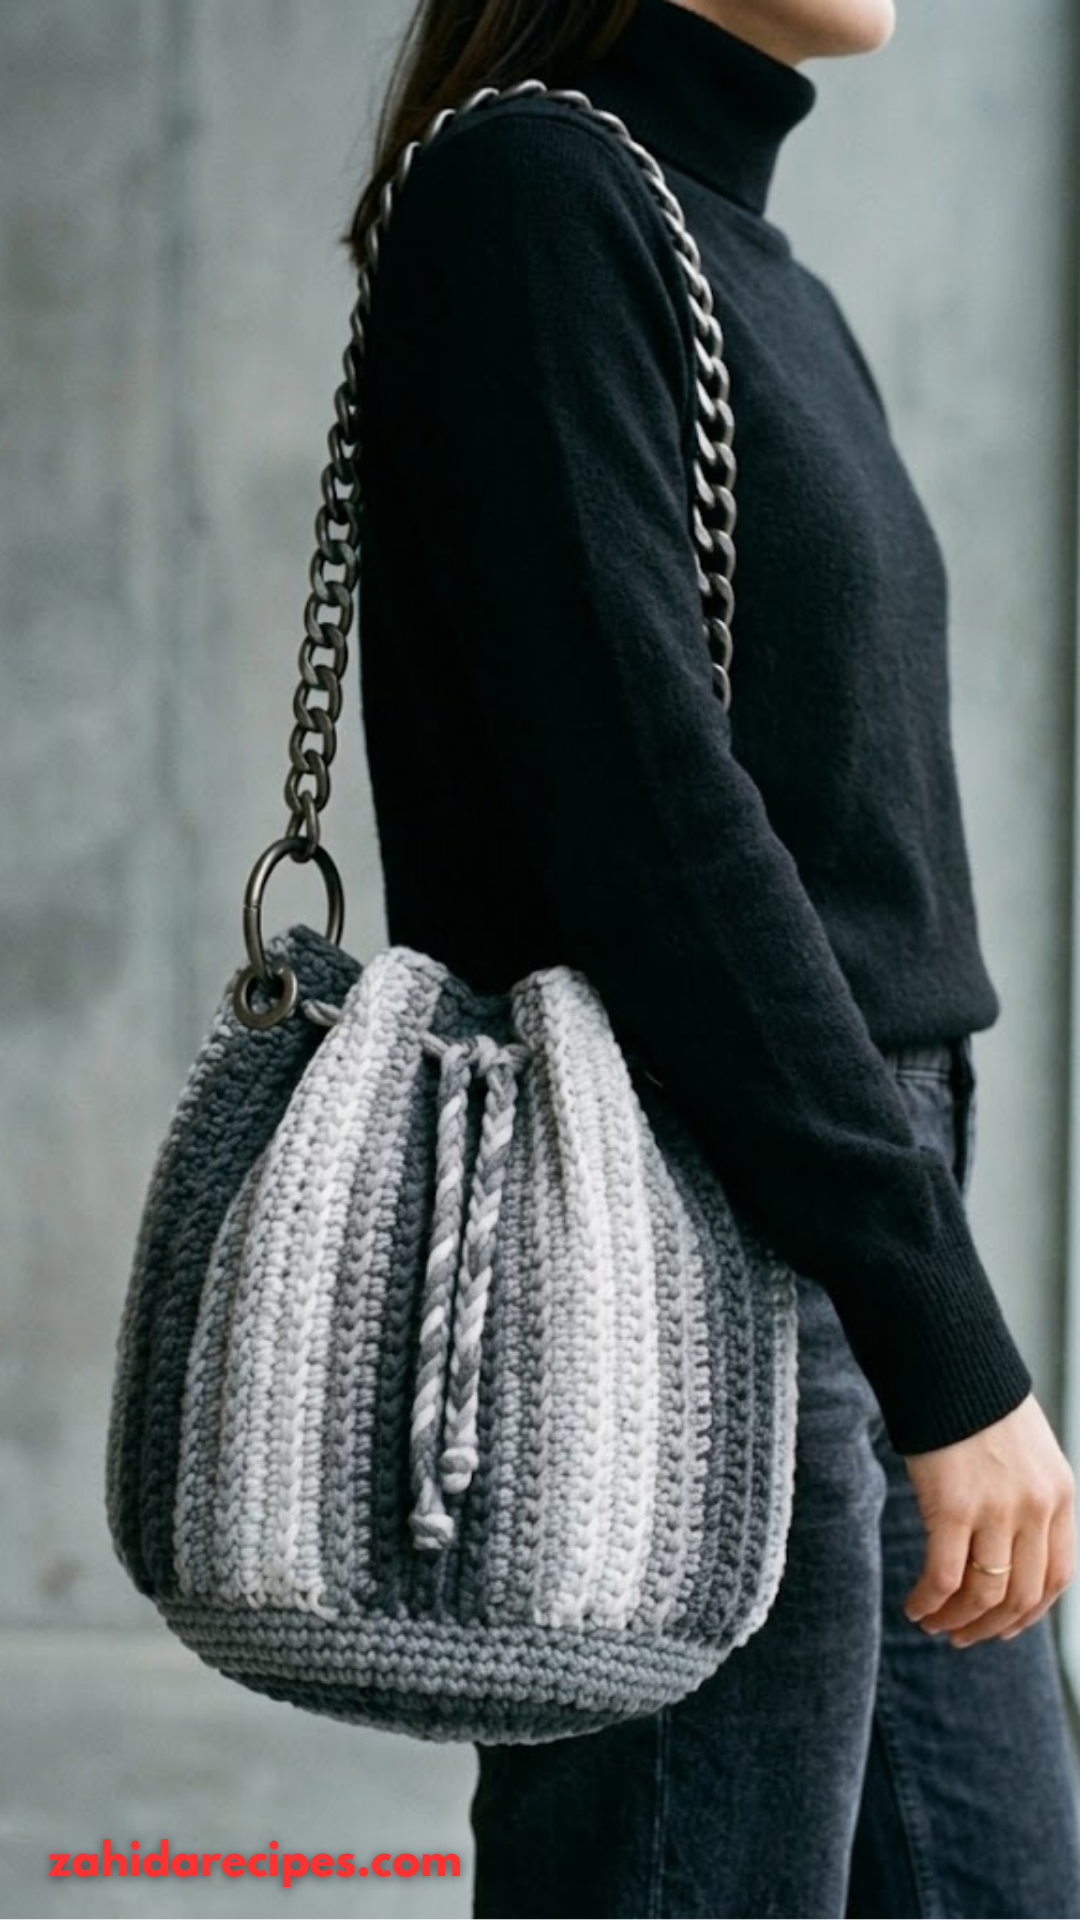
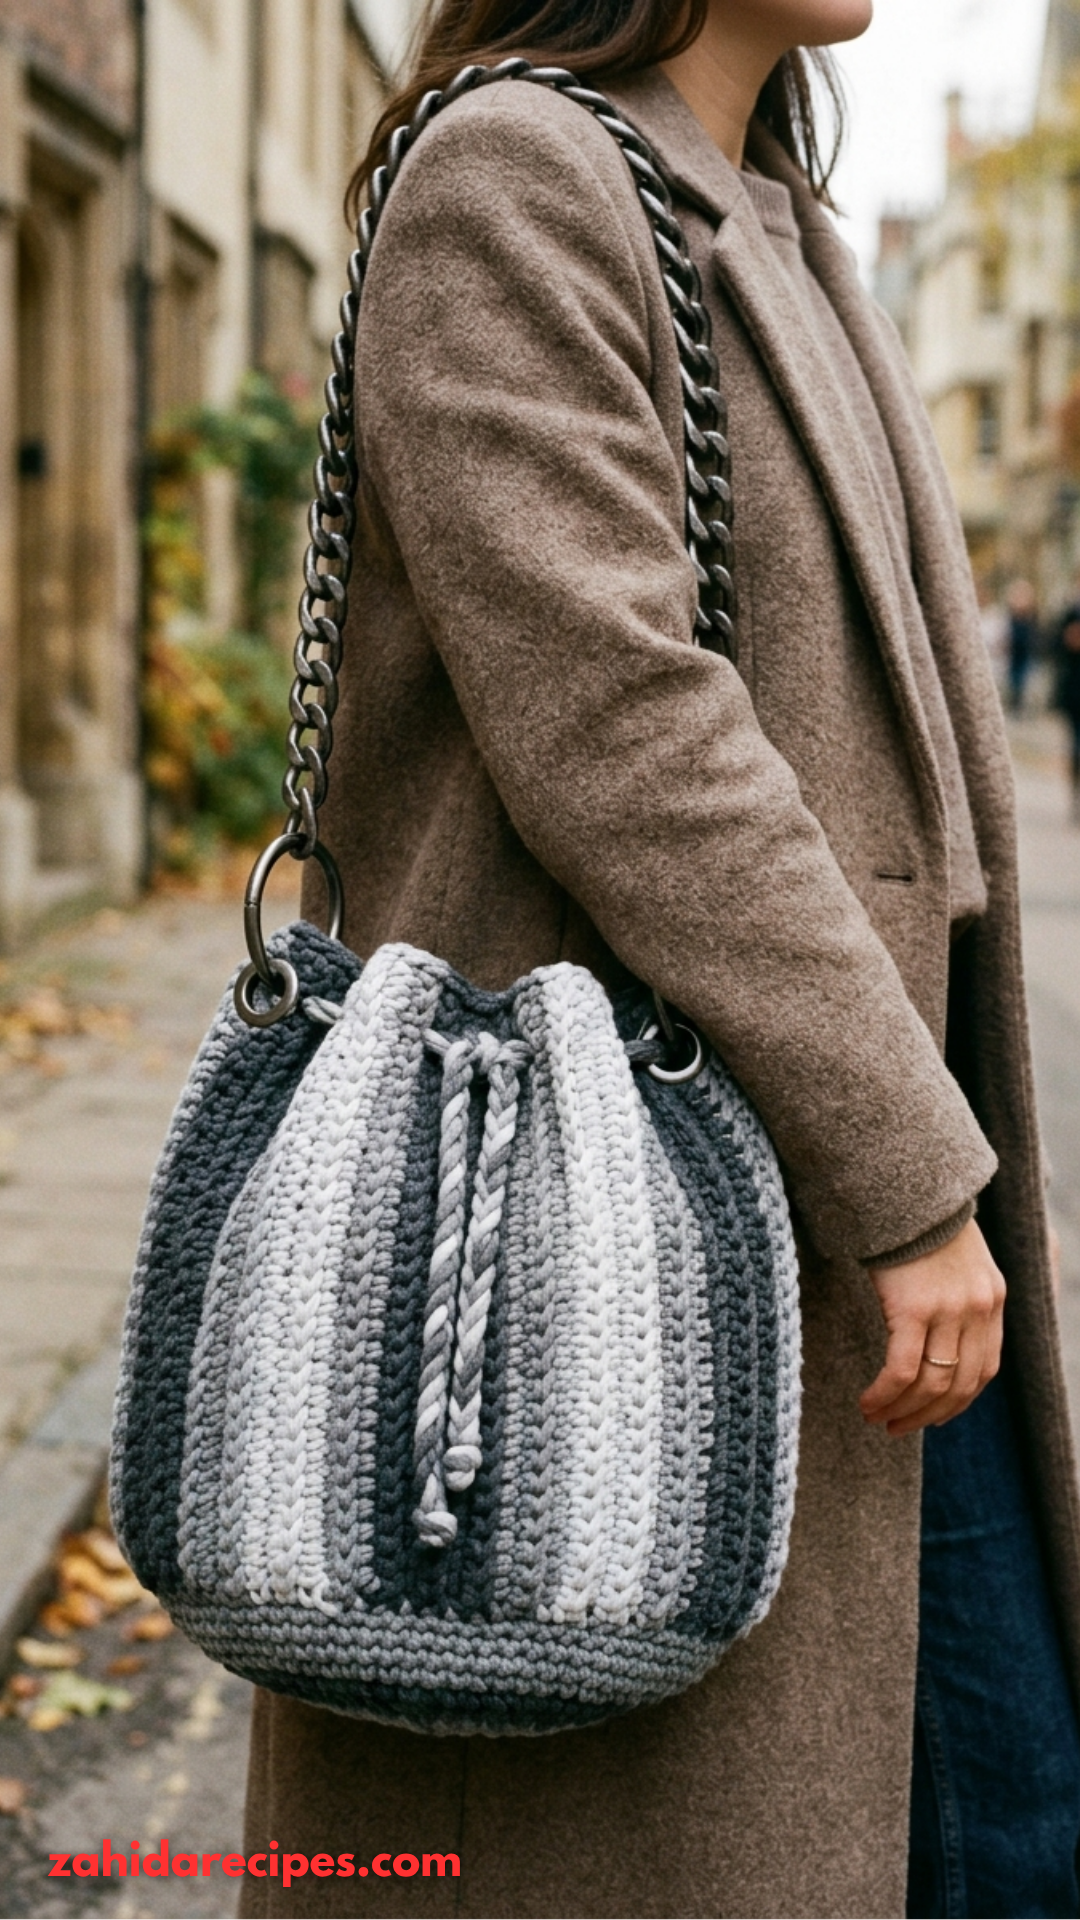
This is not some floppy granny-style bag that screams “homemade.” The vertical stripes in dark charcoal and soft light gray create a sleek monochrome vibe that never feels dated. It pairs with almost everything in your closet.
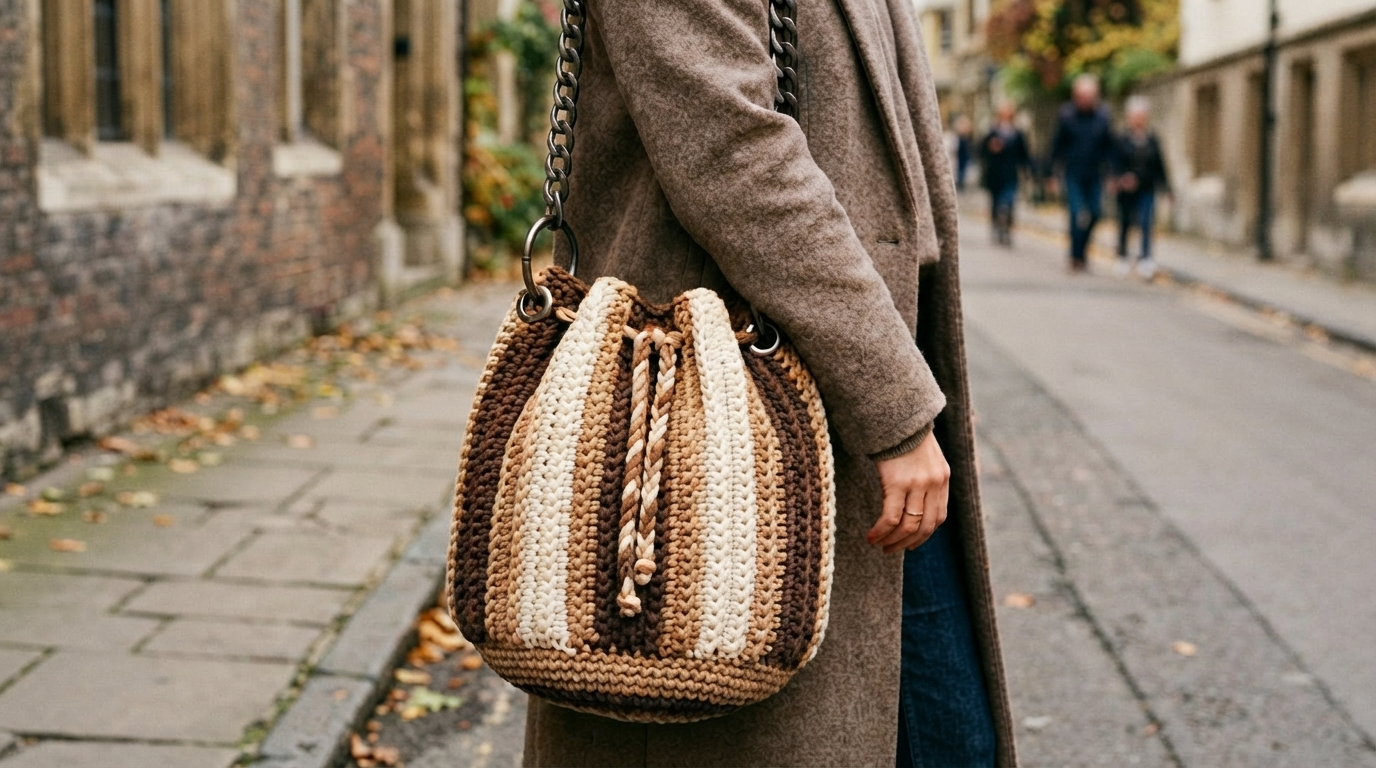
The bucket shape is practical. It holds more than it looks like it should. The drawstring keeps your keys, phone, and wallet secure. The rounded form stays intentional instead of sagging into a sad pouch.
Hardware takes it up a notch. Metal O-rings and a chunky chain strap make the whole thing look store-bought. People will ask where you bought it. That’s always a fun moment.
Materials You Need for This Crochet Bucket Bag
Gather everything before you start. It saves time and keeps the flow going.
Yarn
- Bulky weight yarn (Category 5) in two colors
- Color A: Dark charcoal gray, about 150 yards
- Color B: Light silver gray, about 150 yards
A cotton blend or tube yarn works best. Cotton keeps the bag from stretching out of shape. Tube yarn or t-shirt yarn gives that smooth, polished look you want.
Hook
- 8.0mm (L/11) crochet hook for the main bag
- 6.0mm (J/10) if your tension runs loose
Make a gauge swatch. Bags need even tension so they hold their shape and keep small items from slipping through.
Notions and Hardware
- 2 large metal O-rings (about 1.5 inches diameter)
- 1 chunky chain strap with lobster clasps (or crochet your own strap)
- Yarn needle for weaving ends
- Stitch marker
- Scissors
Skill Level, Techniques, and Abbreviations
This pattern sits right at intermediate-beginner. If you have made a hat or anything in continuous rounds, you already have the skills.
Techniques you will use:
- Magic ring
- Working in continuous spiral rounds
- Single crochet in back loop only
- Basic color changes
- Simple decreases
Nothing complicated. Just steady stitches that look great when finished.
Stitch abbreviations:
- Chain (ch): Yarn over, pull through the loop on your hook.
- Slip Stitch (sl st): Insert hook, yarn over, pull through both loops at once.
- Single Crochet (sc): Insert hook into stitch, yarn over and pull up a loop, yarn over and pull through both loops.
- Single Crochet Back Loop Only (sc BLO): Work a regular single crochet but insert your hook under only the back loop. This creates the nice horizontal ridges.
- Increase (inc): Work 2 single crochet stitches into the same stitch.
- Decrease (dec): Insert hook into first stitch, pull up a loop, insert hook into next stitch, pull up a loop, yarn over and pull through all 3 loops.
- Magic Ring (MR): A tight closed center for working in the round. If you prefer, chain 4 and slip stitch to join instead.
Gauge
With 8.0mm hook and bulky yarn: 10 sc x 12 rows = 4 inches (10cm).
Gauge matters here. Too loose and things fall through. Too tight and your hands will complain. Adjust your hook if needed.
Finished Dimensions
- Height: about 10 inches (not including drawstring)
- Width at widest point: about 11 inches
- Base diameter: about 6 inches
Step-by-Step Crochet Pattern Instructions
We work this bag in clear sections: base, sides with stripes, shaping, and finishing. Keep a stitch marker moving up at the start of each round.
Part 1: The Base
Start from the center and work outward in continuous spiral rounds.
Using Color A (dark charcoal):
Round 1: Make a magic ring, work 6 sc into the ring, pull tight. (6 sts)
Round 2: Inc in each stitch around. (12 sts)
Round 3: Sc 1, inc repeat around. (18 sts)
Round 4: Sc 2, inc repeat around. (24 sts)
Round 5: Sc 3, inc repeat around. (30 sts)
Round 6: Sc 4, inc repeat around. (36 sts)
Round 7: Sc 5, inc repeat around. (42 sts)
Round 8: Sc 6, inc repeat around. (48 sts)
Round 9: Sc 7, inc repeat around. (54 sts)
Round 10: Sc 8, inc repeat around. (60 sts)
Your base should measure about 6 inches across. Add or remove an increase round if needed. Keep the base flat on the table with no curling.
Part 2: Building the Sides
Switch to back loop only. This turns the corner from base to walls and creates those textured ridges.
Round 11: Working in BLO only, sc in each stitch around. Do not increase. (60 sts)
Rounds 12 to 14: Continue working sc in BLO around. (60 sts each round)
Now the stripes begin.
Part 3: Vertical Stripe Section
The vertical stripes come from changing colors within each round. You work 6 dark stripes and 6 light stripes alternating around.
Color Pattern per Round:
- Work 5 sc in Color A (dark gray)
- Change to Color B (light gray), work 5 sc
- Repeat this pattern around (6 sections of each color)
Tip for clean color changes: Complete your last stitch with the new color. Insert hook, pull up a loop with old color, then yarn over with new color to finish the stitch.
Rounds 15 to 35: Following the color pattern above, sc in BLO for each round. (60 sts)
Carry the unused color loosely along the inside. Do not cut the yarn between changes.
After 21 rounds of stripes, the body should measure about 7 to 8 inches tall.
Part 4: Shaping the Top
Gentle decreases create the soft bucket curve.
Round 36: Following stripe pattern, sc 8, dec repeat around. (54 sts)
Round 37: Sc around in pattern. (54 sts)
Round 38: Sc 7, dec repeat around. (48 sts)
Round 39: Sc around in pattern. (48 sts)
Round 40: Sc 6, dec repeat around. (42 sts)
Rounds 41 to 43: Sc around in Color A only. (42 sts)
This solid band sets up the drawstring channel.
Part 5: Drawstring Channel
Round 44: Ch 2, skip 2 sts, sc 5 repeat around. (6 holes created)
Round 45: Sc in each stitch and chain space around. (42 sts)
Round 46: Sc around. (42 sts)
Slip stitch to join. Fasten off. Weave in ends.
Part 6: Making the Drawstring
You can use a simple chain or a twisted cord.
Chain Method: Chain about 80 to 90 stitches using both colors held together. Slip stitch in second chain from hook and in each chain across. Fasten off.
Twisted Cord Method: Cut 4 strands of yarn, each about 60 inches long. Twist tightly in one direction until the cord wants to kink. Fold in half and let it twist back on itself. Knot the ends.
Thread the drawstring through the channel holes with a yarn needle or safety pin.
Part 7: Attaching Hardware
Adding O-Rings:
Using Color A, join yarn to the top edge of the bag at one side.
Ring Attachment (make 2):
- Ch 1, work 10 sc around the metal O-ring, sl st to join to the bag edge.
- Fasten off and weave in ends.
Space the rings evenly on opposite sides. Clip your chain strap to the O-rings with the lobster clasps.
Finishing Touches and Care Tips
Weave in all ends securely. Run each tail through several stitches in different directions for strength.
Optional but smart: Add a fabric lining so small items cannot poke through the stitches. A simple drawstring pouch sewn inside works great.
Care instructions: Hand wash in cool water with mild detergent. Reshape while damp and lay flat to dry. Cotton and tube yarns hold shape well but may need a little reshaping now and then.
Customization Ideas and Quick Fixes
Make this pattern your own:
- Swap the colors: Navy and cream, mustard and rust, or classic black and white all look sharp.
- Skip the chain strap and crochet a long single-crochet strap instead.
- Change the texture with waistcoat stitch or moss stitch.
- Go bigger by adding more increase rounds to the base and more height rounds to the body.
Common issues and fixes:
- Stripes not lining up: Count stitches after every round so the sections stack straight.
- Bag curling inward: Tension is too tight. Go up a hook size.
- Base cupping: Too many increases. Remove a round and check gauge.
- Messy color changes: Always finish the last yarn over with the new color.
Final Thoughts
This bag turned out practical, stylish, and ready for everyday wear. The monochrome gray palette goes with everything, and the chain strap adds just enough edge. The pattern looks more advanced than it is. Take it one round at a time, count your stitches, and trust the process.
Happy crocheting. You have got this. When you finish yours, I would love to hear how it went.