Warm Mustard Yellow Drawstring Bucket Bag Free Pattern
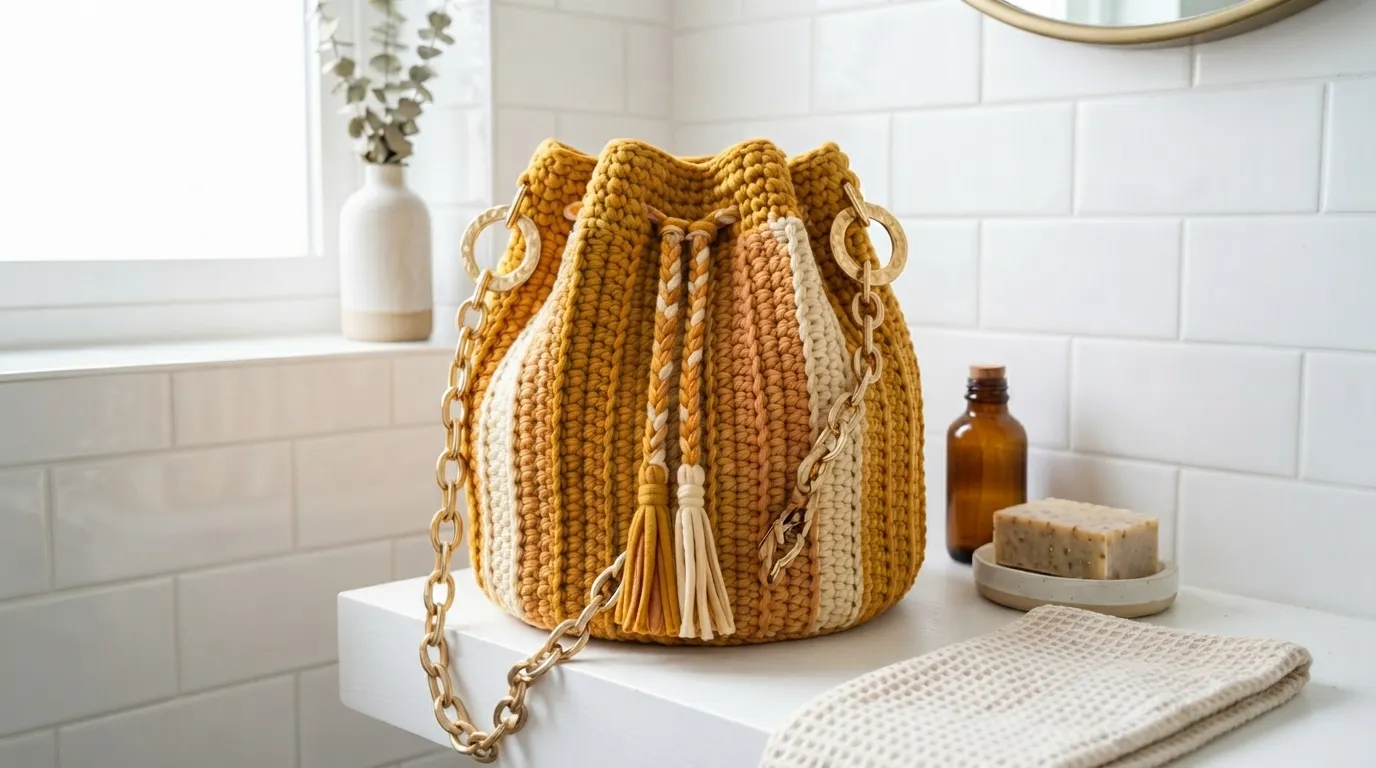
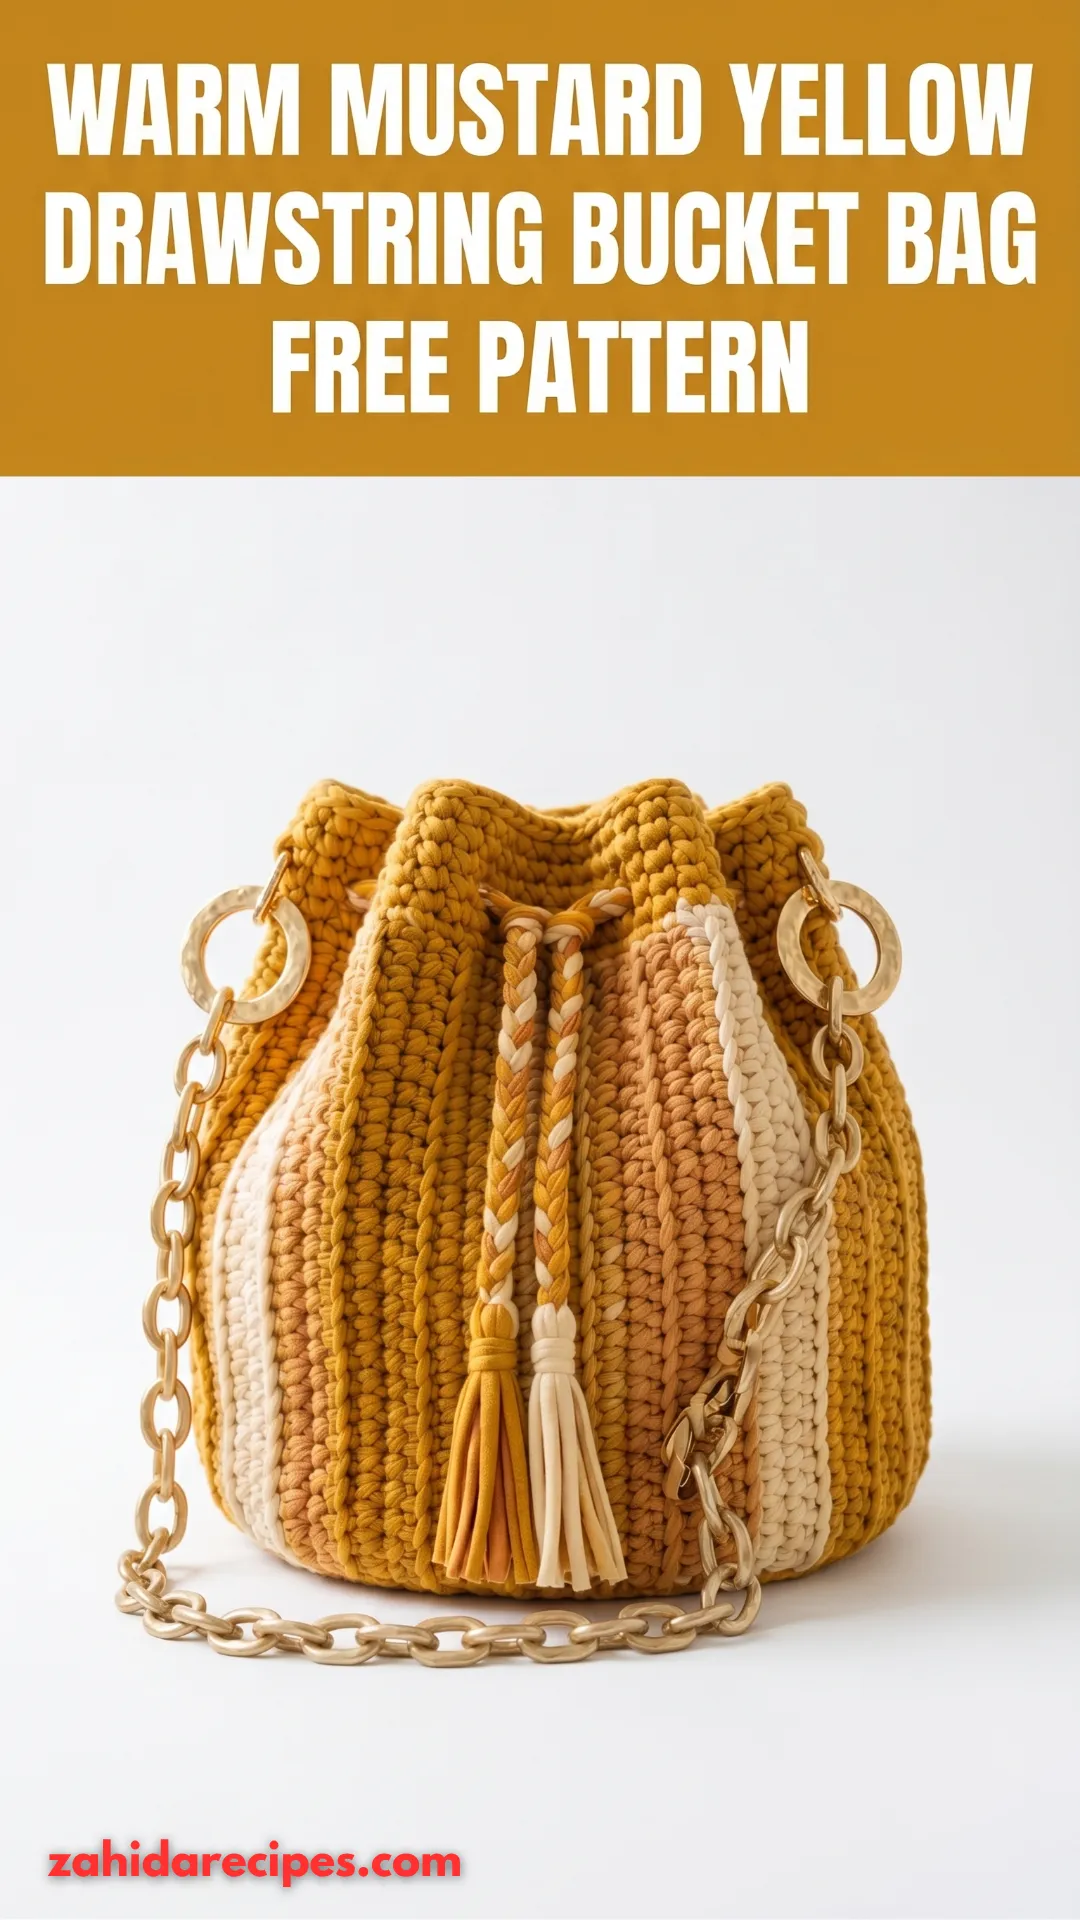
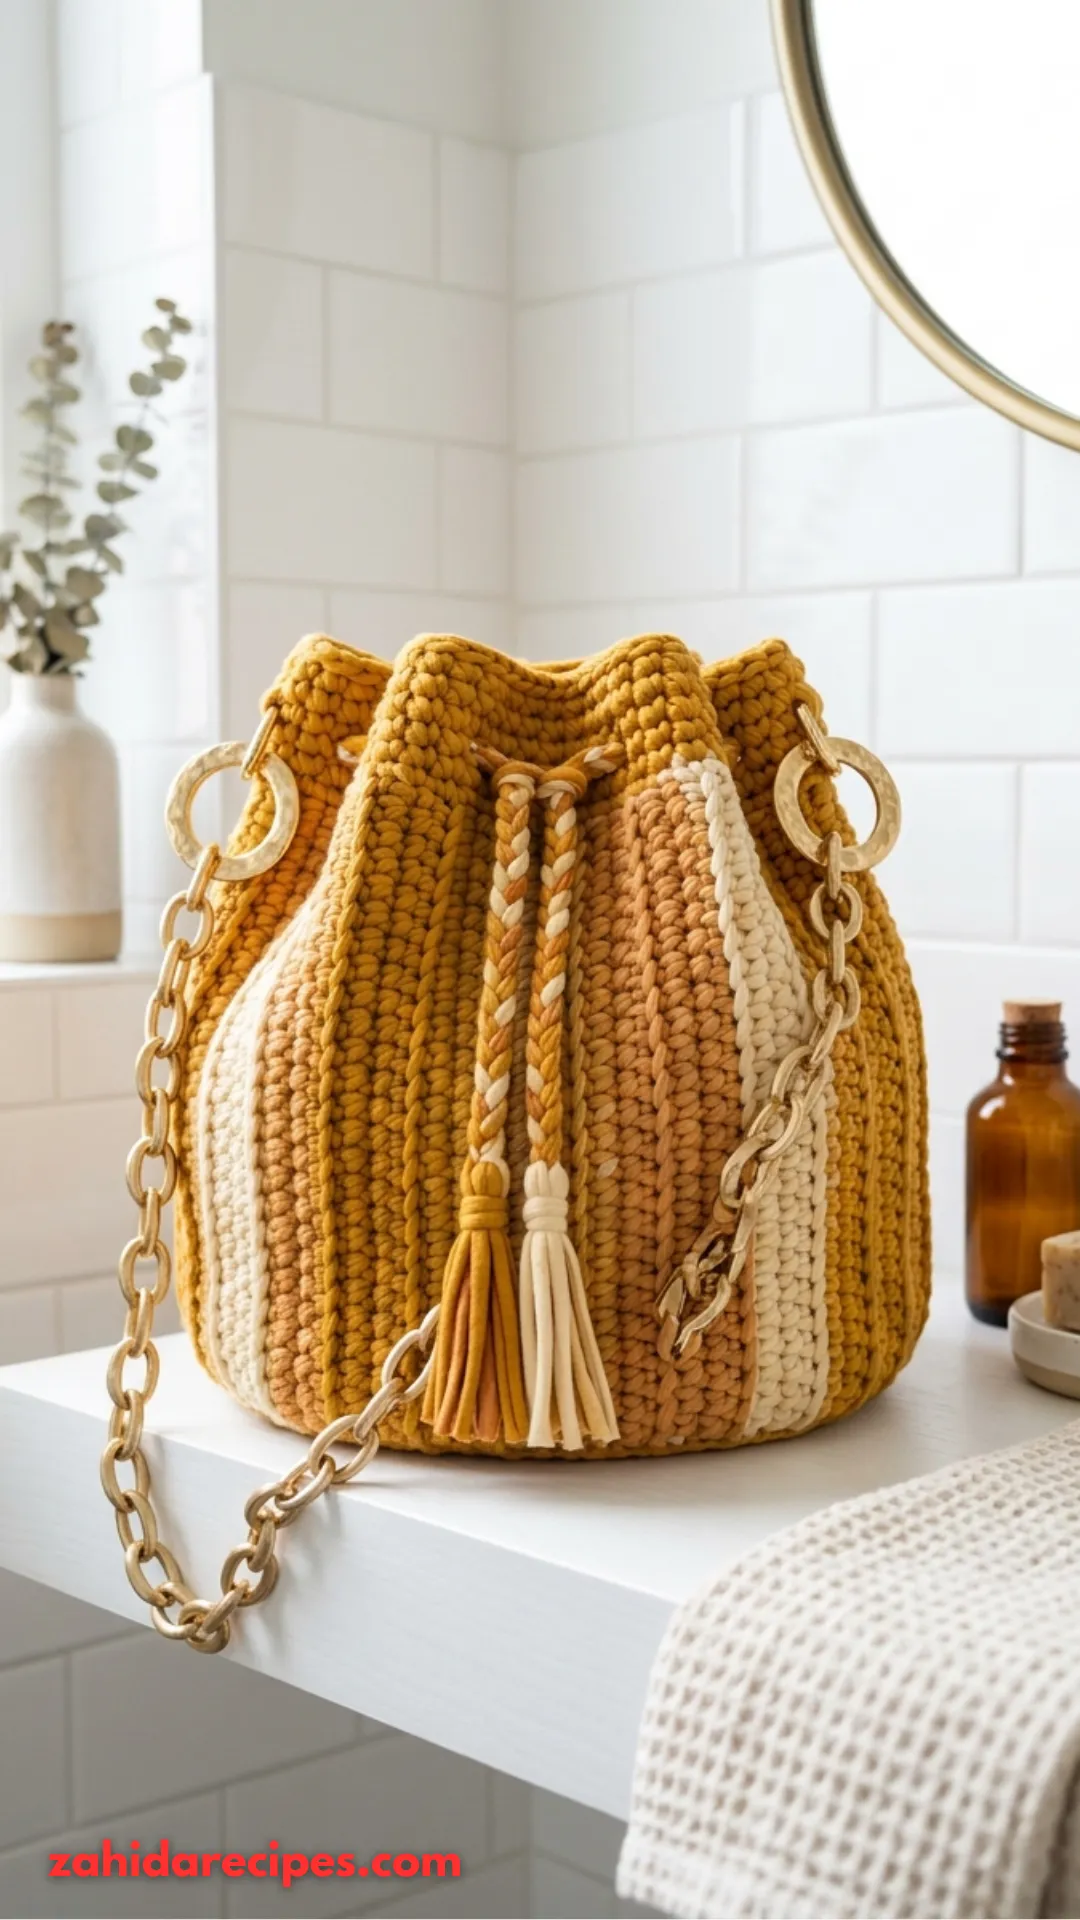
This mustard yellow drawstring bucket bag has been stuck in my head for weeks, and now it can live in yours too. It mixes warm mustard with soft cream and caramel stripes for that boho look everyone keeps pinning. Here is the thing though: it looks way harder than it actually is. If you can crochet in a circle and know your basic stitches, you can totally make this.
The vertical stripes might look scary at first. They are not. I will walk you through every single round, so grab your hook and let us get into it.
Why You Will Love This Bucket Bag Pattern
Before we jump into the pattern, let me tell you what makes this bag worth your time.
It holds its shape beautifully. Tight single crochet stitches create a fabric that does not sag or stretch out. You do not need a lining unless you want one.
The stripes run vertically. That means no tricky color changes in the middle of a row. You work each stripe section as you go around the bag. So satisfying.
The hardware does the heavy lifting. Gold acrylic rings and a chain strap turn this from a cute craft project into a real fashion accessory. Trust me on this one.
It is beginner friendly. Never made a bag before? This is a great first project. The shape is simple and chunky yarn works up fast.
What You Need to Get Started
Gather everything before you start. It makes the whole process smoother.
Yarn
T-shirt yarn or cotton tube yarn works best here. It gives you that chunky, textured look. Regular super bulky acrylic works too, but the finished bag will feel a bit different.
Hook
A 10mm hook. Yes, that is a big one. It matches the chunky yarn and creates a nice dense fabric.
Hardware and Notions
- 2 gold acrylic rings
- Gold chain strap
- Lobster clasps or jump rings
- Stitch marker
- Scissors
- Tapestry needle
Finished Size
The bag measures about 6 inches across the base and 7 inches tall. The chain strap adjusts for shoulder or crossbody wear.
Gauge and Stitch Guide
Gauge
Working in single crochet with super bulky yarn and a 10mm hook: 8 stitches and 9 rows equal 4 inches.
Gauge matters for bags. Too loose and your keys fall through the holes. Too tight and you will fight the yarn every round. Take five minutes to check. Your hands will thank you later.
Abbreviations
- ch = chain: Yarn over, pull through the loop on your hook.
- sl st = slip stitch: Insert hook, yarn over, pull through the stitch and the loop on your hook in one motion.
- sc = single crochet: Insert hook, yarn over, pull up a loop (2 loops on hook), yarn over, pull through both loops.
- inc = increase: Work 2 single crochet stitches into the same stitch.
- sc2tog = single crochet two together: Insert hook into the first stitch and pull up a loop, insert hook into the next stitch and pull up a loop (3 loops on hook), yarn over, pull through all 3 loops.
Skill Level
Confident beginner to intermediate. You should feel comfortable with chain, slip stitch, single crochet, and working in the round. Never made a bag before? You can still do this. Just take it one round at a time.
Pattern Notes
- Work from the bottom up. Start with a flat circle for the base, then go straight up for the body.
- The body uses vertical stripes. Each round, you work sections in different colors following a set sequence.
- Work the base in continuous rounds. Use a stitch marker to track your rounds and move it up each time.
- Work the body in joined rounds. This keeps the stripes lined up perfectly.
- Do not turn your work. Keep the right side facing you at all times.
Step by Step Pattern
Part 1: The Base
Start with a magic ring. If magic rings stress you out, chain 4 and slip stitch to form a ring instead. Both work fine.
- Round 1: Using Mustard Yellow, make a magic ring. Ch 1, work 6 sc into the ring. Pull the ring closed. Place a stitch marker. (6 sts)
- Round 2: Work 2 sc in each stitch around. (12 sts)
- Round 3: Sc in the first stitch, 2 sc in the next stitch. Repeat from * around. (18 sts)
- Round 4: Sc in the next 2 stitches, 2 sc in the next stitch. Repeat from * around. (24 sts)
- Round 5: Sc in the next 3 stitches, 2 sc in the next stitch. Repeat from * around. (30 sts)
- Round 6: Sc in the next 4 stitches, 2 sc in the next stitch. Repeat from * around. (36 sts)
- Round 7: Sc in the next 5 stitches, 2 sc in the next stitch. Repeat from * around. (42 sts)
- Round 8: Sc in the next 6 stitches, 2 sc in the next stitch. Repeat from * around. (48 sts)
Your base should measure about 6 inches across. Lay the circle flat. Does it ruffle? Your stitches are too loose. Does it cup like a bowl? Your stitches are too tight. A flat circle means your tension is just right.
Part 2: The Body
Now we stop increasing and work straight up. The first round creates a clean edge between the base and the body.
Round 9 (Transition Round): Working in back loops only, sc in each stitch around. Sl st to the first sc to join. (48 sts)
That back loop round gives you a crisp edge at the base. It is subtle but makes the bag look more polished.
From here, work in joined rounds with vertical color stripes. Follow this color sequence for Rounds 10 to 25: Mustard Yellow, Cream, Caramel, then repeat. Sc in each stitch around. Sl st to the first sc to join. Change colors as the sequence says, either by carrying the yarn behind your work or using separate bobbins. (48 sts each round)
Color change tip: When switching colors, complete the last stitch of the old color up until the final yarn over. Then yarn over with the new color and pull through. This keeps your color changes clean.
You can carry the unused colors behind your work if you like. Just do not pull too tightly or your bag will pucker.
After Round 25, your bag body should measure about 7 inches tall.
Part 3: Upper Edge and Drawstring Holes
Time to make openings for the drawstring.
- Round 26: Sc in each stitch around using Mustard Yellow only. Sl st to join. (48 sts)
- Round 27 (Eyelet Round): Sc in the next 3 stitches, ch 2, skip 2 stitches. Repeat from * around. Sl st to join. This creates 8 evenly spaced holes.
- Round 28: Sc in each sc and work 2 sc in each ch-2 space around. Sl st to join. (48 sts)
- Round 29: Sc in each stitch around. Sl st to join. (48 sts)
- Round 30 (Scallop Edge): Sl st in the first stitch, sc in the next stitch, 3 dc in the next stitch, sc in the next stitch. Repeat from * around. Sl st to join. Fasten off.
That scalloped edge gives the bag a pretty, feminine finish. Not a fan of scallops? Just work one more round of single crochet and call it done.
Part 4: Drawstring Cord
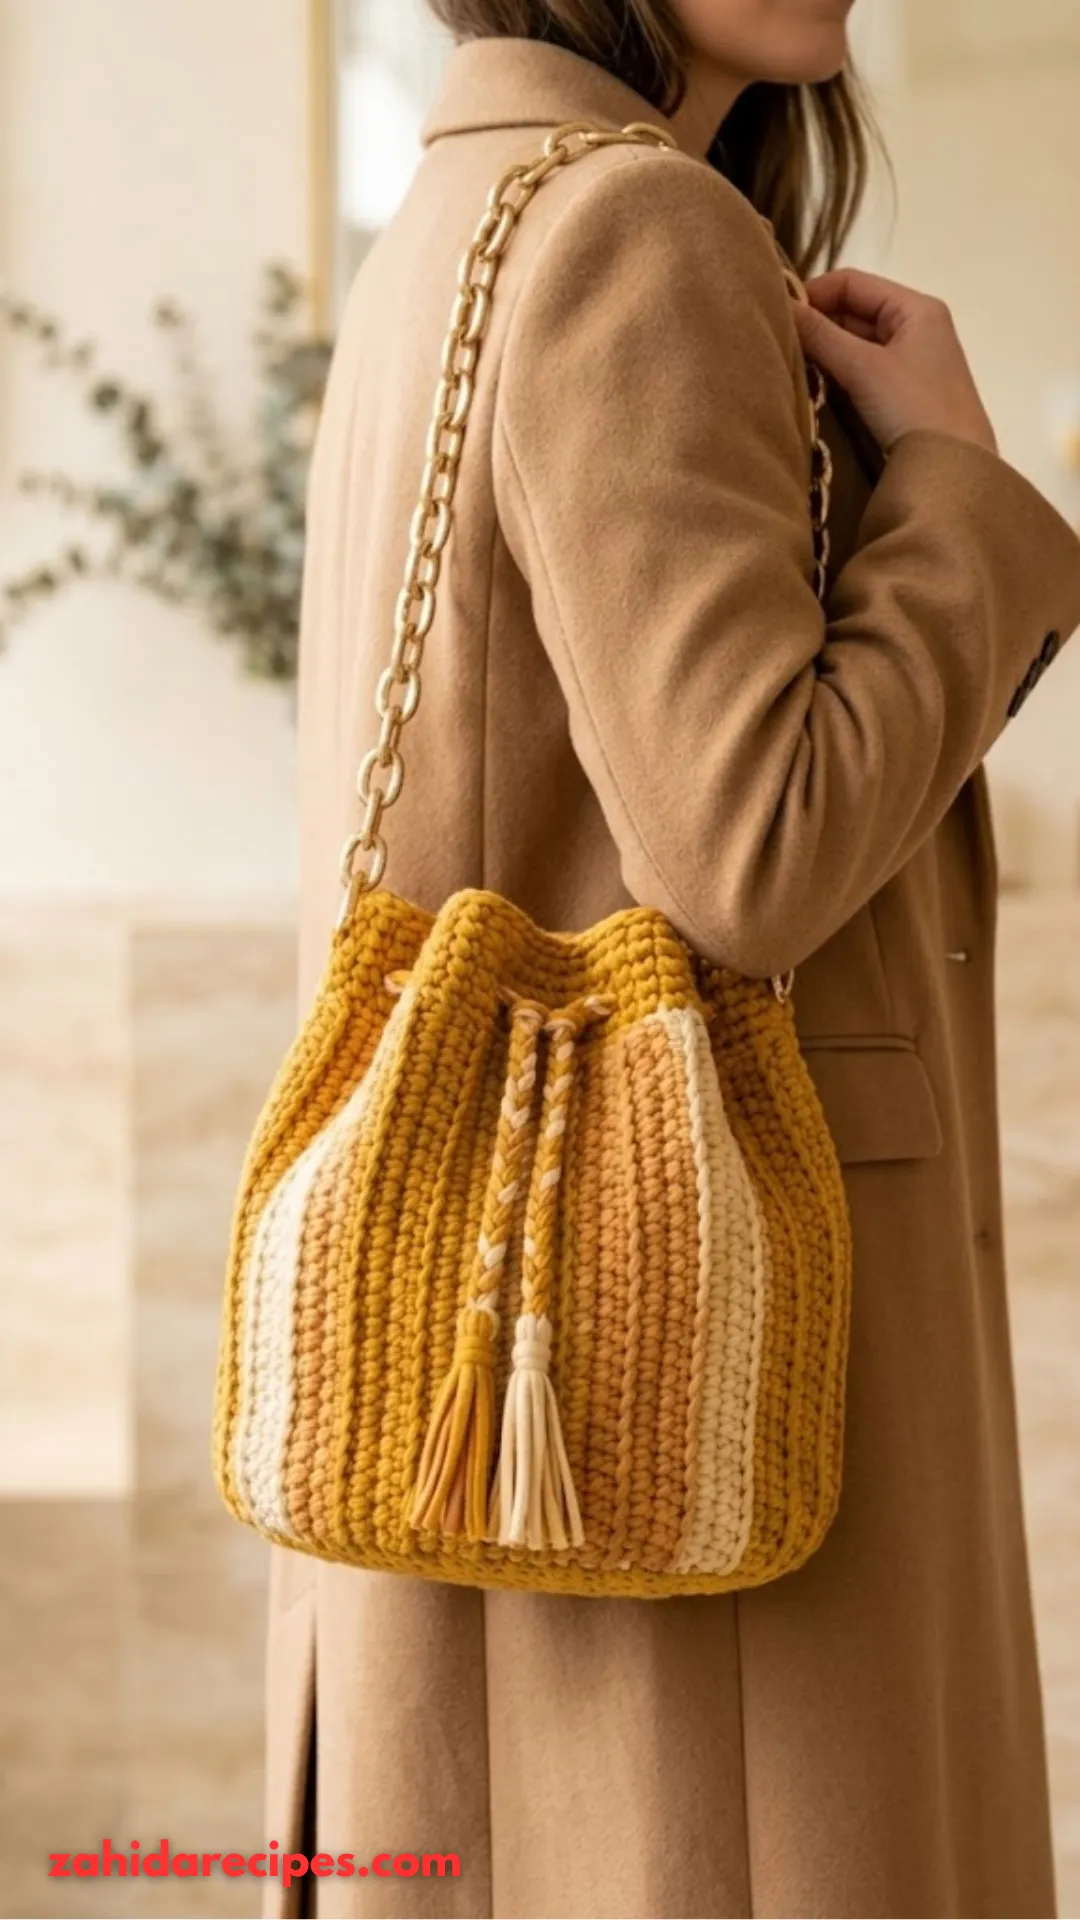
The twisted drawstring adds that boho detail everyone loves.
Option 1: Braided Drawstring
Cut 9 strands of yarn, each about 60 inches long. Use 3 strands each of Mustard, Cream, and Caramel. Divide into 3 groups of 3 strands each, mixing colors. Knot all the strands together at one end. Braid tightly until the cord measures about 36 inches. Knot the other end.
Option 2: Crocheted Chain
Using Mustard Yellow, chain about 100 stitches or until the cord measures 36 inches. Fasten off.
Weave the drawstring through the eyelet holes, entering and exiting at the front center of the bag.
Part 5: Tassels
Those little tassels complete the look.
- Cut about 20 strands of yarn, each 8 inches long.
- Fold the strands in half.
- Use a small piece of yarn to tie tightly around the fold, about half an inch from the top.
- Trim the bottom ends evenly.
Make 2 tassels, one Mustard and one multi-colored. Attach them to each end of the drawstring cord.
Part 6: Hardware Assembly
Attaching the rings: Using a 12 inch strand of Mustard yarn, secure each acrylic ring to the bag about 2 inches below the top edge. Place them on either side of the bag at the halfway point of the back section. Weave the yarn through several stitches and around the ring multiple times. Secure firmly and weave in the ends.
Attaching the chain: Use lobster clasps or jump rings to attach your chain strap to the acrylic rings. Adjust the length for shoulder or crossbody wear.
Finishing Touches and Custom Ideas
Weave in all ends. With chunky yarn, this takes patience. Weave each tail through at least 3 inches of stitches so it does not pop out later.
Block if you want. Lay the bag flat and shape it with your hands. For t-shirt yarn, you can lightly steam it to help it hold its shape. Do not press hard or you will flatten the texture.
Want a lining? Cut a simple fabric lining and hand stitch it inside for extra structure and security. Totally optional, but nice for everyday use.
Customization Ideas
- Change the colors. Neutrals like gray, black, and white give a minimalist look. Pastels are perfect for spring. Go wild with rainbow stripes.
- Skip the stripes. Work the whole body in one color for a simpler, faster project.
- Add a pocket. Crochet a small rectangle and sew it inside for your phone or keys.
- Switch the hardware. Silver, rose gold, or wood rings change the whole vibe.
- Adjust the size. Add more increase rounds to the base for a bigger bag. Work fewer body rounds for a shorter one.
Fixing Common Problems
My bag is too floppy.
Your stitches may be too loose. Try going down a hook size. T-shirt yarn also gives more structure than regular yarn.
My stripes are not lining up.
Make sure you join each round and start in the correct stitch. Count your stitches every few rounds.
The base is curling up.
You are crocheting too tightly. Relax your tension or move up a hook size for the base only.
My color changes look messy.
Practice changing colors on the last yarn over of the previous stitch. It takes practice, but it makes a huge difference.
You Might Also Like :
- Natural Raffia Summer Tote with Coral Fabric Tassels Pattern
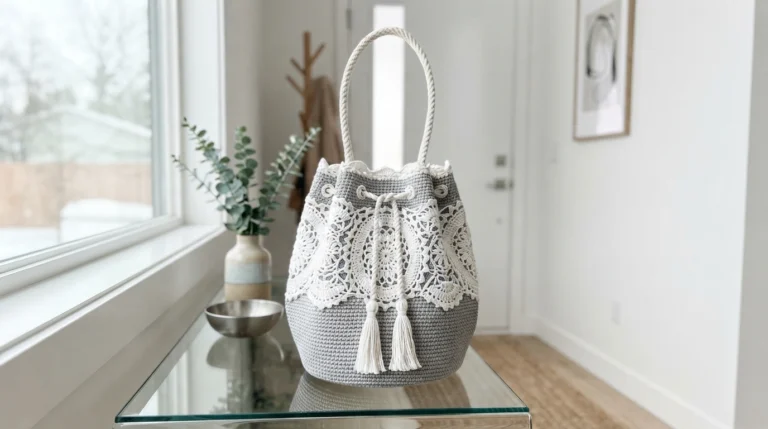
- Winter White Snowflake Lace Bucket Bag Free Crochet Pattern
- Monochrome Gray Drawstring Bucket Bag Free Crochet Pattern
You Did It
Congrats on finishing your Warm Mustard Yellow Drawstring Bucket Bag. Seriously, this is a beautiful project and you should be proud.
This pattern covered everything from the circular base to those adorable finishing details. I hope the step by step instructions made it feel doable.
I would love to see your finished bag. Share it with friends or post it online so other makers can cheer you on. Seeing your creations honestly makes my whole week. Every single time.
Thanks for choosing this pattern. Happy hooking, friend.