Winter White Snowflake Lace Bucket Bag Free Crochet Pattern
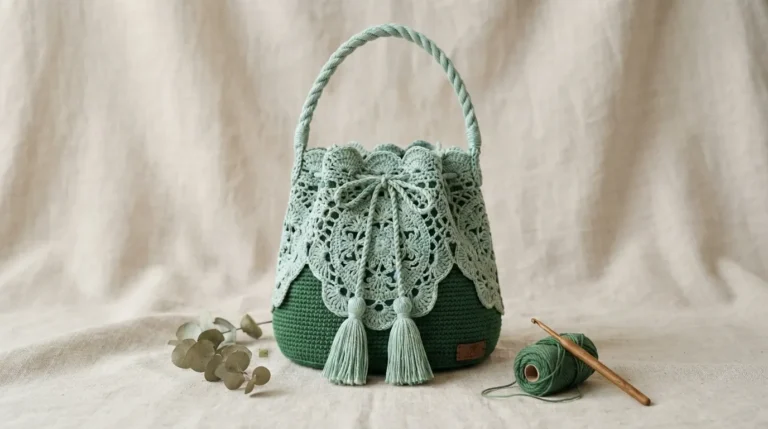
Ready to make a bag that looks fancy but won’t leave you crying over complicated stitches? This winter white snowflake lace bucket bag mixes a tough gray base with soft white lace that feels like pure winter magic. You get a sturdy everyday bag that still turns heads at the market or on a weekend stroll. Grab your yarn and let’s get hooking—this one’s worth every stitch.
Why This Bucket Bag Feels So Special
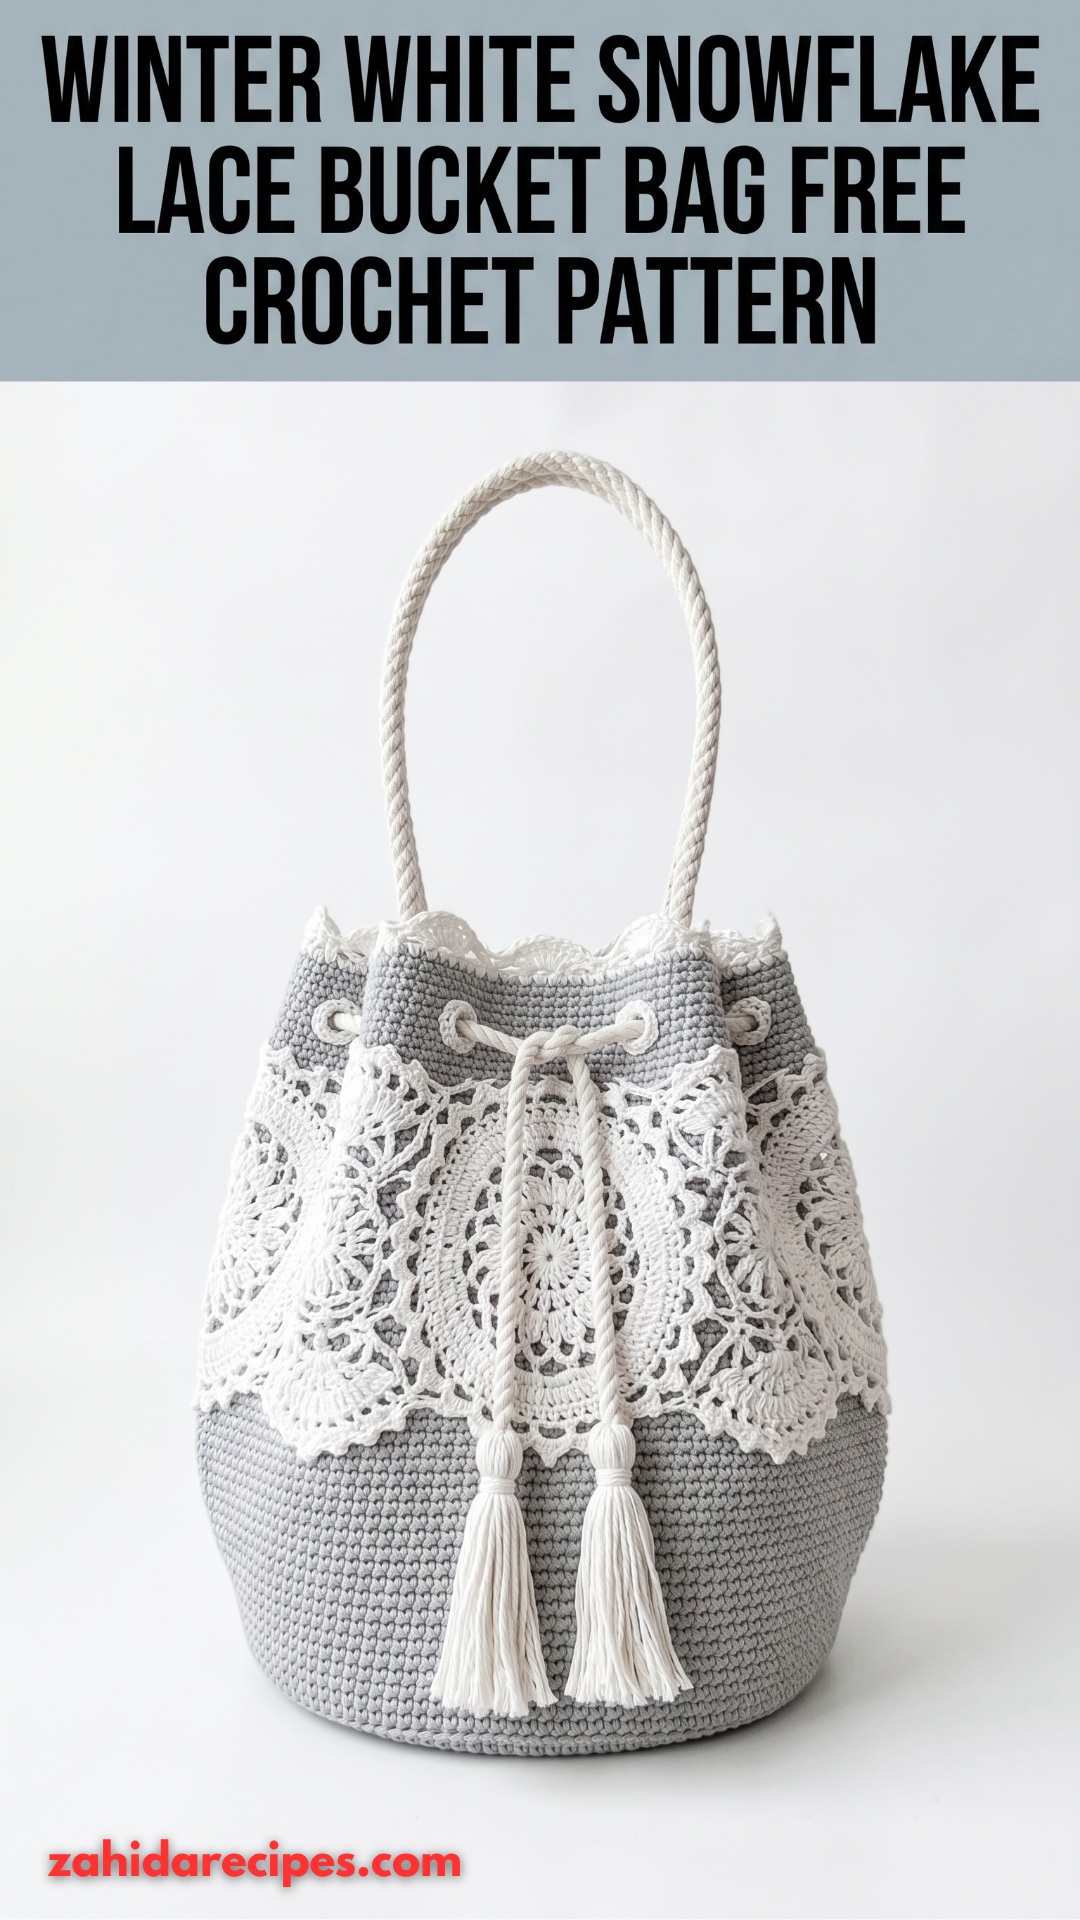
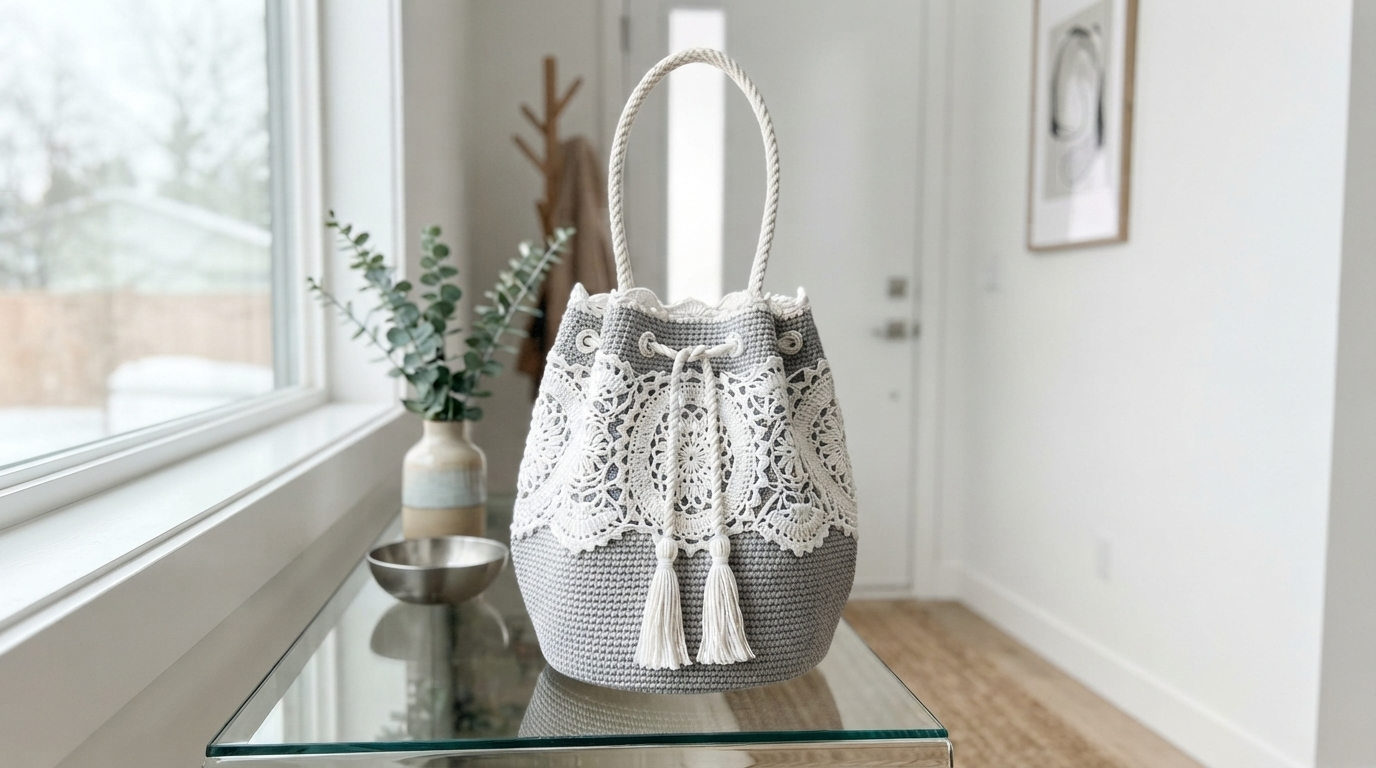
The real charm sits in the contrast. You start with a dense gray body worked in single crochet. That part keeps its shape and holds your stuff without sagging. Then you add the white lace overlay made from five snowflake motifs. Those motifs join as you go and drape right over the gray for a soft, vintage look.
A braided rope handle and cute tassels on the drawstring finish everything off. The neutral colors play nice with almost any outfit. Want something that works for errands and still looks polished? This bag does both.
IMO, the lace looks harder than it actually is. Once you break it into small rounds, the whole thing clicks into place.
Skill Level and What You Should Know
Call this intermediate. You need comfort with a few basics before you dive in:
- Working in continuous rounds
- Even increases and decreases
- Basic lace stitches like chains, double crochets, and trebles
- Joining motifs
- Following a repeat pattern
New to lace but feeling brave? Go for it. Just slow down on the white motifs and count every stitch. The pattern walks you through each step so nothing feels overwhelming.
Materials You Need
Yarn makes a big difference here. Stick with cotton for structure and clean lace edges.
Yarn:
- Main Color (MC): About 400 yards worsted weight cotton in soft gray
- Contrast Color (CC): About 300 yards worsted weight cotton in white or cream
Cotton or a cotton blend holds the bag shape and blocks the lace beautifully. Skip anything too stretchy.
Hook:
- 4.0mm (G/6) for the bag body
- 3.5mm (E/4) for the lace overlay
The smaller hook keeps the snowflakes delicate and airy.
Notions:
- Stitch marker
- Tapestry needle
- Scissors
- 1 yard cotton rope for the handle (about 8mm thick)
- 2 metal grommets (optional but handy)
Gauge and Finished Size
Bag body: 16 sc and 18 rows = 4 inches in single crochet
Lace motif: Each finished snowflake measures about 4.5 inches acrossFinished bag sits roughly 12 inches tall (without handle), 10 inches wide at the widest point, and 7 inches across the base. Check your gauge so the lace sits nicely over the gray body.
Abbreviations and Stitch Guide
Keep this list handy. You will use these stitches throughout.ch – Chain: Yarn over, pull through loop on hook.
sl st – Slip stitch: Insert hook, yarn over, pull through both the stitch and the loop on your hook.
sc – Single crochet: Insert hook, yarn over and pull up a loop, yarn over and pull through both loops.
hdc – Half double crochet: Yarn over, insert hook, yarn over and pull up a loop, yarn over and pull through all three loops.
dc – Double crochet: Yarn over, insert hook, yarn over and pull up a loop, yarn over and pull through two, yarn over and pull through remaining two.
tr – Treble crochet: Yarn over twice, insert hook, yarn over and pull up a loop, then yarn over and pull through two loops three times.
inc – Increase: Work two stitches in the same stitch.
dec – Decrease: Work two stitches together as one.
sk – Skip: Pass over the next stitch.
sp – Space: The gap made by chain stitches.
Step-by-Step Pattern Instructions
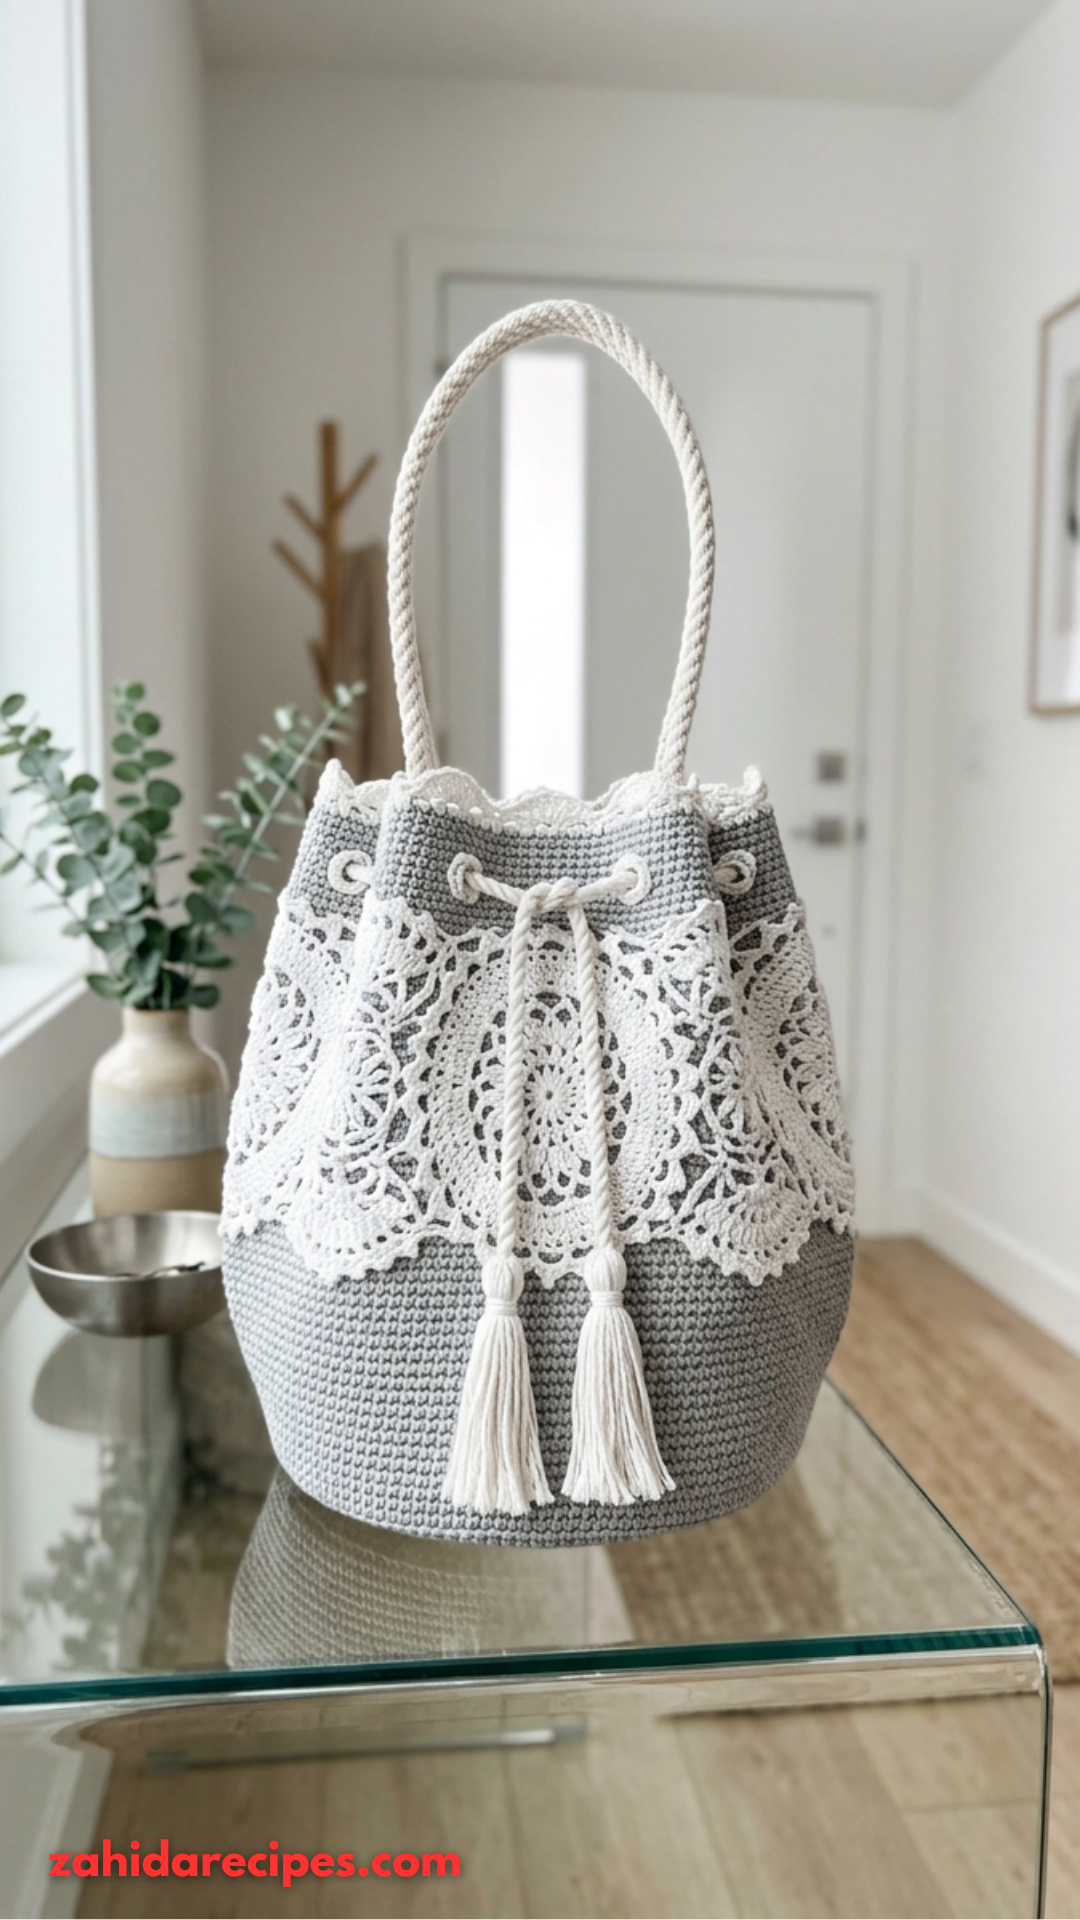
We build this bag from the bottom up. Mark the start of each round and move the marker as you go.
Part One: The Bag Base
With MC and 4.0mm hook:Round 1: Magic ring, 6 sc into ring, pull tight. (6 sts)
Round 2: Inc in each st around. (12 sts)
Round 3: Sc 1, inc repeat around. (18 sts)
Round 4: Sc 2, inc repeat around. (24 sts)
Round 5: Sc 3, inc repeat around. (30 sts)
Round 6: Sc 4, inc repeat around. (36 sts)
Round 7: Sc 5, inc repeat around. (42 sts)
Round 8: Sc 6, inc repeat around. (48 sts)
Round 9: Sc 7, inc repeat around. (54 sts)
Round 10: Sc 8, inc repeat around. (60 sts)
Round 11: Sc 9, inc repeat around. (66 sts)
Round 12: Sc 10, inc repeat around. (72 sts)
Your base should measure about 7 inches across. Need it bigger? Add one more increase round following the same pattern.
Part Two: The Bag Body
Round 13: Working in back loops only (BLO), sc in each st around. (72 sts)
This creates a clean edge at the base. Work through both loops from here on.Rounds 14 through 50: Sc in each st around. (72 sts)
That’s 37 even rounds. Your bag should stand about 8 inches tall now.
Part Three: Shaping the Top
Round 51: Sc 10, dec repeat around. (66 sts)
Rounds 52 through 54: Sc in each st around. (66 sts)
Round 55: Sc 9, dec repeat around. (60 sts)
Rounds 56 through 58: Sc in each st around. (60 sts)
Round 59: Sc 8, dec repeat around. (54 sts)
Rounds 60 through 62: Sc in each st around. (54 sts)
Part Four: Creating the Drawstring Channel
Round 63: Sc 3, ch 2, sk 2 repeat around. (54 sts total including chains)
These openings let the drawstring slide through easily.Round 64: Sc in each sc and 2 sc in each ch-2 space around. (54 sts)
Rounds 65 through 67: Sc in each st around. (54 sts)
Fasten off and weave in ends.
Part Five: Snowflake Lace Motifs (Make 5)
With CC and 3.5mm hook:Round 1: Magic ring, ch 3 (counts as first dc), 11 dc into ring, sl st to top of ch-3 to join. (12 dc)
Round 2: Ch 3, dc in same st, 2 dc in each st around, sl st to join. (24 dc)
Round 3: Ch 4 (counts as dc plus ch-1), dc in next st, ch 1 repeat around, sl st to 3rd ch of beginning ch-4. (24 dc, 24 ch-1 spaces)
Round 4: Sl st into ch-1 sp, ch 3, 2 dc in same sp, ch 2, 3 dc in next ch-1 sp, ch 2 repeat around, sl st to join. (24 shell clusters)
Round 5: Sl st to center dc of shell, ch 5 (counts as dc plus ch-2), dc in same st, ch 3, sk next shell, (dc, ch 2, dc) in center dc of next shell, ch 3, sk next shell repeat around, sl st to join. (12 V-stitches)
Round 6: Sl st into ch-2 sp, ch 3, 4 dc in same sp, ch 2, sc in ch-3 sp, ch 2, 5 dc in next ch-2 sp, ch 2, sc in ch-3 sp, ch 2 repeat around, sl st to join. (12 fan shells)
Round 7: Ch 1, sc in first dc, ch 3, sk 1 dc, sc in next dc, ch 5, sc in next dc, ch 3, sk 1 dc, sc in next dc, ch 4, sc in first dc of next shell repeat around, adjusting final join. Sl st to first sc.
Fasten off, leaving a long tail for joining.
Part Six: Joining the Lace Overlay
Arrange the five motifs in a ring so the edges overlap a little. Use your tapestry needle and CC yarn to whip stitch them together at the touching points. Keep the lace pattern visible.
Slide the lace ring over the gray bag. The bottom edge of the lace should sit about 3 inches up from the base. Pin it in place.
Tack the lace to the bag with CC yarn at several spots along the bottom scalloped edge and along the top. Stitch invisibly into the gray stitches so the joins stay neat.
Part Seven: Scalloped Top Edging
With CC and 3.5mm hook:
Join yarn at any point along the top edge.
Round 1: Sc evenly around the entire top opening, working through both the lace and the gray body where they overlap. Aim for about 54 sc. Sl st to join.
Round 2: Ch 1, sc in first st, sk 2 sts, 5 dc in next st, sk 2 sts, sc in next st repeat around. Sl st to join.Fasten off and weave in ends. That scalloped edge adds the perfect soft finish.
Part Eight: Rope Handle
Cut the cotton rope to about 30 inches. Thread each end through the sides of the bag roughly 2 inches below the top edge, on opposite sides.
If you use grommets, install them first. Knot each rope end securely inside the bag. For extra strength, wrap the knot area with matching yarn and stitch it closed.
Part Nine: Drawstring and Tassels
Making the Drawstring:
Chain about 100 with CC yarn, or cut a 36-inch length of cotton rope. Weave it through the ch-2 spaces from Round 63.
Making the Tassels (Make 2):
Wrap CC yarn around a 4-inch piece of cardboard about 30 times. Slide it off carefully. Tie tightly about half an inch from the top to form the tassel head. Cut the loops at the bottom and trim evenly.
Attach one tassel to each end of the drawstring.
Finishing Touches and Helpful Tips
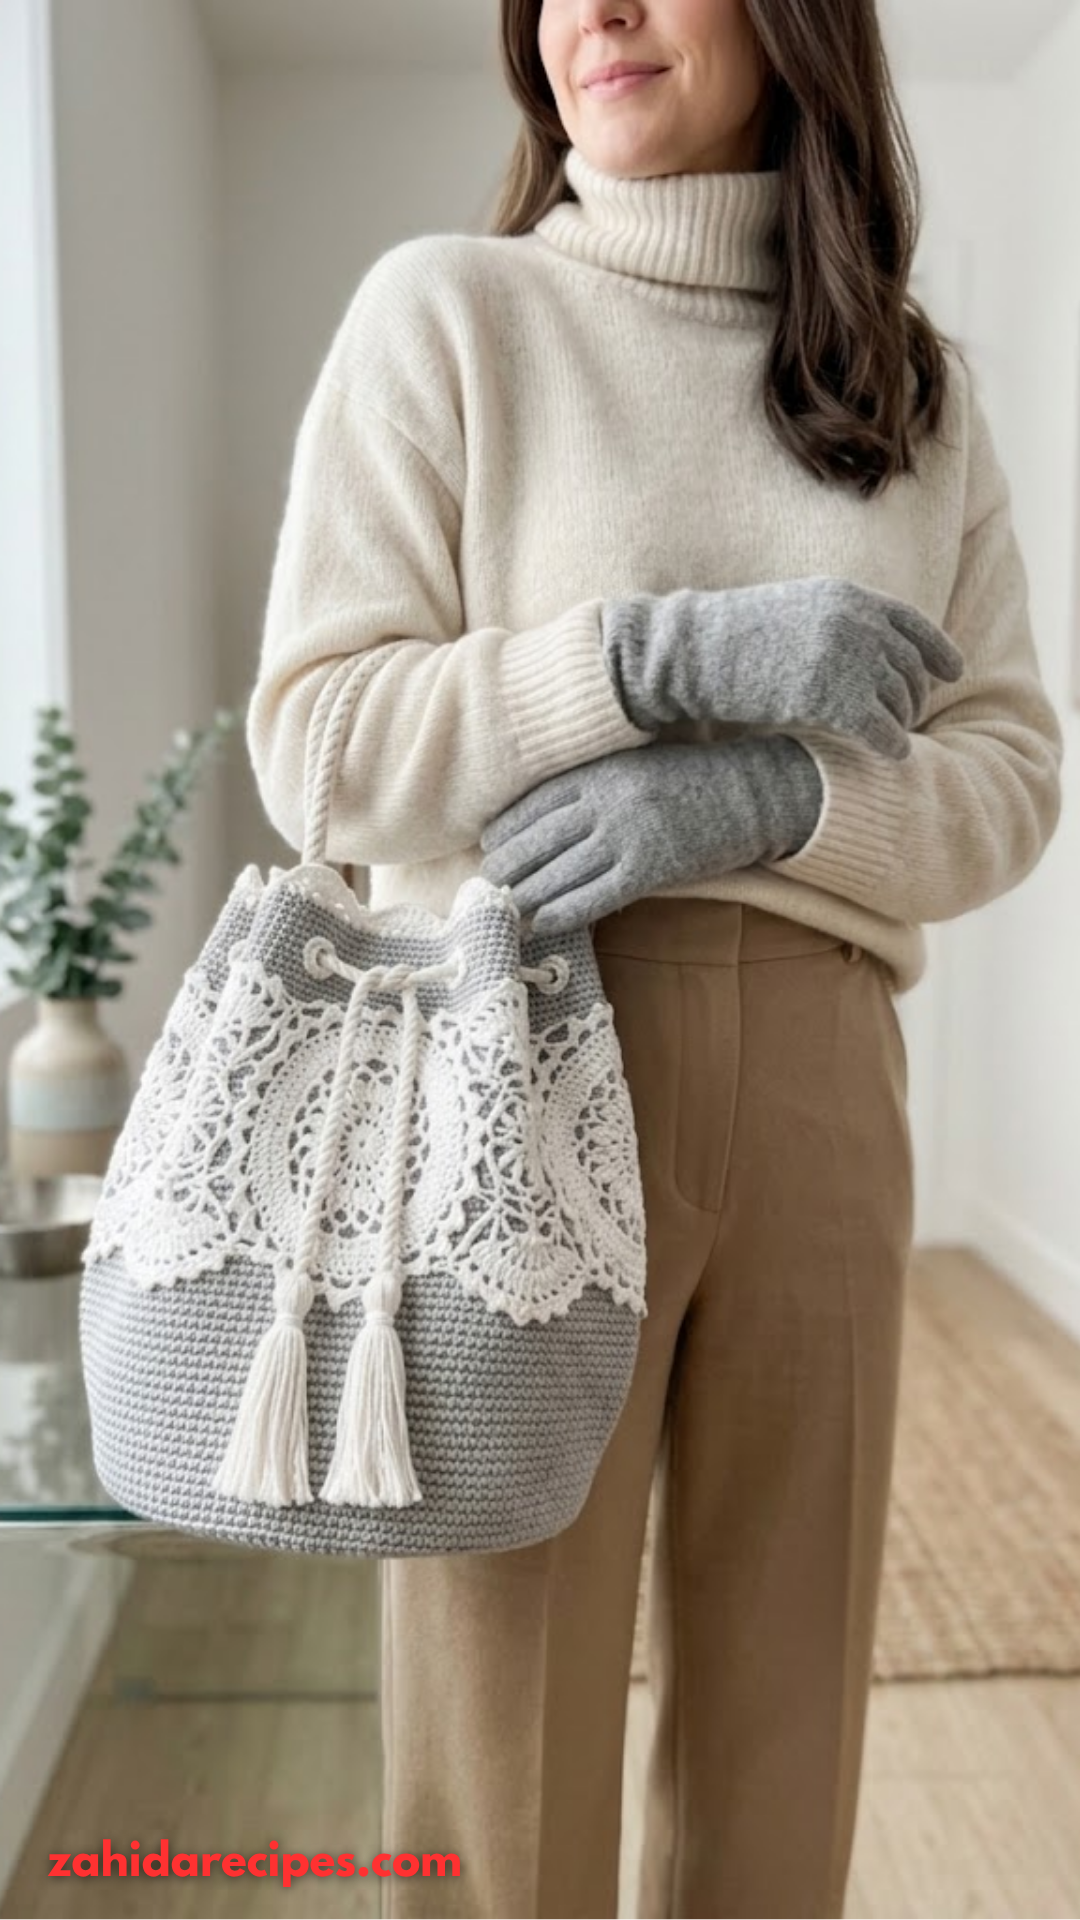
Weave in every remaining yarn tail. Mist the lace with water and pin it flat to block if you want those snowflakes to open up fully. A light steam press sets the stitches—just don’t crush the lace.
Keep your single crochet tight and even on the gray body so the bag never sags under weight. Count every round, especially the increase and decrease ones. Those stitch markers really do save the day.
Block each motif before you join them. Five extra minutes here makes the whole overlay look professional. Reinforce the handle attachment points with a few extra stitches if you plan to carry heavier items.
Want to switch things up? Try navy with gold lace or coral with white. Add or remove increase rounds at the base and body rounds for height. Just adjust where the lace sits so everything still lines up.
Related Articles :
- Sage Green Botanical Lace Bucket Bag Free Crochet Pattern
- Dusty Rose Romantic Crochet Bell Top Free Pattern
- Peach Blossom Diary Cover Free Crochet Pattern
Wrap-Up and Happy Stitching
You now have a complete free pattern for a winter white snowflake lace bucket bag that looks store-bought but carries the pride of handmade work. The sturdy base, soft lace, and simple finishing details come together into something you’ll actually use every week.
Take your time with the motifs, enjoy the rhythm of the single crochet rounds, and don’t forget to block that lace. Once you finish, you’ll wonder why you waited so long to make one.