Sage Green Botanical Lace Bucket Bag Free Crochet Pattern
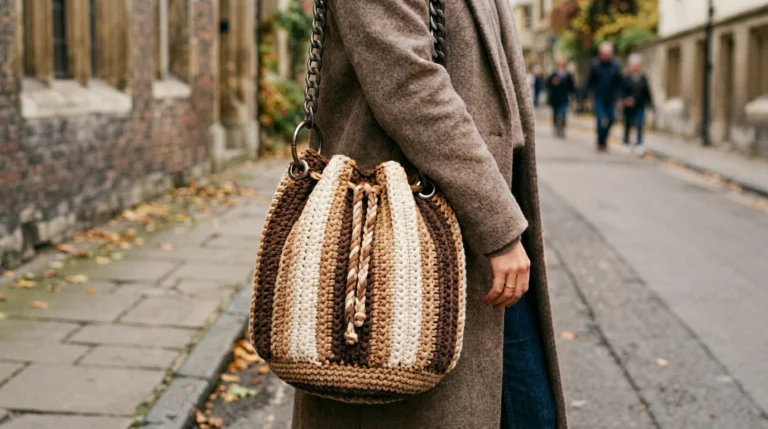
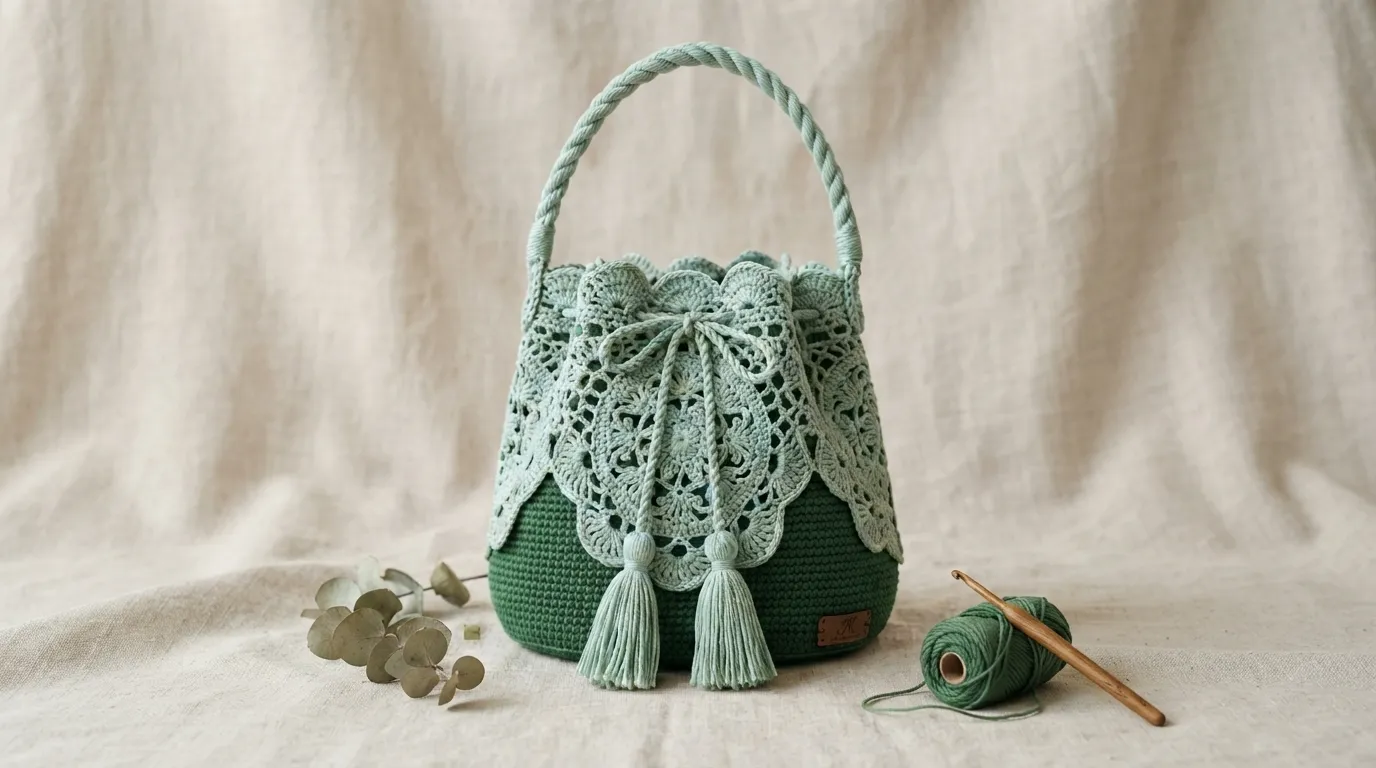
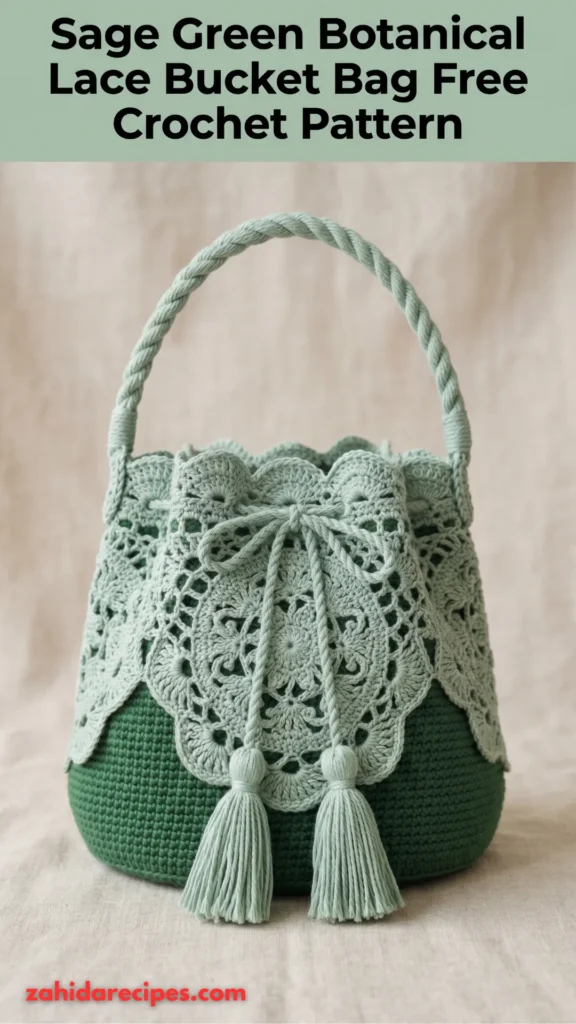
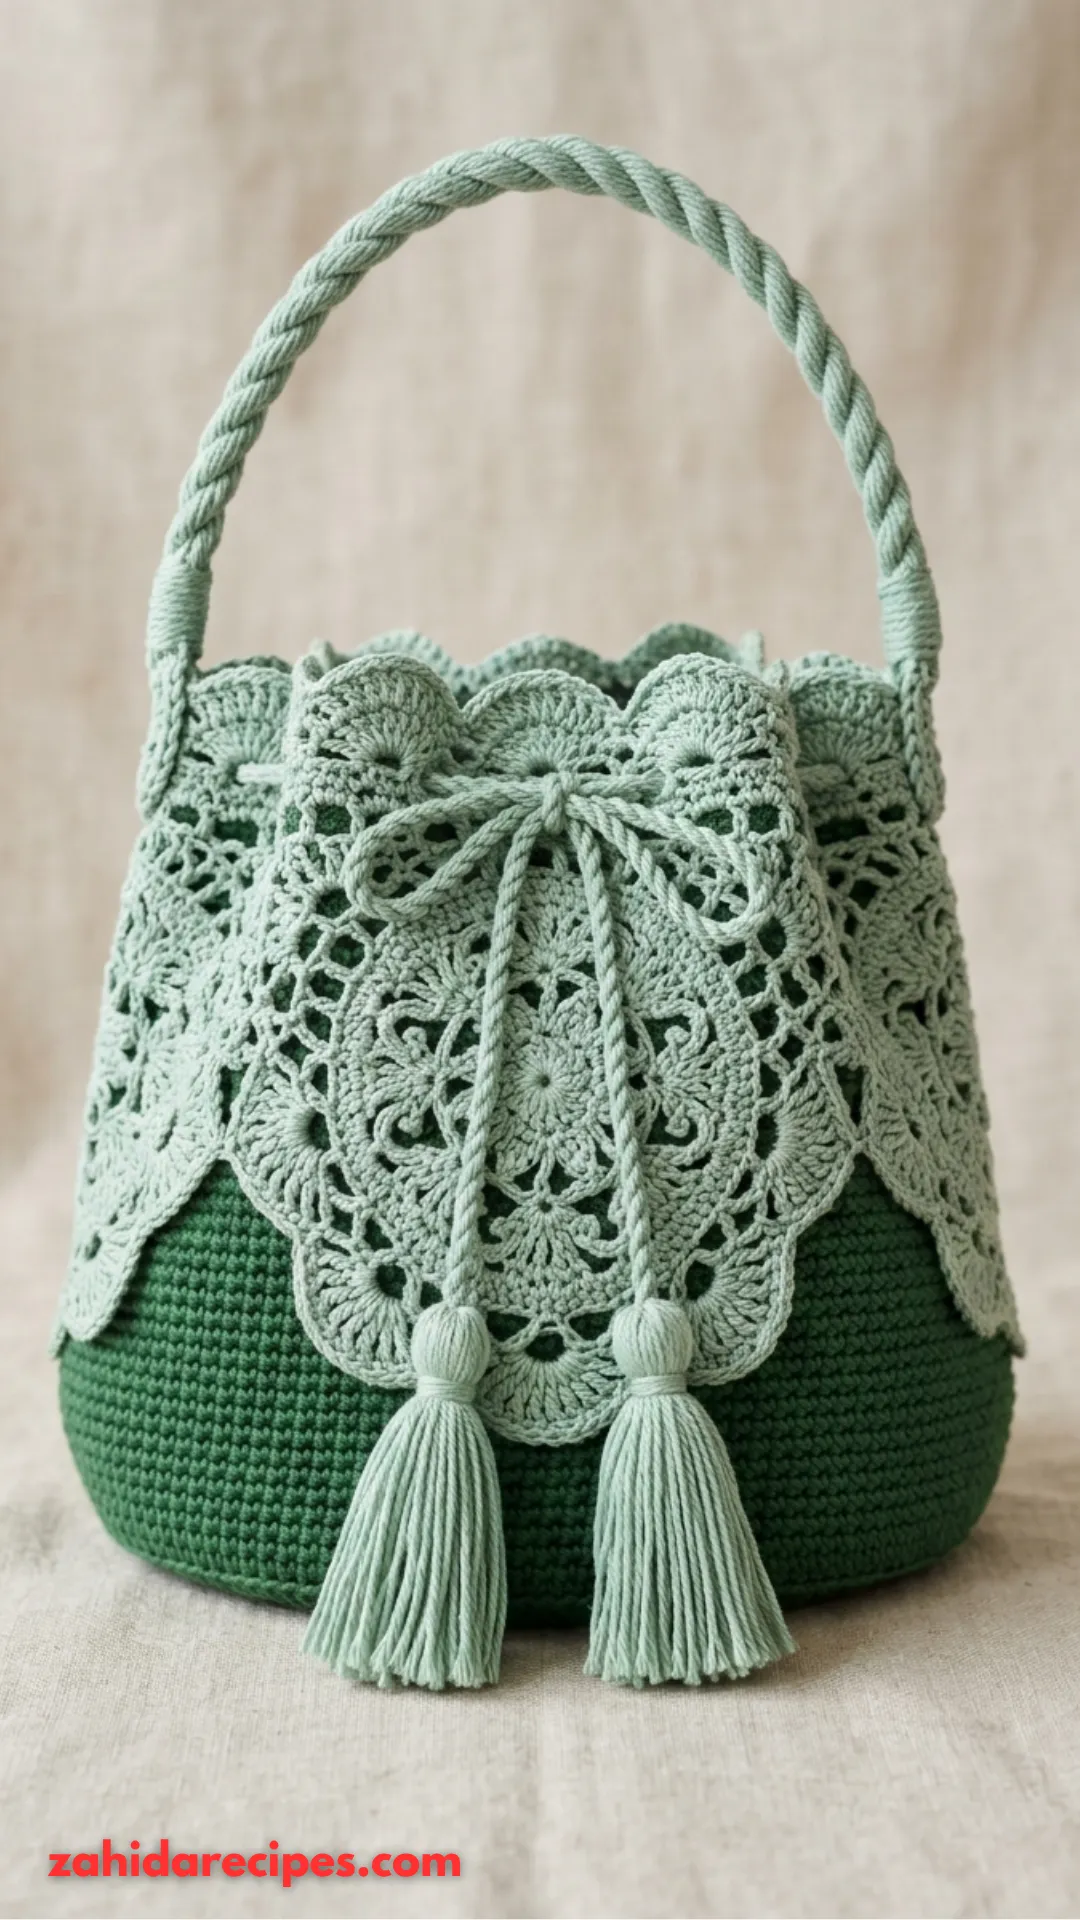
There is something deeply satisfying about crocheting a bag you will actually carry every single day. This sage green bucket bag pairs a sturdy single crochet base with delicate botanical lace overlay panels that look way harder than they are. If you can work basic stitches and follow a simple motif, you can absolutely make this. Let me walk you through the whole thing from the first chain to the final tassel.
What Makes This Bucket Bag Pattern Stand Out
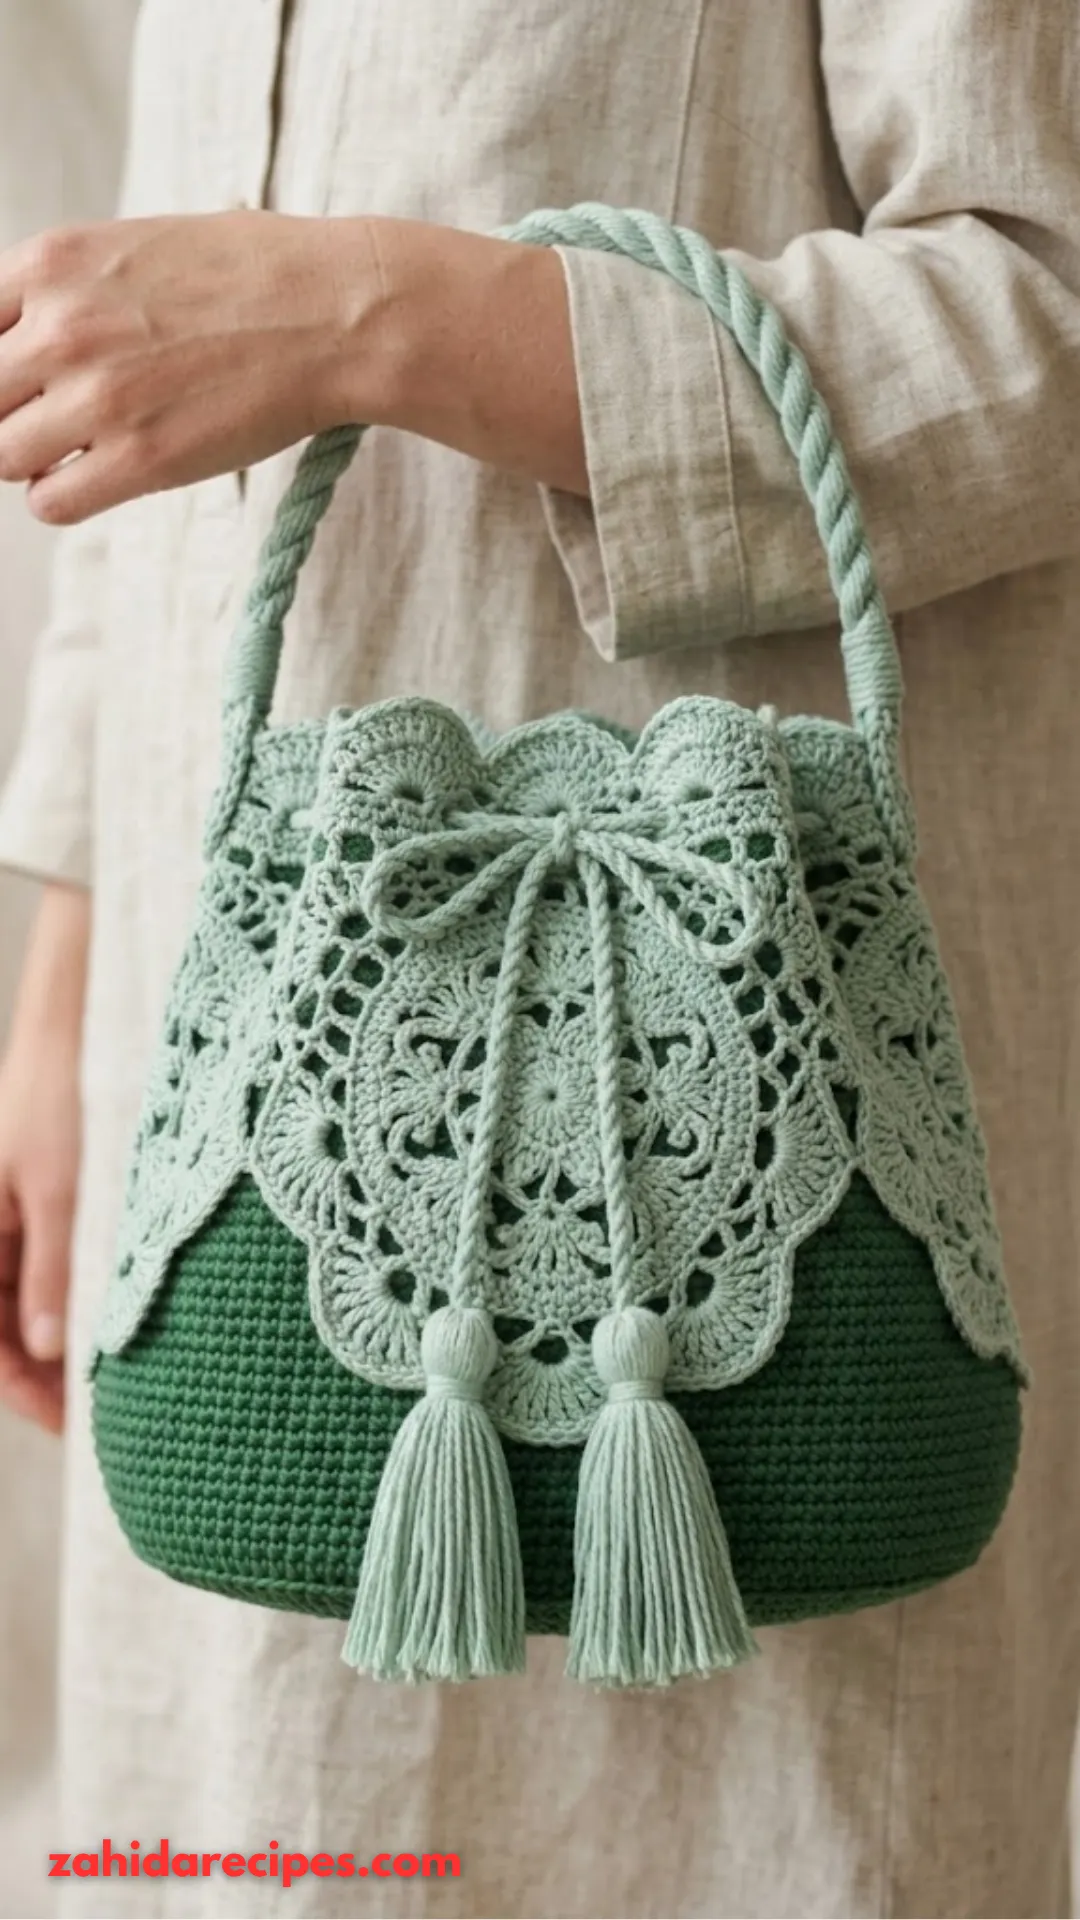
This is not your average tote bag project. The construction method gives you a professional, store-bought finish. You crochet a solid bucket base first, then make separate lace overlay panels and attach them around the top third of the bag. That layered approach is genius for anyone who finds lace intimidating. You build the motifs on their own, at your own pace, then join them. No pressure. Here are the finished measurements:
- Height: approximately 9 inches
- Width at opening: approximately 7 inches
- Holds: a wallet, phone, sunglasses, keys, and a small book comfortably
Perfect for summer outings. Or use it as an everyday crossbody alternative when you add a longer strap.
Skill Level: Who Should Try This?
Intermediate. If you have completed granny squares and worked in the round before, you are ready for this tutorial. Never worked lace before? You can still do it. The motifs repeat the same few stitches over and over. Once you finish the first one, your hands basically memorize it. IMO, motif two through six go twice as fast as motif one.
Materials You Will Need
Having the right supplies makes any crochet pattern easier to follow. Here is everything required to recreate this botanical lace bucket bag from scratch.
Yarn
I recommend 100% mercerized cotton for this project. The sheen makes the lace panels pop, and cotton holds structure better than acrylic for bags. Suggested brands:
- Lily Sugar’n Cream
- Lion Brand 24/7 Cotton
- Scheepjes Catona
Hook Sizes
You will use two hooks here. A smaller hook for the base creates a denser fabric that stops small items from poking through. A slightly smaller hook for the lace gives you crisp, defined motifs.
Notions
- Stitch markers
- Yarn needle
- Scissors
- Measuring tape
- Cardboard for tassels
Gauge Information (Do Not Skip This)
Gauge matters for bags more than you might think. Too loose and items fall through the gaps. Too tight and you will run out of yarn halfway through. Main body gauge: 16 single crochet stitches and 18 rows = 4 inches with 4.0mm hook Lace panel gauge: Each flower motif measures approximately 3 inches across with 3.5mm hook Take time to check your gauge before starting. Your hands are unique and tension varies between crocheters. A ten-minute swatch saves you hours of redoing work later.
Abbreviations and Stitch Definitions
Every stitch abbreviation appears here with a plain-English explanation. Reference this section whenever you need a refresher.
- ch = chain: Wrap yarn over hook, pull through loop on hook.
- sl st = slip stitch: Insert hook, yarn over, pull through stitch AND loop on hook in one motion. Used for joining rounds.
- sc = single crochet: Insert hook into stitch, yarn over and pull up a loop (2 loops on hook), yarn over and pull through both loops. The shortest basic stitch.
- hdc = half double crochet: Yarn over, insert hook, yarn over and pull up loop (3 loops), yarn over and pull through all 3 loops.
- dc = double crochet: Yarn over, insert hook, yarn over and pull up loop (3 loops), yarn over and pull through 2 loops, yarn over and pull through remaining 2 loops.
- tr = treble crochet: Yarn over twice, insert hook, yarn over and pull up loop (4 loops), yarn over and pull through 2 loops three times.
- ch-sp = chain space: The gap created by chain stitches in the previous row. Work into the space itself, not individual chains.
- sk = skip: Pass over the indicated number of stitches without working into them.
- inc = increase: Work 2 stitches into the same stitch to add width.
- BLO = back loop only: Insert hook under just the back loop instead of both loops.
Step by Step Crochet Pattern Instructions
Now for the good part. Follow these sections in order to create your botanical lace bucket bag from the bottom up.
Part 1: Crocheting the Bucket Base
The base uses a magic ring and increases in a spiral. Place a stitch marker at the start of each round and move it up as you go. With MC and 4.0mm hook:
Round 1: Make a magic ring. Ch 1, work 6 sc into the ring. Pull ring closed. (6 sts)
Round 2: Work 2 sc in each st around. (12 sts)
Round 3: Sc in next st, 2 sc in next st repeat around. (18 sts)
Round 4: Sc in next 2 sts, 2 sc in next st repeat around. (24 sts)
Round 5: Sc in next 3 sts, 2 sc in next st repeat around. (30 sts)
Round 6: Sc in next 4 sts, 2 sc in next st repeat around. (36 sts)
Round 7: Sc in next 5 sts, 2 sc in next st repeat around. (42 sts)
Round 8: Sc in next 6 sts, 2 sc in next st repeat around. (48 sts)
Round 9: Sc in next 7 sts, 2 sc in next st repeat around. (54 sts)
Round 10: Sc in next 8 sts, 2 sc in next st repeat around. (60 sts) Your base should measure approximately 5 inches across. Lay it flat to check. If it ruffles, your tension is too loose. If it cups, go up a hook size.
Part 2: Building the Bucket Sides
This is where the magic happens. One simple change creates vertical walls instead of a flat circle.
Round 11: Working in BLO only, sc in each st around. Do not increase. (60 sts) This BLO round creates a crisp edge where the base meets the sides. From here, work in both loops normally.
Rounds 12 through 40: Sc in each st around. (60 sts per round) Continue for 29 rounds total of straight sides. This creates approximately 6.5 inches of bucket height. The fabric should be dense with no visible holes.
Tip: Count every few rounds to ensure you maintain 60 stitches. It is easy to accidentally skip stitches along the way.
Round 41: Sl st to first st. Fasten off MC. Weave in ends.
Part 3: Creating the Lace Overlay Panels
Here is where this crochet pattern becomes truly beautiful. You will make 6 identical flower motifs that join together to form the decorative overlay. With CC and 3.5mm hook:
Motif Center:
Round 1: Magic ring. Ch 3 (counts as first dc), work 11 dc into ring. Sl st to top of ch-3 to join. (12 dc)
Round 2: Ch 4 (counts as dc + ch 1), dc in next st, ch 1 repeat around. Sl st to 3rd ch of starting ch-4. (12 dc, 12 ch-1 spaces)
Round 3: Sl st into first ch-sp. Ch 3, 2 dc in same sp, ch 2, *3 dc in next ch-sp, ch 2* repeat around. Sl st to top of ch-3. (12 clusters of 3 dc)
Round 4: Ch 1, sc in same st, sc in next 2 dc, 3 sc in ch-2 sp, sc in next 3 dc repeat around, ending with 3 sc in final ch-sp. Sl st to first sc. (48 sc)
Creating the Petal Points:
Round 5: Ch 1, sc in same st, sk 2 sts, 5 dc in next st (shell made), sk 2 sts, sc in next st repeat around. Sl st to first sc. (8 shells)
Round 6: Sl st to center dc of first shell. Ch 4, tr in center dc of next shell, ch 3 repeat around. Sl st to top of ch-4.
Round 7: Work (2 dc, ch 2, 2 dc) in ch-3 sp repeat around. Sl st to first dc. This creates the scalloped edge visible in the finished bag. Fasten off, leaving a 12-inch tail for joining. Make 6 motifs total.
Part 4: Joining Motifs and Attaching the Overlay
Lay motifs in a row. Using CC, whipstitch or slip stitch adjacent motifs together at touching petal points. Connect all 6 into a continuous band. Position the lace band around the top of the bucket body with scalloped edges pointing down. The band should sit approximately 2 inches below the bucket opening. Attachment method: Using yarn needle and CC, tack the top edge of each motif to the bucket body with invisible stitches. Work from the inside when possible. The lace overlay drapes naturally over the solid green base, creating that beautiful dimensional effect.
Part 5: The Twisted Rope Handle
This handle uses a simple chain twist technique. With CC and 4.0mm hook: Ch 150. Fasten off, leaving long tails at both ends. Cut two more lengths of CC yarn, each 60 inches long. Hold all three strands together (the chain plus two plain strands) and twist tightly in one direction. Fold in half, allowing the twist to coil back on itself naturally. Secure both ends with tight wrapping. Attach handle ends securely inside the bag at opposite sides using yarn needle and MC.
Part 6: Creating the Drawstring and Tassels
Drawstring: Chain 100 with CC. Twist as with handle or leave as simple chain cord. Weave through the lace openings around the bag top. Tassels (make 2): Wrap CC around a 3-inch cardboard 25 times. Tie at top, cut bottom loops. Wrap yarn around tassel 1 inch below top to create the head. Trim ends evenly. Attach to drawstring ends.
Finishing Your Botanical Lace Bucket Bag
Weave in all remaining ends. Steam block the lace sections gently to open up the stitch definition. Do not press flat. Two optional upgrades worth trying:
- Cut a fabric circle to fit the base interior. This prevents stretching and adds polish.
- Insert a thin cardboard circle wrapped in fabric at the very bottom for extra structure.
Tips for Success
Working with two yarn weights in the same project can feel strange at first. The thinner CC yarn makes delicate lace while the thicker MC creates durability. Trust the process. If your lace motifs look different sizes, check your tension on each one. Consistency matters when joining multiples. Cotton yarn does not have the stretch of acrylic. Take breaks to avoid hand fatigue. Your hands will thank you.
How to Customize This Pattern
Try burgundy and cream for autumn. Navy and white feels nautical. Use variegated yarn for either section to add interest without changing the pattern. Want a bigger bag? Continue increasing the base to 72 or 84 stitches before working the BLO round. Add motifs proportionally. FYI, this pattern also looks adorable in a dusty pink with ivory lace if sage green is not your thing.
You Might Also Like:
- Dusty Rose Romantic Crochet Bell Top Free Pattern
- Peach Blossom Diary Cover Free Crochet Pattern
- Lavender Dream Granny Square Tote Free Crochet Pattern
Final Thoughts
Creating this sage green botanical lace bucket bag from start to finish takes patience, but the result is absolutely worth every stitch. You now have a detailed step by step guide covering every technique, measurement, and finishing detail needed to recreate this gorgeous accessory. Thank you so much for choosing to make this project. Seeing your finished bags brings me genuine joy, so please share your creations on Instagram and tag me. I love seeing how different yarn choices transform the same design. Happy crocheting, friend. You have got this.